

Is your bathroom in need of a budget-friendly update? Ours too! We’re just getting started on a no demo bathroom remodel 🙂 First on the agenda is adding some character to our bathroom floors with a little black paint! If you’ve done any research on how to paint floor tile, i’m sure you know that it can sometimes get a bad reputation. But trust me, with proper prep and the right paint, it’s totally doable and it really will make a huge difference.
Now in my case, I only painted some of our ceramic tiles. I thought this would be a great way to make the floors feel brand new! If you’re looking to paint your entire floor, I’ve got tips on that too! The process is mostly the same. There’s also a few different products out there to choose from so we’ll dive into those options as well! Shall we?!
Disclaimer: This post contains affiliate links. This means, if you purchase something from a link I provided, I will receive a small commission. This is at no extra cost to you! Thank you so much for the support!
Painting Our Bathroom Floor Tiles
Here’s my video tutorial on how to paint tile floors! I recommend watching the process first and then this blog post will hopefully answer any additional questions you might have!
What is the Best Paint for Tile Floors?
It’s overwhelming trying to choose the best paint for tile floors, so let me do a quick breakdown for each so you can choose the right product for your particular project.
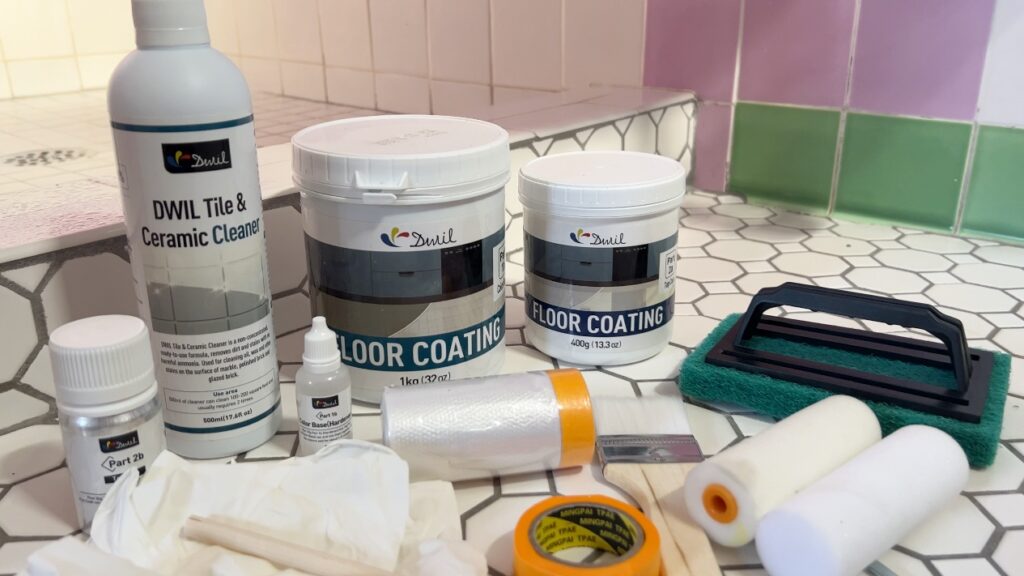
DWIL Floor Coating Kit
This is the product I used for our DIY paint floor tile project!
- 2-step system of paint and a top coat
- The kit provides everything you need (although you may prefer to use your own paint brush or foam roller because the provided ones aren’t anything special!)
- This product can be used on a variety of flooring types including ceramic floor tile, porcelain tiles, concrete, hardwood, laminate and more!
- It’s odorless (my personal favorite characteristic!) and environmentally friendly
- Strong adhesion (I did a scratch test and was so impressed!)
- No stripping, sanding, or priming required
- Paint color options: black, white, light gray, dark gray, and vanilla white
- Semi-gloss, porcelain-like finish
- Kit covers 40-50 sq. ft. (for 2 coats of paint, which is what they recommend)
Rustoleum Floor Paint
This is one of the most common paints for floor tile!
- Two-part system (base coat + top coat)
- The kit provides the base coat, top coat, and a cleaner
- They recommend a high quality paint brush and 3/8″ nap roller for the base coat and a high quality 1/4″ nap roller for the top coat
- This product can be used on a variety of flooring types including ceramic and porcelain floor tile, concrete, hardwood, laminate, vinyl, and more!
- No stripping, sanding, or priming required
- 30+ color options!
- Matte and semi-gloss options
- Kit overs up to 100 sq. ft.
Porch and Patio Paint
Most popular paint brands have a porch and patio paint that would work great for painting your bathroom floor tiles. Since this isn’t a kit like the above products, here’s a general idea of the steps:
- Lightly sand your floors to scuff them up
- Thoroughly clean and scrub your floors using a degreaser like krud kutter
- Use two coats of a strong bonding primer (such as this this or this)
- 2-3 coats of porch and patio paint
- A top coat is optional!
There’s definitely more steps involved when you choose this option, but the benefit is that you have endless color options!
Here’s a few product options if you choose this route:
- Behr Porch and Patio Paint (I used this for our DIY staircase makeover and it held up amazingly!)
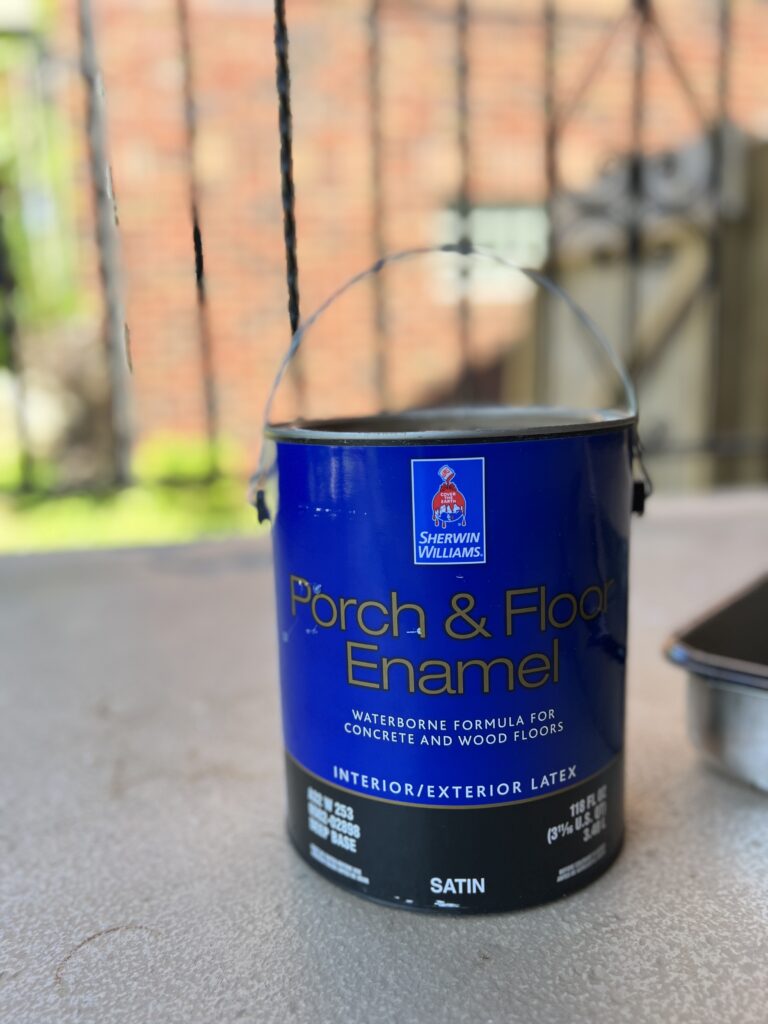
- Sherwin Williams Porch and Floor Enamel (I used this to paint our concrete for our recent front porch makeover and the paint didn’t even budge from a pressure washer!)
- Valspar Porch, Floor and Patio Paint
- Benjamin Moore Floor and Patio Paint
How to Paint Floor Tile
Step One: Clean
Cleaning is the most critical step when painting tile, so don’t gloss over this part! It’s very important that you get rid of any soap scum, dirt, oils, etc. If not, the paint will not adhere properly which can lead to chipping or peeling. In high-traffic areas like a bathroom, you don’t want to risk this!
To clean your tiles you can use either a 50/50 mixture of dawn dish soap and vinegar or a tsp cleaner. If your tiles are really dirty, i’d recommend a tsp cleaner like this one. Otherwise, the dawn and vinegar mixture should work just great! With any tough spots, you can always come in with the krud kutter after!
Since I used a DIY floor paint tile product, it actually came with a tile cleaner! But our floors hadn’t had a proper scrub since we moved in, so I first cleaned them with this all natural cleaner which I loved, by the way! It really brightened up our grout lines. Highly recommend!
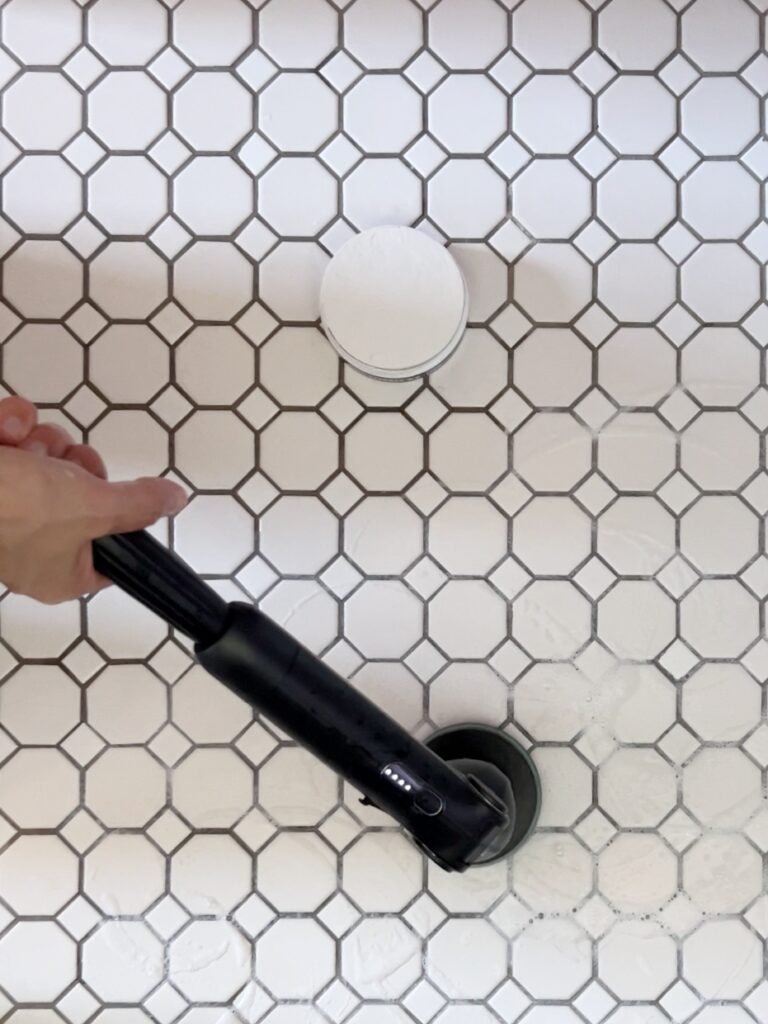
After that, I applied the DWIL tile cleaner using this electric spin scrubber.
Step Two: Sand
Another way to help ensure your paint adheres properly is to lightly sand your tiles. If your tiles are really glossy, this is especially important. For glossy tiles, i’d recommend a 220 grit sandpaper. For less shiny tiles, 320 grit should work great.
I actually chose *not* to sand in this particular case because the tiles I was painting were so tiny. They also weren’t very glossy so I wasn’t too concerned. If you were tackling a similar project to me and wanted to sand, i’d recommend using an angled sanding sponge to lightly sand each individual tile.
After sanding, wipe off the tile with a damp rag or tack cloth!
Step Three: Tape
Tape off the edges of the area you’re painting! I only taped where the threshold was, but I didn’t tape each individual square tile for obvious reasons 🙂 You could also use painter’s tape to create a design! If you decide to try that, it’s a good idea to use your fingernail or a credit card to really seal the tape down along the edge!
Step Four: Paint
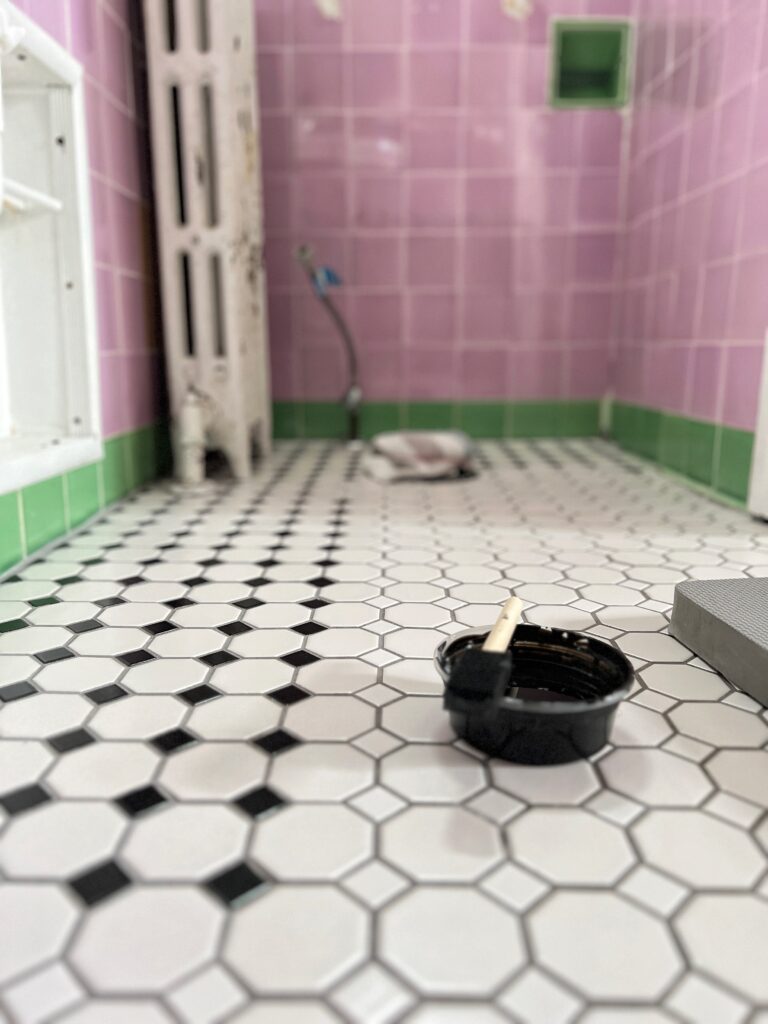
The next step is painting, finally!!! I used DWIL floor coating kit in black to paint my bathroom tiles. There’s two parts; the paint and the hardener. Once you add the hardener, you have 12 hours to use the product. Since I really didn’t need a ton of paint, and wasn’t sure how long it would take me, I only did half of each in a separate container.
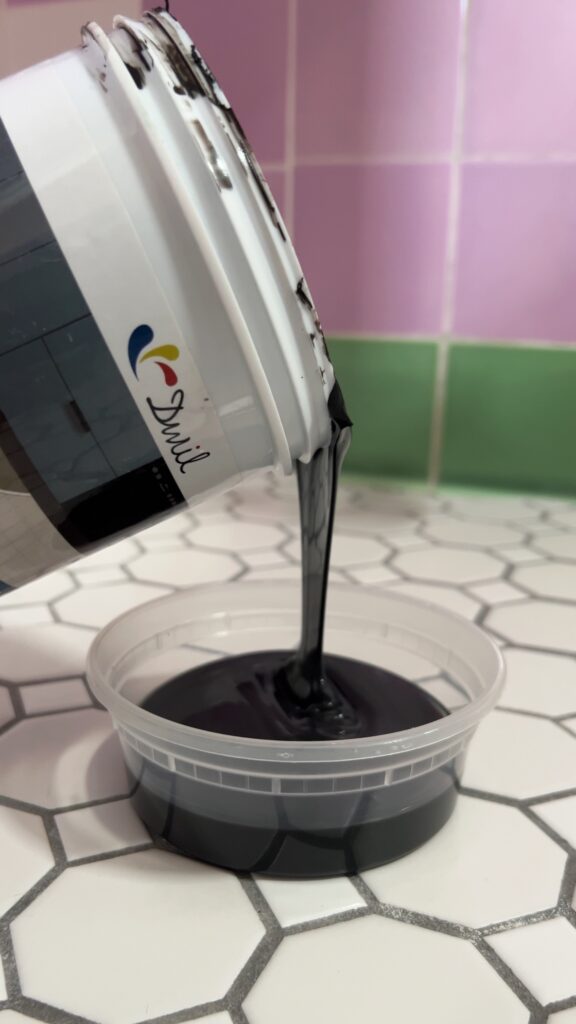
I’m so glad I did, because painting those teeny little tiles look a lot longer than I expected. I had to be very precise in order to not to get paint in the grout lines!
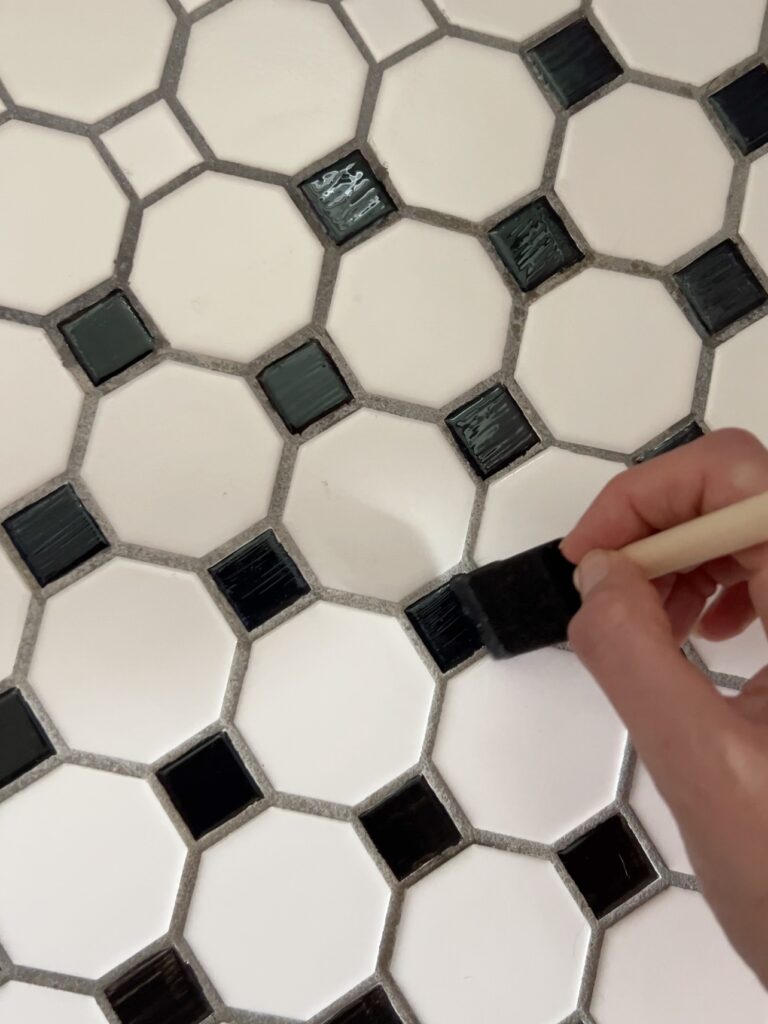
Initially I tried a small craft paint brush, but it didn’t hold enough of the paint for full coverage. You can see what I mean in the photo below!
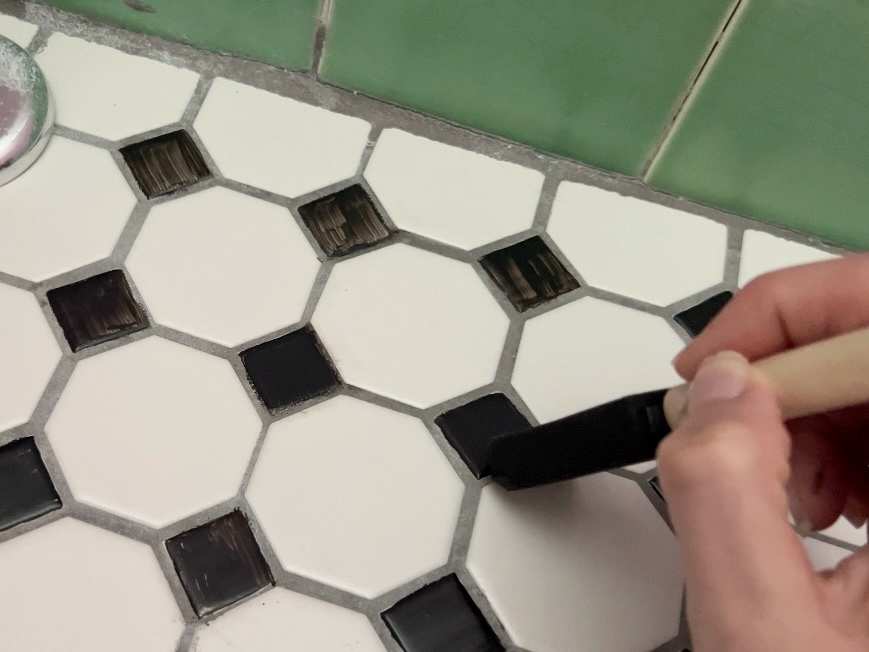
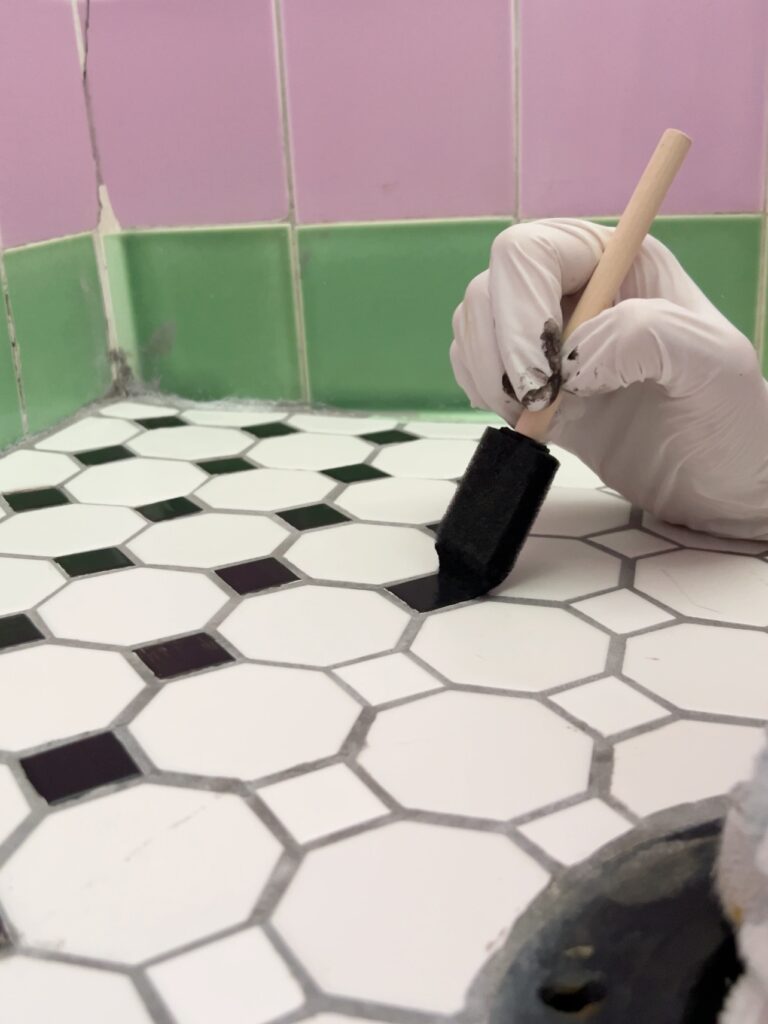
I opted for a foam brush and clipped the edges to make it a little smaller than the size of the tile.

It’s recommended to do two coats of this paint, but I couldn’t imagine having to do this twice, so I tried to just apply it a little heavy. Some of the tiles did need a second coat though! Especially the ones I did with the small paint brush. You just need to let the first coat dry for 2 hours before doing the second coat!
Tip: Keep a wet rag or damp paper towel nearby to wipe away any paint that didn’t make it within the lines! It wipes right off and you can try again!!
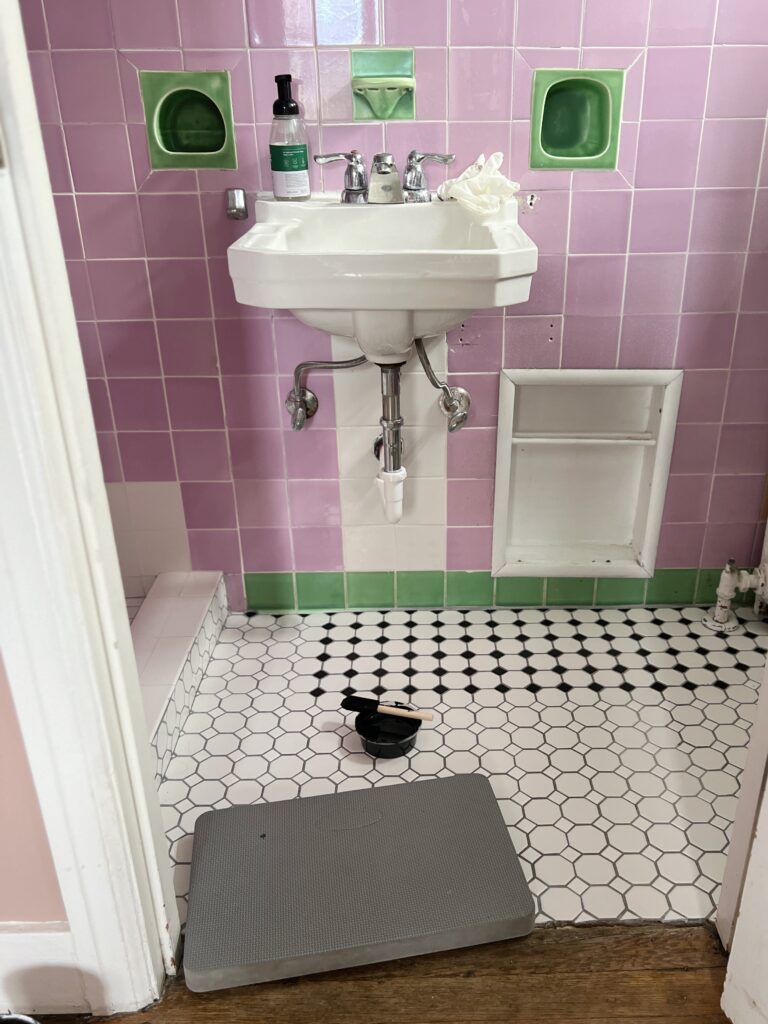
Full transparency, our master bathroom floor tile is only about 15 square feet and it took me around 7 or so hours to do the painting portion of this project! Definitely hard work, and I’d recommend getting one of these kneeling pads, but the end result made it so worth it.
Step Five: Seal
For best results, you don’t want to skip the last step, which is applying the provided top coat. It’s very similar to the floor tile paint in that there’s also a hardener you have to add. Once again, I didn’t mix the entire container because I wanted to have extra!
This part went much faster than the first coat of paint went. Don’t be alarmed when it goes on cloudy- it will dry clear! If you’re doing an especially high-traffic area, it would be wise to do two coats of this. We only get light foot traffic in here, so I went with just one coat.
5 DIY Floor Paint Ideas
I’m hoping this blog post inspired you to paint your own tile, whether it be your bathroom, laundry room, or kitchen tiles! This is one of those DIY projects you can really get creative with. Here are some fun floor paint ideas to get your creativity flowing:
Checkerboard Pattern
You really can’t go wrong with this classic design! It would be perfect if you have medium to large square tiles. Play around with the colors to fit your design aesthetic! To achieve this look, you would tape off alternating squares and paint them in contrasting colors! Here’s a tutorial!
Stencil Design
Using a stencil design on your tile floors is a great way add personality to space. There’s so many fun patterns to choose from and you get to completely customize the colors to your liking. To achieve this look, first paint your tile with your chosen base color, let it dry, apply your stencil, and paint your second color using a paint roller. Here’s a tutorial!
Geometric Design
You can save money on a stencil and use painter’s tape to create geometric designs like triangles, a chevron pattern, hexagons, etc! Here’s a tutorial!
Striped Floor
Stripes are a great way to add interest to a room because they make a space feel taller or wider. Use them to your advantage!! Here’s a tutorial!
Faux Marble Finish
Marble is obviously very expensive, so this is a great alternative to try! Here’s a tutorial!
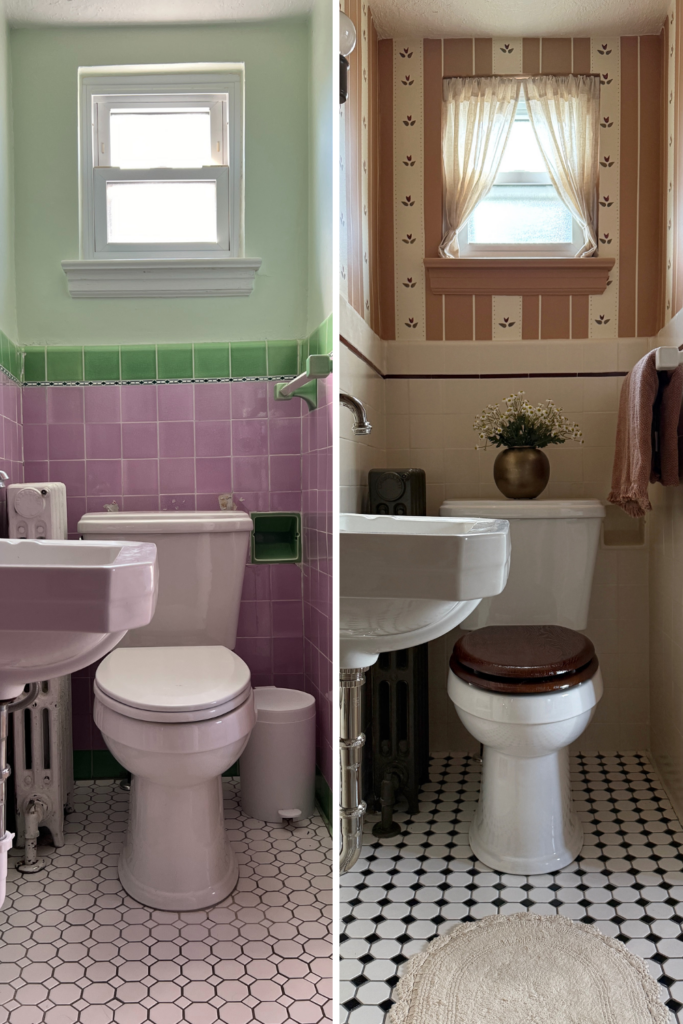
Painted Bathroom Tiles Before and After
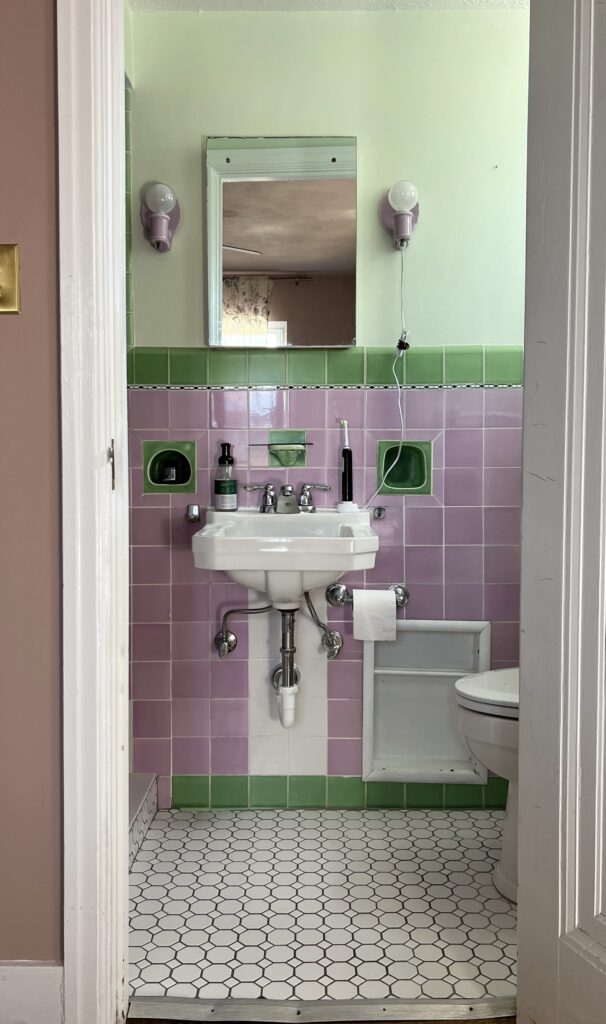
Before painting our bathroom tile…
After painting our bathroom tile…
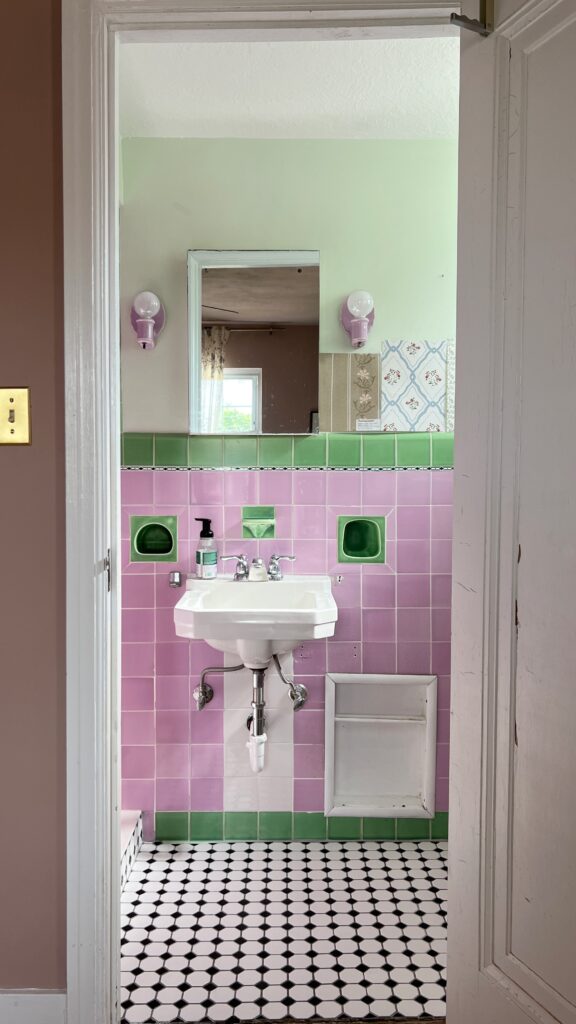
And a side by side!

Is it just me or does it look like we got new tile in our bathroom?! I was amazed at how quickly this painted tile changed the entire vibe in here. I’m loving it so much!
No Demo Bathroom Remodel
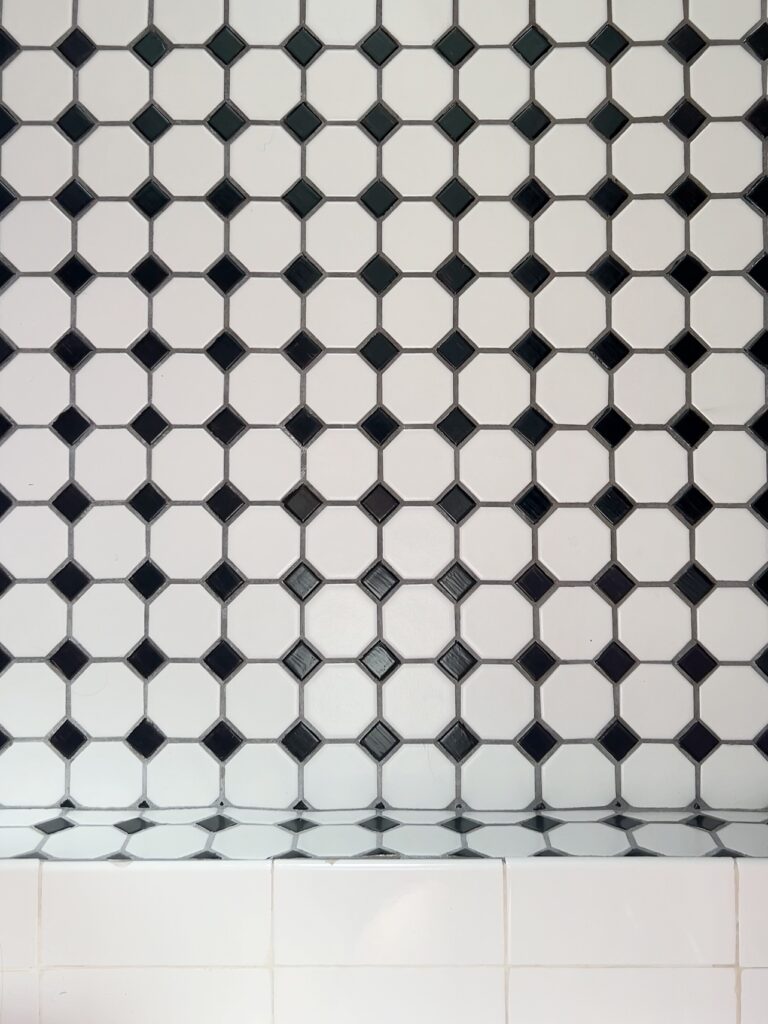
I’ve since completed this budget friendly bathroom makeover and had to share it here 🙂 Not only did I paint the floor tiles, but I painted all the bathroom tiles. It turned out better than I could have even imagined!
Click here for all the details and tutorials!
As always, thank you for being here! Please let me know if you have any questions!
Elisha

I’m impressed that you removed the toilet. A lot of people would have just painted around the toilet but you did it the right way. Good job.
Awe, thank you Rebecca! We try not to cut corners and it was just so helpful to have the extra space to work with especially in such a tiny bathroom!
Hi! Love your floor tiles! Do you mind letting me know if you choose the matte or gloss finish for the black tile paint? Mine looks similar.. thanks!
Hi Erin!! So I used this floor paint: https://dwilpainting.com/products/dwil-floor-coating-kit?variant=49528423842073 and I’m not sure it specifies the sheen, but it’s definitely more of a gloss finish than matte!! Hope that helps! Good luck 🙂