

My husband and I recently bought a charming 1930s home with classic radiator heating! While we plan to design a custom DIY radiator cover down the road (stay tuned for that!), we actually love the exposed look of the radiators too. Our dining room was the perfect place for a radiator shelf DIY, giving us a flat surface for decor, lighting, and more on what would’ve otherwise been an unused wall.
In this post, I’m going to show you how I transformed a basic wood board into a sleek, stylish radiator shelf that looks way more expensive than it actually is. Plus, I’ll share my secrets on how I took pine (which is notorious for not staining well) and gave it a luxe finish. Even if you’re new to woodworking, I promise this is a very easy DIY!
Disclaimer: This post contains affiliate links. This means, if you purchase something from a link I provided, I will receive a small commission. This is at no extra cost to you! Thank you so much for the support!
TOOLS
- Orbital Sander
- Circular Saw
- Router (Optional)
- Router Bit Set (Optional)
- Paint Brush
MATERIALS
DIY Radiator Shelf YouTube Video
We’ll start first with my YouTube video!! This way, you can see the whole DIY in action and then we’ll dig into the details below! While you’re there, it would mean SO much if you liked the video and subscribed 🙂
Planning Your Radiator Shelf DIY
Is it a good idea to put a shelf over a radiator?
Yes, it absolutely is! A DIY radiator shelf acts as a console table and is therefore a really smart way to maximize space and add style to any room. You just need to make sure you use a heat-resistant shelf material and leave at least a 2 to 4-inch gap between the radiator and shelf to avoid blocking heat!
Measure
The first thing you’ll want to do is measure the top of the radiator (length and depth) to determine the size wood you’ll need. A 2″x12″ board cut down to 5ft was the perfect size for ours! We wanted our shelf to have a few inches of overhang on each side to make it more visually appealing and functional.
Buy wood
Once you know what size you need, and how many radiator shelves you’ll be making, it’ll be easier choosing the type of wood to use. These are the only 2×12 options I came across while shopping around:
Red oak is a popular choice for wood since it stains so well and has a beautiful grain, but as you may have noticed, it’s very expensive! If your heart is set on one of the more expensive wood species, you could always opt for a 1″ board to cut costs.
If you’re like me and decide to go with the $12 option (heck yes!), just make sure you choose a good board. It took some time picking through them to find one that wasn’t warped, didn’t have too many knots, and that had a wood grain I liked! (If you’re planning to give your radiator shelf DIY a fresh coat of paint, the grain won’t really matter.)
Choose brackets
You’ll want your brackets to be at least 2/3rds the size of your shelf. For our 12″ shelf, I chose these 8″ brackets. There’s so many styles of brackets out there, so find some that fit your vibe! You could also use corbels for a nice architectural touch. Just make sure the brackets you choose can also support the weight of whatever you plan to display on your radiator shelf.
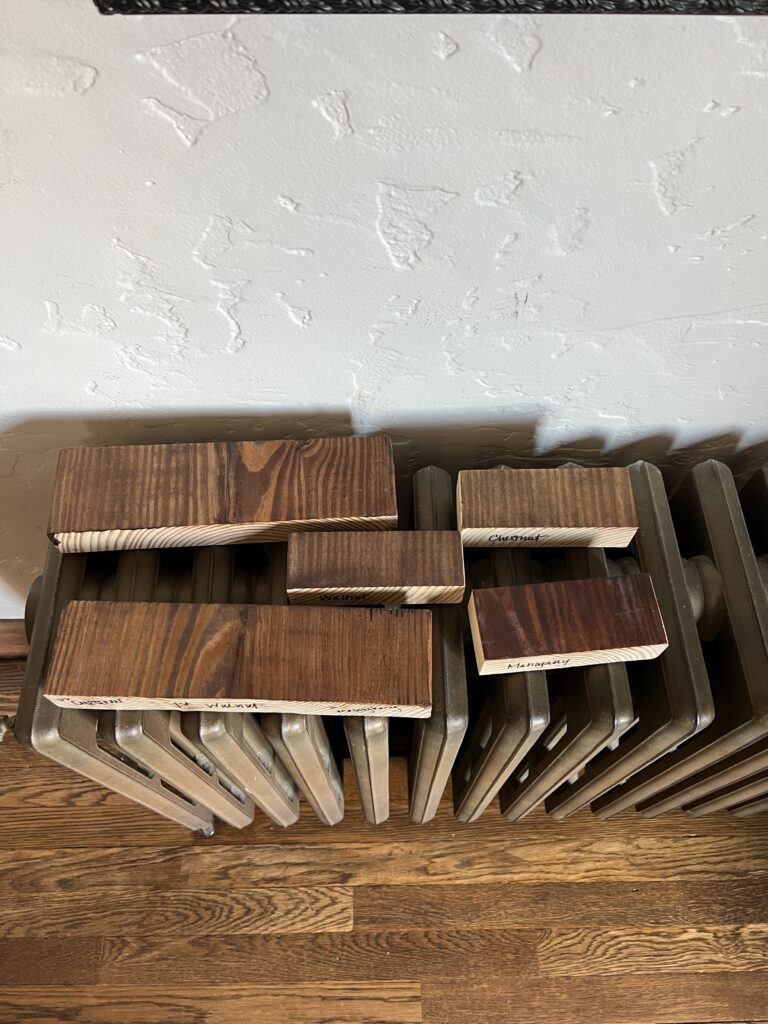
Test stains
If you decide to go the stain route for your radiator shelf DIY, test some colors on scrap pieces of the wood you’re using! I love having a few options to choose from, so I even played around with layering some different stain colors!
How to Make a Radiator Shelf
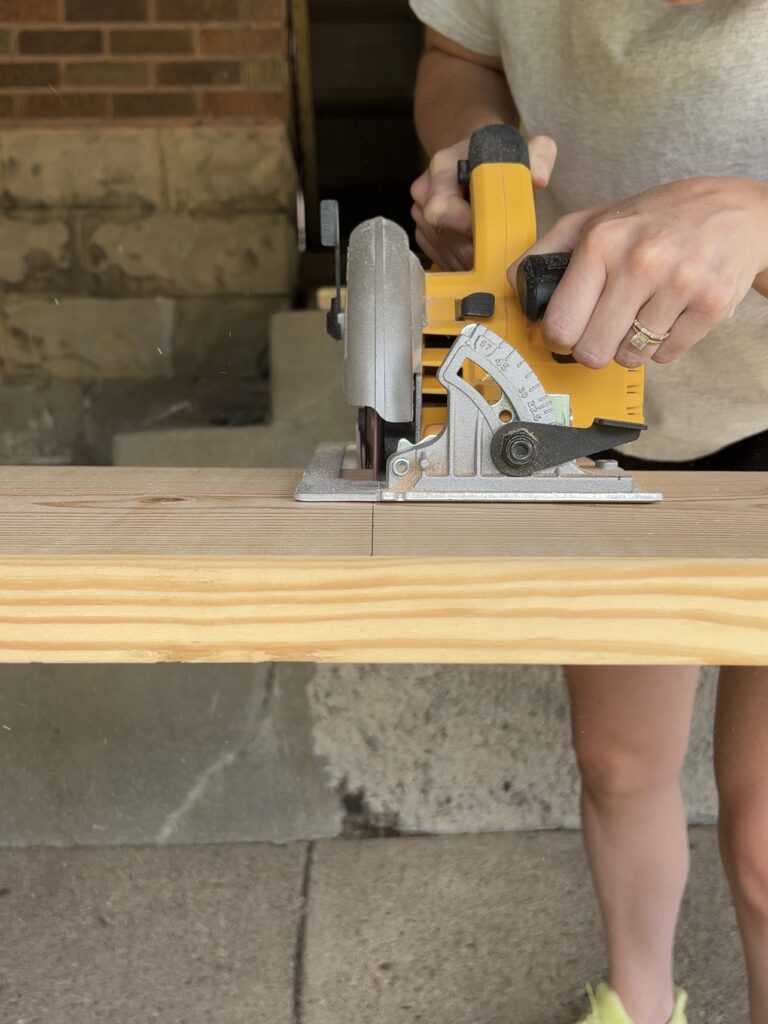
Cut to Size
Use a circular saw or miter saw (if you have either) to cut your board! If not, you can even use a hand saw at Home Depot or your local home improvement store. They’ll probably even cut it for you if you ask!
Route the edges
Here’s where the magic happens.
If you’ve never used a router before, don’t worry—this was my first time! For this project, I used a simple 1/4″ round-over bit to give the shelf a smooth, polished edge. This is the handheld router I have!
Before starting on my actual piece, I practiced on scrap wood. I had to play around with the positioning of the bit until I got the look I wanted! The router intimidated me for the longest time, but once I got the hang of it, it was like riding a bike!
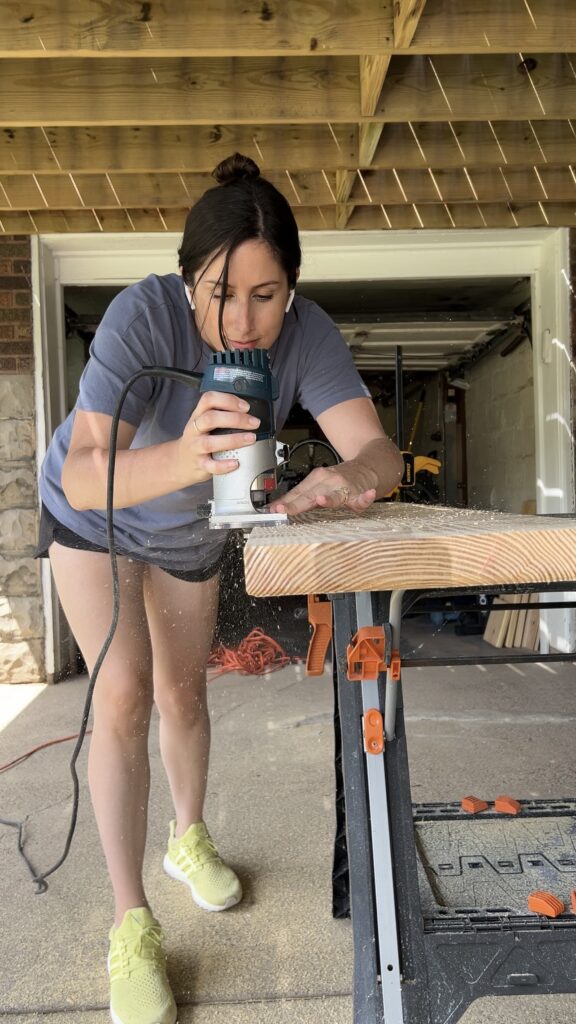
You only have to route three of the edges so decide which edge of the board looks the worst and that can go up against the wall! Just take your router and slowly guide it along the edges of your cut board. Repeat this process on the bottom as well 🙂 Highly recommend going to my YouTube video to watch this in action… so satisfying!
This simple detail transforms the pine board from “basic” to “bespoke” in just minutes. If you don’t have a router, you can still achieve a polished look just by rounding out the edges with a sander!
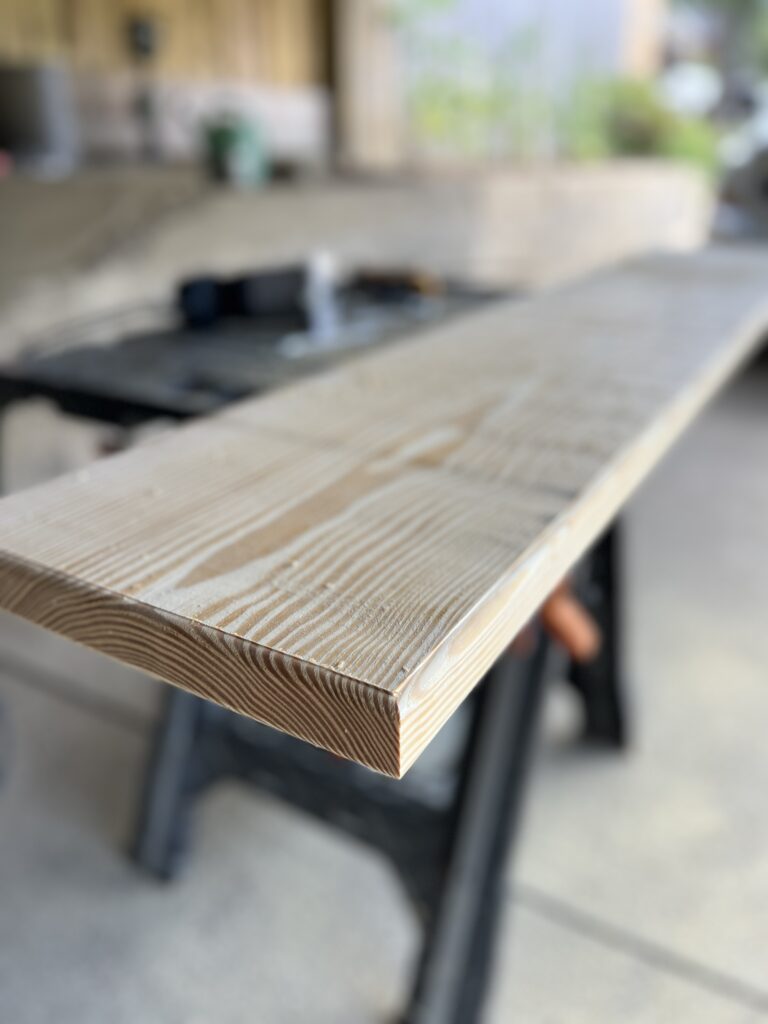
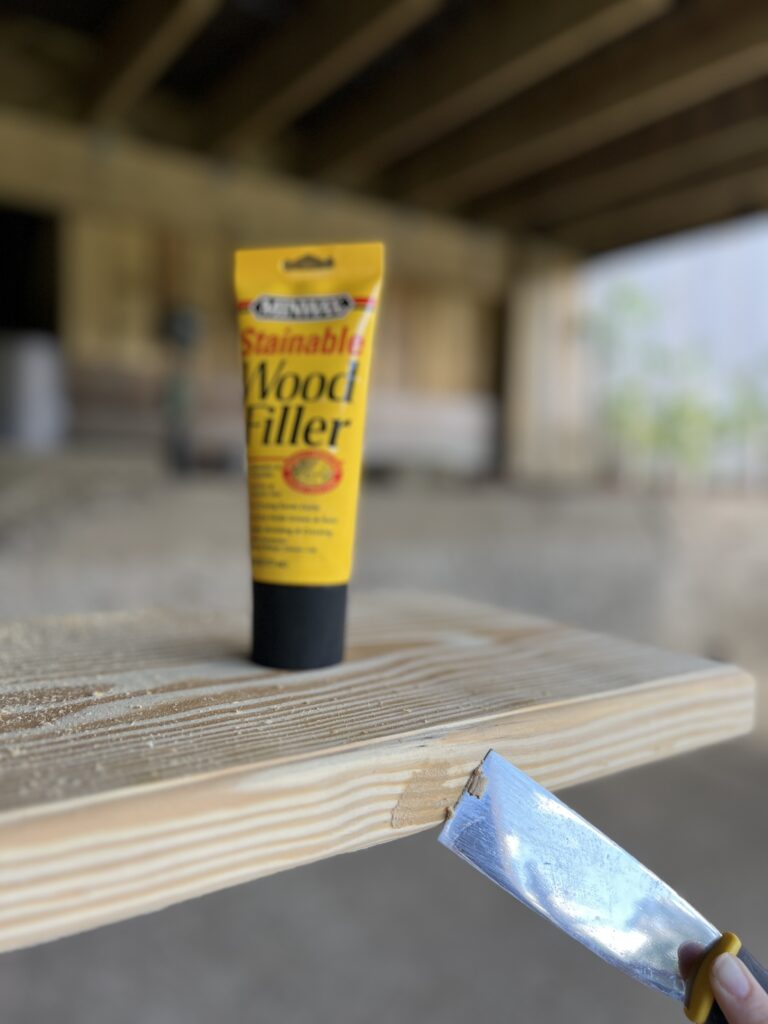
Sand
Before staining, you’ll want to give the whole shelf a good san. Use wood filler on any imperfections or dents before sanding. Once that’s dry, sand everything down with 220 grit sandpaper so it’s nice and smooth!! Be gentle around the freshly routed edges so you don’t sand off the details!
The Best Way to Stain Pine
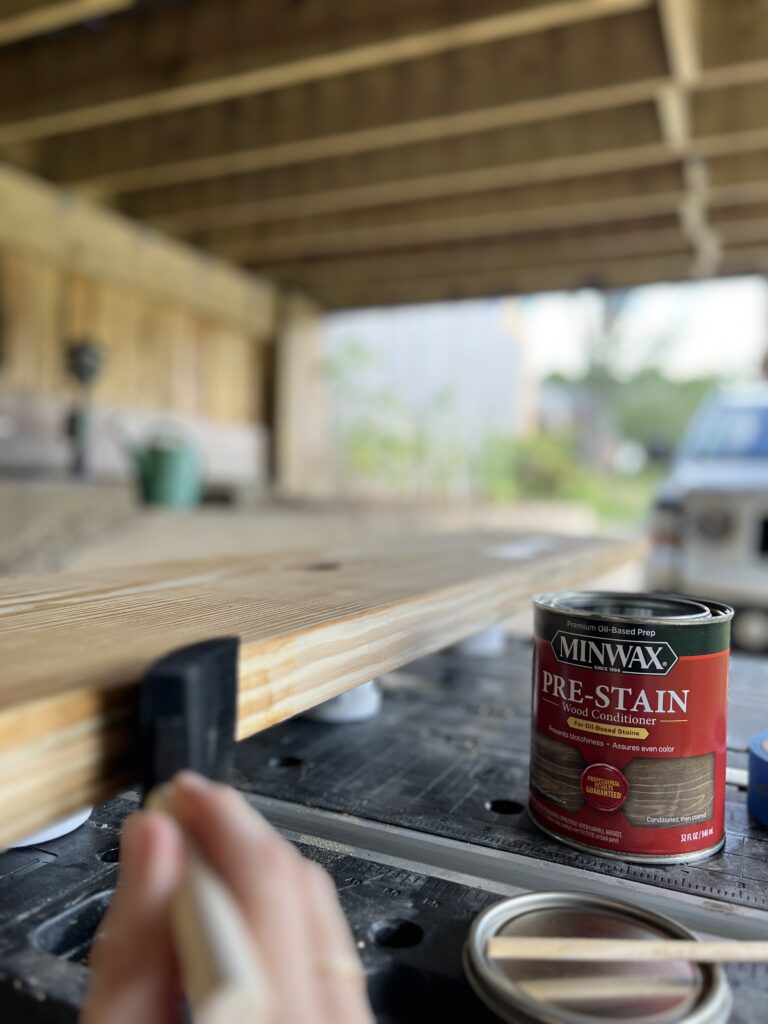
Before applying stain, I always use pre-stain wood conditioner! This is a key step you don’t want to skip because it helps with a smooth and even finish.
Here’s the deal with pine—it’s a soft wood and it doesn’t always absorb traditional stain evenly. That’s why I always use gel stain when i’m working with pine! Gel stain sits on top of the wood vs. soaking in which means you have more control over the finish.
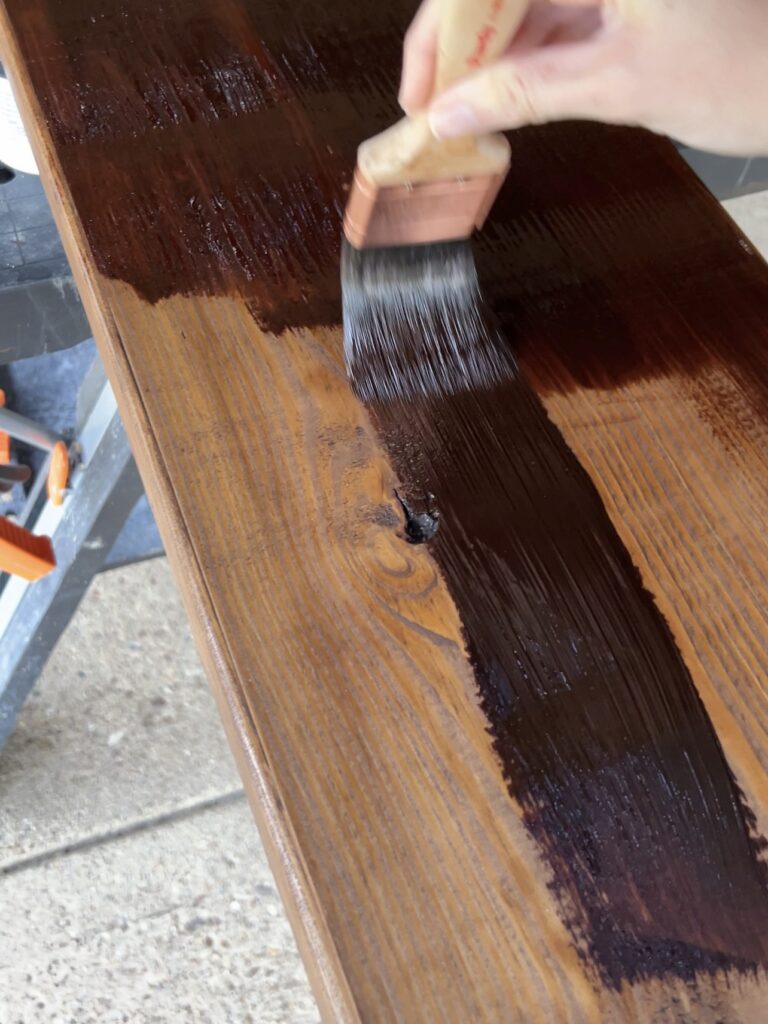
To apply, I like to use a good quality brush and wipe the stain onto the wood in even strokes, following the wood grain! Let it sit for a few minutes and then wipe off any excess with a clean cloth or rag. These are the rags I normally use!
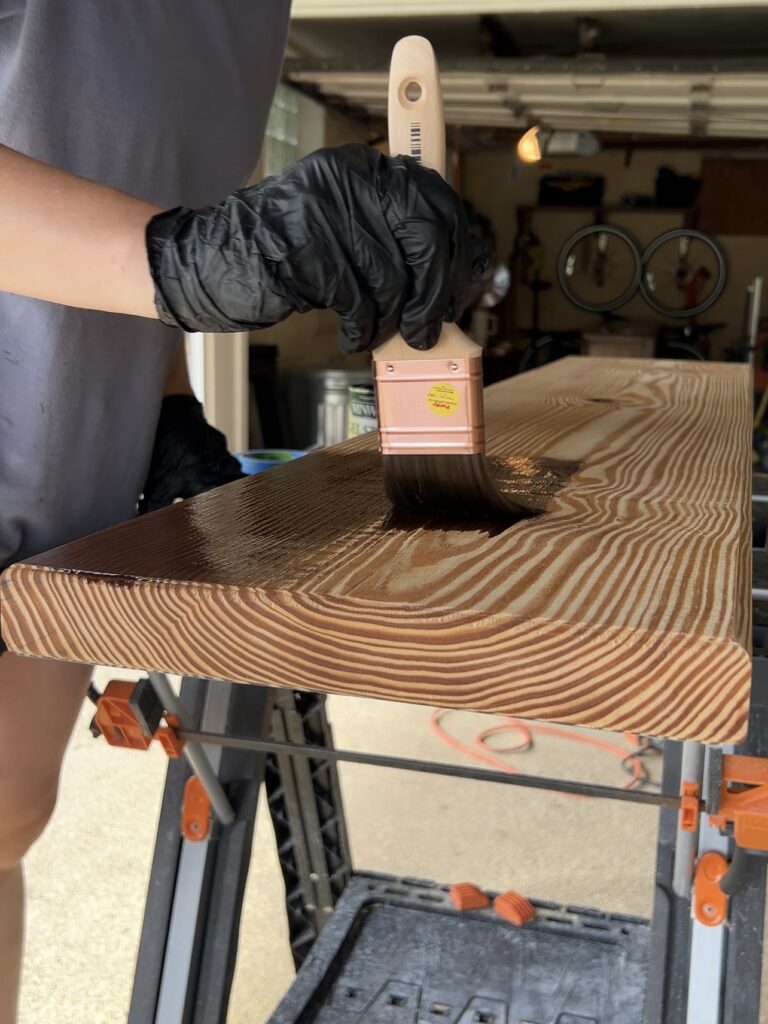
For a rich, custom look I decided to layer two different stain colors! I started with one layer of chestnut and then I applied one layer of mahogany. If you decide to do more than one layer of stain, just make sure you allow enough time for the first coat to cure! The product I used said to recoat after 8-10 hours.
Once your last coat of stain is fully dry (usually overnight), it’s time to protect your work! I used my favorite warm satin polyurethane finish.

Apply a thin coat with a brush (I use the same one as I do for stain) and let it dry according to the manufacturer’s instructions. For an ultra smooth finish, lightly sand with 220 grit sandpaper between coats and wipe clean before adding a second coat. I ended up doing three coats of polyurethane for extra protection.
How to Put a Shelf Over a Radiator
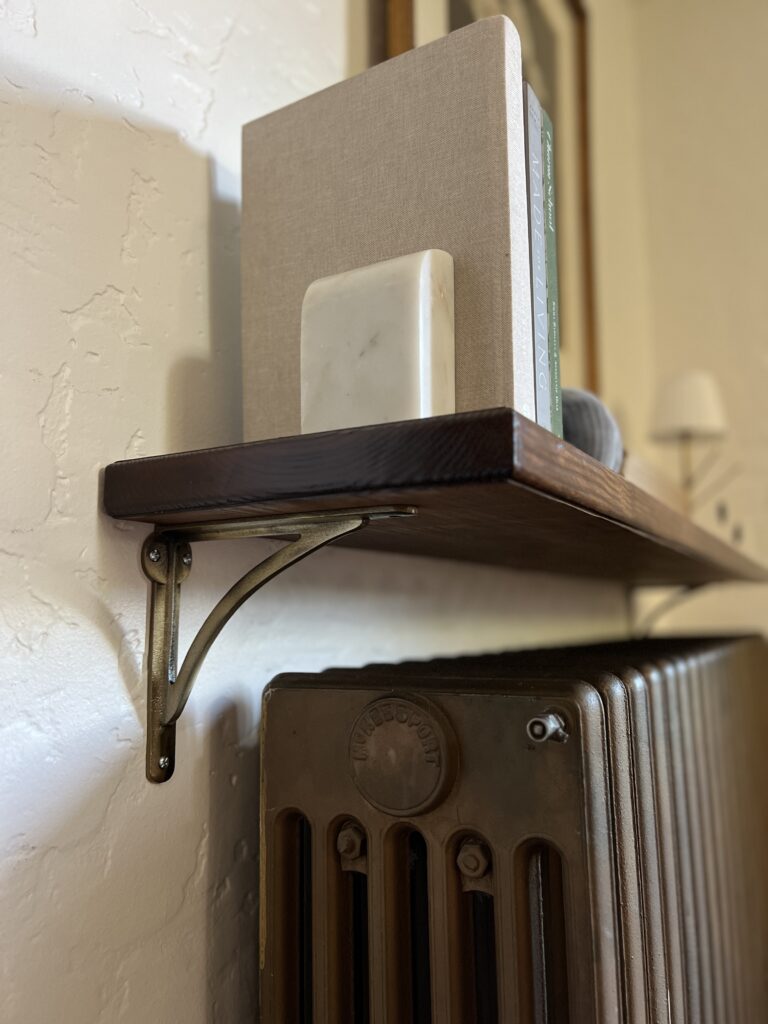
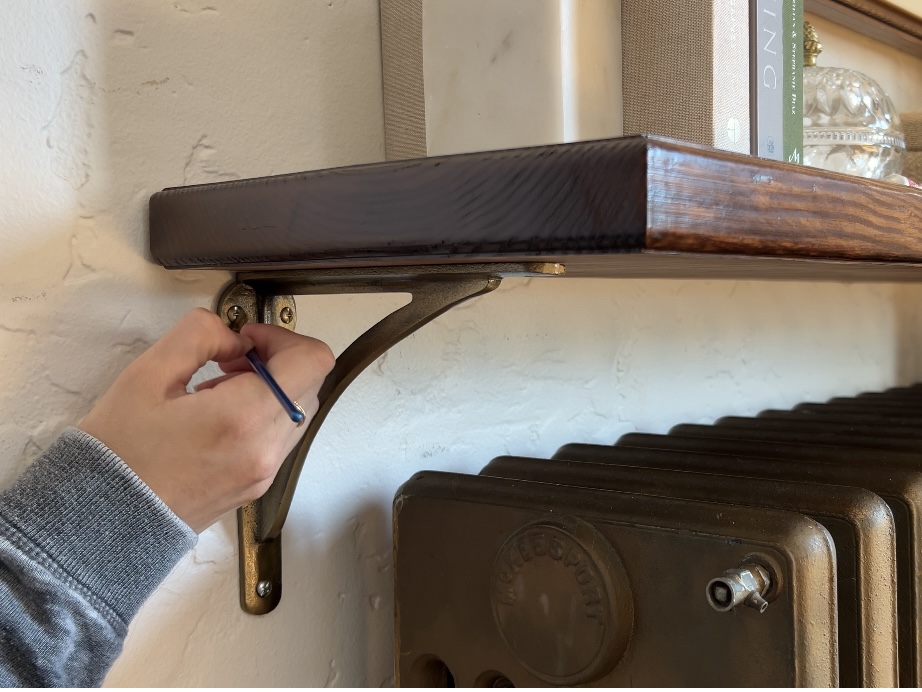
The last thing you need to do is to install your radiator shelf brackets. I recommend using a laser level to ensure your brackets are nice and even. If you don’t have one, you can first install one bracket using a level. Have one person place the shelf on top (with a level on it) while the other holds the second bracket until it’s level and mark a pencil line for the screw holes.
We have plaster walls so we used these anchors to secure ours!
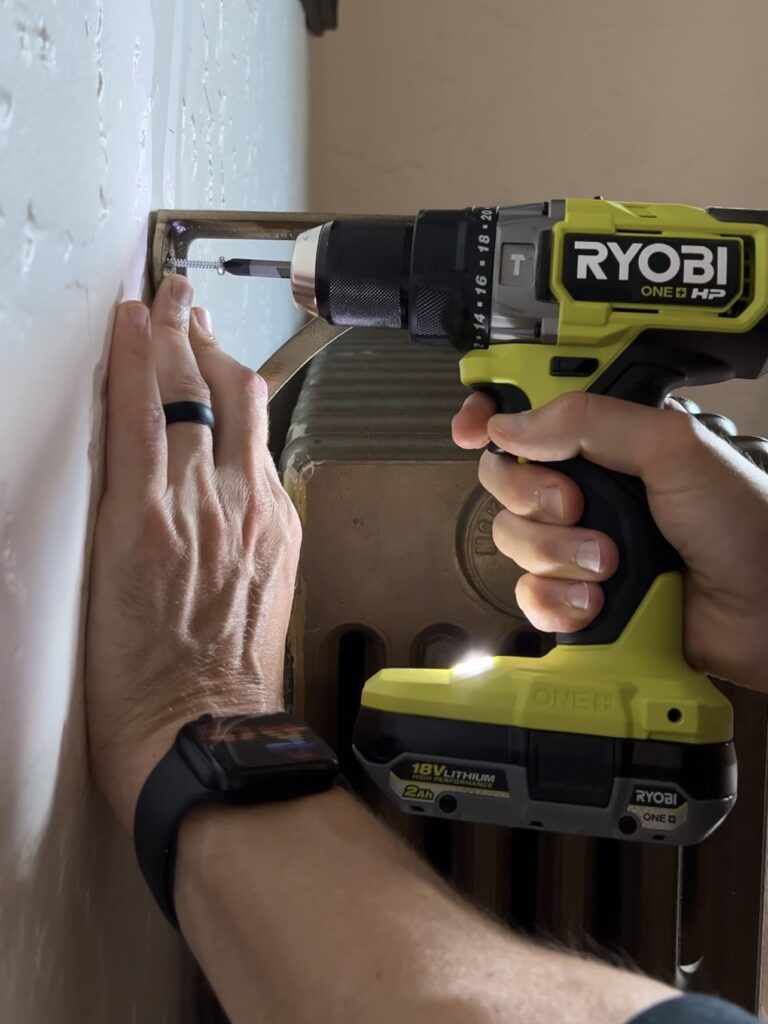
For the screws to blend in a bit better, I used a little rub n’ buff!
How much gap should be between a radiator and a shelf?
Leave a gap of at least 2 to 4 inches between the top of the radiator and the bottom of the shelf. This way, the heat can circulate properly while still allowing you to use the shelf for decor or storage. If the radiator is especially large or powerful, consider leaving a larger gap to prevent heat damage to the shelf! We installed our shelf about 6 inches above the radiator just to be safe!
Radiator Shelf Decor Ideas
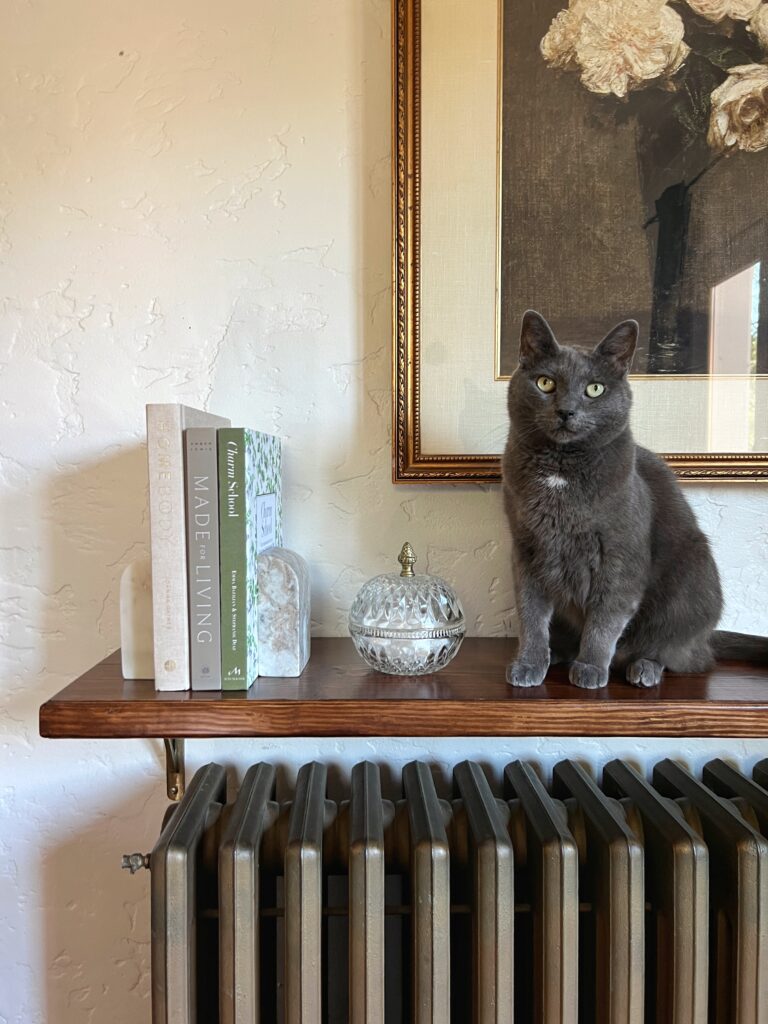
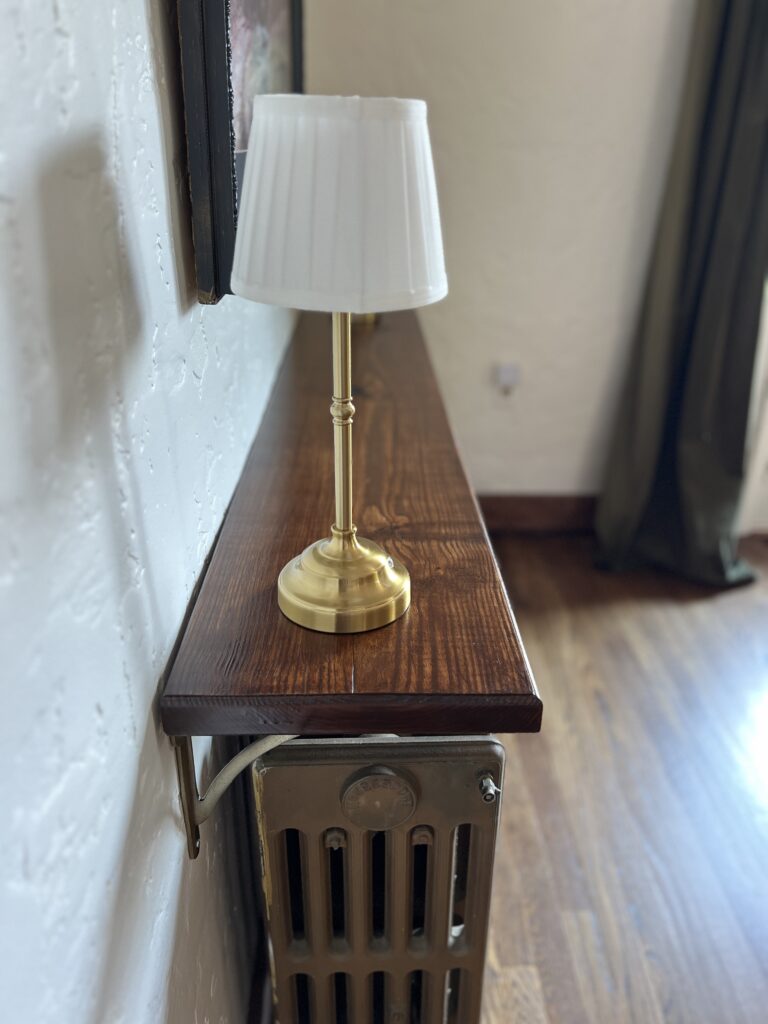
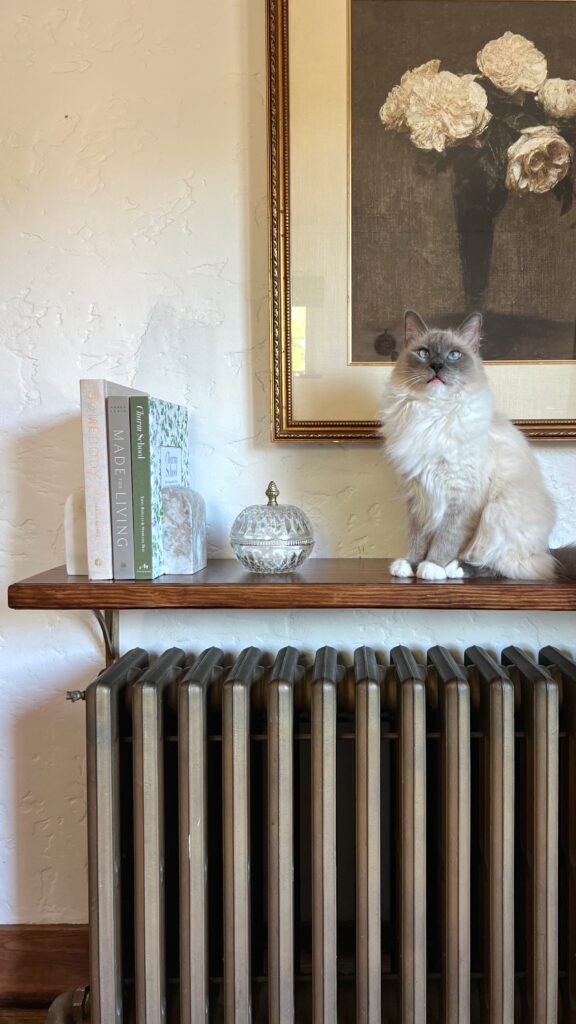
The best part about this radiator shelf DIY is how it perfectly blends function and style! It’s a fantastic way to add some personality to what would have otherwise been wasted space. Bonus: it’s also prime real estate for your cats—Gouda might have a new favorite perch…
If you’re wondering how to decorate a radiator shelf, here are some fun and creative ideas to inspire you:
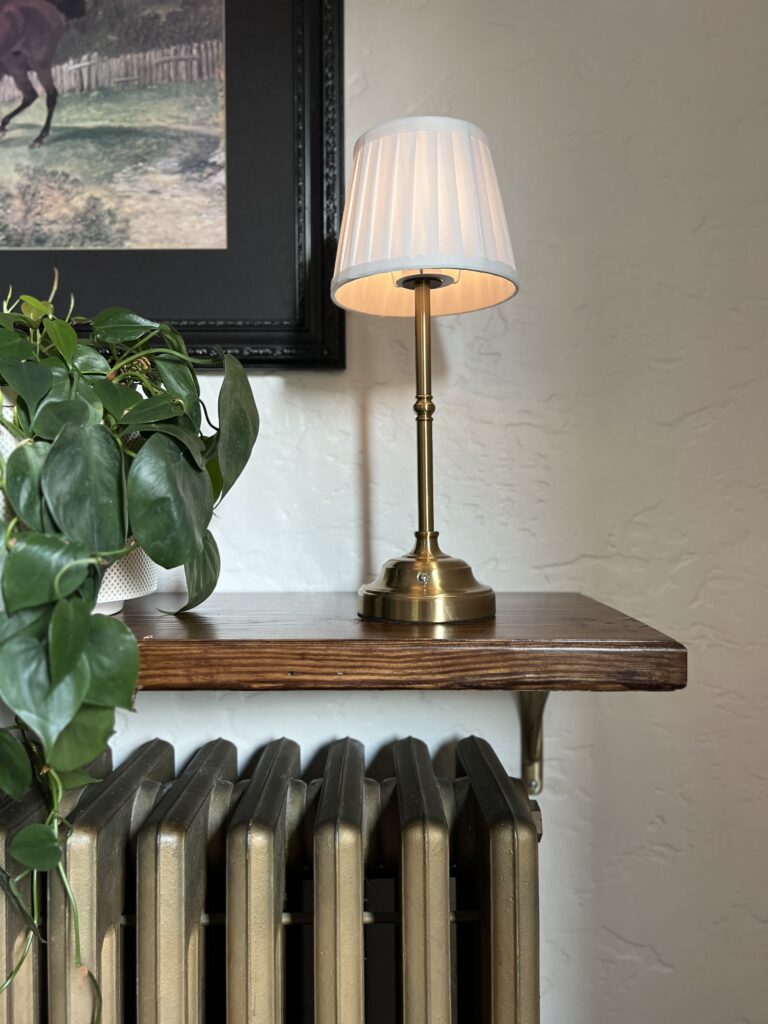
- Indoor Plants & Flowers: Add some life in the form of trailing plants, small succulents, or fresh flowers! You can also do faux greenery and flowers, especially if your radiator produces too much heat.
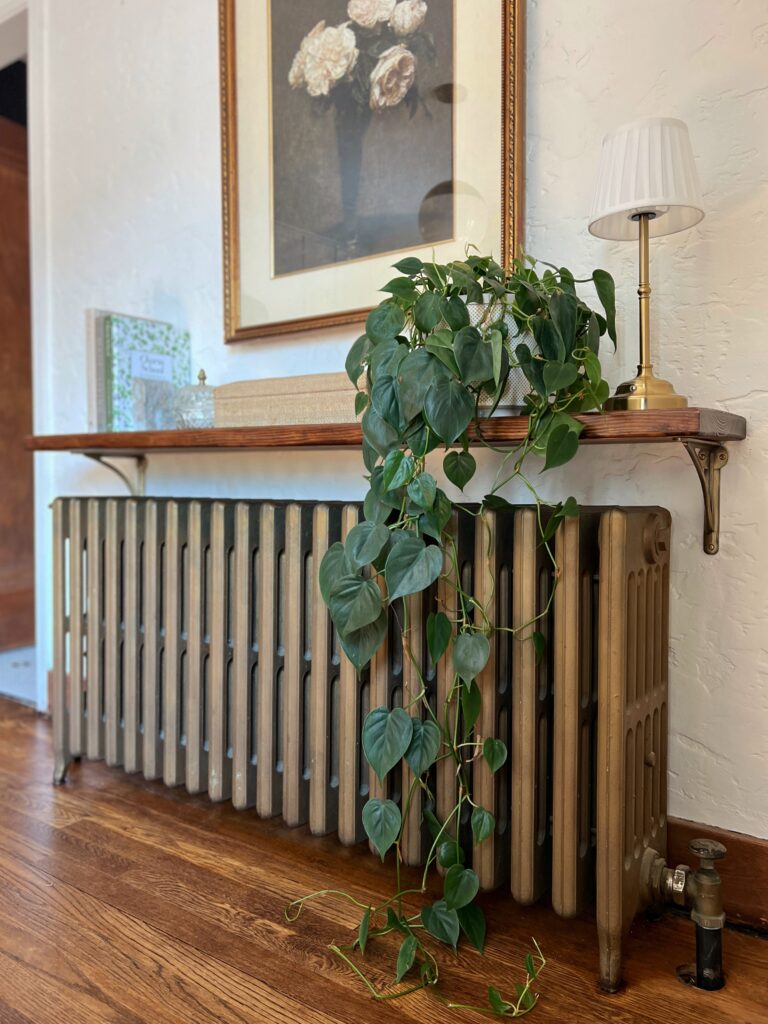
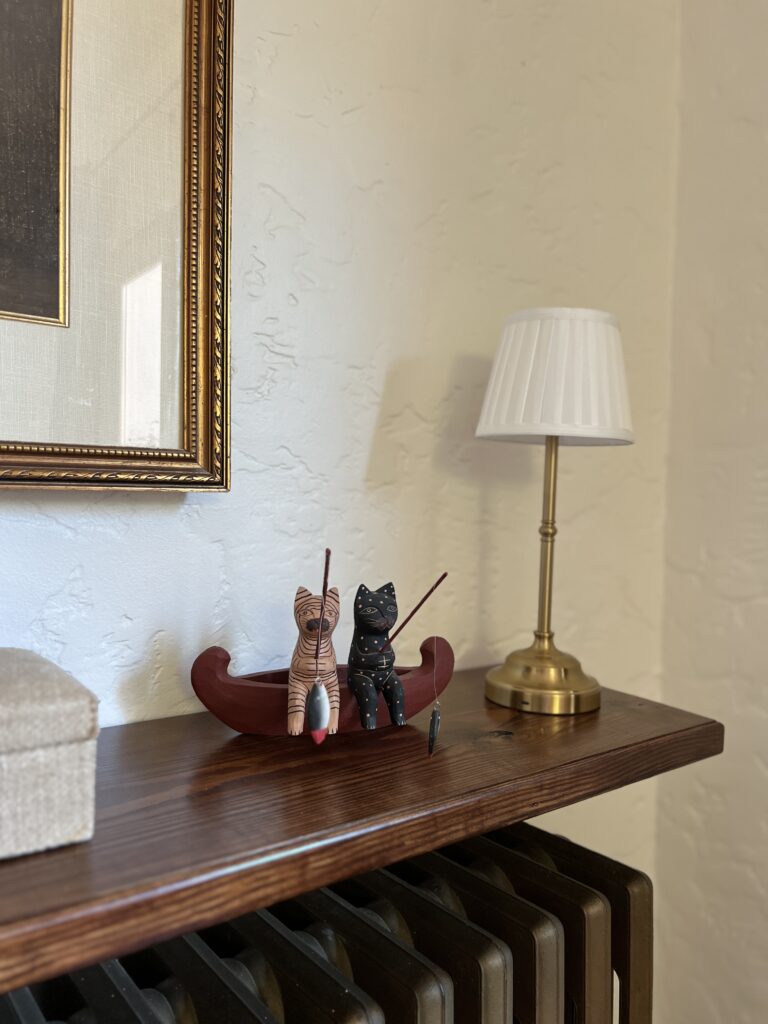
- Candles & Lamps: Create a cozy atmosphere with some flameless candle sticks or a little lamp. I have to share these rechargeable lamps because I love them. They’re portable, dimmable, and also beautiful! Having them on our dining room radiator shelf is perfect because it adds a soft glow to that area and we can move them over to the table, or on our back deck, for dinner 🙂
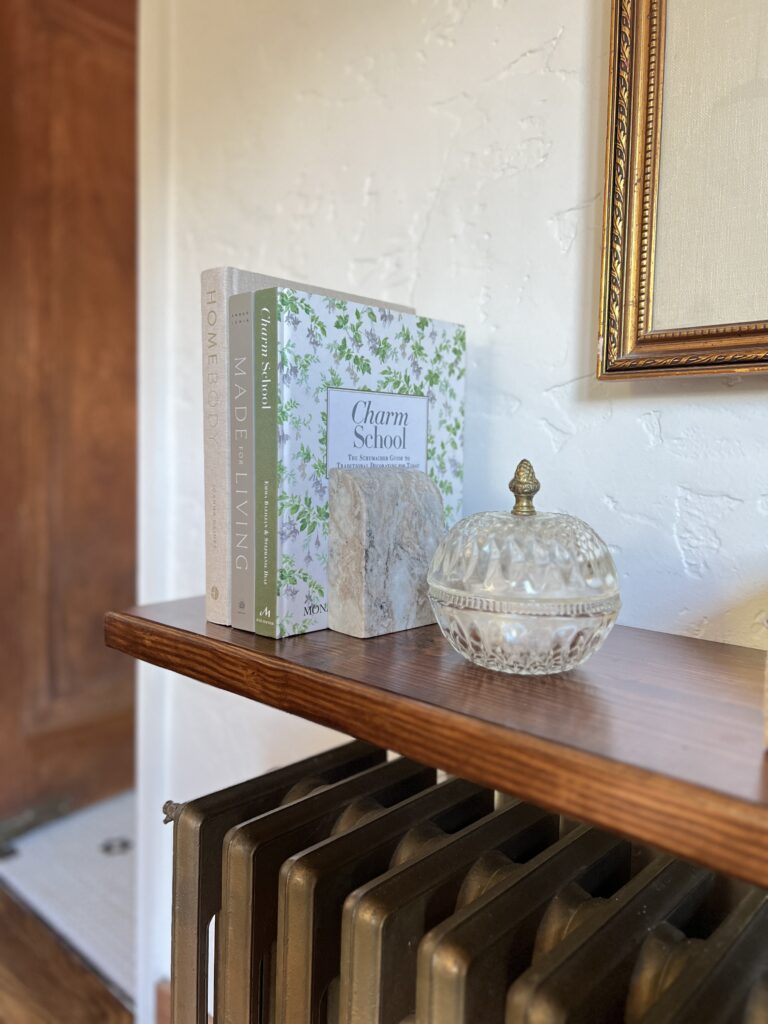
- Books & Magazines: Books are my absolute favorite to style with. You could use recipe books, antique books, or really any books that reflect your personality! Here’s a list of my favorite design books 🙂
- Framed Photos & Art: Frame meaningful photos or small art prints for a personal touch that will bring you joy when you walk by!
- Trays & Bowls: Decorative trays and bowls can help organize small items like keys, jewelry, or office supplies, depending on the room your radiator shelf is in!
- Jars & Keepsake Boxes: I’m a big fan of crystal jars of candy or mints, especially in the living room or dining room 🙂
- Seasonal Decor: This radiator shelf DIY is the perfect place to display your seasonal decor!
- Unique Pieces: Include unique pieces like small sculptures or figurines for some artistic flair to your space. I’m sure you can tell I’m a big cat person 🙂
When you’re choosing pieces, be sure to mix textures, heights, and materials for visual interest.
For styling above our radiator shelf DIY, I hung a large piece of art using picture rail moulding. Have you ever hung art this way? It’s the best because you don’t have to worry about putting any holes in the wall! Many old homes have this type this moulding, but you can also install it yourself! I did in our last home 🙂 Here’s my blog post on How to Install and Use a Picture Rail Hanging System.
A couple other ideas for styling above your radiator shelf would be mirrors (which can reflect light and make the space feel larger) or a gallery wall!
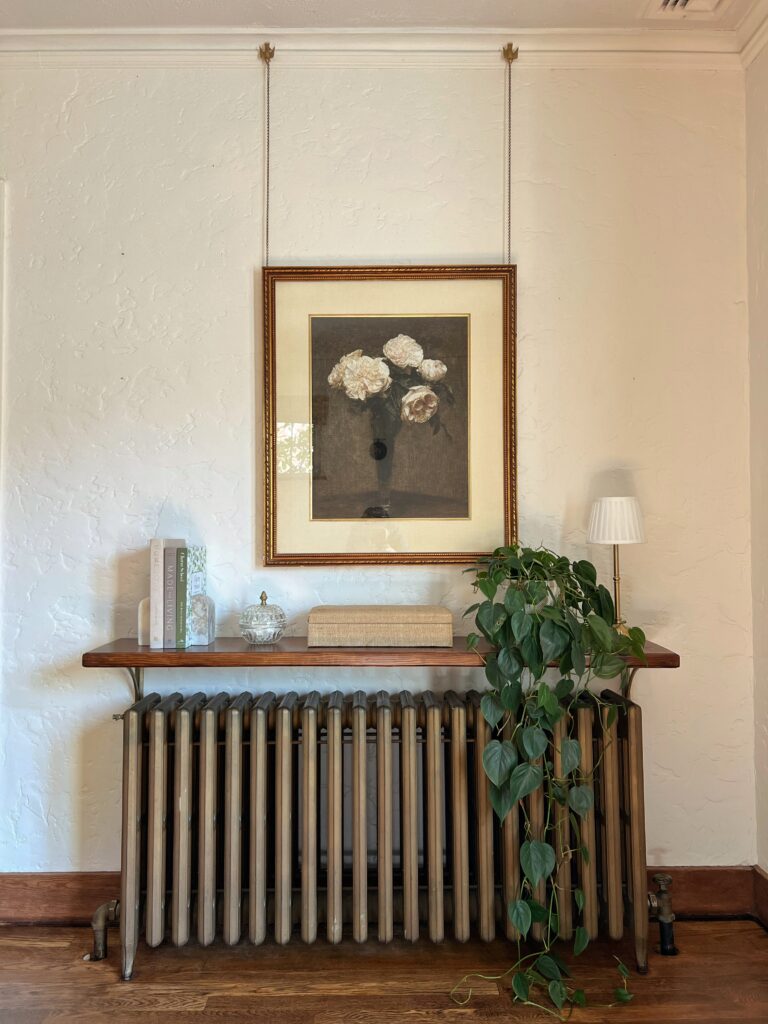
This radiator shelf DIY was such a quick project and i’m very pleased with the final product!!! The modern look contrasts really nicely with the plaster walls. I’m also so glad I went with the cheaper version of wood, because i’m already thinking of where else I can add a little storage space.
Please let me know if you have any questions at all! Thanks for reading 🙂
Elisha
