

A year ago, I wouldn’t be able to tell you what a picture rail hanging system even was! Now, I’m wondering how I’ve gone so long without knowing this was a thing?!
Oddly enough, we had picture rail molding all throughout our entire downstairs and I never even realized.
But after seeing all these beautiful homes on Instagram and TV shows (like The Crown!) with art hanging from chains, I had so many questions!! I’m sure you have questions too so let’s dive in!
Disclaimer: This post contains affiliate links. This means, if you purchase something from a link I provided, I will receive a small commission. This is at no extra cost to you! Thank you for your support!
What is Picture Rail Molding?
Picture rail molding is both a decorative and functional piece of trim that sits below the ceiling.
This type of trim is designed specifically to fit hooks around and therefore function to hang art, mirrors, or other accessories on a wall.
Are picture rails old fashioned?
The use of picture rail hanging systems became popular during the Victorian Era as a way to display artwork.
Picture rails are timeless and will add charm and character to any home. Because of the rise in popularity, i’m seeing more and more picture molding in homes of all design styles.
What kind of molding to use for a picture rail?
Picture rail molding is a specialty trim that may be a little more difficult to find depending on where you live.
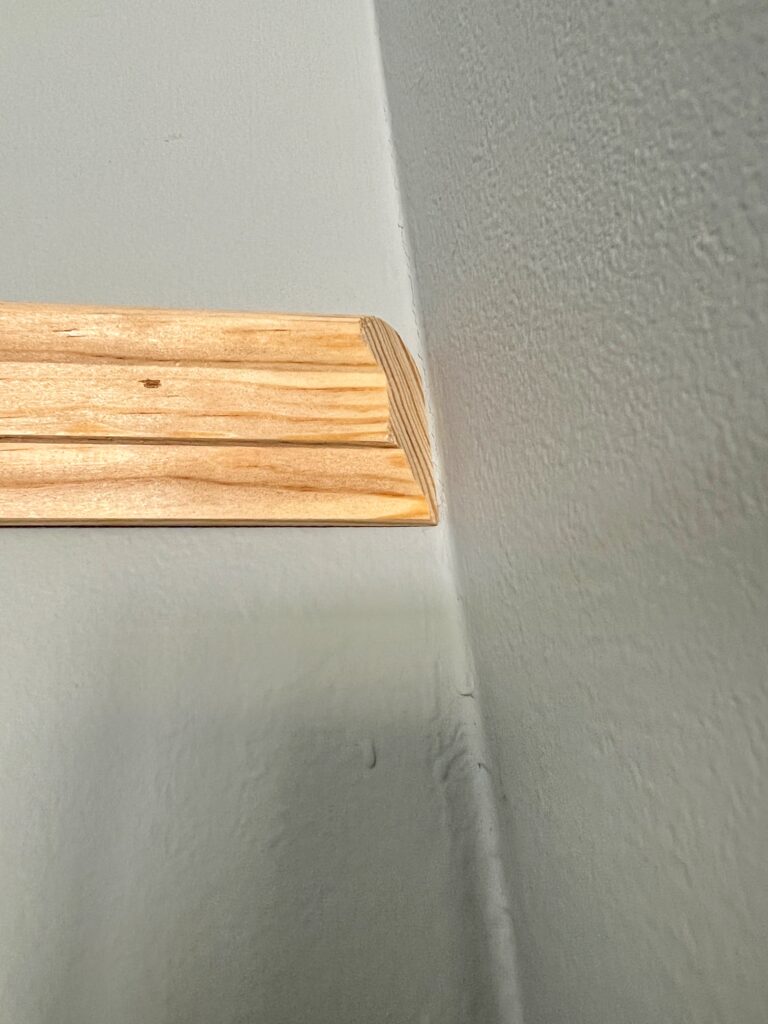
I almost made the mistake of buying base cap molding, which is what I used for installing box molding and my recessed wainscoting accent wall. But if you compare the profiles of each, you can see there is definitely a difference!
The picture rail is on the left side of the top photo and right side of the bottom. See the rounded part of the towards the top of the trim? That’s how you’ll know! It’s made specifically to fit a hook!


Where to buy picture rail molding
My local Home Depot didn’t care it, but I was lucky enough to find some at our Lowes.
Amazon also has picture rail molding!
Picture Rail Molding Ideas
As I mentioned before, I didn’t know anything about what a picture rail hanging system was until recently when I noticed it in a couple of my favorite designer’s homes!
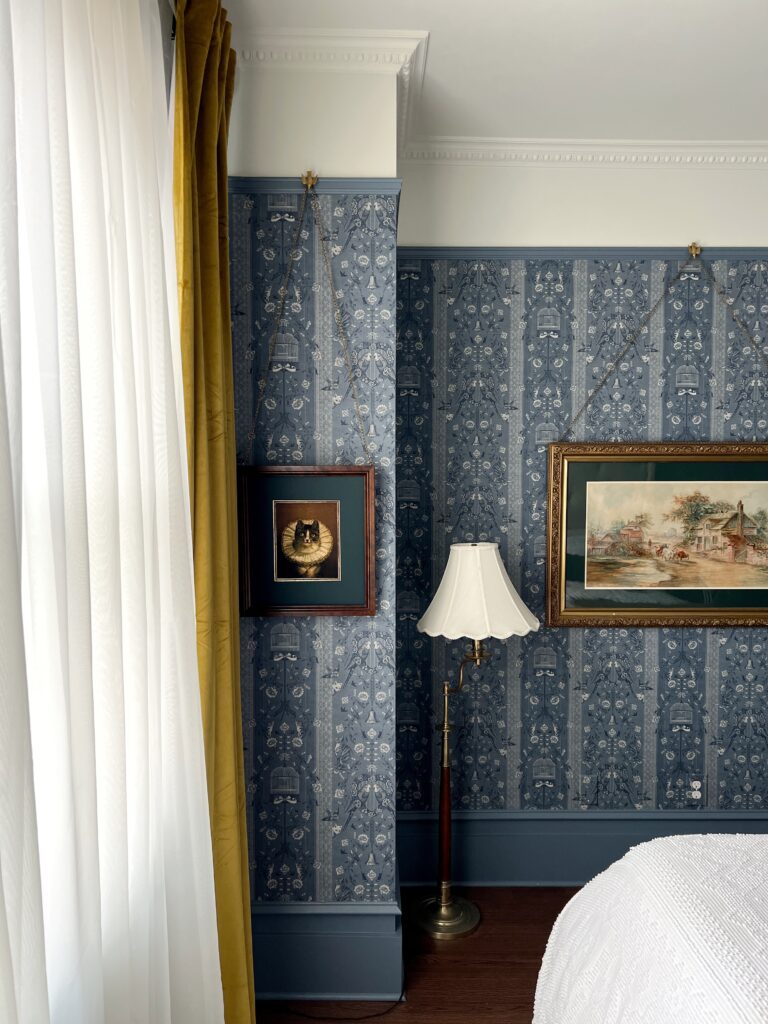
Here’s how Erin at Erin Zubot Design used it in her bedroom. I couldn’t love it more!
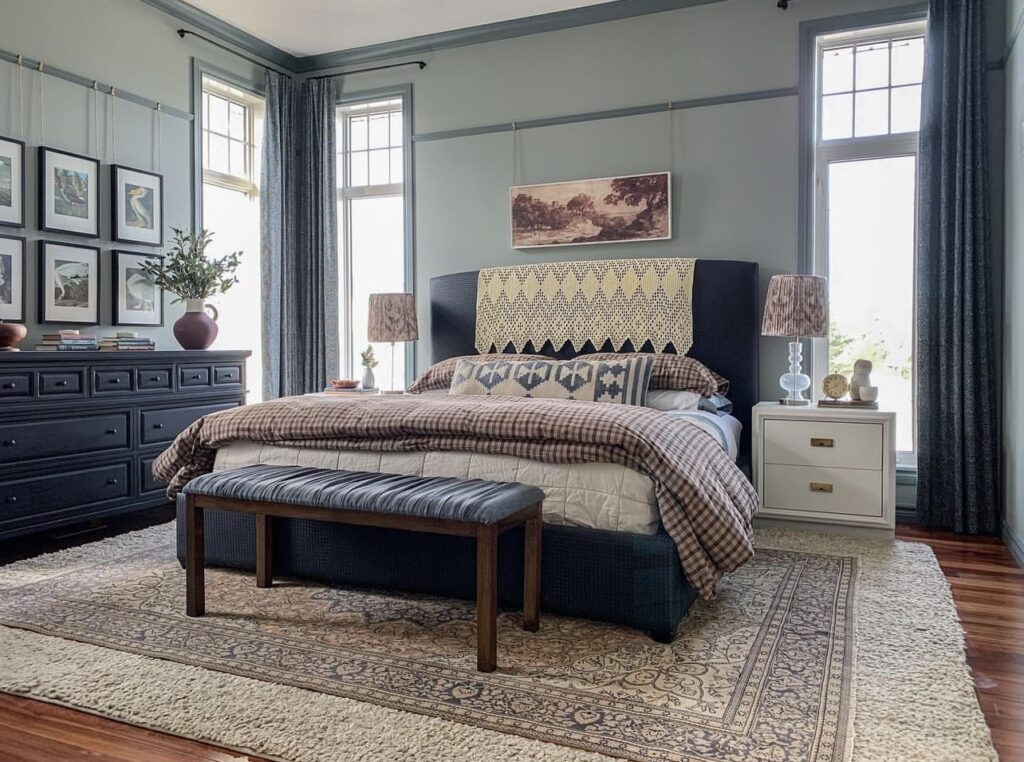
Source
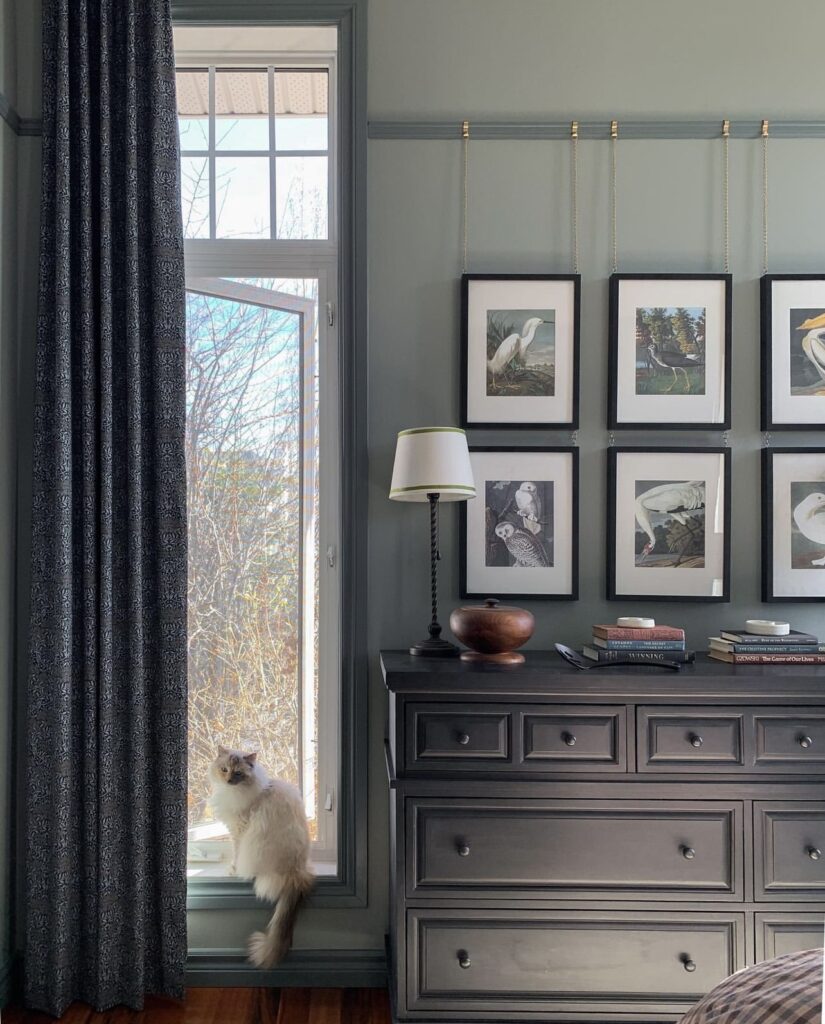
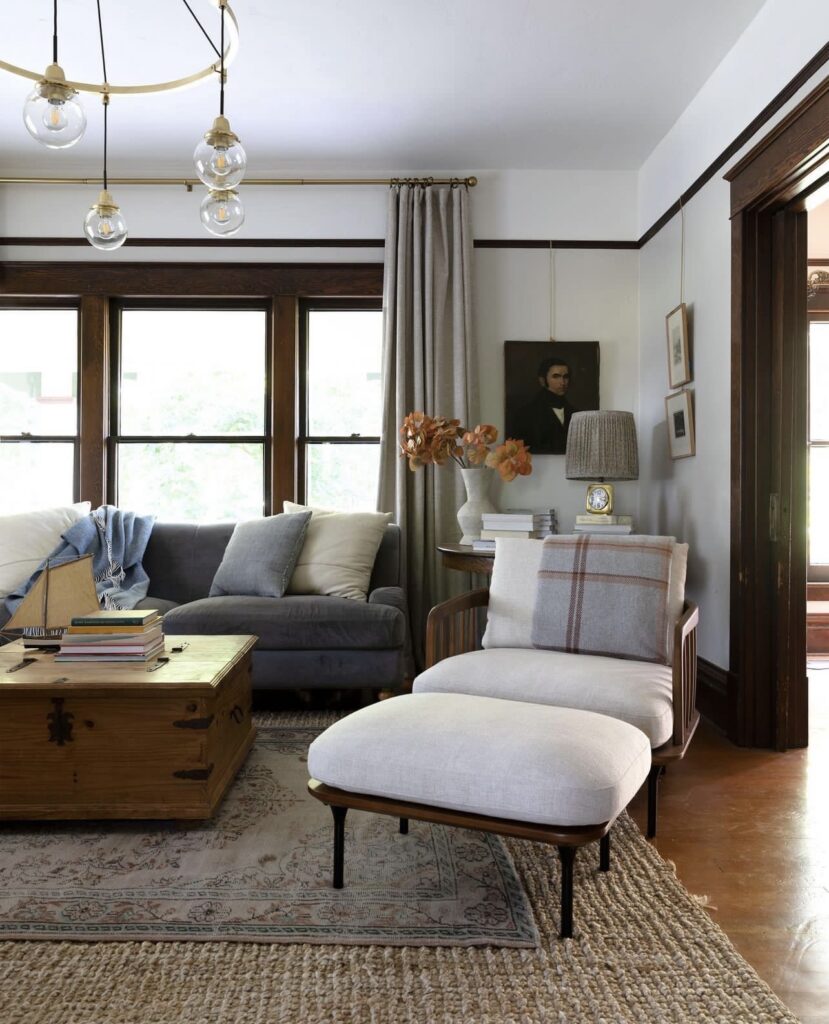
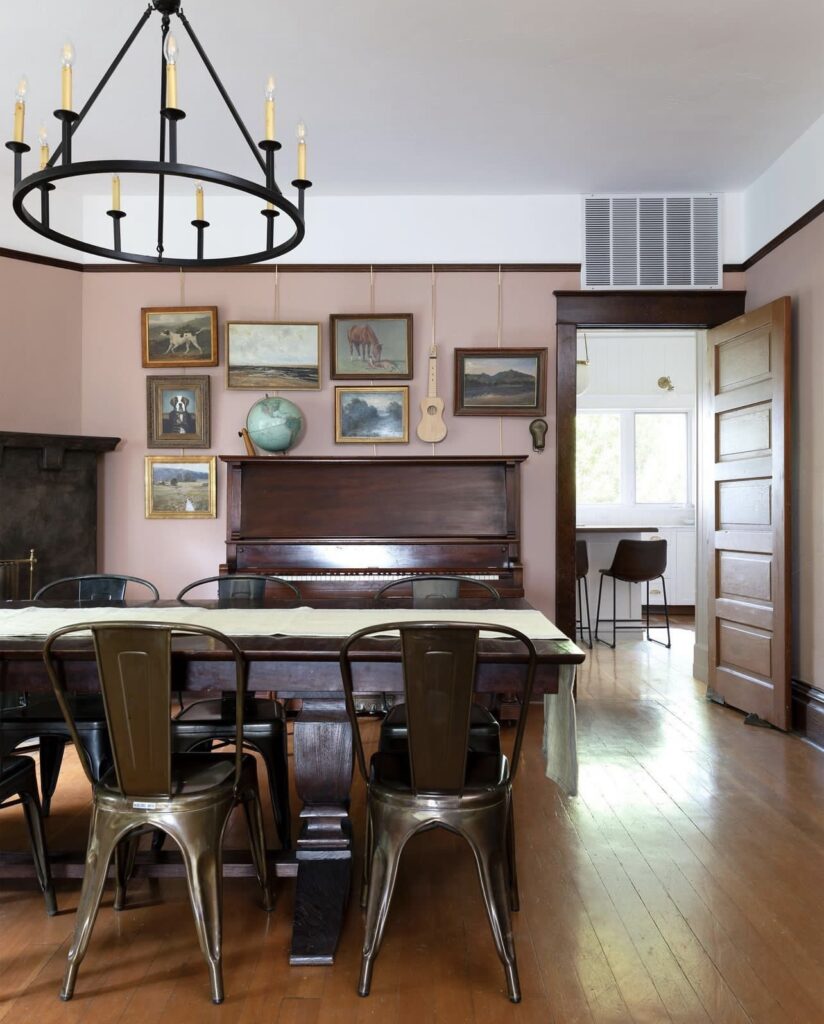
Cathy at The Grit and Polish also does such a great job of using these in her living room and dining room!
How to Install Picture Rail
How high should a picture rail be hung?
There’s really no “rule” for this, however, you do want to make sure you hang it high enough to allow your art to fall at the proper height.
We have 9ft ceilings and I installed our picture rail trim about 15″ down from the ceiling. The picture molding that was already in our home was installed just a few inches from the ceiling!
You’ll also see picture rail installed in line with the height of the windows or doors. Another option is to install it just below the crown molding.
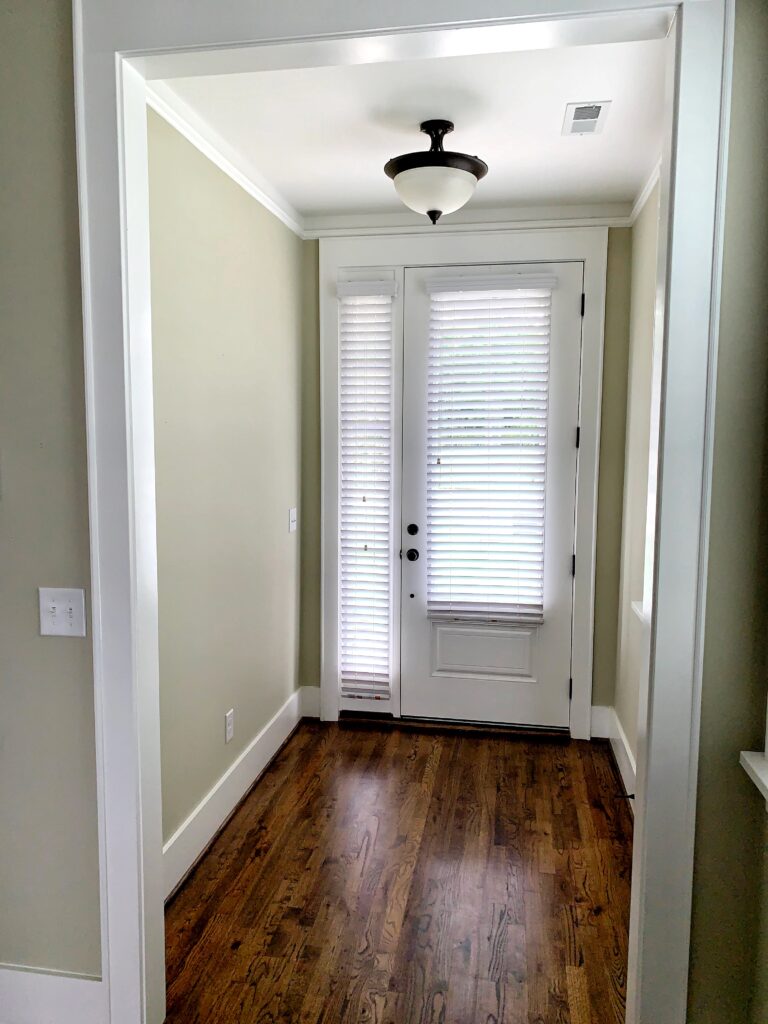
As you can see below, they painted the molding and the top of the wall white to create the look of crown molding! This is a great alternative to installing crown molding, which is notoriously difficult.
Tip: Use painter’s tape to help visualize the placement!


How to cut picture molding
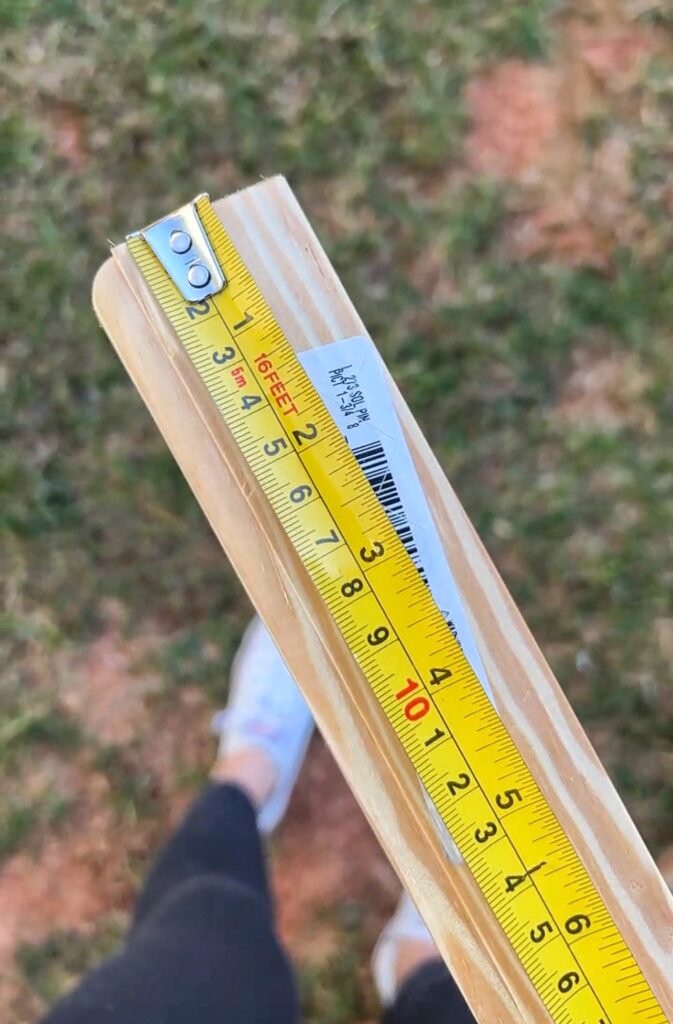
If you’re comfortable using a miter saw, cutting picture rail molding is really quite simple!
You can either do a bevel cut (where the saw is tilted) or you can do a miter cut (what I did) with the trim up against the fence and cut at a 45 degree angle.
If you look at the photo below you’ll see I’m holding the trim against the fence (instead of having it lay flat) just as it would sit on the wall.
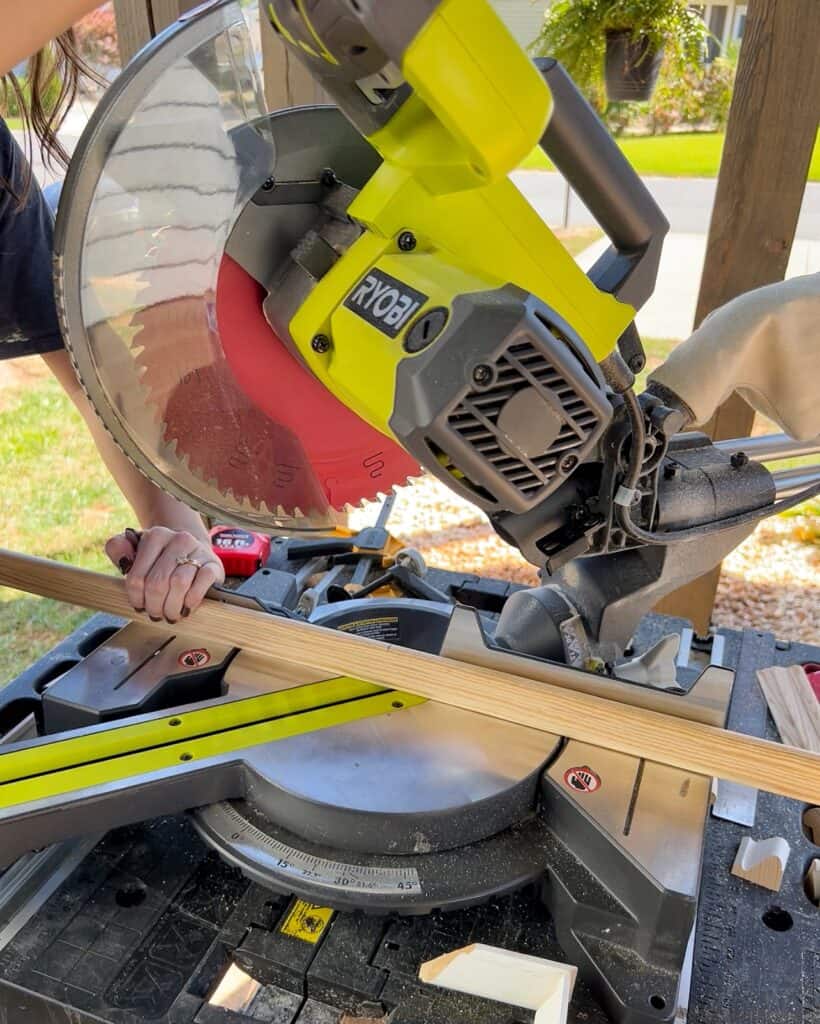
You’ll rotate the miter saw back and forth as needed depending on your cut!
I found it was easiest to measure and mark from the backside of the trim since it’s flat!
How do you secure a picture rail to the wall?
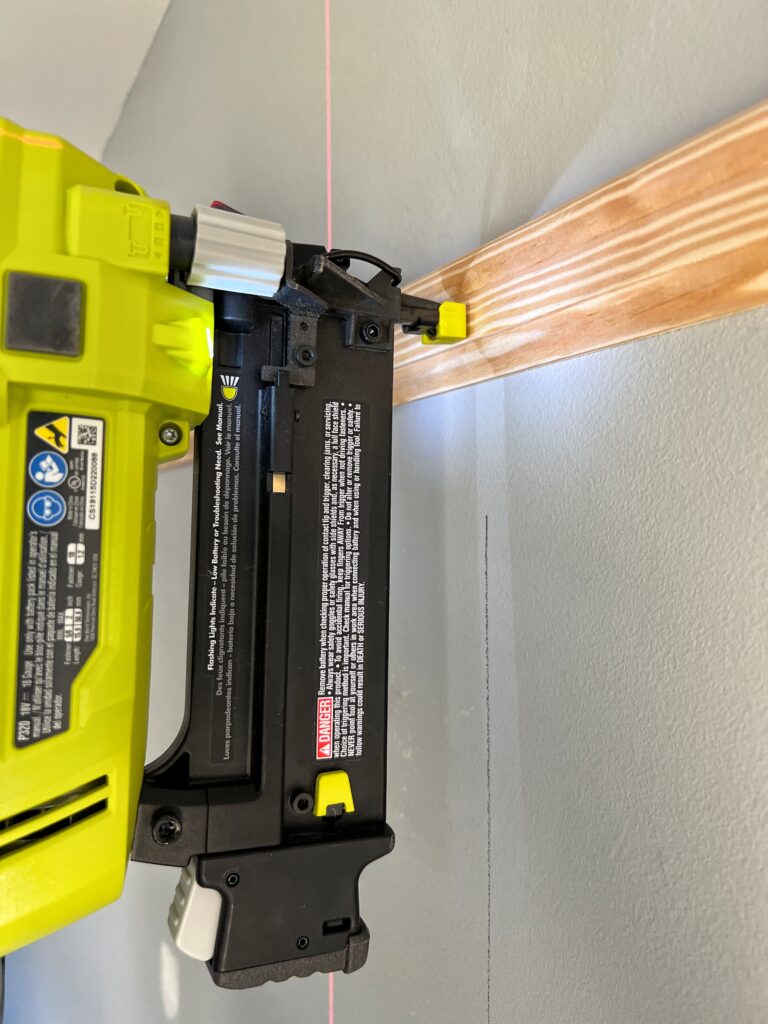
If you’re planning to hang art or accessories from your picture rail, it’s very important that you to nail it into the studs.
I used my brad nailer (one of my DIY must haves!) with 2″ nails and nailed the picture rail into all the studs.
After installing the trim, you’ll do the usual finishing work by filling in the nail holes/seams, caulking, and sanding.
If you plan to paint yours, you’ll want to use a primer first since it’s raw wood! This is the primer I used.


What is the best way to hang pictures from a picture rail?
There’s quite a few different options for how you can hang things from picture rail, but I’ll share the method I used!
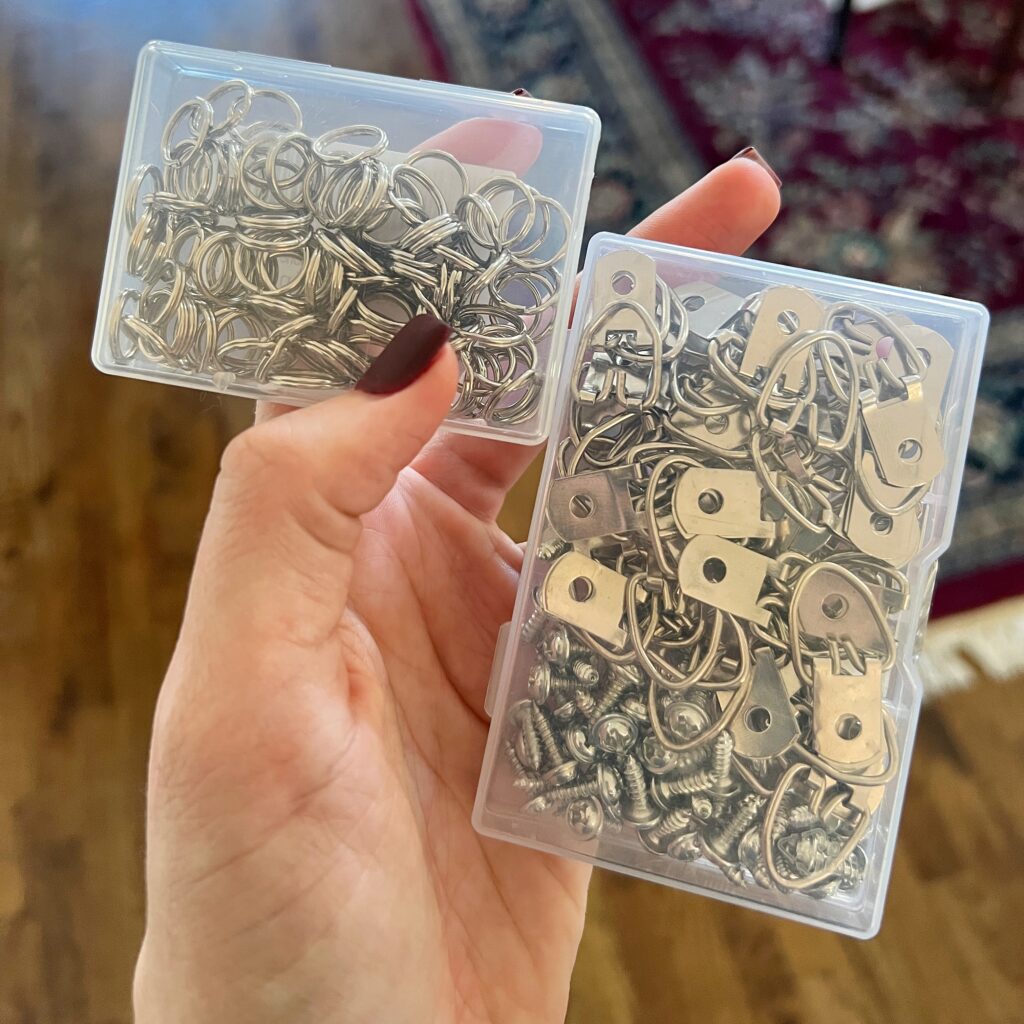
Add D-rings to the frame
For starters, I had to make sure my art and mirror had the proper hardware. I got these D-rings and they work perfect for this!
Some of your art might already have them, but if not, they’re easy to install just using a screwdriver!
When you attach the D-rings, make sure to screw them in towards the very top of the frame. I made the mistake of installing them too low at first which made the frame lean away from the wall too much.
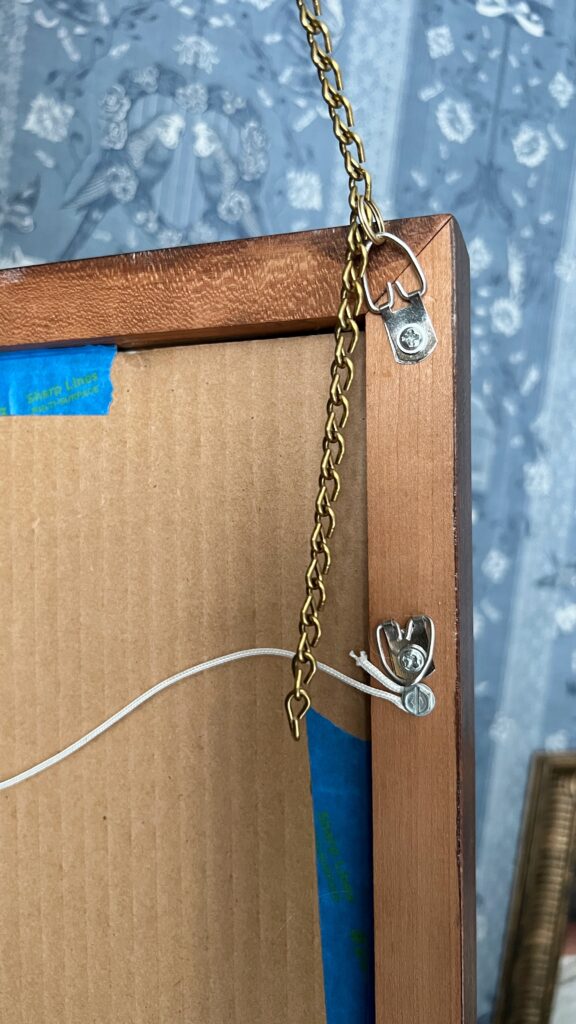
Just a heads up, even when you screw the D-rings in at the very top, they’re still going to lean off of the wall a little bit! That’s totally okay! Here’s how mine looked after fixing it!
Attaching the chain
To attach the chain to the D-rings, I just used these little keychain rings. You can even spray paint them gold to match the chain if you want!
Then I used this solid beautiful brass chain from House of Antique Hardware!
It was tricky to know exactly how much to order since I wasn’t entirely sure how I planned to distribute my art, but I started by ordering 15ft, and then later on went back and ordered 8ft more!
Ordering a little extra might be the move here! Especially in case you change the art around, it’s nice to have extra.
How much weight can a picture rail hold?
This really depends on what you’re using to hang your photos.
I used chain, but they also make cords and often times the manufacturer will indicate how much weight it can hold. Also, having an additional hook could help with weight as well!
I don’t want to give an answer as far as how much weight, because it varies, but definitely be careful and do your research on the materials you’re using!
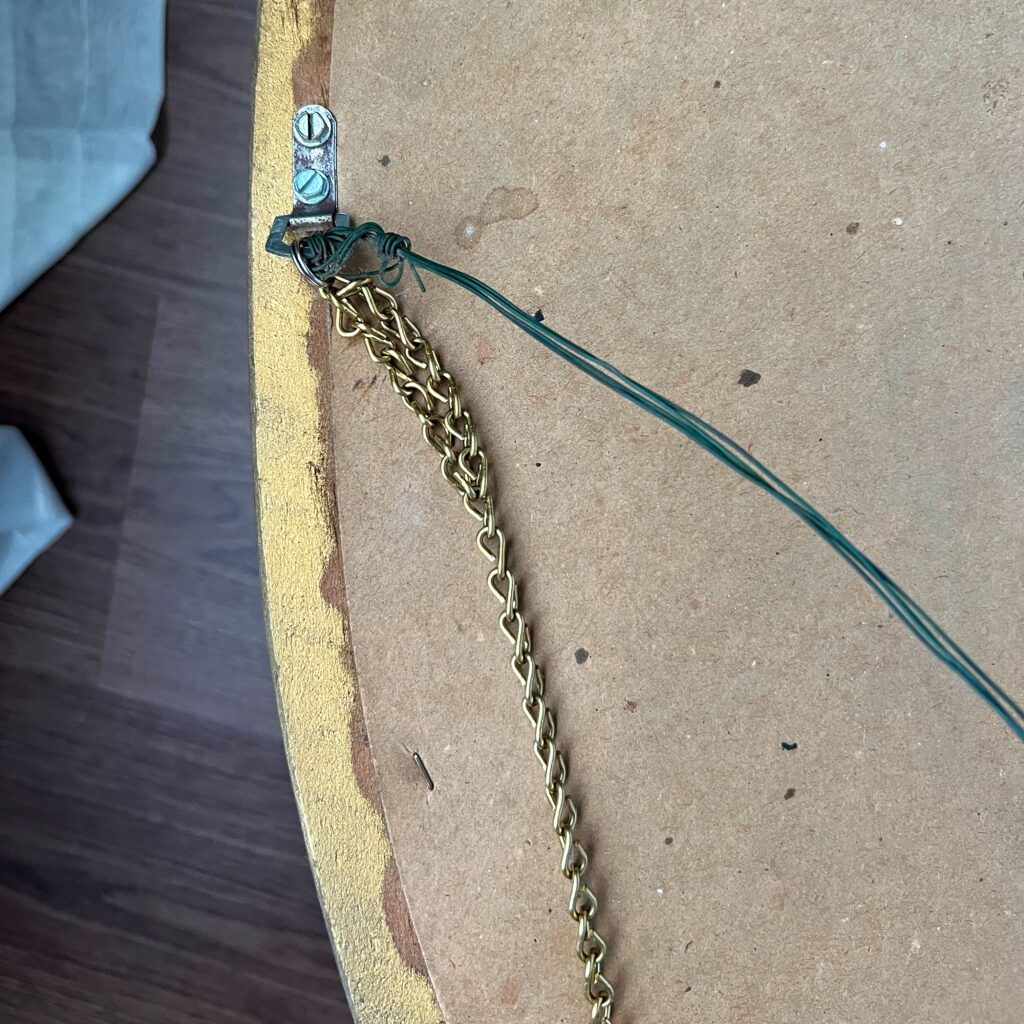
The chain I used has a working load limit of 11 lbs, so I had to order this solid brass chain (which holds 23lbs) to hang my 13lb mirror!
Also, instead of using the D-rings I bought, I just used the hardware already installed on the back since I could tell it was more sturdy with those two screws.
Another tip: If you use picture rail chain also, make sure to get rid of any kinks before hanging otherwise it might break!
Hooks
Lastly, and most importantly, the picture rail hooks!
I found these adorable brass bird hooks from House of Antique Hardware. The unlacquered brass will age like fine wine 😉
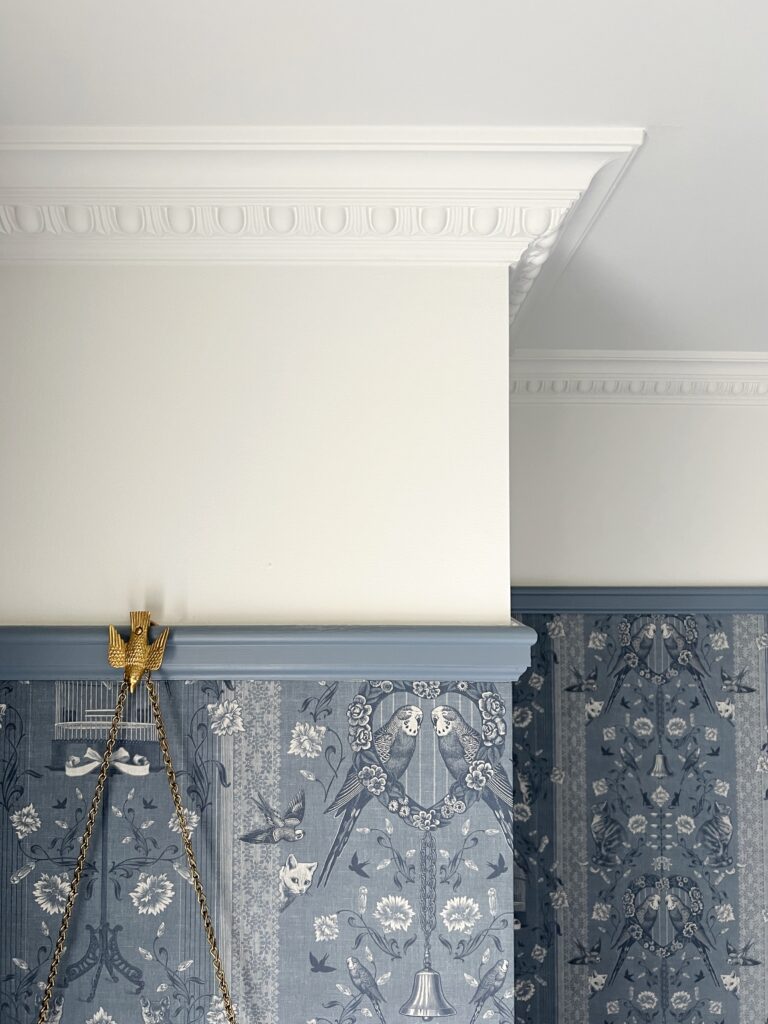
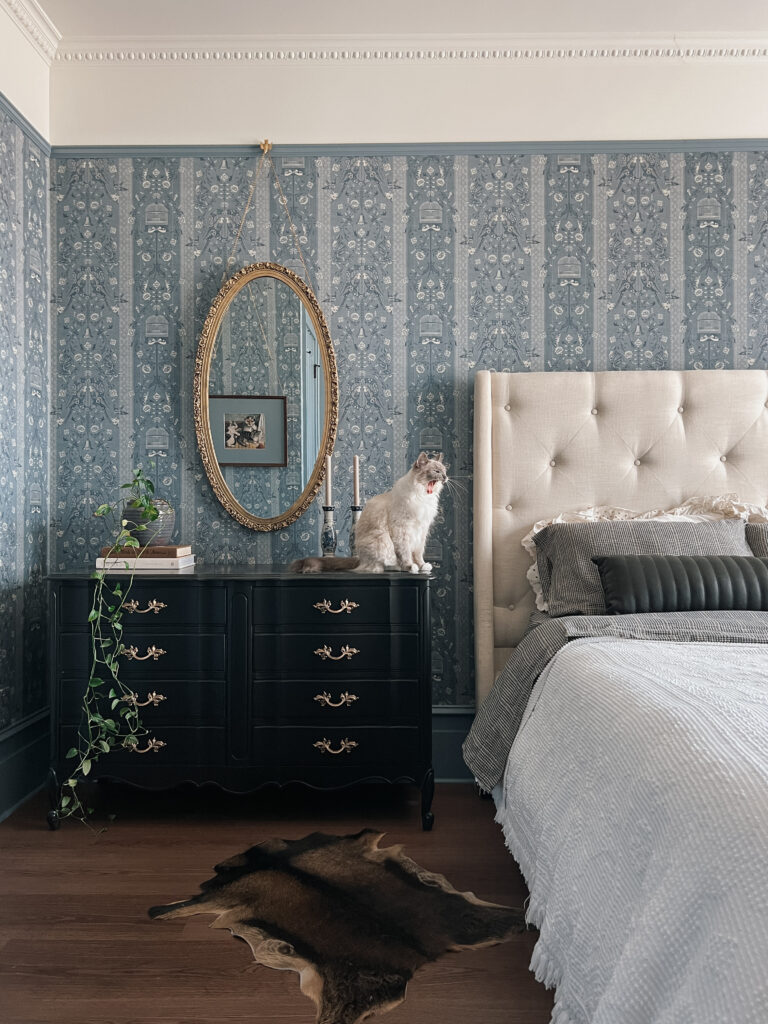
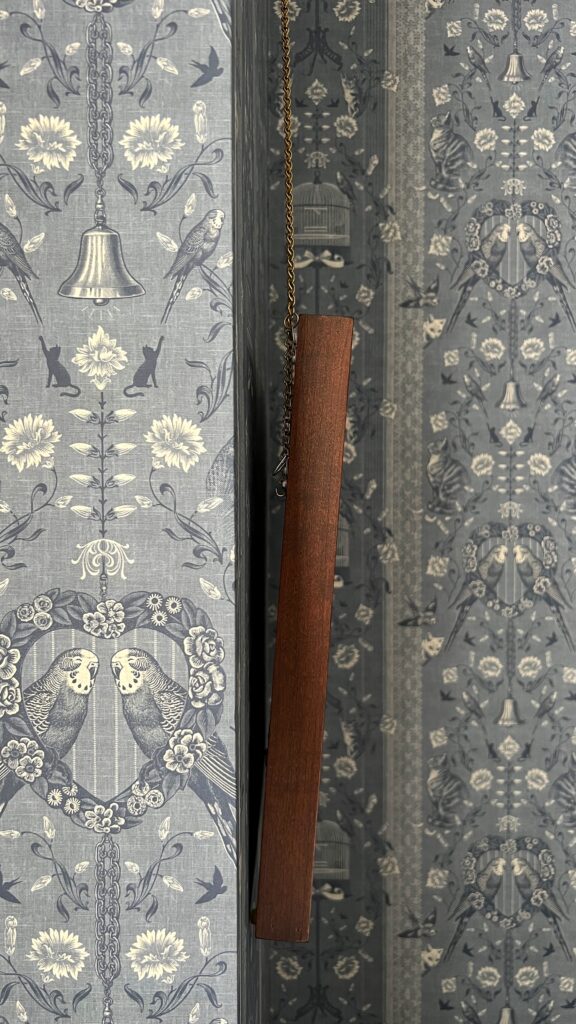
Could these picture rail hooks be any more perfect for our French vintage guest bedroom wallpaper?!
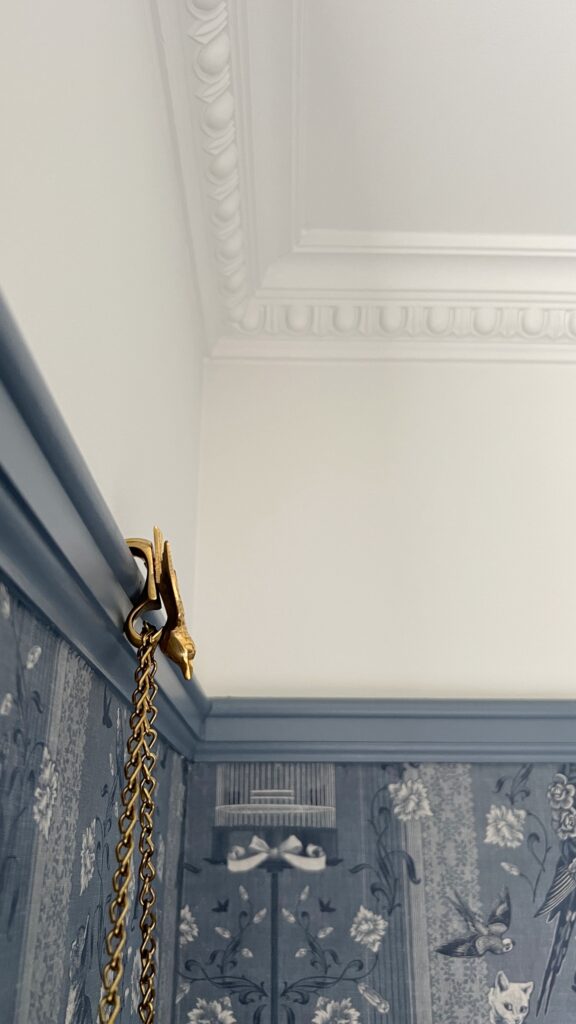
At first I was a little unsure if the picture rail hooks fit properly because they didn’t “hug” the picture moulding like I had expected. But it was fine!! I just applied some pressure on it to make sure it was secure and it was!

The bird actually swings over to the side to open up the hook for the chain. How cute is that?!
Aside from House of Antique Hardware, you can also find hooks on Amazon! I have these as well and they’re great!
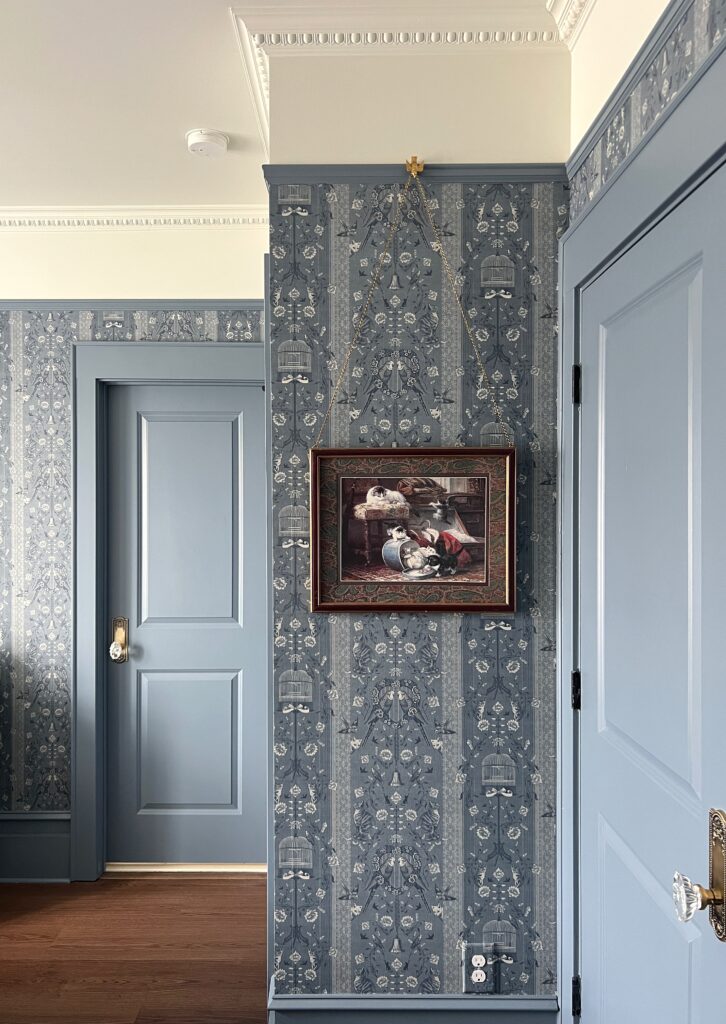
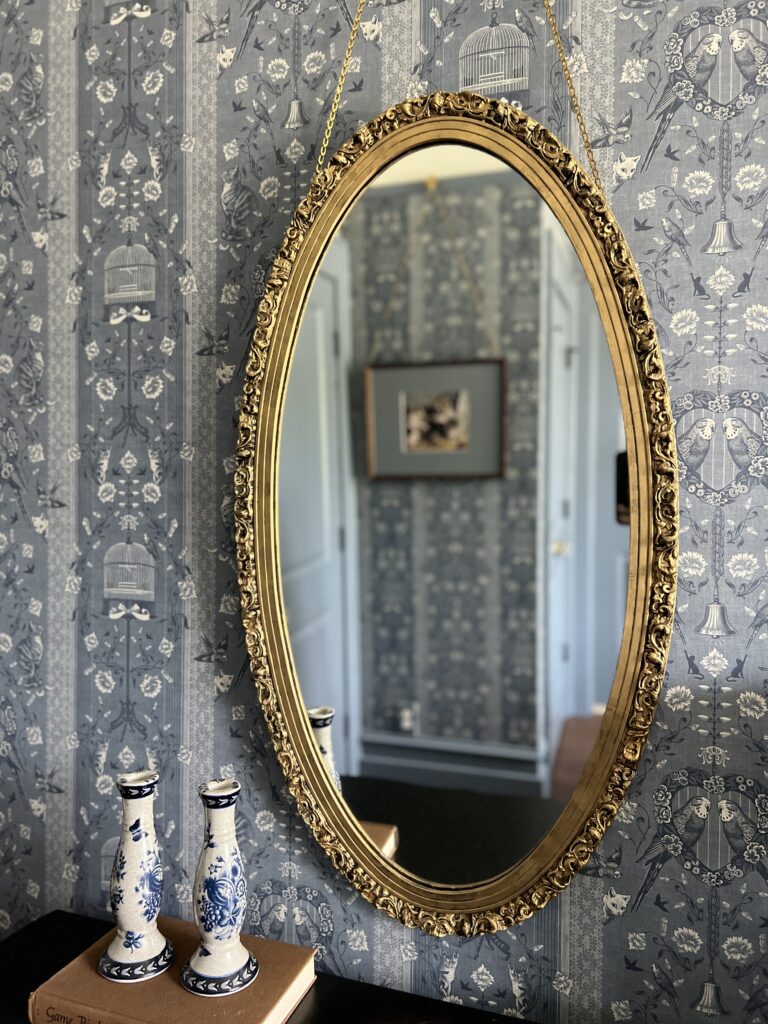
This picture rail hanging system was such a life saver when styling our French vintage guest bedroom because I could not make up my mind. This system allows you to easily move art around… without adding any holes to your walls!!
Now… where can I add another?!

Very beautiful! What a beautiful bedroom! I’ve always loved the look of a picture rail. I love that wallpaper too!
Thank you so much Susan! We recently moved but I sure do miss that wallpaper!! <3
How did you cut the chain to be the right length?
Hi Erin! I just used a pair of pliers to bend back the metal!! 🙂