

What’s your favorite Pop-Tart flavor? There are so many delicious ones to choose from, but I can always go for a classic brown sugar cinnamon!
But have you ever had homemade brown sugar cinnamon Pop-Tarts? They are out of this world yummy!! Especially the Half Baked Harvest recipe… which I used in this ice cream????
I made them once before this and I was in heaven!! Then last summer when I made a homemade strawberry pop-tart ice cream, I imagined how good these homemade brown cinnamon sugar Pop-Tarts would be in an ice cream!
Disclaimer: This post contains affiliate links. This means, if you purchase something from a link I provided, I will receive a small commission. This is at no extra cost to you! Thank you for your support!
Brown Sugar Ice Cream Base
Okay, technically this is a custard recipe! It’s the same as ice cream except with the addition of egg yolks, which add an amazing creaminess!
I used this homemade brown sugar custard recipe once for my Oatmeal Chocolate Chip Cookie Dough Ice Cream. It turned out so delicious and I thought it would be the perfect base for this brown sugar cinnamon Pop-Tart ice cream.
The tricky part with custard (it’s really not bad, I promise!) is that you have to temper the egg yolks into the hot ice cream mixture. Well, normally I do a fine job of this, but I let my ice cream mixture heat up about one minute too long and the eggs started to cook up.
Here’s a video showing the proper consistency and then one minute later after I ruined it????
I don’t want this to scare you away from trying a custard recipe though! I just made the mistake of leaving it on the heat after it was perfect (I was trying to set up my camera for the straining part ????).
But, more importantly, I wanted you to know how your ice cream mixture shouldn’t look!
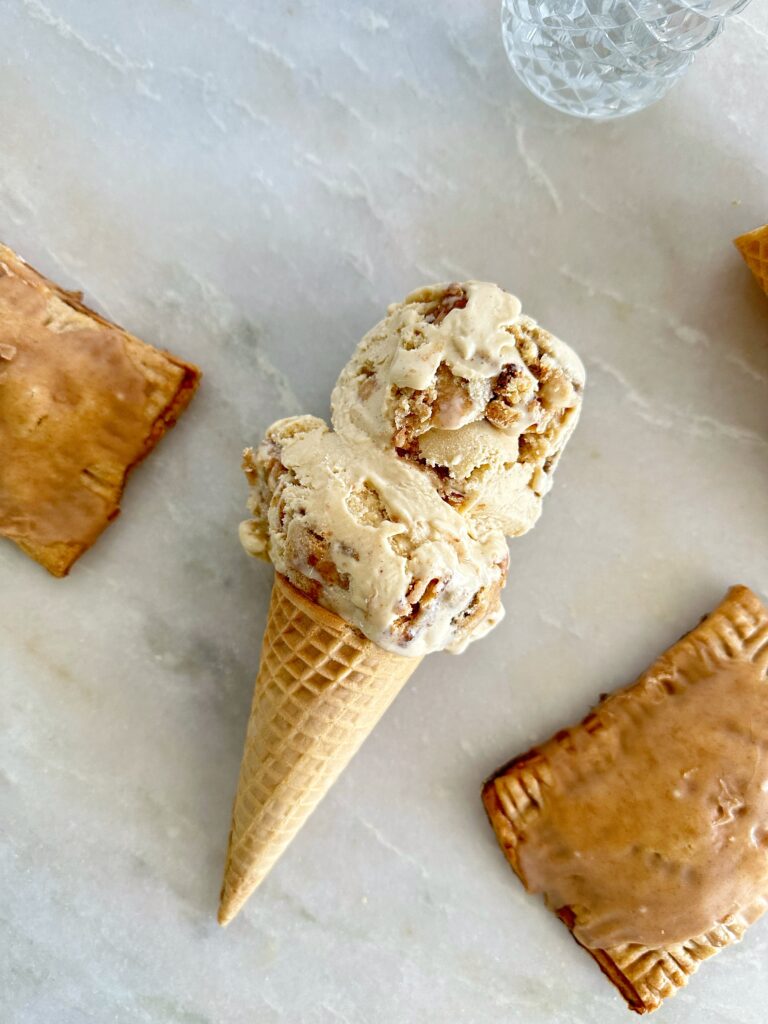
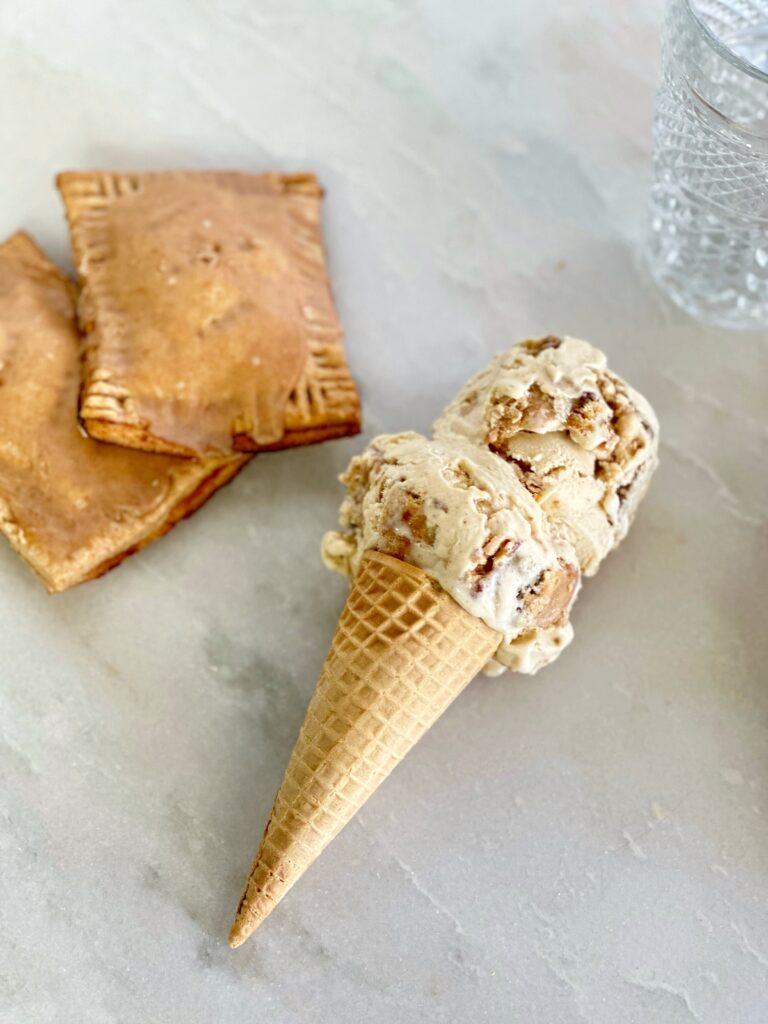
Brown Sugar Cinnamon Pop-Tarts

I admit, it’s kind of a lot of work to make these homemade Pop-Tarts… but man they are SO worth it. It’s a great idea for a lazy Sunday when you want your house to smell like one big cinnamon bun. Plus, it would be a fun activity to get kids involved!
Another option would be to simplify the recipe by using a refrigerated pie crust!
If you don’t want to make them homemade, you can always use the store bought version. I did that when I made my Strawberry Pop-Tart Ice Cream!
I was clearly on a roll with this recipe, because I also overcooked the homemade Pop-Tarts in addition to overcooking the ice cream! This was entirely my mistake and had nothing to do with the recipe.
Thankfully, it worked out because I do like a good toasted flavor and the ice cream softened them up so that you couldn’t even tell!
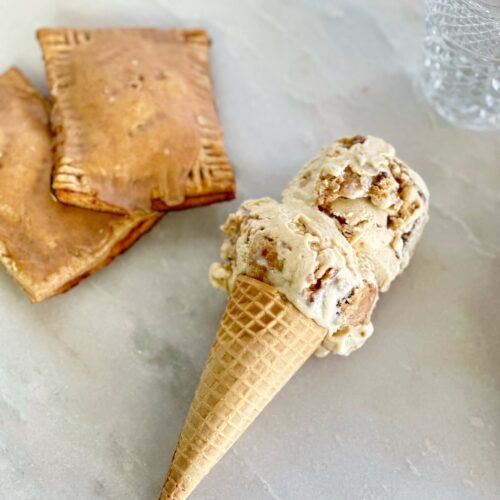
Homemade Brown Sugar Pop Tart Ice Cream Recipe
Equipment
- 1 Ice Cream Maker
Ingredients
- 2 cups heavy cream
- 1 cup whole milk
- 2/3 cup brown sugar
- 1/4 tsp cinnamon
- 1/4 tsp salt
- 1 tsp vanilla extract
- 5 large egg yolks
- chopped brown sugar pop-tarts store-bought or homemade (see notes)
Instructions
Brown Sugar Ice Cream
- In a medium saucepan, whisk together heavy cream, milk, brown sugar, cinnamon, and salt
- Bring it to a simmer, stir, and remove from heat
- Stir in the vanilla extract
- In a medium bowl, whisk the egg yolks
- Stirring continuously, add in 1/2 cup of the hot liquid to the egg yolks
- Add in another 1/2 cup and whisk until fully mixed
- Pour the egg mixture into the saucepan and cook over medium heat until the mixture is thick enough to coat the back of a spoon
- Pour the hot mixture through a strainer and into a bowl (discard any chunks)
- Leave the mixture out and stir occasionally until it's room temperature
- Cover the bowl and chill in the refrigerator for at least 4 hours or overnight
Churning the Ice Cream
- Pour your ice cream into the frozen bowl of your ice cream maker
- Add your chopped Pop-Tarts to the freezer to firm up before adding
- Once the ice cream starts to really thicken (about 15-20 minutes) add in the pop-tart pieces and churn for a few more minutes until distributed
- The ice cream can be eaten as is (soft-serve consistency) or you can put it a freezer safe container and freeze for a few more hours then enjoy!
Notes
Homemade Ice Cream FAQ
I’m no professional (like, at all), but i’ve been sharing about my homemade ice cream journey on Instagram since 2020. Many people in my community have been inspired to start making their own homemade ice cream and it makes me so happy!! If you’re one of those people, these questions might be helpful to you!
Do you need an ice cream maker?
You don’t need an ice cream maker to make homemade ice cream. However, if you want quality, creamy ice cream, I promise it’s worth investing in an ice cream maker! Once you have an ice cream maker, you won’t have any interest in buying ice cream from the grocery store ever again. Okay, except maybe when you need a quick Ben & Jerry’s run…
What is the best budget ice cream maker?
Cuisinart Ice Cream Maker is the best ice cream maker for a beginner. It’s affordable, easy to use, incredibly cute, and most importantly- makes the creamiest ice cream! It’s been really good to me. I’ve had many friends and family members purchase this machine and they always thank me later! All of my homemade ice cream recipes are specific to this Cuisinart ice cream maker.
Do you have recipes that don’t require an ice cream machine?
I don’t, but if you’re in interested in one of my flavors, look up “no churn” homemade ice cream recipes for that flavor. There are plenty of options out there… most use sweetened condensed milk!
I’ve made no-churn ice cream in the past, and it definitely doesn’t provide the same creamy texture as when you churn ice cream. To me, the texture seemed more firm and icy.
How long does it take to make homemade ice cream?
You have to be a little prepared when you make your own ice cream. The most important thing to remember is to put your ice cream maker bowl in the freezer for 24 hours before churning.
So as long as the bowl is frozen, you could make the ice cream batter in the morning and refrigerate for a few hours before churning. (The churning process only takes about 20 minutes) However, if you leave your ice cream mixture in the fridge longer, it will result in a creamier, more flavorful, ice cream. I almost always leave my mixture in the fridge overnight. Here’s an example of my homemade ice cream making schedule:
- Friday Afternoon– place the freezer bowl in the freezer then make the ice cream mixture, cover, and refrigerate. (Both for 24 hours)
- Saturday Afternoon– churn the ice cream mixture! It’ll be ready to eat in soft-serve consistency at this point, but I prefer more of a hard ice cream texture so I put it back in the freezer for at least a few hours
- Saturday Evening– enjoy the ice cream!
What if my ice cream isn’t thickening?
Without fail, the most common mistake when making homemade ice cream is forgetting to put the bowl in the freezer ahead of time.
Or, not giving the bowl enough time to freeze before churning. It really needs a full 24 hours. Trust me, I’ve made this mistake myself and it’s incredibly frustrating. You’re all excited to enjoy your ice cream and then you realize your ice cream mixture is not thickening at all and you have to wait another 24 hours to try again.
What’s the difference between ice cream and custard?
They’re almost the same, except that custard has egg yolks cooked into the ice cream, making it smoother and creamier. Making custard does require a little extra technique. Here are my tips for making a custard:
Tempering the Eggs
In order to prevent having scrambled eggs in your ice cream (ew!), you have to temper the eggs. Basically, the egg yolks and heated custard mixture have to be very carefully combined together. You’ll do this slowly while continuously whisking or stirring.
Strain the mixture
It’s not uncommon to get just a few small chunks of egg yolk that cooked, so it’s essential that you strain the mixture!
Can I use non-dairy or low-fat milk?
Yes and yes! Regarding non-dairy recipes, you’ll have to look those up. I made a non-dairy homemade vanilla ice cream once and it was pretty good. It definitely had a different flavor…more nutty! But the texture was great and I think if you’re used to non-dairy alternatives, you would enjoy it! As for low-fat milk, that is definitely an option as well. You would just replace the whole milk amount with the low-fat option. It won’t be the same creamy texture as a full-fat ice cream.
How do you store homemade ice cream?
When I first got our machine I used to just leave it in the freezer bowl and put a plastic wrap over it. It wasn’t the best method, but it did the job. I recommend putting it in an air-tight container. It will keep longer than just using plastic wrap! These are the containers I use!
How long does homemade ice cream last?
Homemade ice cream will be best to eat within one week, but it can last up to two weeks. After that, it starts to get icy and grainy.

You can check out my other homemade ice cream flavors here! I hope you guys enjoyed this recipe!
Let me know if you have any other Pop-Tart flavored ice cream requests 😉
