

Wall treatments are my love language and this grid accent wall is one of my favorites! It’s simple, yet sophisticated. This DIY grid wall is the perfect way to add a ton of character to any space.
Did I mention it’s a beginner friendly project?! I tackled this grid wall in my first year of DIYing… and you can too!
Disclaimer: This post contains affiliate links. This means, if you purchase something from a link I provided, I will receive a small commission. This is at no extra cost to you! Thank you so much for the support!
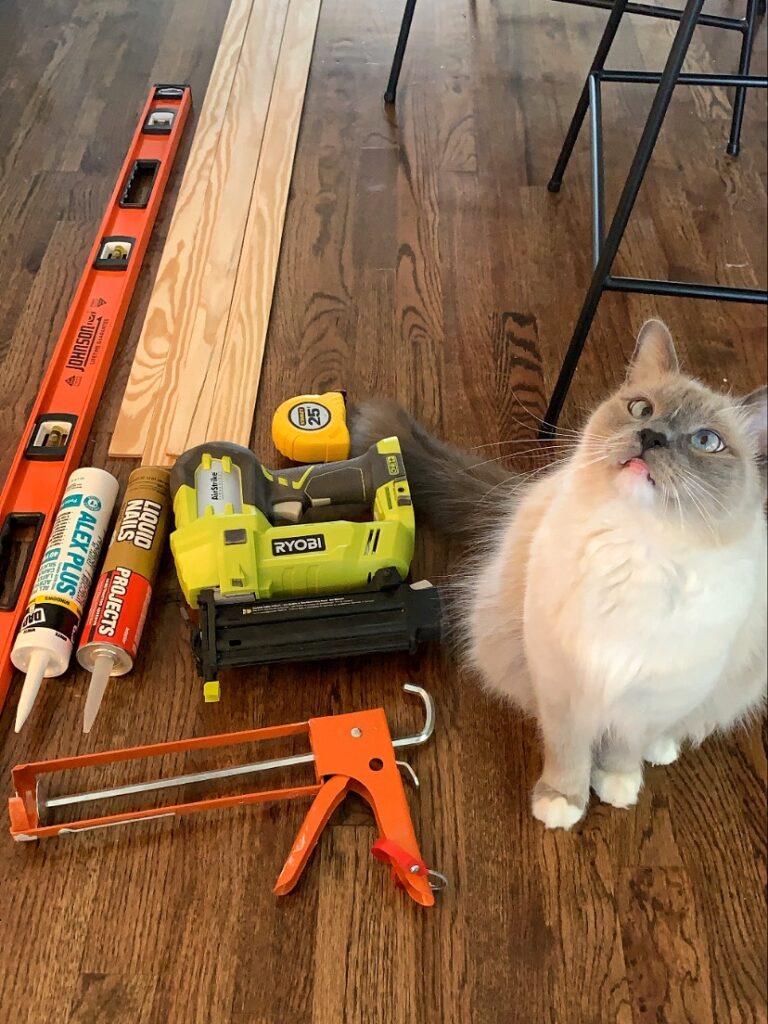
tools:
- Stud Finder
- Brad Nailer (or pin nailer)
- Miter Saw
- Large level (or a laser level)
- Caulk gun
- Caulking Tool
materials:
Step One: Create a Design
It can be tricky to know where to start when it comes to designing a grid feature wall. How many rows should I have? Should I do perfect squares or rectangles? What size moulding should I use?
This is why it’s important to have a plan with an accent wall like this. Let me guide you through my process!
Seek Inspiration
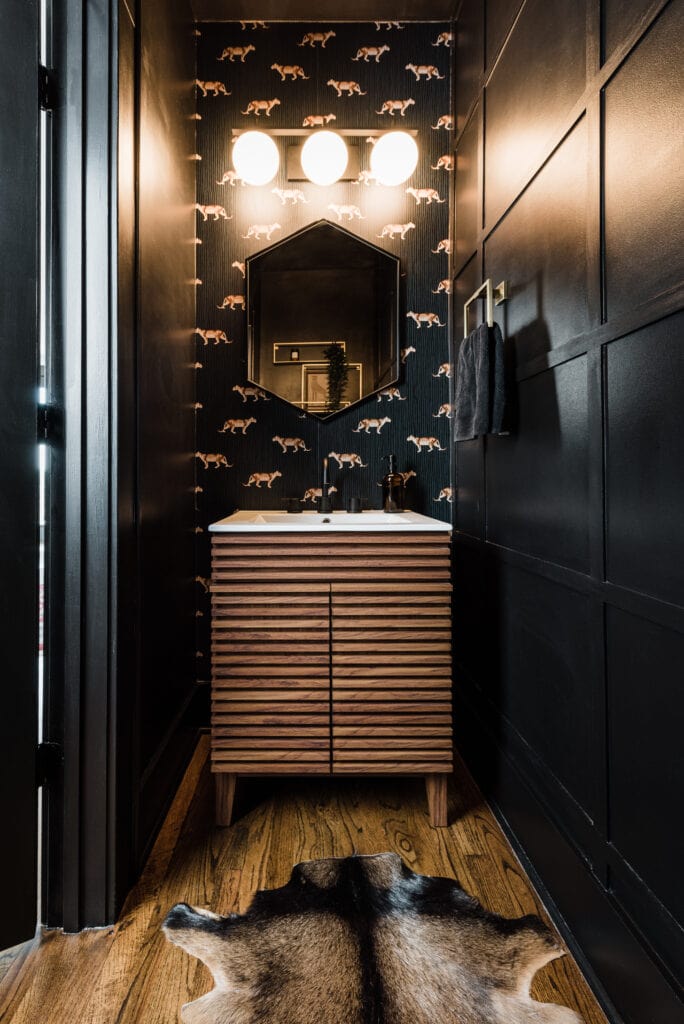
The first step is to use Pinterest or Instagram to seek out other grid feature walls. Save the ones you love and add them to a board or album. There’s so many different variations! This bathroom design by Jean Stoffer was my main inspiration! I loved the look of the dainty moulding and i’m also just a huge fan of black and brown together!
The possibilities are endless with a board and batten grid wall, so be sure to explore all the different options! Once you find your inspiration, make note of the size/thickness of the boards, the spacing, etc.!
Sketch it out
With any sort of accent wall, it’s important to have a visual and a sketch of your design that includes measurements.
I know what you’re thinking! No, you don’t have to draw an elevation to scale or use a fancy program. But, it is a great way to help you visualize!
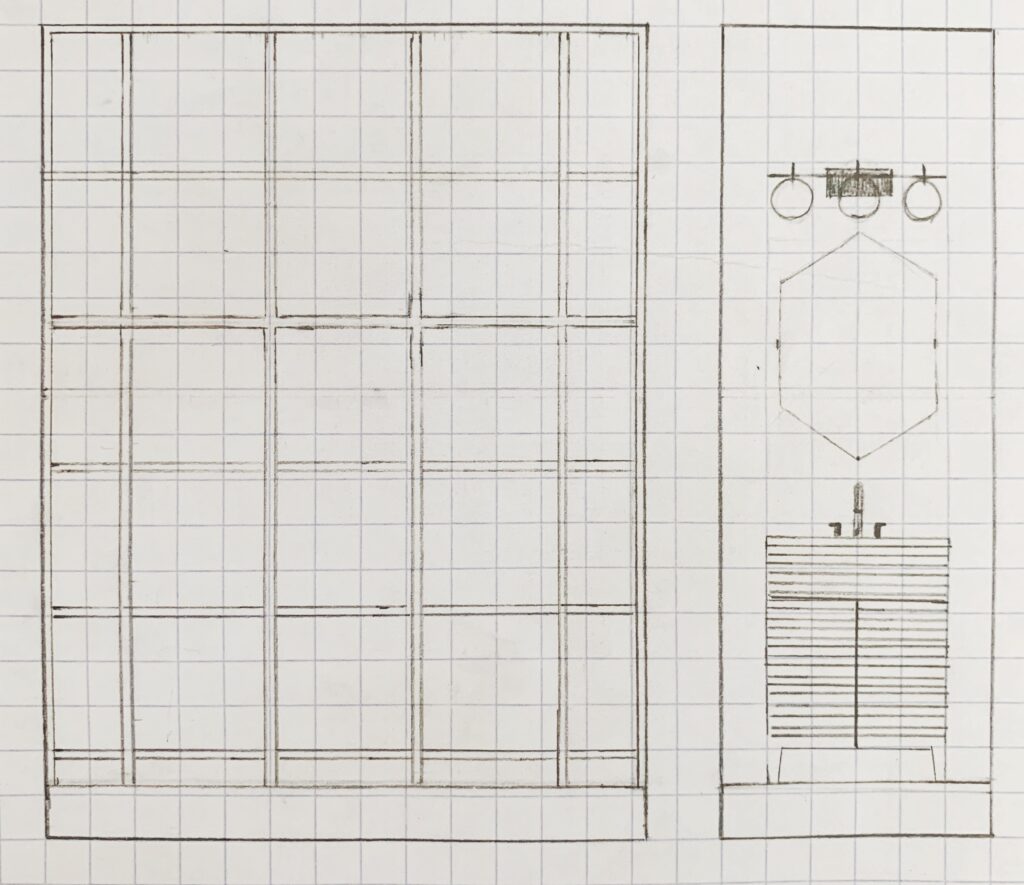
As you can see in the elevation, I decided to leave my existing baseboard in place for this design! We like our baseboards, but you can of course replace yours!
With this look I was able to have three full columns in the middle of the wall for a nice focal point. I didn’t mind having the smaller boxes on each side!
Three methods for visualizing your wainscoting wall
When I was planning the grid panel wall in my living room, I used three different methods to help me visualize the design.
Read about them here! One involves practically zero math!
Regardless of what you choose to do for this step, make sure you at least have a rough sketch of the wall with the exact measurements to refer to throughout the project!
Important tip: don’t forget to consider outlets, light switches, and anything else that can’t be easily moved when you’re planning your design!
Step Two: Prep Your Wall
Fill any holes or dents
We decided to update (and move the location of) our towel ring and toilet paper holder so we filled those holes and any other dents in the wall using this spackle.
Sand it down
Sand down any areas you filled and also do a light scuff sand along the entire wall! I just used a 220 grit sanding sponge and made sure everything was nice and smooth. (It’s just a lot easier to do this before installing the trim!)
Should you paint moulding before or after installation?
It’s both personal preference and situational, but it usually saves time if you paint the wall first. Unless you were planning to use a paint sprayer… which is faster!
The reason I painted after the trim was up is because I didn’t think I would be able to see very well if I painted the wall black before getting started. If you do decide to paint the wall first, you can set your trim on saw horses and use a roller brush to paint those! The downside is you will have to do touchups or a final coat after filling any nail holes and caulking.
How to do a grid accent wall with textured walls
With any accent wall I share, I also get the question about what to do for textured walls.
Here’s a few options:
- Embrace the texture
- Do a skim coat
- Install hardboard before adding the trim!
Step Three: Install Moulding
How do you secure a board and batten wall?
All you need is a nail gun (or a finish nailer) to secure this accent wall! My boards were only 1/4″ thick so 1 inch brad nails worked great!
There is a common misconception that you need to use liquid nails or wood glue in addition to the nails when doing batten walls, but you really don’t! I was new to DIY when I did this, so I did use liquid nails. If I were to do it again today, I wouldn’t.
The glue is not necessary, especially with this really lightweight trim! (Even with heavier MDF boards, I still wouldn’t) If you decide to change it up one day, you could ruin the drywall taking it down!
That’s just my preference though! If you want to use liquid nails, just apply a little bit to the back of the board before nailing it in place.
How I decided where to start
You’ll want to install your longest boards first- whether those are horizontal or vertical.
Our ceilings are 9ft and the boards were only 8ft, so it made sense for me to add the horizontal pieces first. (The width of the wall was less than 7ft)
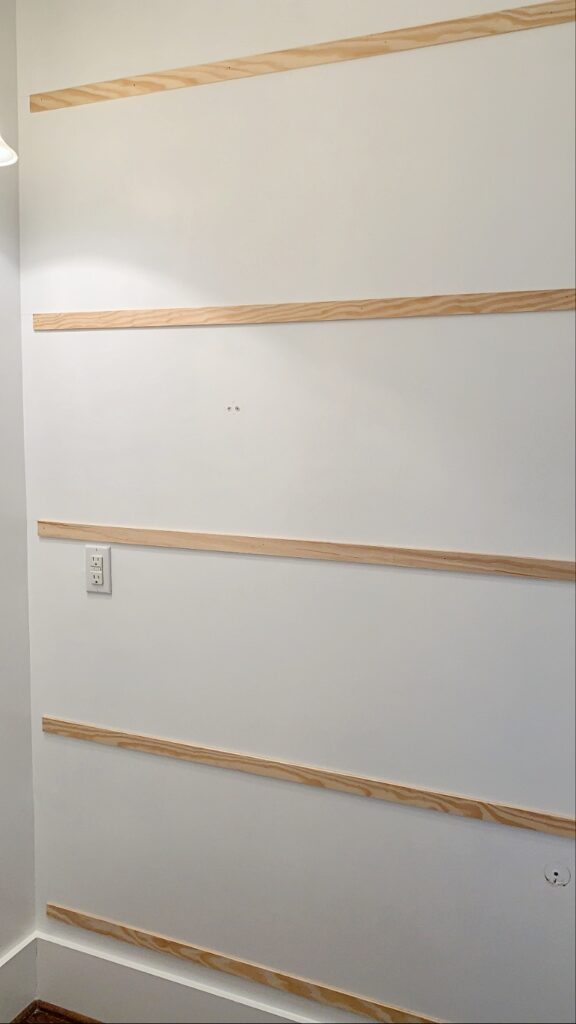
Horizontal boards
The very first board I installed was the top border horizontal piece which was cut to the exact width of the wall. I nailed it into the studs when possible, but wasn’t overly worried with this trim because it’s so light!
If you’re using heavier trim, and can’t nail into a stud, then alternate the direction of your brad nails so they latch on in the back.
I decided it would be easiest to do a longer piece of trim for the vertical border pieces on the left and right side of the wall.
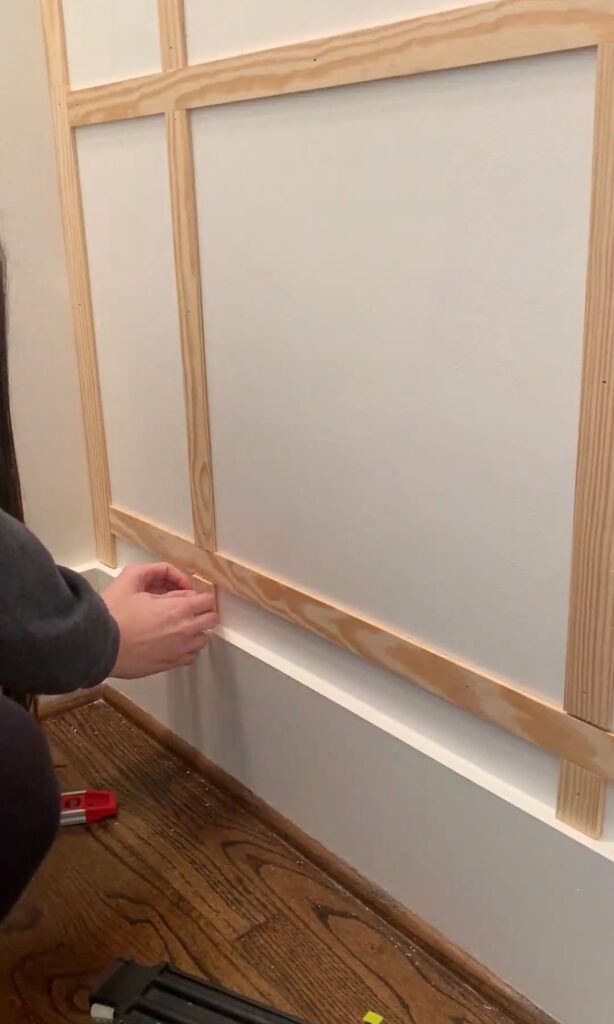
So for the rest of the horizontal pieces, I deducted the width of two trim pieces from the measurement. I also used a scrap piece of the lattice moulding to make sure I saved enough room for those pieces! Here’s a video of me explaining that:
At the time I didn’t have a laser level, so before installing each horizontal board, I would measure and mark down from the one above it and then use my large level to draw a line. I would use this line as a guide when installing that next piece.
This project would have been much quicker and easier if I used a laser level. I can’t recommend them enough! This is the one I use!
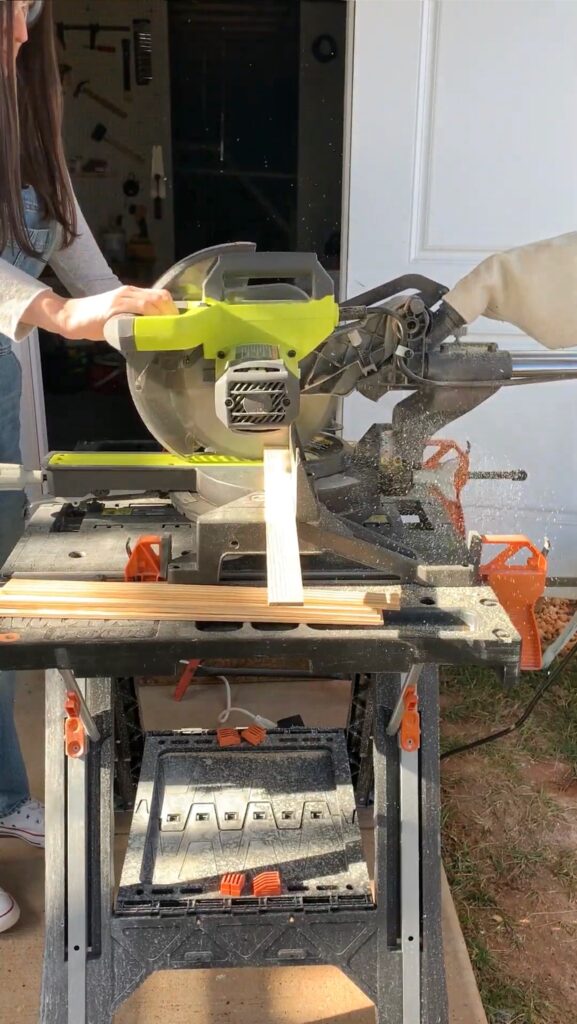
Vertical boards
With all the horizontal boards up, I was able to just measure the vertical space and cut my pieces to size. If you don’t have a miter saw, you can also use a hand saw, jigsaw, or circular saw.
When installing the vertical pieces, I used a small level to make sure they were nice and straight. You also want to be sure they’re lined up with the vertical boards above it. Again, a laser level would have made that so much easier!
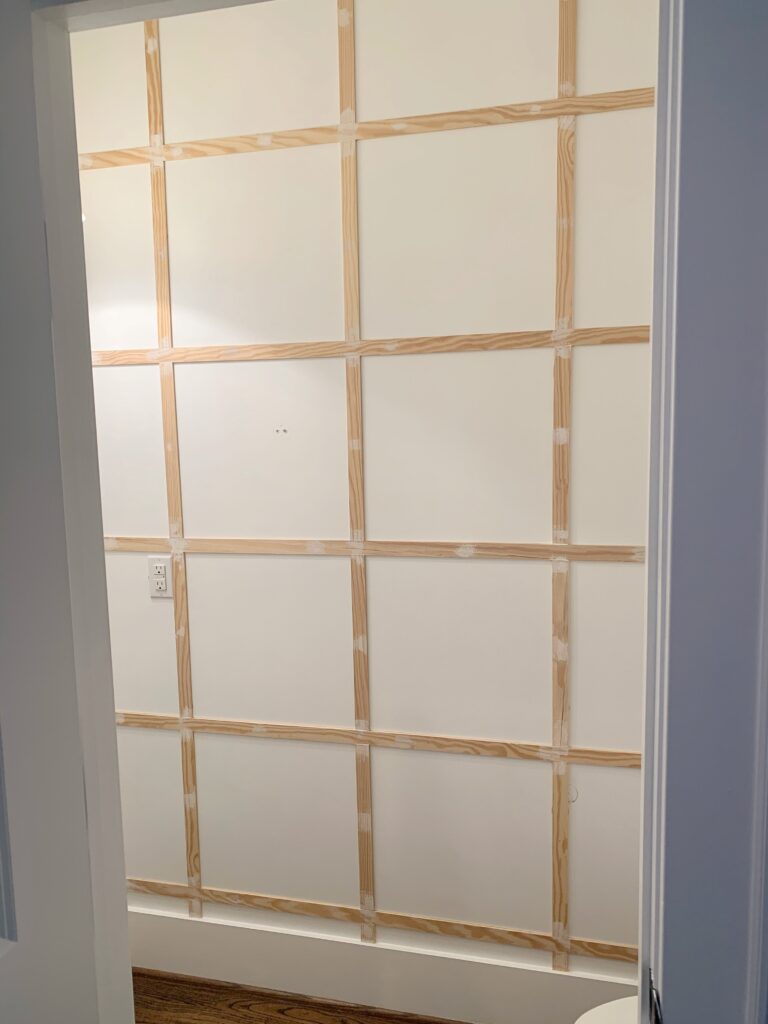
As you can see in the video below, I had smaller boxes in the left and right columns. I did this because I liked the scale of the 18″ x 18″ squares.
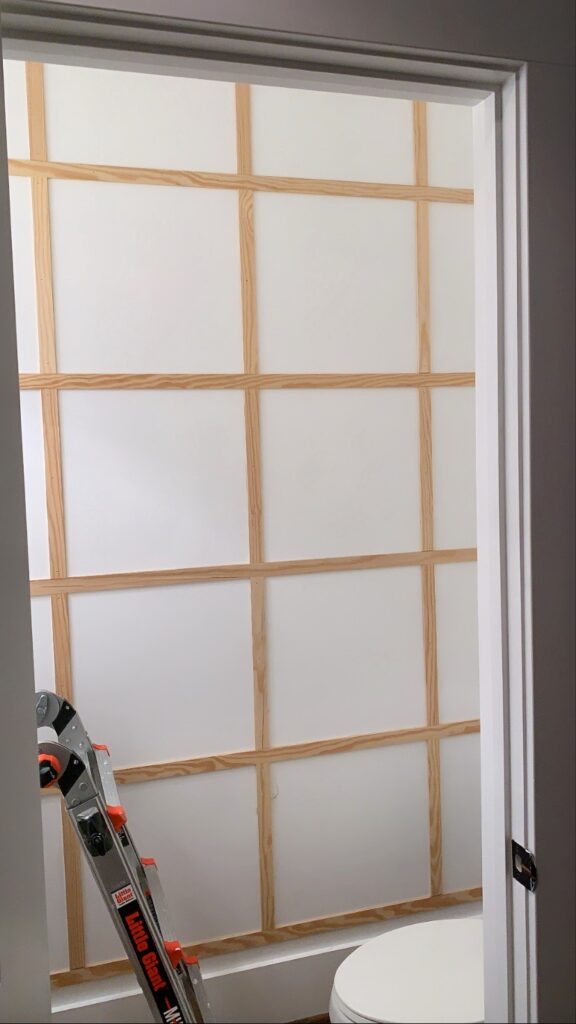
I was also left with a tiny row on the bottom of the wall. For that I had to cut some very little vertical pieces ☺️
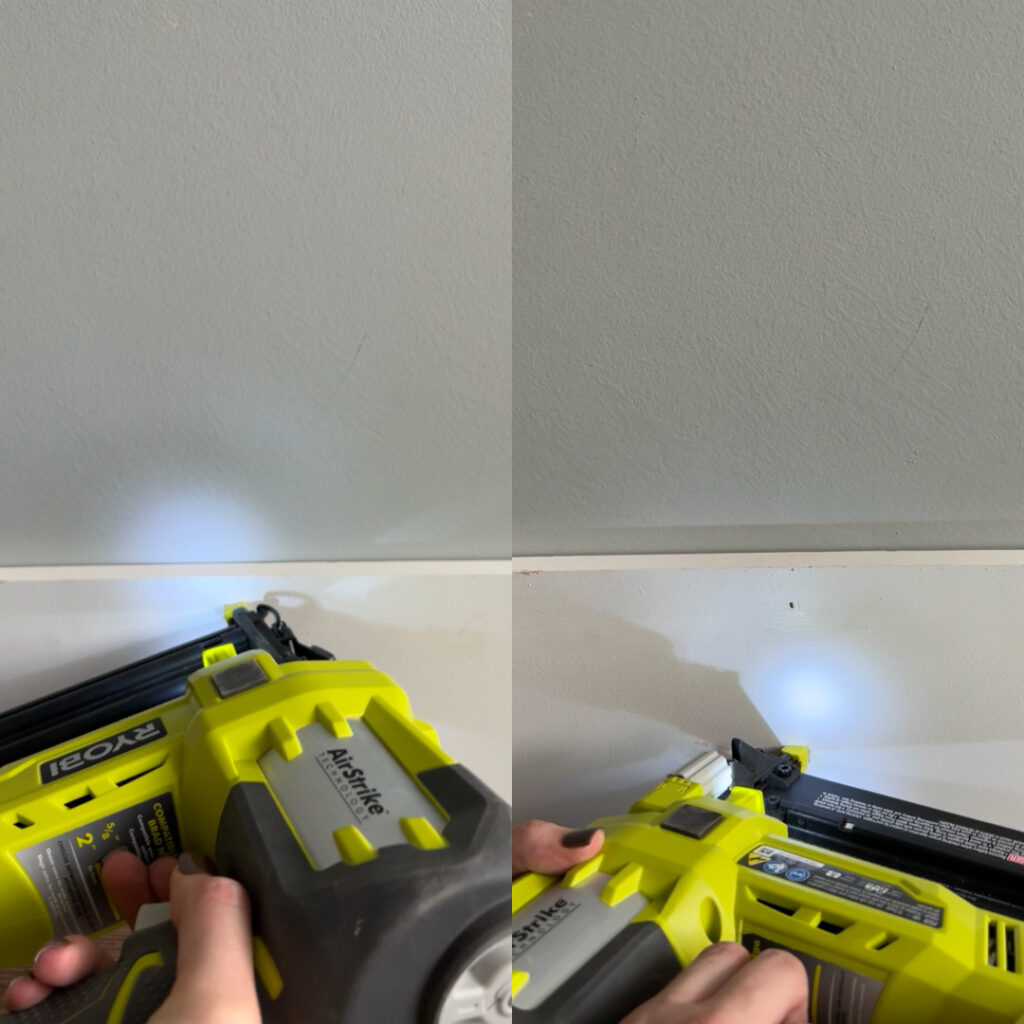
Step Four: Finishing Work
The next step is all the finish work! Smooth seams and a nice caulk job really make the biggest difference!
If you look to the right were the trim hits the wall, you can see the left photo is before caulk and the right side is after… so much cleaner!


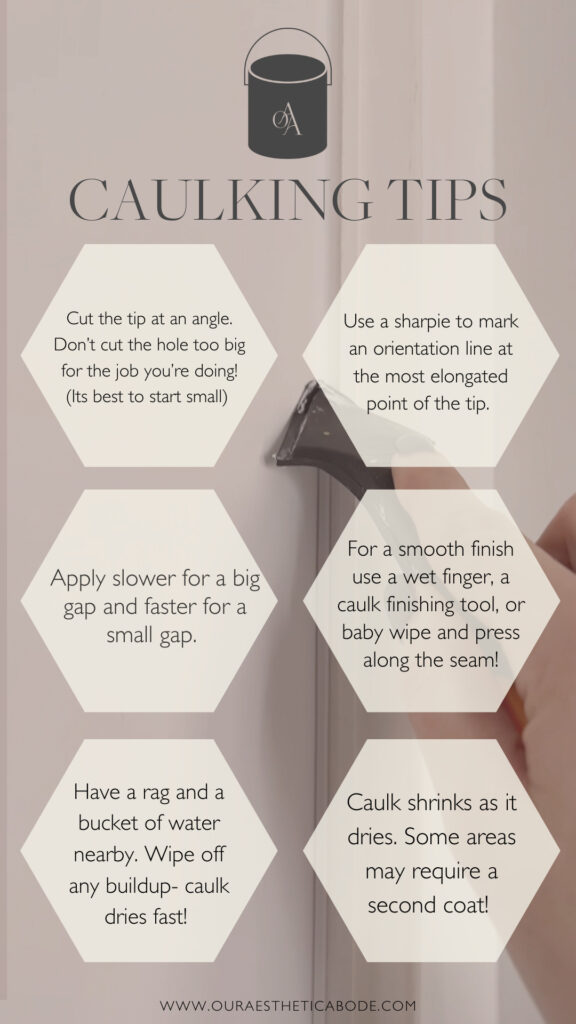
Tips for caulking
This was the project where I started to really appreciate the art of caulking. The more you practice, the better you’ll get and here’s a few tips to help:
Wood Filling
For the seams where the trim pieces meet, I used wood filler and sanded it down smooth once it was dry!
This wood filler is great because it goes on pink and turns white when it’s dry.


After sanding, you’ll definitely need to vacuum up the dust… you can see how it piled up! I recommend a shop vac with a high efficiency filter for vacuuming!
Use a tack cloth or a wet rag to wipe the wall before painting.
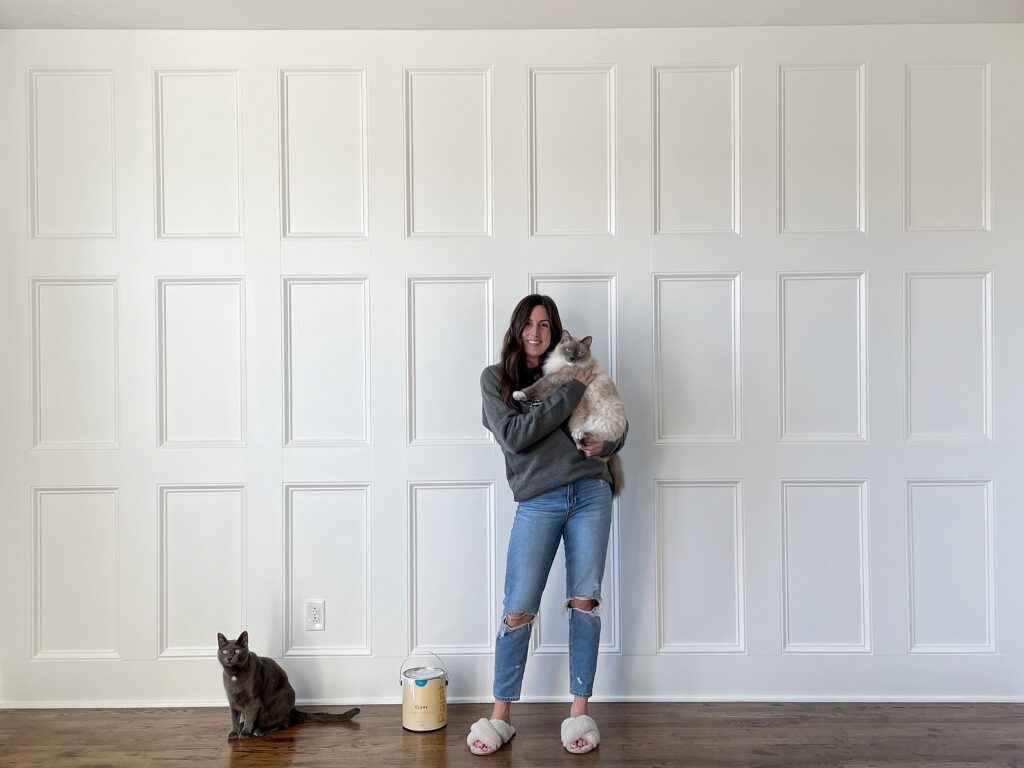
Step Five: Paint
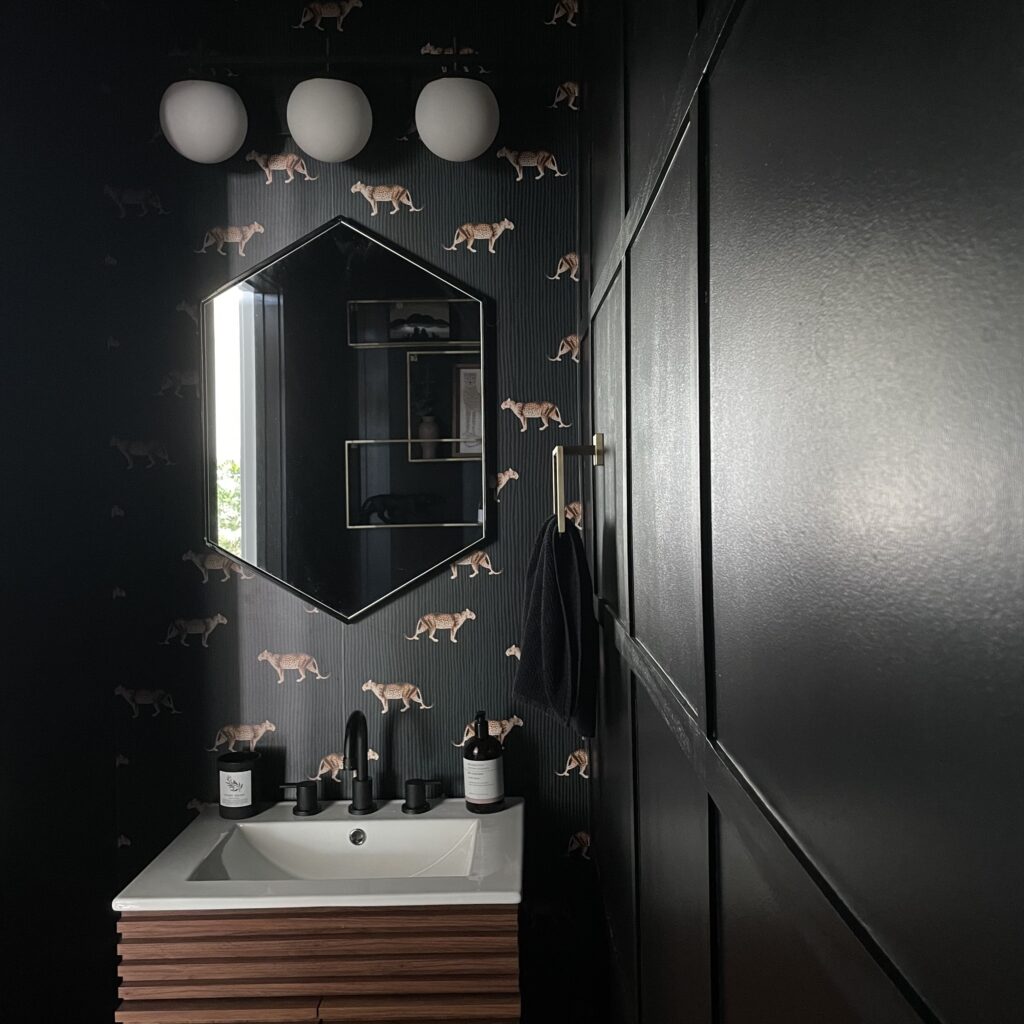
Since this was such a small space, I decided to go bold. I used the color Behr Limousine Leather in a satin finish on all of the walls (except for one wallpapered wall) and ceiling too!
Prime the trim
My walls didn’t require any primer, however, the trim was natural wood so that part did! This is my go to all-purpose primer.
Painting the DIY grid wall
First I cut in around all the trim using a small angled brush. For everything else, I used a small roller. I recommend a microfiber brush for a nice, smooth finish.
I’ll be honest, I can’t remember how many coats of paint I did!! Oops! Definitely two, possibly three. You be the judge of that! One coat is never the answer though! Inspect it in good lighting after the second coat.
How NOT to paint
Looking back at this video, I’m cringing for a few reasons.
One- I didn’t realize I was singing until I already uploaded it… I warned you!
Two- I’m putting way too much pressure on the brush which causes thick lines of paint you have to to look out for!!
Three- I’m going straight up and down which is more likely to show streaks. Nowadays I use the W method!
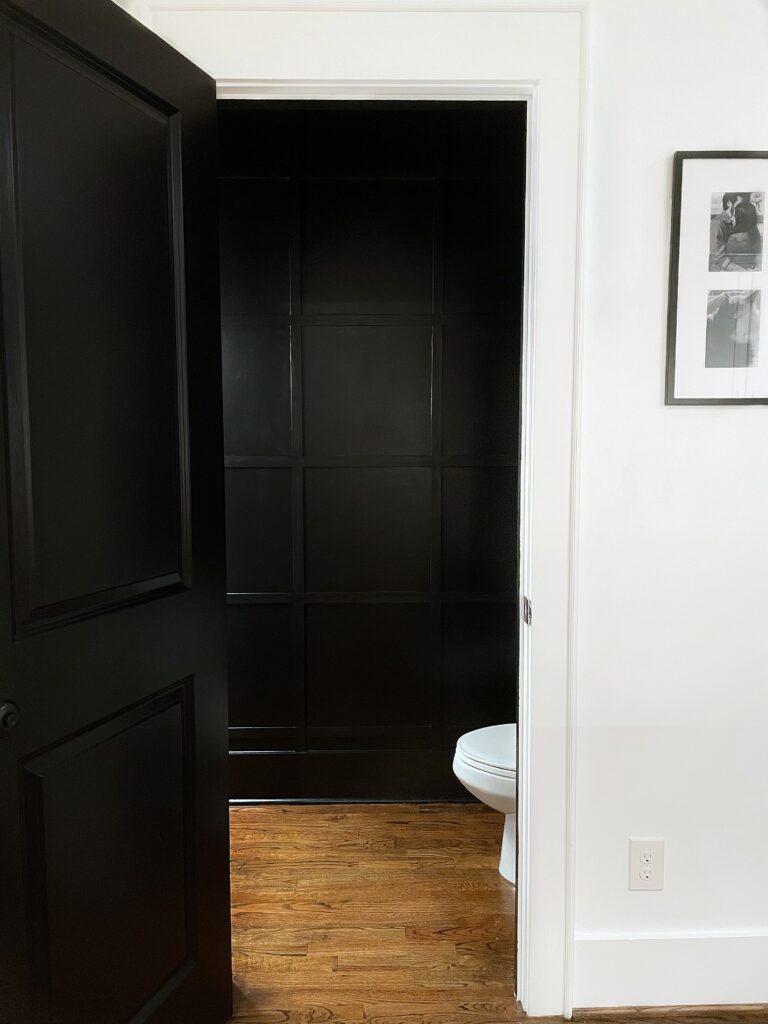
This is a view I walk by multiple times every day and I have to say, I’m so pleased with the final result! I really hope you found this blog post helpful!
(including a peel and stick wallpaper tutorial!)
I’m confident that this classic DIY grid wall would look awesome in your home! Please leave a comment if you have any questions!!
