

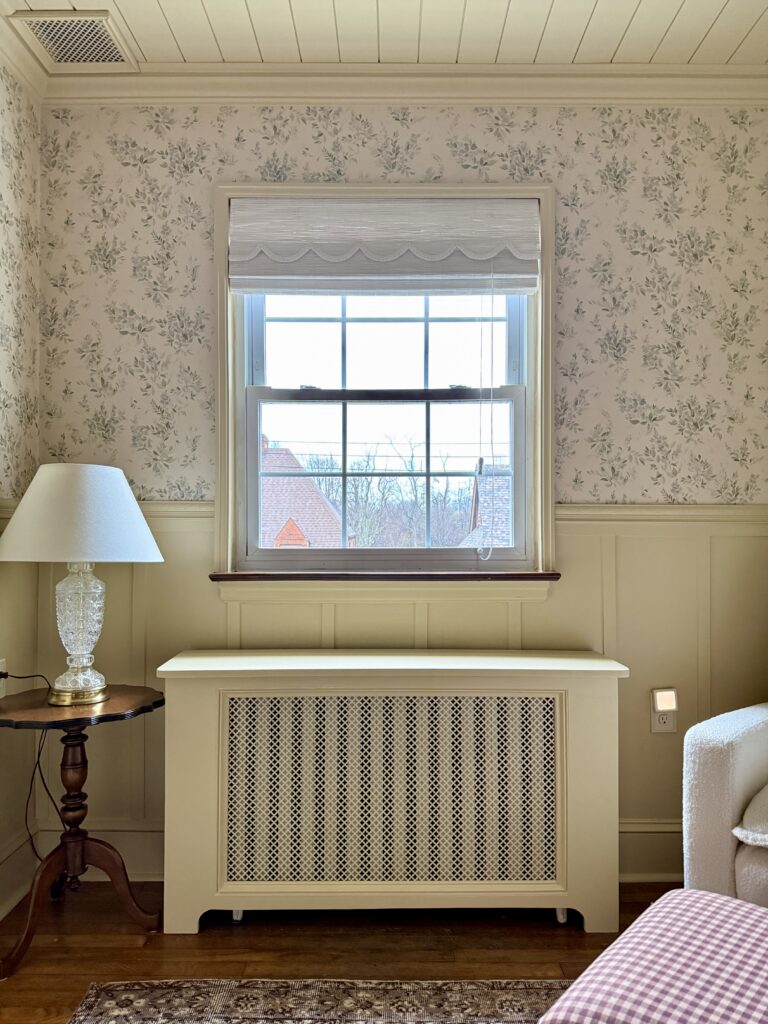
Radiators are functional, but they’re not always the most aesthetic. I’ve been wanting to design a custom DIY radiator cover since we moved into our 1930 home, so I’m excited to have finally accomplished this! Not only does it provide a flat surface you can use as a shelf, but it’s also a great way to turn your old radiators into a statement piece! In this post, i’m sharing my step-by-step guide for how to make a radiator cover.
Disclaimer: This post contains affiliate links. This means, if you purchase something from a link I provided, I will receive a small commission. This is at no extra cost to you! Thank you so much for the support!
TOOLS:
MATERIALS:
Step One: Planning Your DIY Radiator Cover
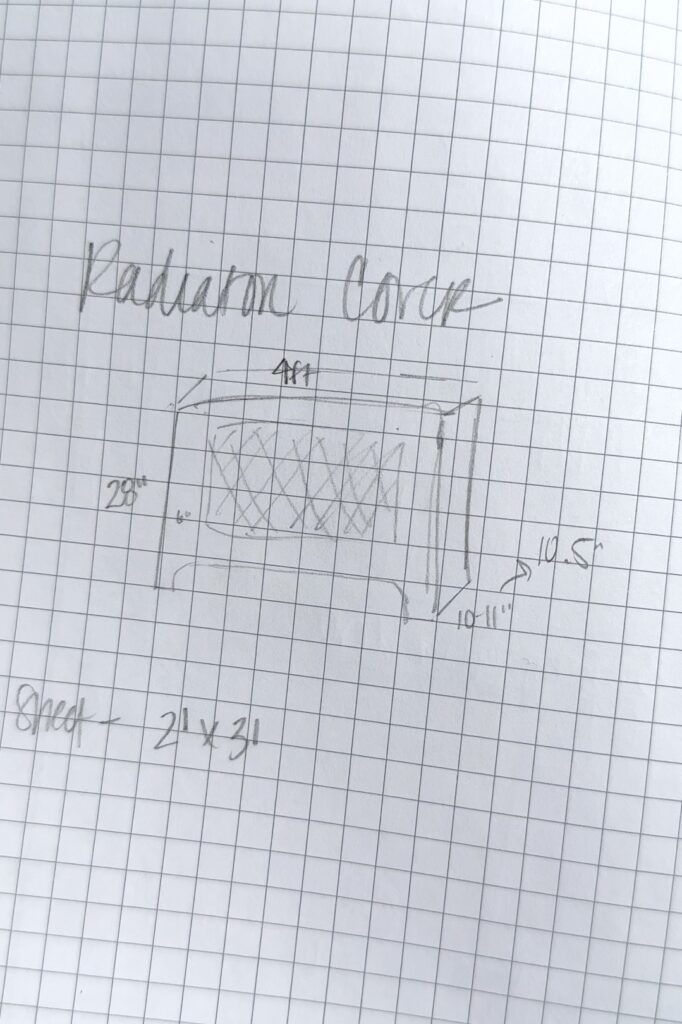
Measuring the radiator
The first step is measuring your radiator width, height, and depth. Don’t forget to include the pipes! Once you have your measurements, add a couple inches all around for airflow. You don’t want to build it too tight!
Radiator cover design
Spend some time on Pinterest looking at radiator cover design ideas… there’s so many ways you can customize this DIY project! I knew I wanted some additional trim and curved feet for a traditional look. There’s also several options to choose from for the decorative sheet metal. Here’s a few:
Don’t forget, you can always spray paint them if you’re looking for a specific look (ex: brass)!
Another idea is to do a built-in look which I love! You could do this by wrapping the skirting boards around the base of the radiator cover so it blends in seamlessly with the walls. This will give a more finished look that will have your old house looking more updated!
What material is best for radiator covers?
The best kind of wood for your radiator cover will depend on the look you’re going for!
If you plan to paint your DIY radiator cover, MDF (medium-density fiberboard) or plywood would be the best options! These are ideal because they resist warping better than solid wood and they’re more affordable. Keep in mind that MDF doesn’t handle moisture well, so I wouldn’t recommend it in a bathroom, for example.
For wooden radiator covers, plywood or solid wood will be best!
Step Two: Making the Front Piece
The next step is making the front of the radiator cover!
Our front piece needed to be 48″ wide by 28″ high, so first we cut the MDF board to that size with our circular saw. You could also use a table saw, but MDF is very heavy so I find using a circular saw to be the easiest way! Although, I still want to invest in a Kreg Accu-Cut which would make cuts like this much more accurate!
We then laid the aluminum sheeting on top to get an idea of where that would go and determine the spacing along the sides and top/bottom of the piece. On the left and right side, we had about 5 1/4″ space. On the bottom, we had 4″ and then 2″ on the top. You just want to make sure you have at least a half inch of MDF to staple the metal sheeting into.
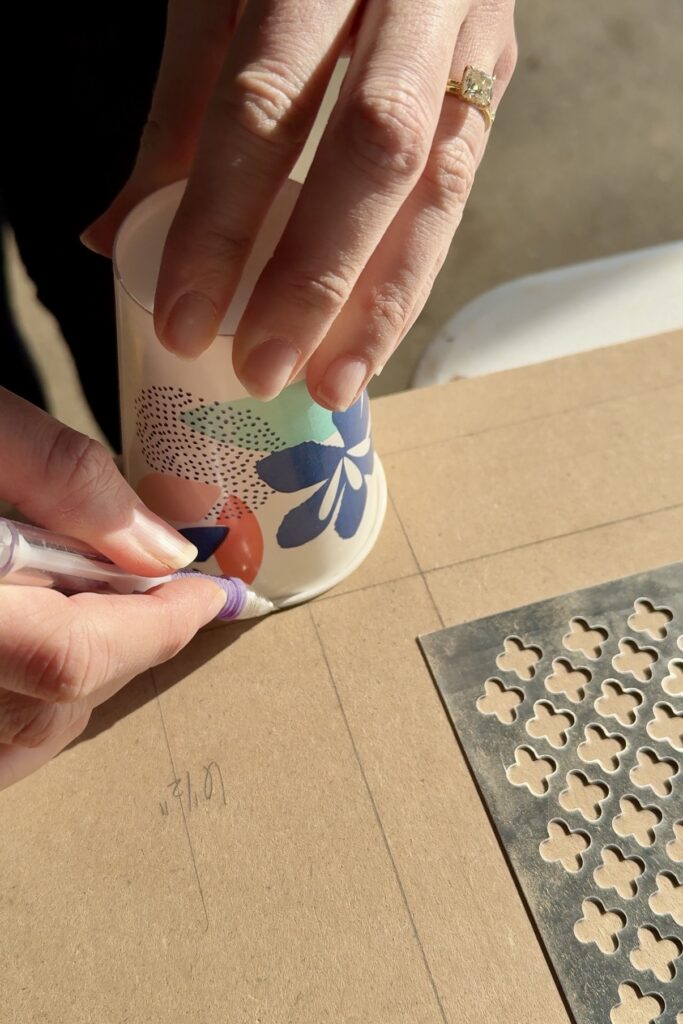
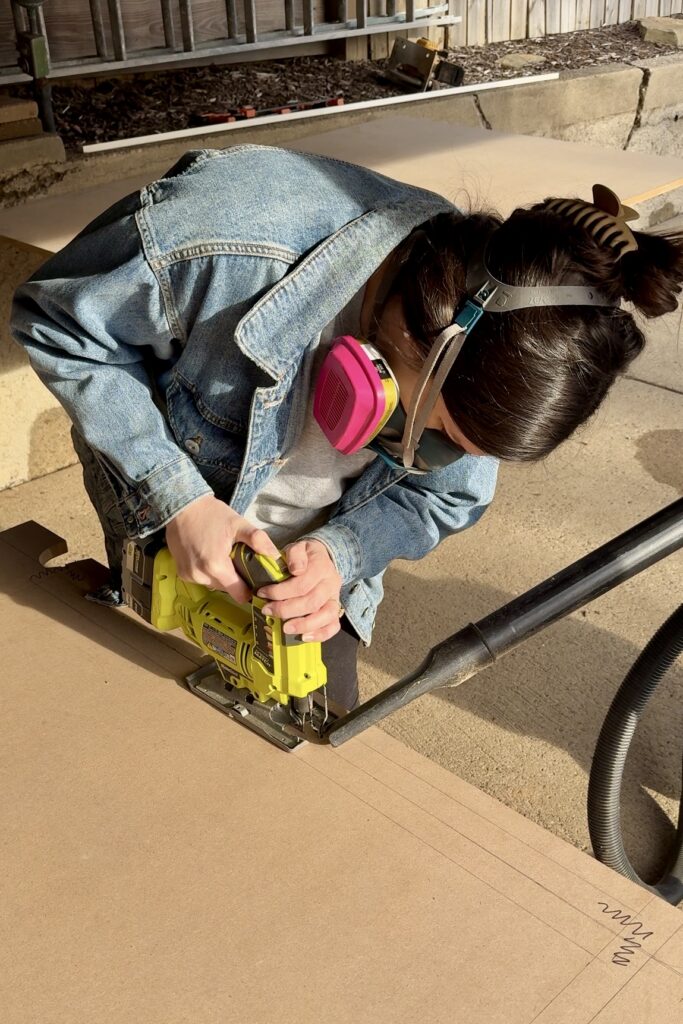
To get the “leg” detail on the bottom front, I just used a little dixie cup (you can use any circular object) to trace the curve and then used our jigsaw to cut it out.
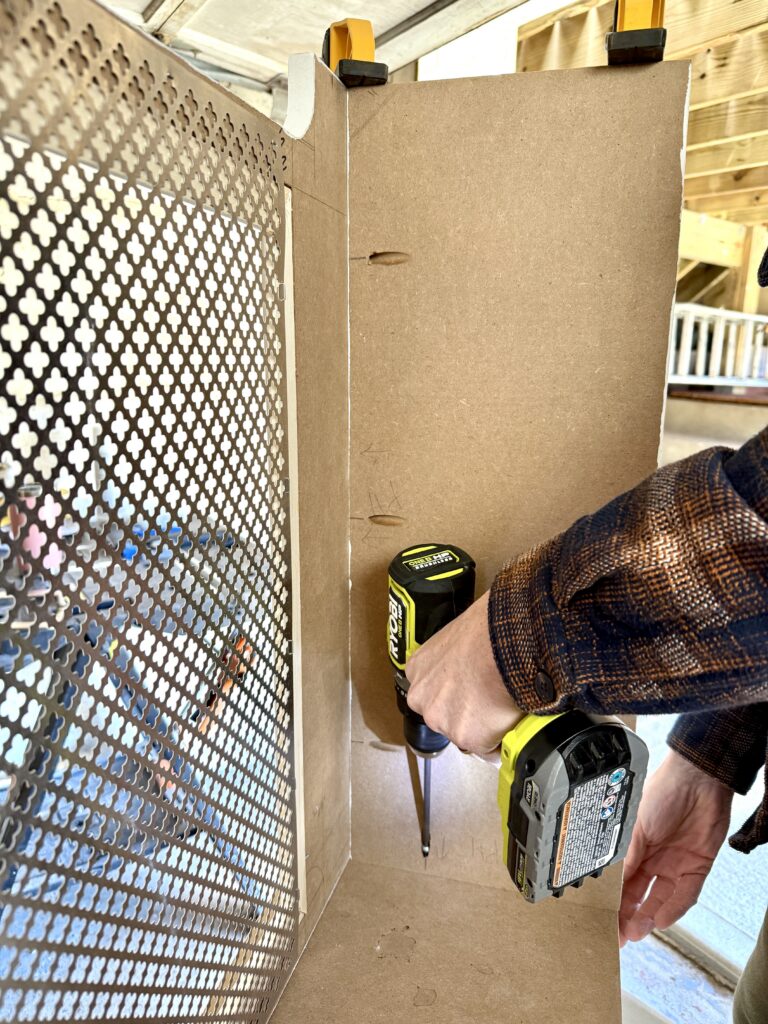
Next, we cut the middle piece where the screening will go. I used our framing square (any straight edge will do) to mark my measurements with a straight line and double, triple checked them before I cut.
To get the cut started, I used a drill bit large enough to fit my jigsaw blade.
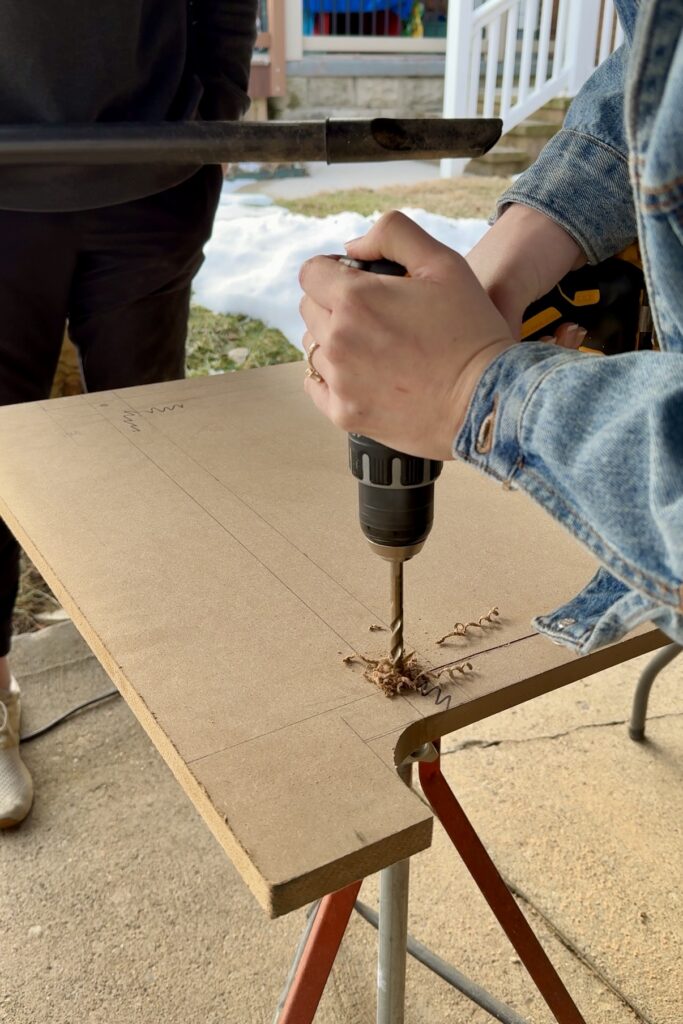
MDF creates a TON of dust when you cut it, so it’s always a good idea to have an extra set of hands for this part. I had my husband use the Shop-Vac hose as I cut. Otherwise the dust piles up and you can’t see the line!! Highly recommend!
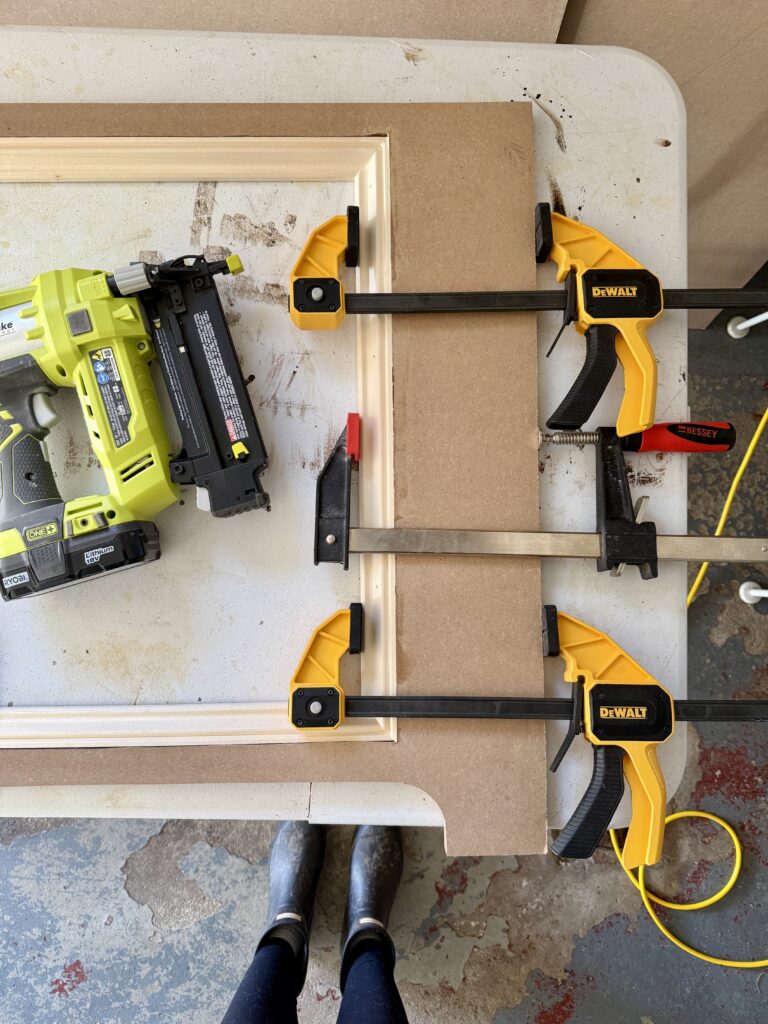
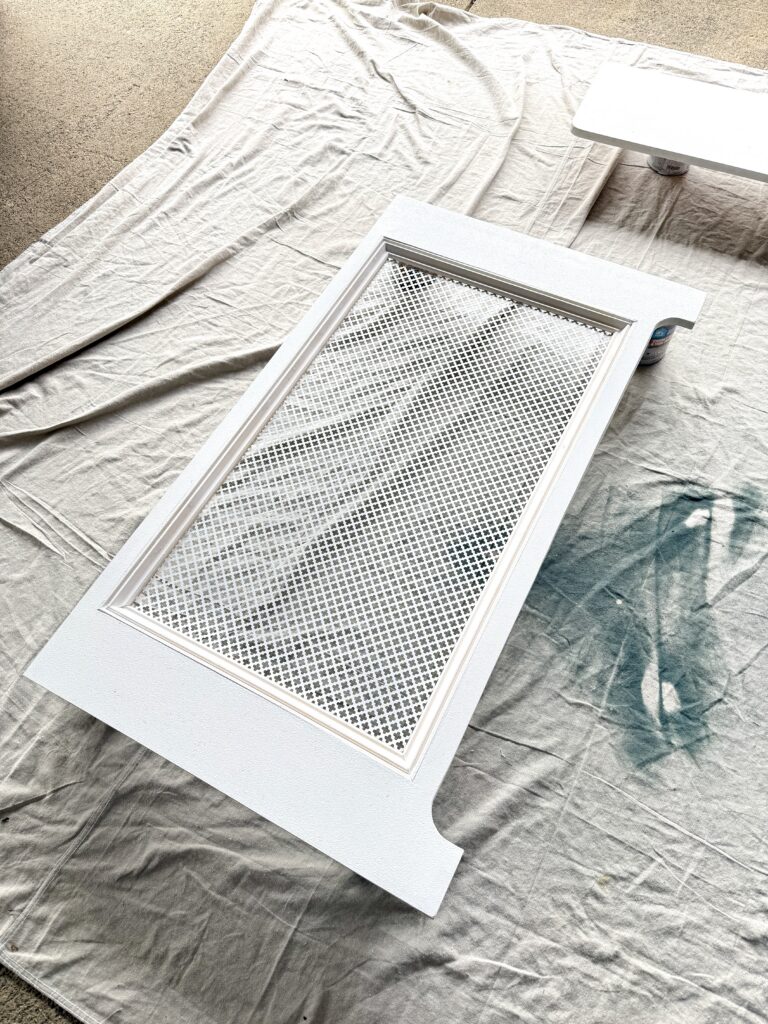
As you can see, I didn’t do a perfect job, but not to worry- I knew i’d be adding additional trim within the cutout. This is the trim I went with because it fit the 3/4″ MDF perfectly!

I cut the trim to size with 45-degree angles in the corners. To secure it to the MDF, I used wood glue and clamps followed by some brad nails!
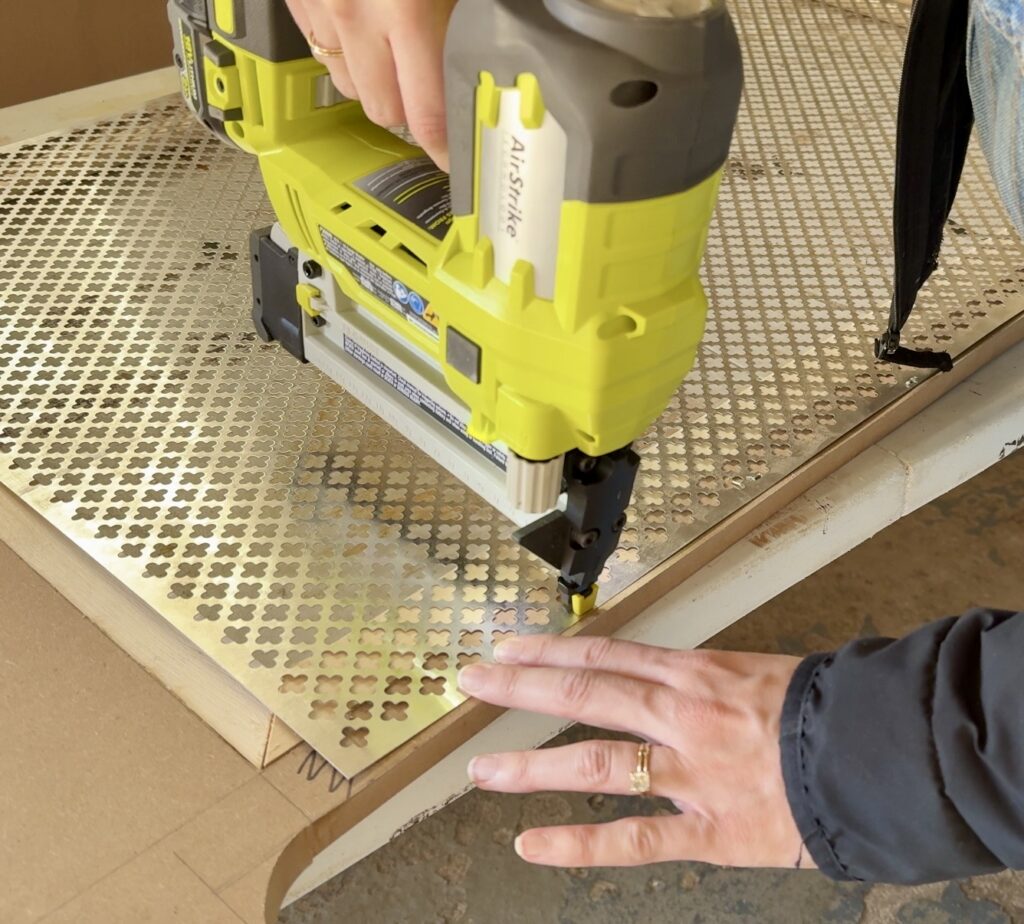
To attach the piece of sheet metal, I used my narrow crown stapler. If you don’t have one of these, you can totally just use a hand stapler!!
Step Three: Assembling the Radiator Cover
First you’ll of course need to cut your top piece and side panels! These are both really simple cuts! For the top piece, we added an extra 1.5″ overhang along the sides and front of the cover and curved the edges!
We used a Kreg pocket hole jig to assemble our DIY radiator cover! (If you don’t have a pocket hole jig, you could always drill pilot holes followed by screws instead.)
For each side panel, we made three pocket holes along the longer edge and two along the shorter edge. First we attached the side panels to the front frame using 1 1/4″ pocket hole screws. To keep the pieces at a 90-degree angle, we used long clamps and a speed square.
We then attached the top piece using the two pocket holes on each end of the side panel, drilling into the top piece! Since we’re not using this radiator cover as a bench, we felt this would provide the strength we needed. If you were to use this as a bench, you would definitely need more support for a solid top!
Step Four: Primer & Paint
You can see that we actually primed before we assembled! That’s totally personal preference and you can do it in any order you’d like!
I caulked the seams where the trim meets the MDF and then used spackle for the corners of the trim. If you have screw holes that need to be covered, i’d recommend using wood filler!
Before priming, we gave everything a quick sand with 220 grit sandpaper. For the metal sheeting, we used this primer spray, and for the MDF, we applied this primer with a roller brush. When the primer is dry, give everything a quick scuff sand with a 220 grit sanding block.
I did two coats of paint with a light sanding in between. If you have a paint sprayer, that would work great on a project like this! We have one, but I don’t always love setting up a spray booth and it was cold outside, so I just used a roller and paint brush. For the metal screening, I just applied the paint in small amounts with a paint brush. I made sure to have a drop cloth underneath to catch any drips!
We chose not to attach our DIY radiator cover to the wall, but you totally can! An L-bracket should work great for that. If you don’t want to attach it to the wall, but you’d like a bit more security, you could also add a thin back frame or panel that slides behind the radiator.
If you have uneven floors like we do (oh, the joys of old houses 🙂 ), you might have to do some finagling with shims or small wood pieces.
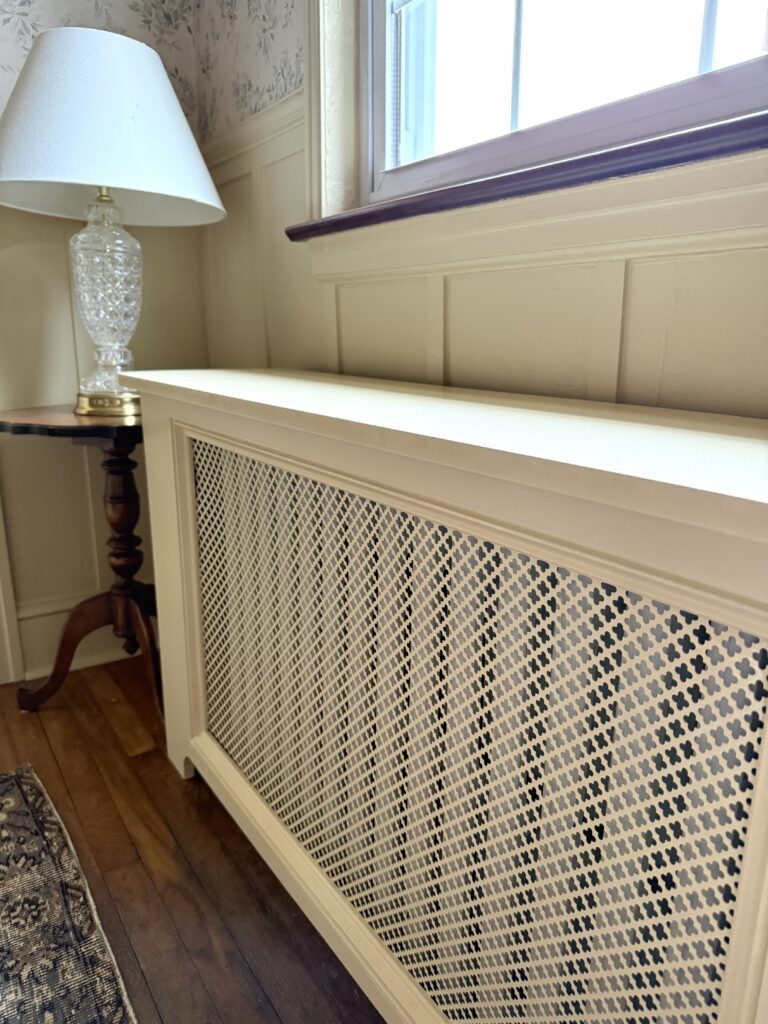
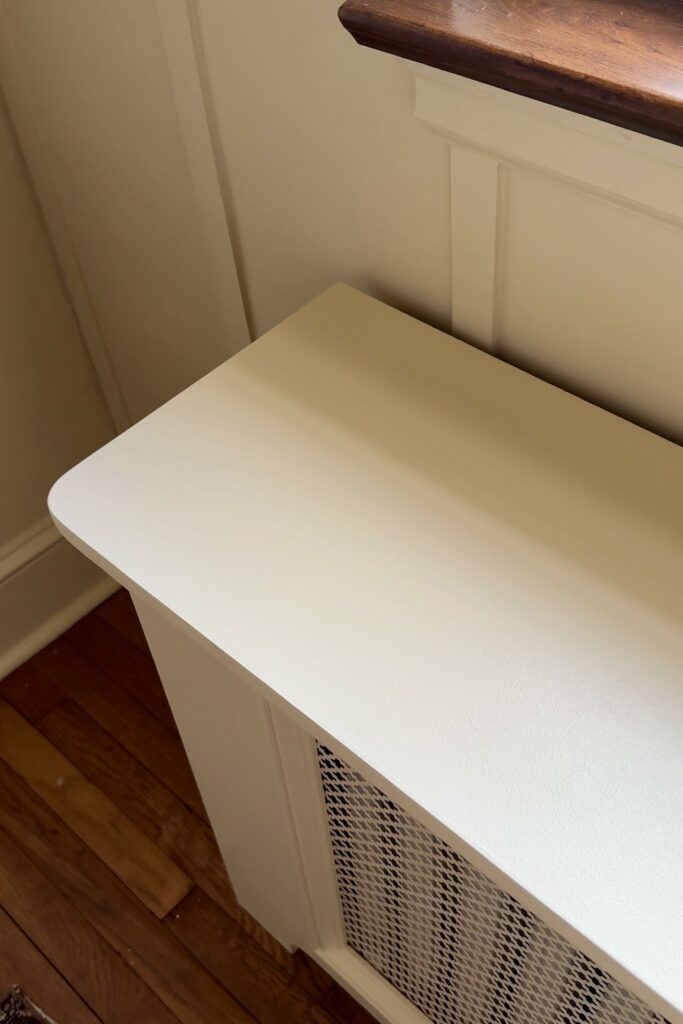
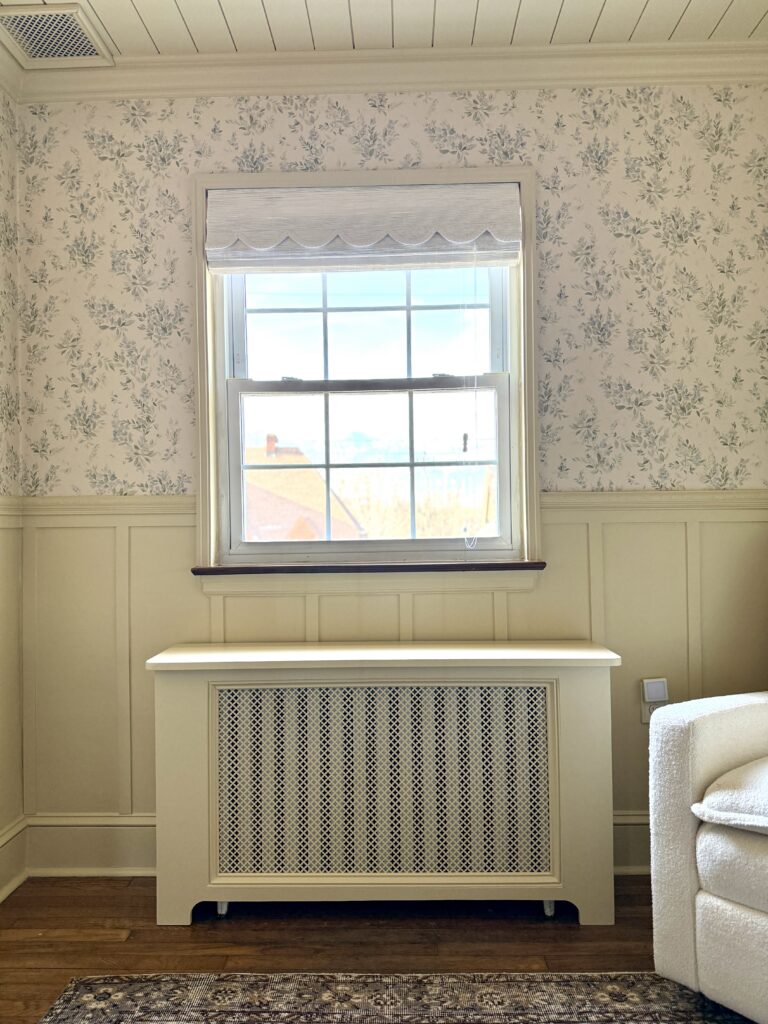
We honestly couldn’t be more pleased with the final product!! It turned out even better than we expected and has definitely become one of the decorative elements in our nursery 🙂 Not to mention, this is actually one of the easier woodworking diy projects i’ve done! It’s totally doable even at a beginner skill level.
I hope this radiator cover tutorial was helpful! Please let me know if you have any questions. Oh, and stick around because our nursery reveal is coming soon 🙂
Elisha
