

We started our very first garden this year so naturally I felt the need to have a cute little DIY potting table. Could I have bought one? Of course. But why buy when you can DIY? 😉 Not only is it cheaper, but it also allows for complete freedom to design it exactly how I want! I was going for a charming English cottage style look and I adore how it turned out. In this post, i’ll be sharing a step-by-step tutorial for our DIY gardening table!
Disclaimer: This post contains affiliate links. This means, if you purchase something from a link I provided, I will receive a small commission. This is at no extra cost to you! Thank you so much for the support!
TOOLS:
MATERIALS:
- (2) 4x4x6
- (11) 1x4x8
- (1) 1x6x8
- (1) 4×8 Lattice (you can also use this one!)
- 1 1/2″ Exterior Screws
DIY Gardening Table Plan and Cut List
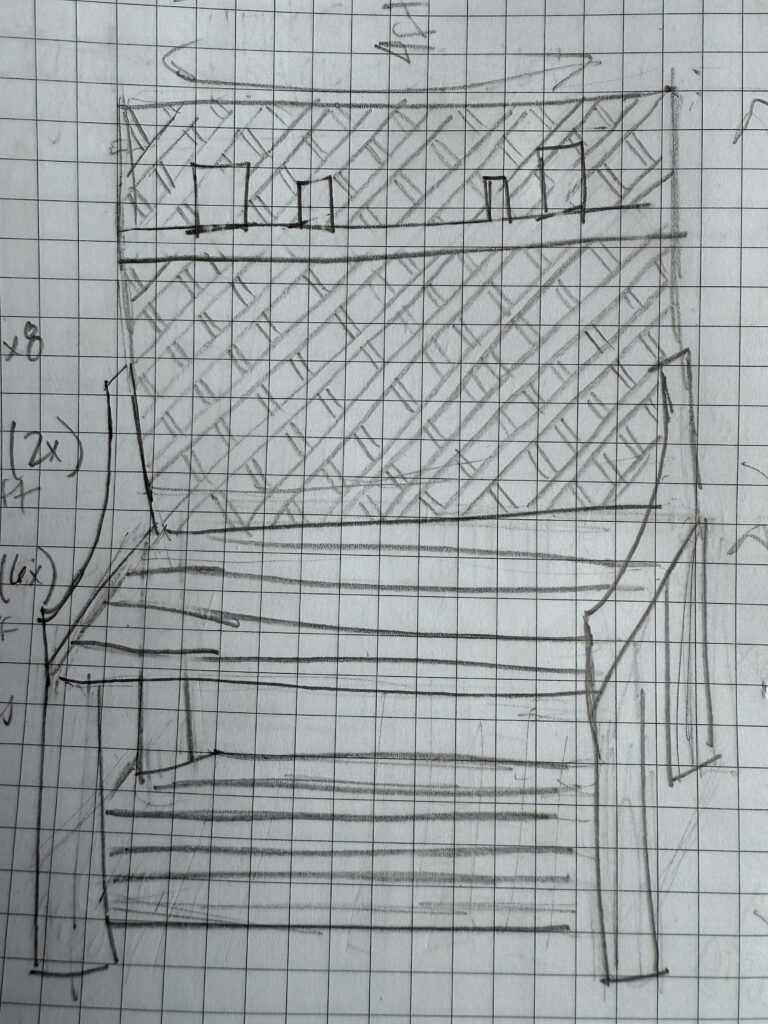
plan
There’s a lot to consider when planning your gardening bench DIY! I started by scrolling through Pinterest and seeing what caught my eye. Ultimately, I ended up combining a few differenting potting tables that I liked. Our biggest inspiration for the base was this table by Thrifty Decor Chick! We loved the simple construction and used her potting bench plans to help get started.
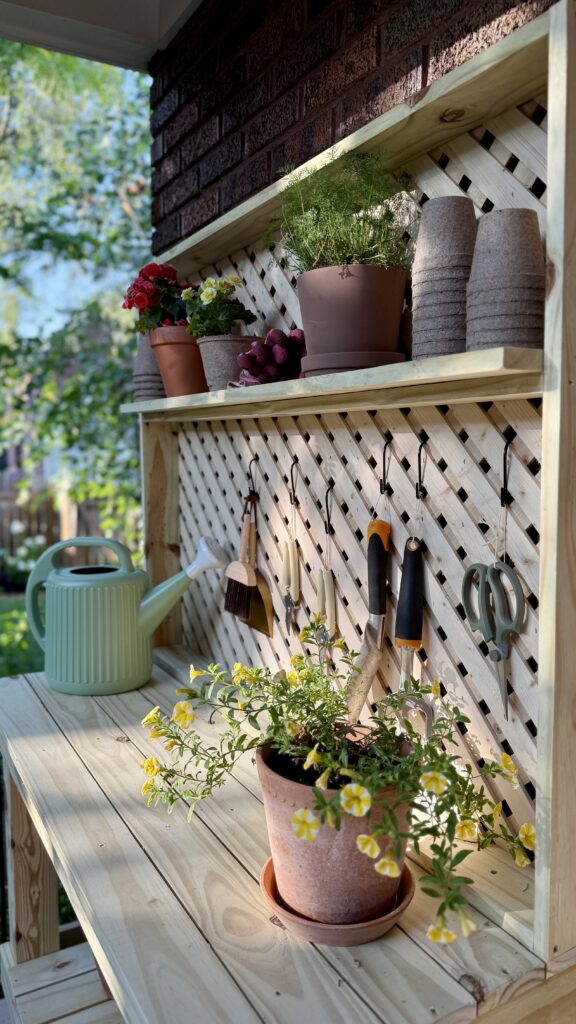
I knew I wanted to incorporate some lattice too! Not only is it a charming detail, but it also makes for a more functional potting bench since I can hang gardening tools and add an upper shelf.
Technically, i’m not fully finished with this gardening bench because I plan to add some corbels to the sides and paint it. Since we used pressure treated wood, I have to wait several months before I can paint it. Once I paint it, i’ll also add the arched details to the sides!
I probably could have gotten away with using regular pine (if I finished it properly!) since our potting table is on a covered side porch, but I figured it would probably last longer with the pressure treated wood. You can also use cedar boards, which hold up nicely outdoors, but is definitely a more expensive option!
cut list
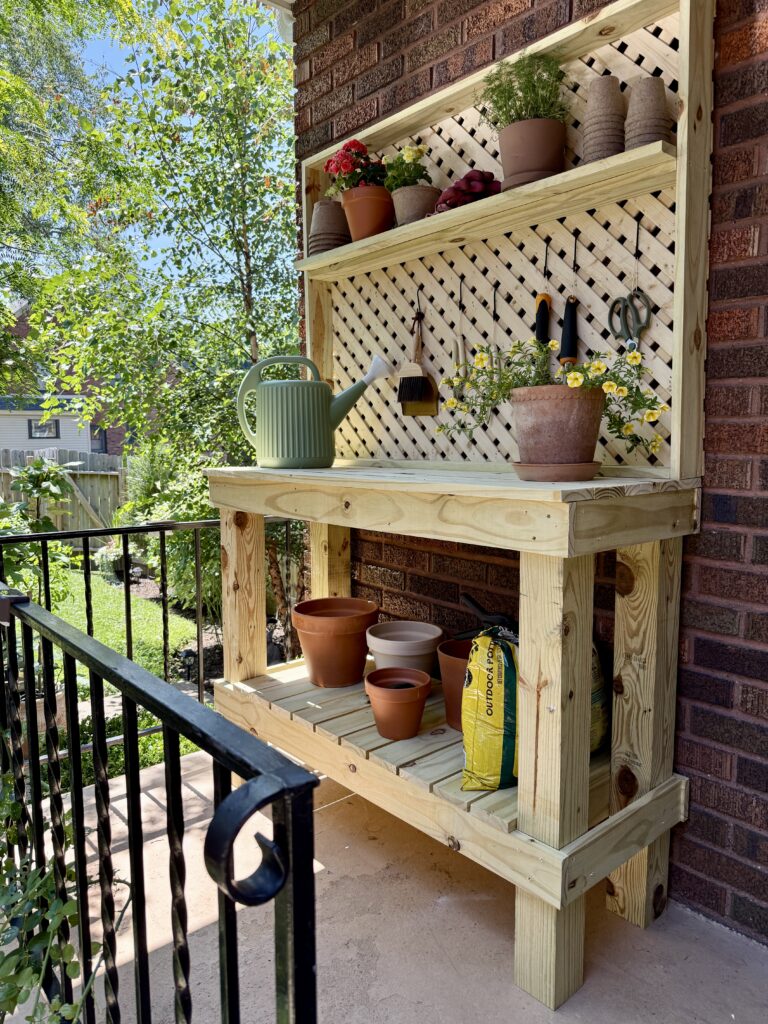
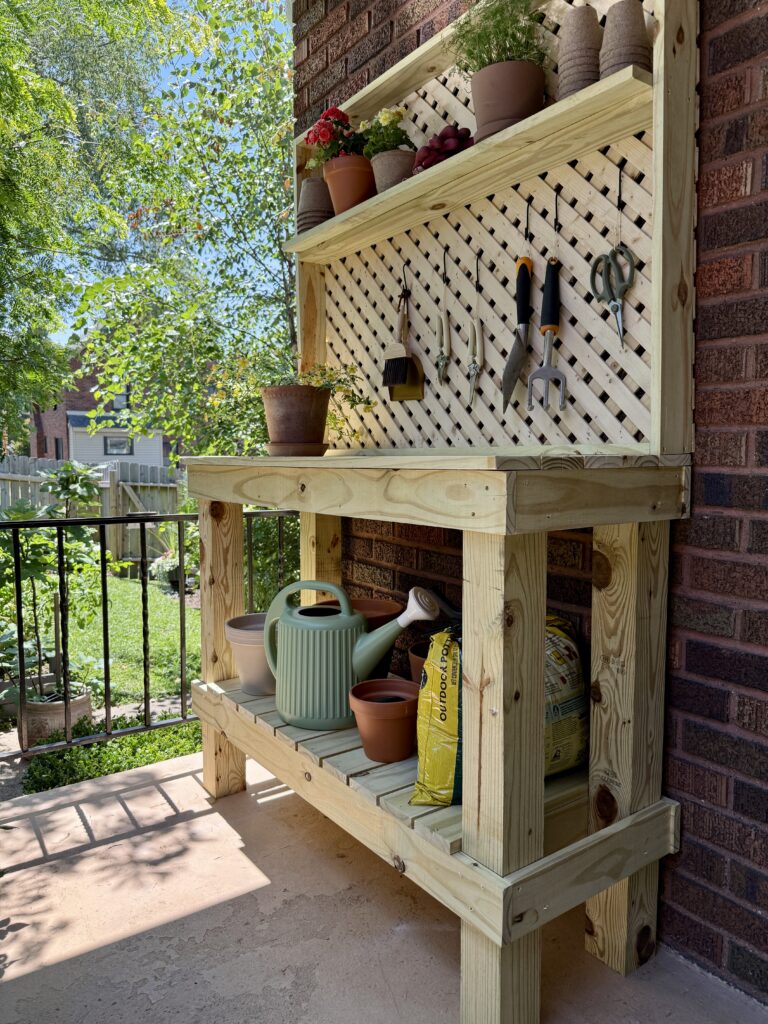
These are the final dimensions for this DIY potting bench: 18″D x 4ft W x 6ft H.
Of course you’ll have to find the right size for your space. If we had more room on our porch, we’d probably add a little more depth to the countertop.
- (4) 4x4s at 36″ (legs)
- (4) 1x4s at 48″ (frame)
- (8) 1x4s at 16″ (frame)
- (10) 1x4s at 17 3/4″ (lower shelf)
- (5) 1x4s at 48″ (countertop)
- (3) 1x4s at 46.5″ (lattice frame)
- (2) 1x4s at 36″ (lattice frame)
- (1) 1×6 at 46.5″ (lattice shelf)
- (1) 3ft x 4ft lattice piece
How to Build a DIY Gardening Table YouTube Video
We also have a video of this potting bench build on our YouTube channel! I always say it’s a good idea to watch that first so you can see the process and then come back here for any unanswered questions 🙂
Step One: Frame
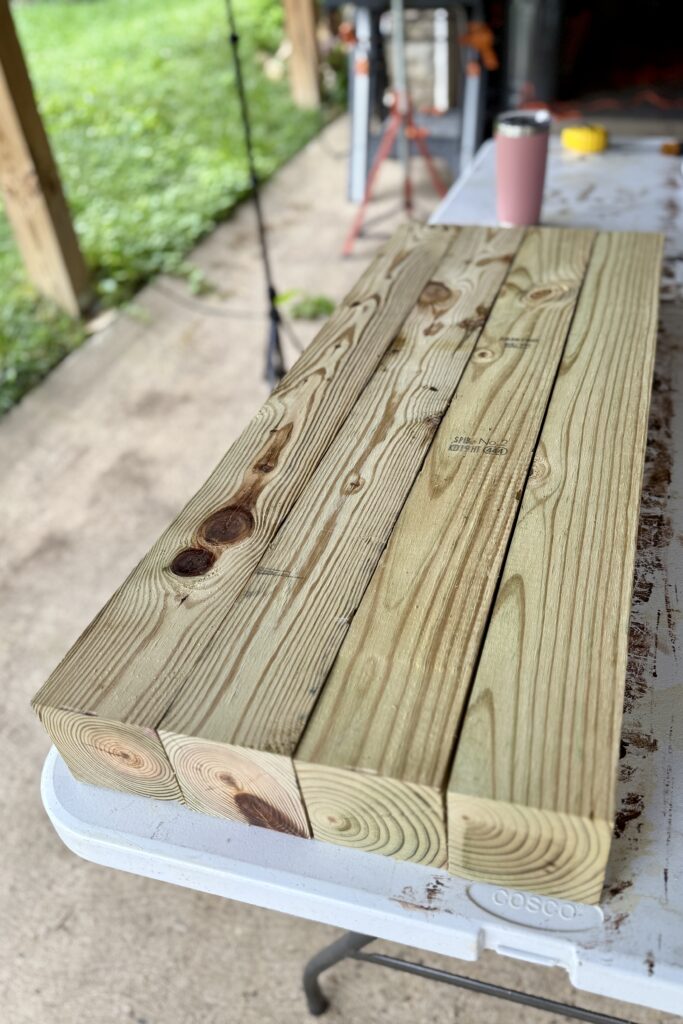
Cut four 36″ pieces out of the 4x4s. These will be the legs of the potting table!
There’s going to be a 1×4 frame that goes around the base. We did the front legs and back legs first in two separate pieces. You’ll need four 4ft 1×4 pieces.
Starting with just two of the legs, screw a 1×4 at the top of the legs. Leave 3/4″ overhang on each side. You’ll do the same with the bottom board. We placed ours 12″ from the bottom of the legs. (This will be the height of the bottom shelf.)
We used three 1.5″ screws to secure them.
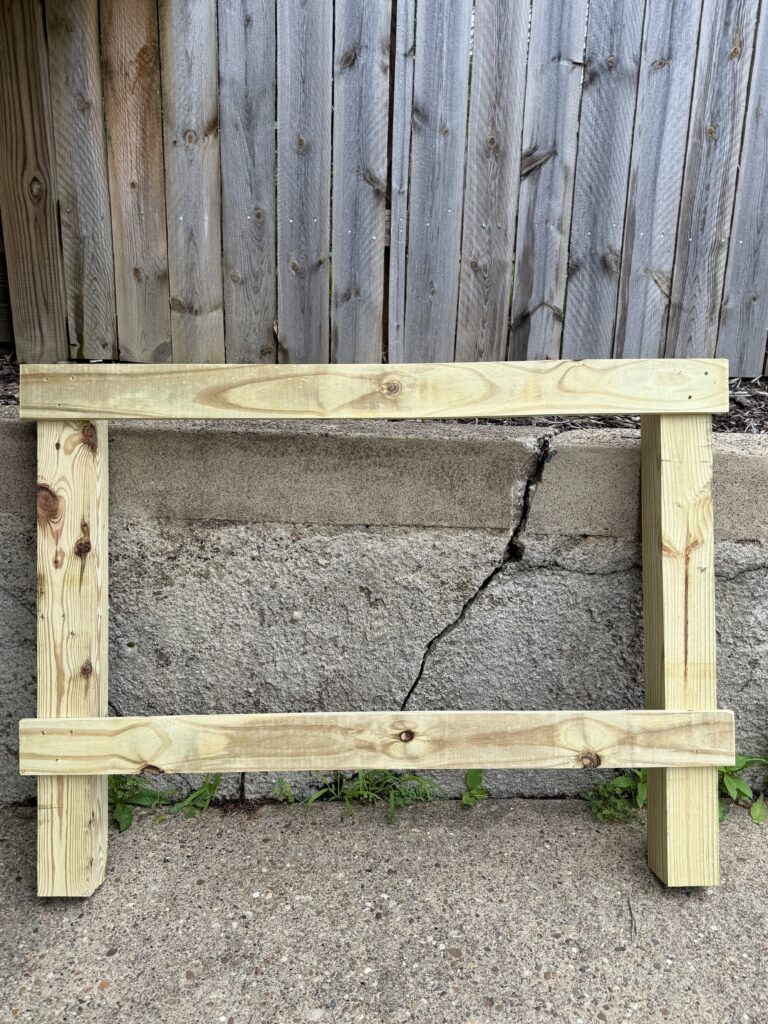
Repeat this again and then you’ll have your front and back legs!
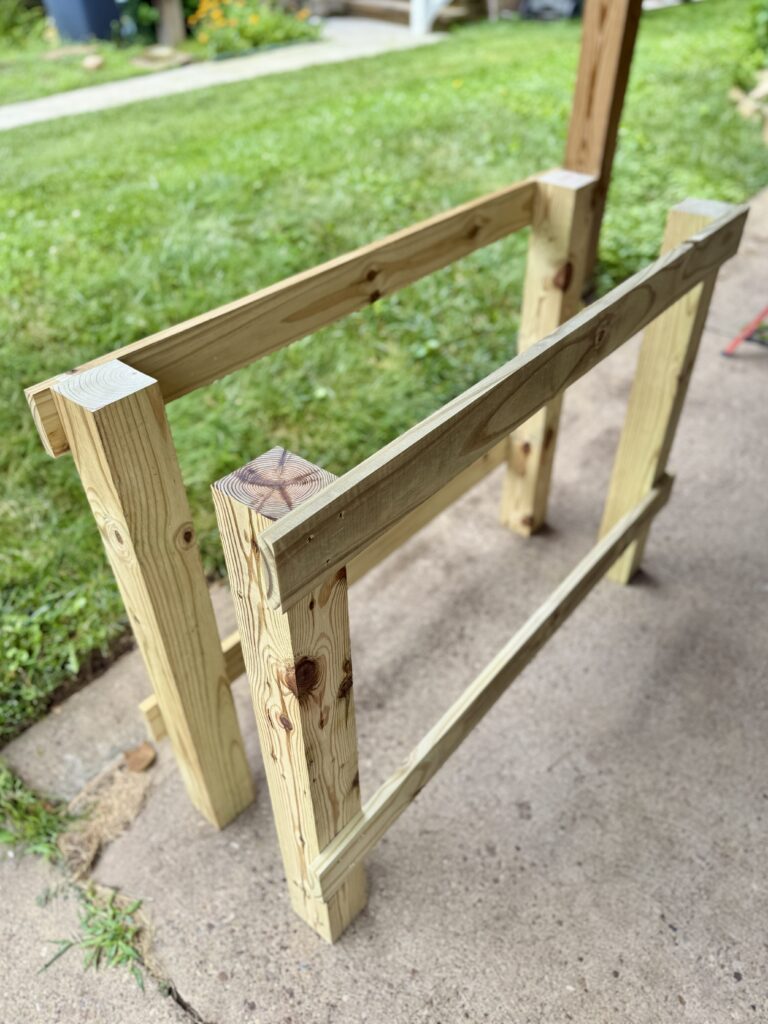
To complete the framing, you’ll need ten 16″ 1x4s. These get screwed into the inside and outside of the top and bottom of the legs. You can’t see in this photo, but we also added two extra support pieces that would go under the work surface area. It’s probably not necessary, but it never hurts to have some extra supports!

Step Two: Bottom Shelf & Countertop
Now that the frame is done, you’re ready to do the bottom shelf and the countertop.
For the bottom shelf, you’ll need ten 17 3/4″ 1x4s. First we laid them out across the frame and spaced them evenly. We just eyeballed the spacing! That’s the beauty of this gardening table— its going to be in an outdoor space so it really doesn’t have to be perfect!
Once we felt good about the layout, we used one 1 1/2″ screw on each end of the board.
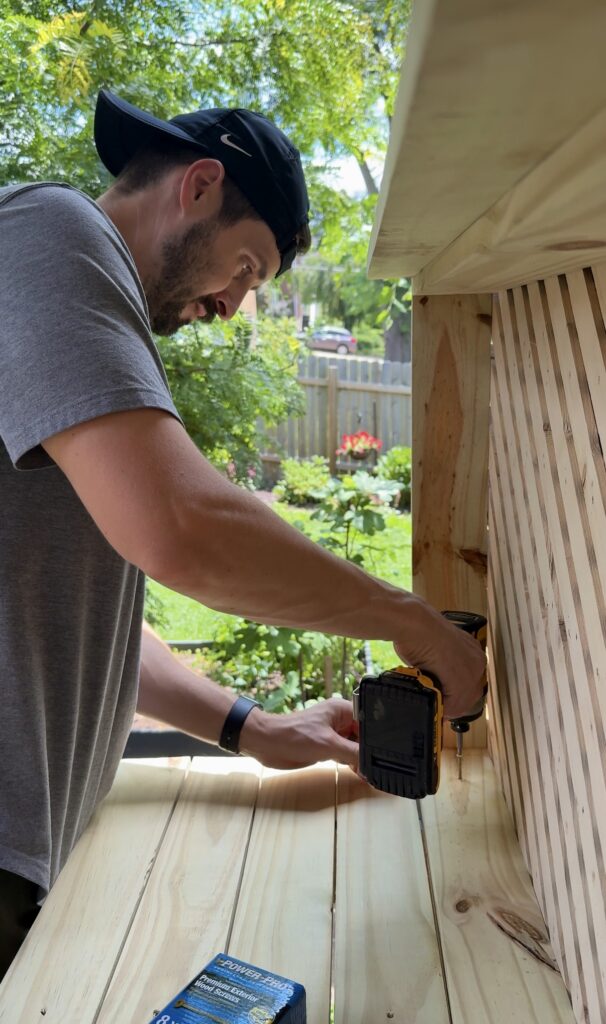
For the work surface area, we used five 4ft 1x4s.
Start by lining up a board flush with the black legs. Add four 1 1/2″ screws along the board and into the support pieces/legs. Continue with the rest of the 1x4s. You’ll have a small overhang in the front of the bench top.
Step Three: Lattice Top
The first step with the lattice top is making a frame. You’ll need three 46 1/2″ 1x4s and two 36″ 1x4s. We used these corner clamps from Home Depot to attach the 1x4s.
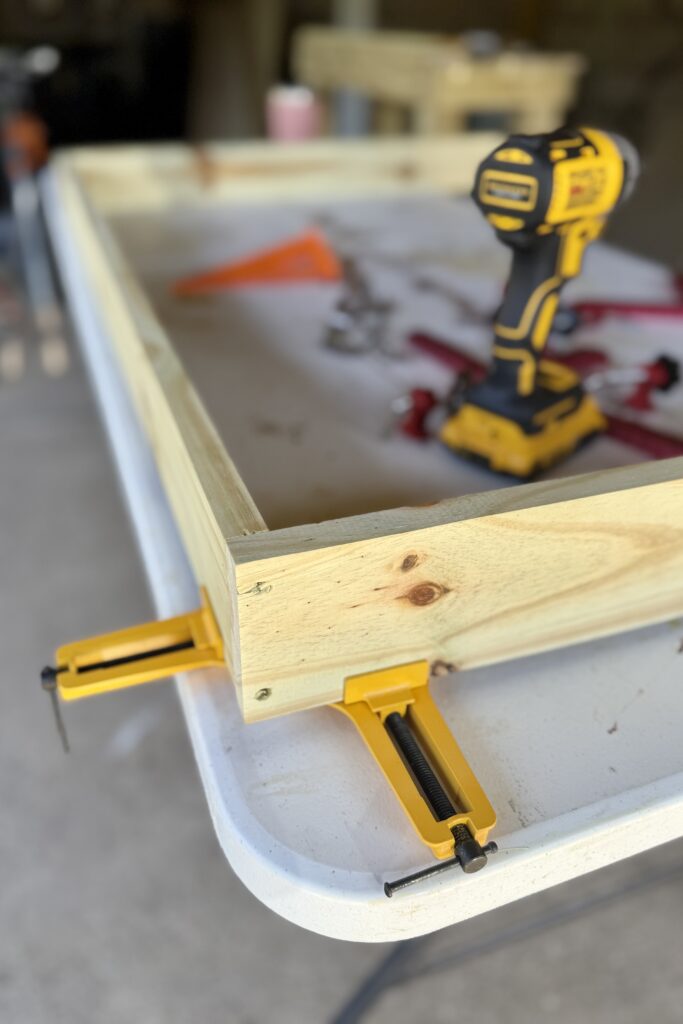
The 46 1/2″ pieces go across the length of the garden bench and the 36″ pieces are the sides.
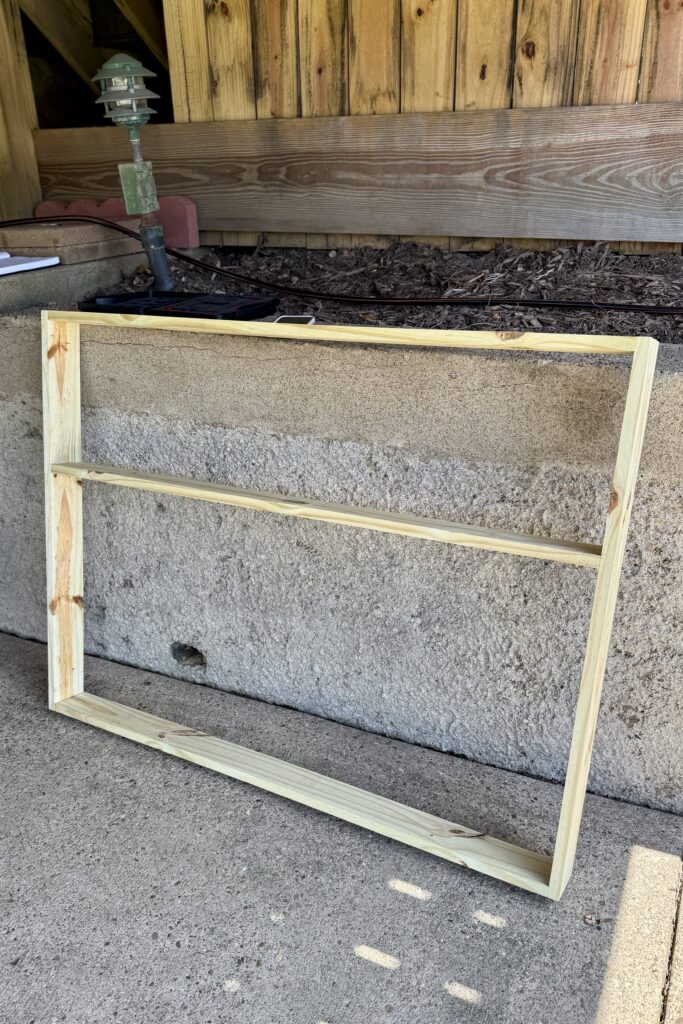
The reason we used three of the longer pieces is so we could have a shelf towards the top of the lattice backing. The shelf is 12″ down from the top!
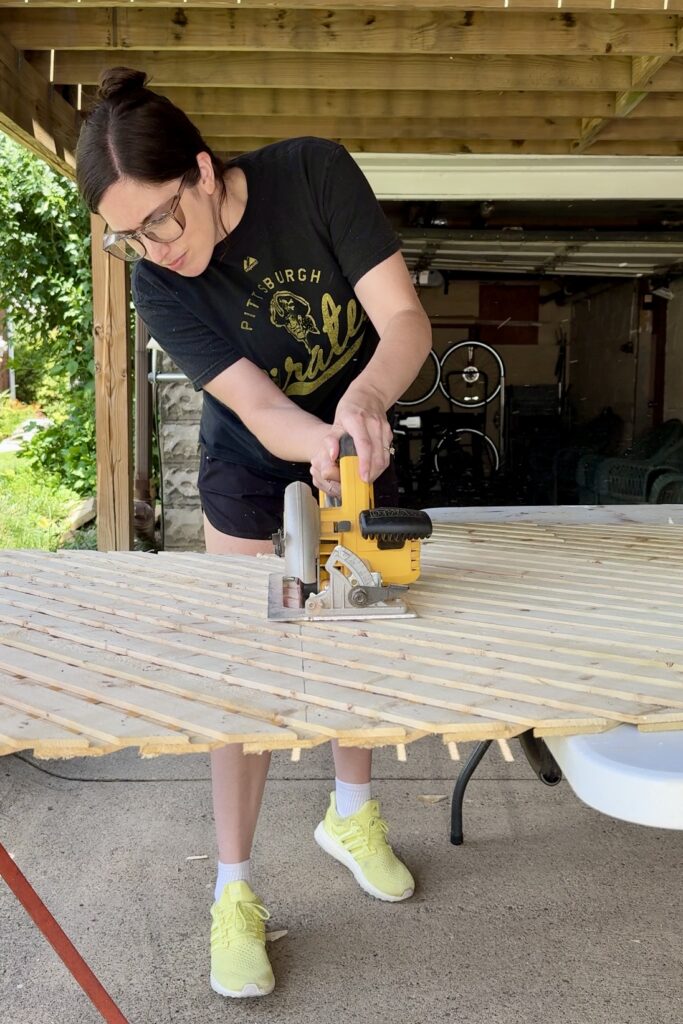
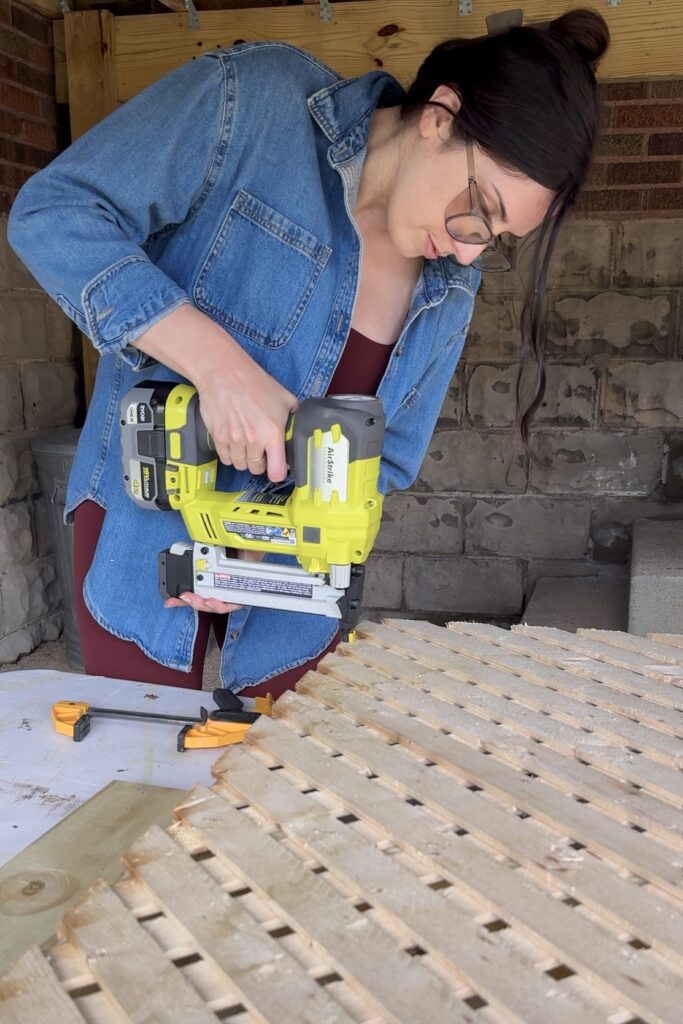
Next, we had to cut our lattice down to a 3ft x 4ft piece. I used measuring tape and a framing square to mark my line. Just a heads up- there’s staples throughout the lattice so try to avoid marking your line directly on those. I wasn’t paying attention and ending up cutting right were all the staples were which means sparks were flying… whoops 🙂
To cut the lattice, we used our circular saw! Once it’s cut to size, I recommend sanding it smooth. Ours was pretty rough so I did a round of 120 grit sandpaper followed by 220 grit!
Finally, you’ll attach the lattice to the back of the frame. Initially we tried using screws but they were splitting the lattice trim. Luckily, we bought a crown stapler when we did our staircase makeover so we decided to try that and it worked perfectly! We used 7/8″ narrow crown staples.
If you don’t have a crown stapler, you could try pre-drilling pilot holes before screwing, or just use a regular staple gun. Also, a little wood glue never hurts 🙂
After this, we added an additional board to the top shelf to give it more depth. We used a 1×6 cut down to 46 1/2″ and screwed that into the 1×4 using 1 1/4″ screws.
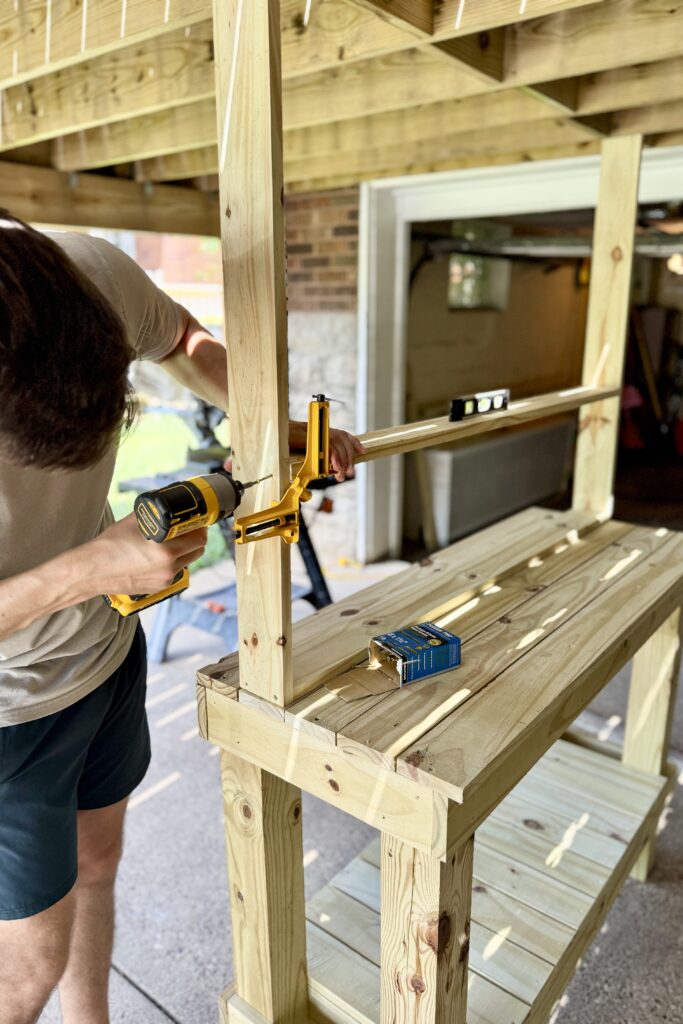
Lastly, we attached the frame to the tabletop by screwing the base of the frame into the potting table using 1 1/2″ screws.
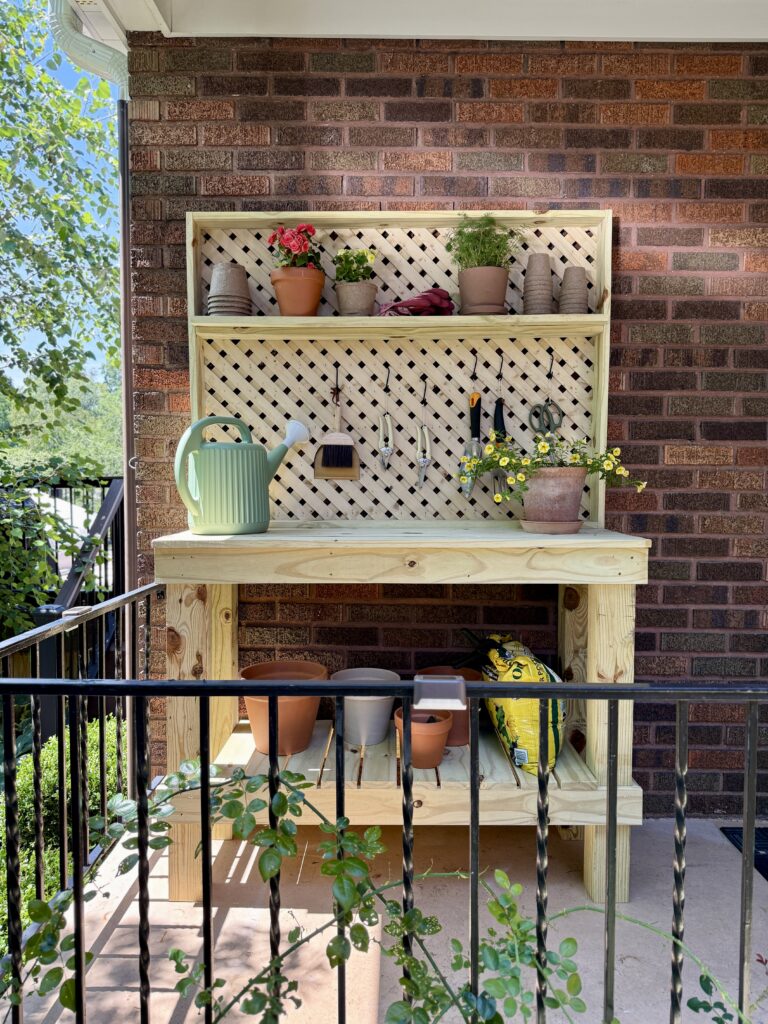
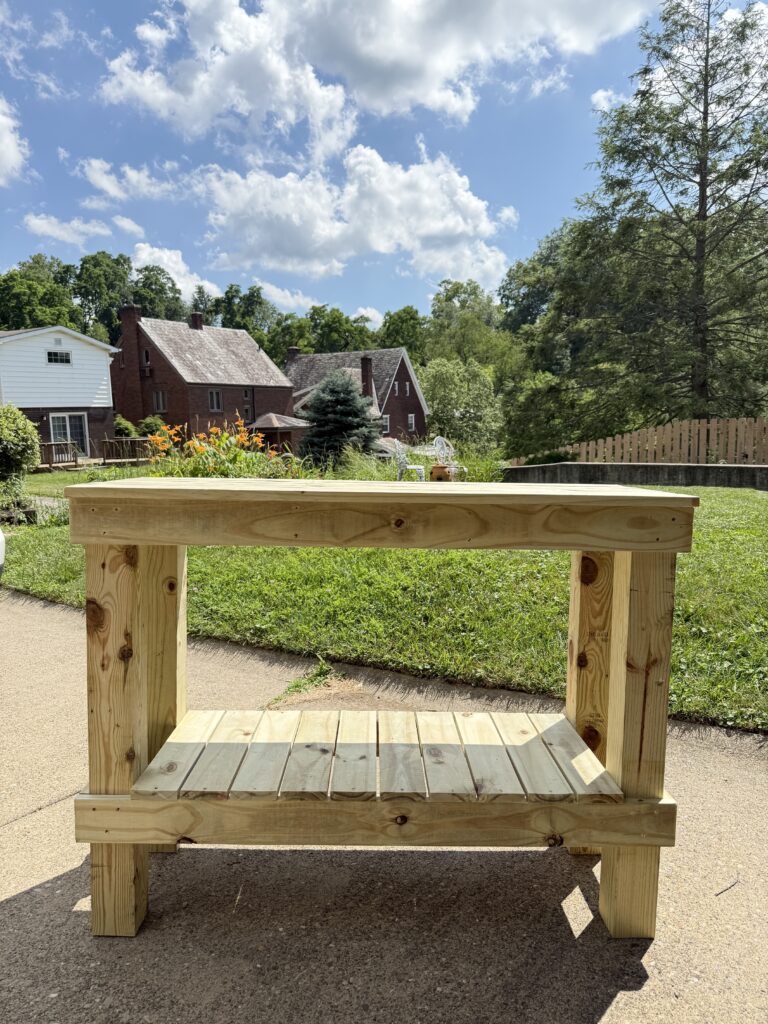
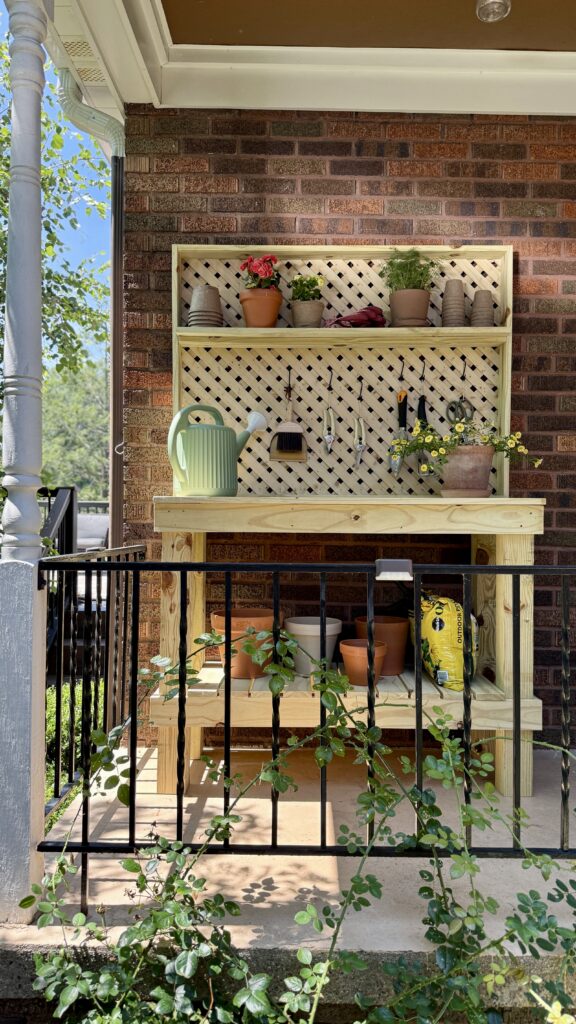
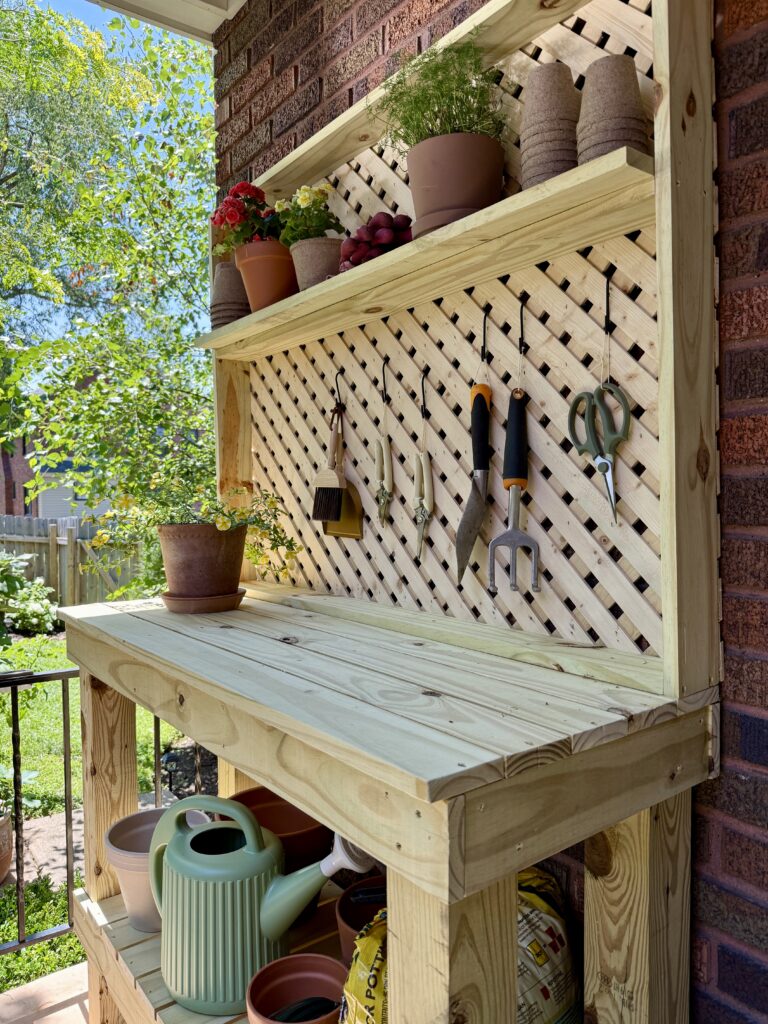
Our DIY Potting Table with Lattice
Is this not the most beautiful potting bench? Maybe i’m bias but I just adore how it turned out and can’t wait to see how it looks once I can paint it! And yes, I promise i’ll update this post when I do! 🙂

This DIY gardening table was so incredibly easy to make! You can complete the whole project in a day. Or if you’re like me and like to break it up more, definitely a weekend! I hope you guys enjoyed this one 🙂 Thank you for being here!
Elisha
