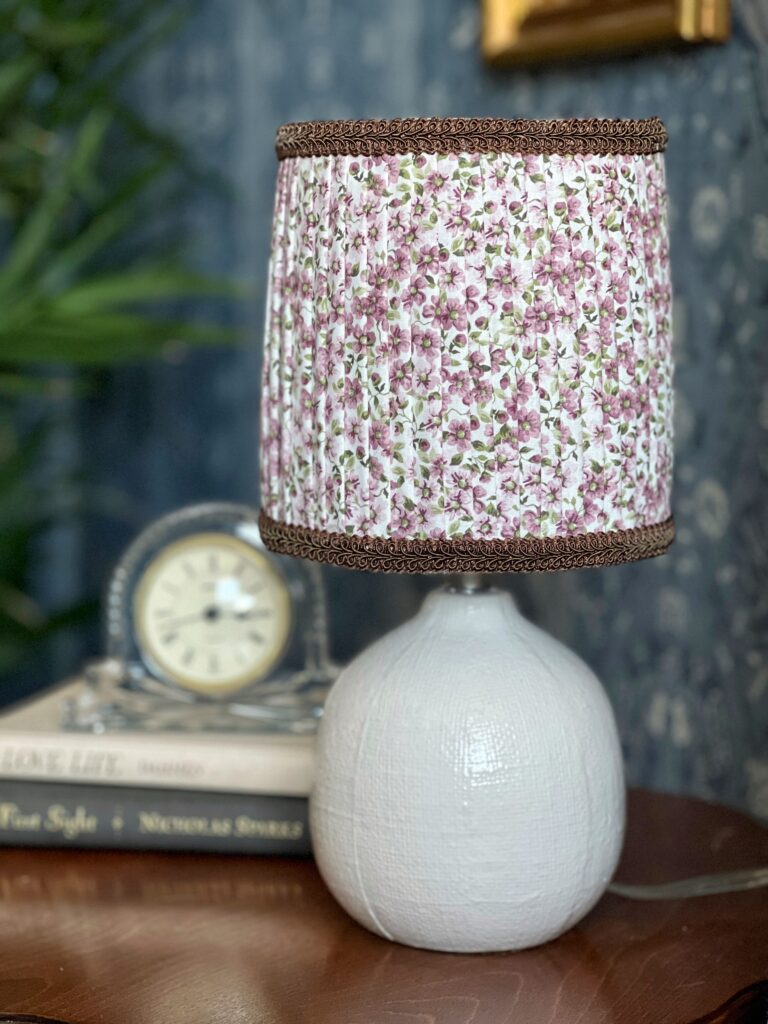
Does it get any more charming than a pleated fabric lampshade? Really, though?! I just love the look of them, but when I started shopping around I realized they can be surprisingly expensive to buy.
I figured it can’t be that difficult to make my own DIY fabric lampshade, so I gave it a shot!
This easy lampshade makeover is a great way to spruce up a plain lampshade. I used a lamp I already had at home (just in case it didn’t turn out well) and I just picked up some fabric and decorative trim and everything else I already had on hand!
Disclaimer: This post contains affiliate links. This means, if you purchase something from a link I provided, I will receive a small commission. This is at no extra cost to you! Thank you for your support!
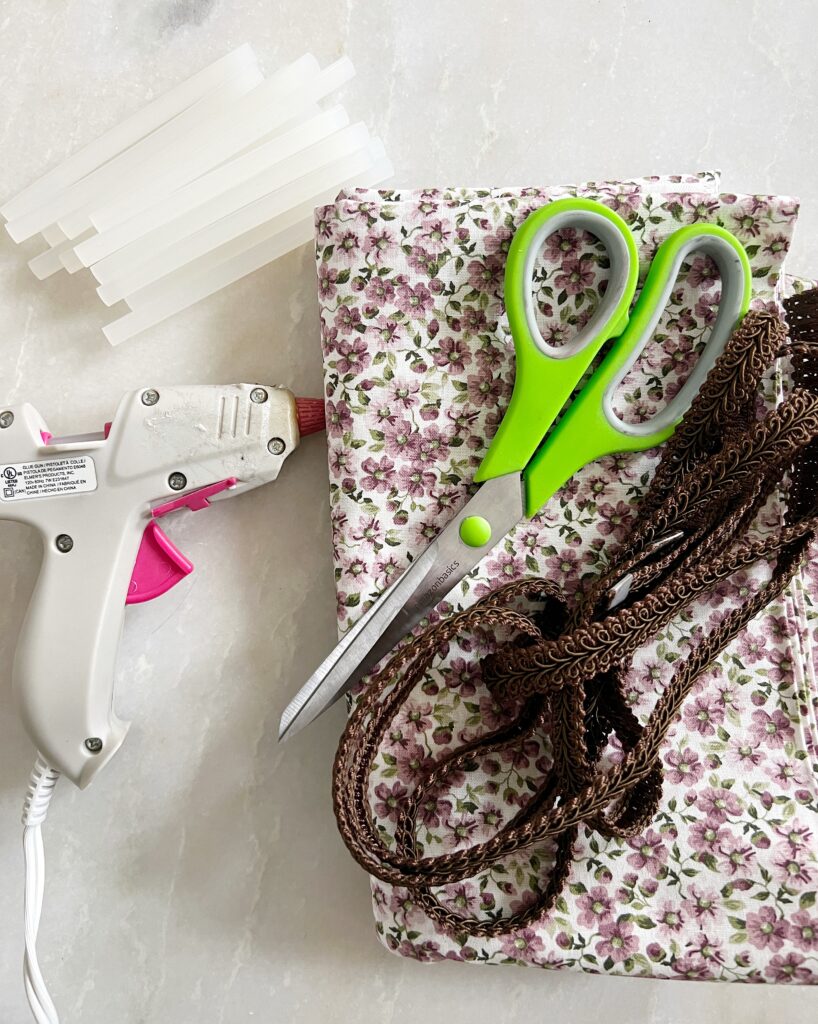
Tools
Materials
The Best Supplies for a DIY Fabric Lampshade
What type of lampshade should I use?
A drum lampshade is the best for this DIY fabric lampshade. My recommendation is to avoid using a very tapered lampshade for this project if it’s your first time trying it!
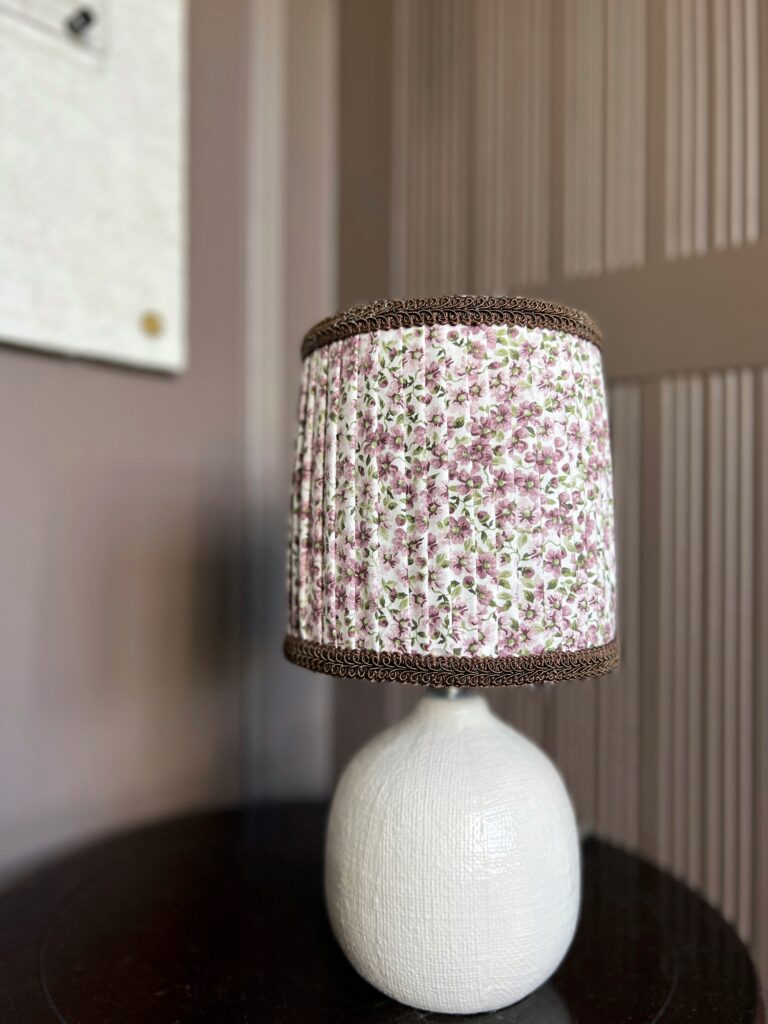
Tapered lampshades have a smaller opening on the top of the shade and wider opening on the bottom of the shade. The pleats, in this case, will be tighter on the top and wider on the bottom.
Eventually I’ll try a tapered lamp shade, but when I do I’ll just make sure the angle isn’t too crazy!
Since this was my first time, I used an old lampshade I had around the house. Just so you know- Target has the cutest little lamps that would be perfect for this DIY fabric lampshade. Or, better yet, check your local thrift store!
What kind of fabric do you use for lampshades?
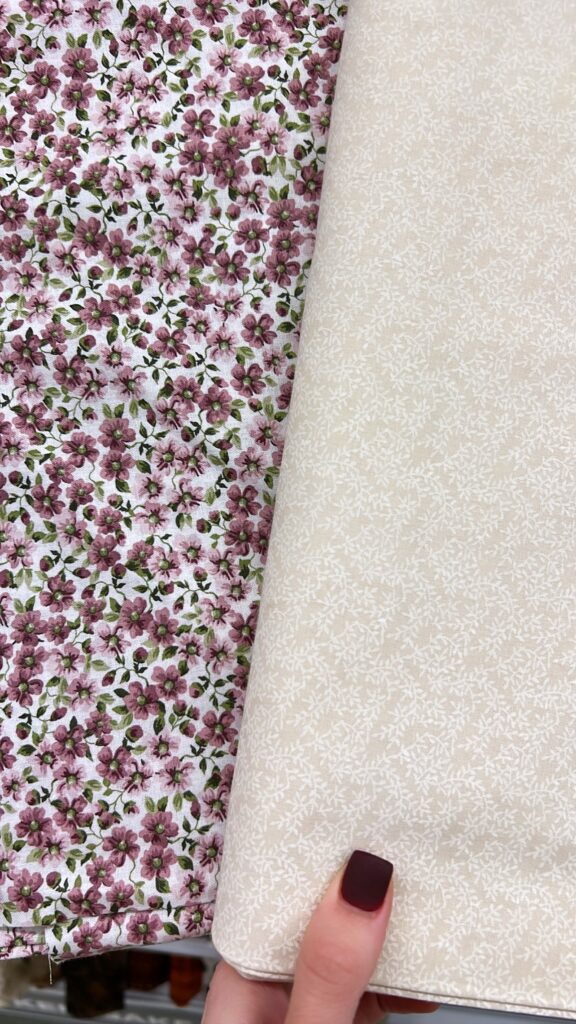
I recommend using a basic lightweight cotton or linen fabric with little to no stretch!
I went to JoAnn Fabrics and they have a ton of options to choose from– majority being less than $5/yard. You can also find fabric at Hobby Lobby, Wal-Mart, or of course on Amazon or Etsy.
How many yards of fabric do I need to cover a lampshade?
How much fabric you need will vary based on the size of the shade. Since my lampshade was so small, one yard of fabric was plenty, but if you’re doing a big shade I would get two yards. It never hurts to have a little extra fabric!
Lastly, I recommend using a patterned fabric, such as a floral print for your first time! Floral prints leave more room for error, while a lined pattern would be more challenging.
Options for the trim
There’s a few different methods and options for the trim. I decided to use a contrasting braided trim for my diy lampshade! You can have this cut by the yard at JoAnns, but I’m seeing it’s actually cheaper to just buy a spool of it on Amazon!
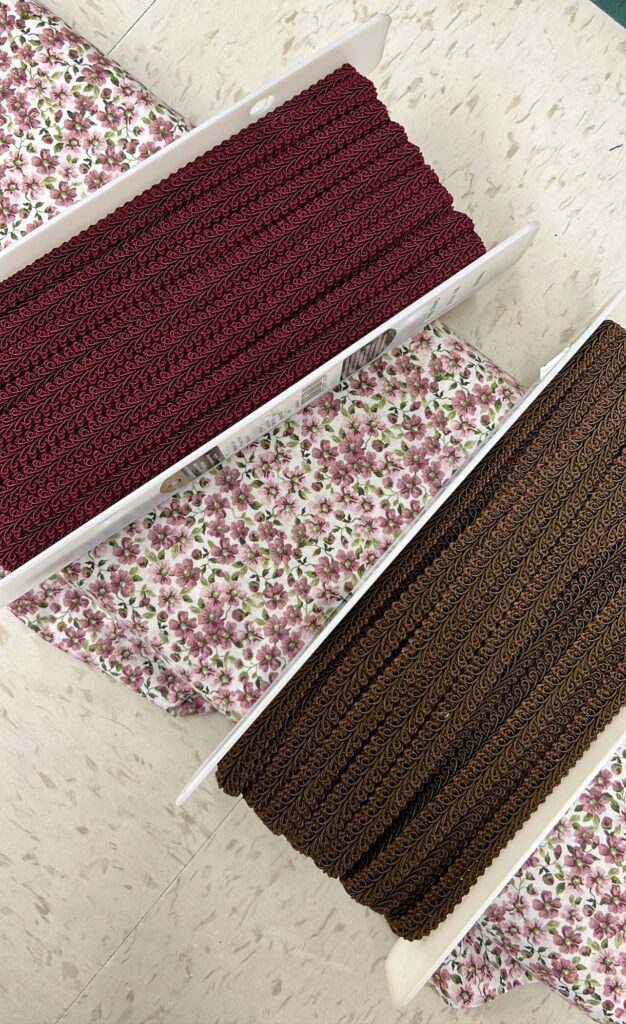
If you like the contrasting look, but don’t want the braided trim, you could use bias tape which comes in many different solid colors!
If you’d like the trim to match your fabric, here’s a great tutorial from wildflower home blog on how to do that!
DIY Fabric Lampshade Tutorial
Step one: Gather your supplies and get comfy!
First things first, find a good movie, show, or audio book to enjoy while you do this… trust me this part is very important! ????
Gather all your supplies and maybe an old piece of cardboard or something to work over because the hot glue gets everywhere!
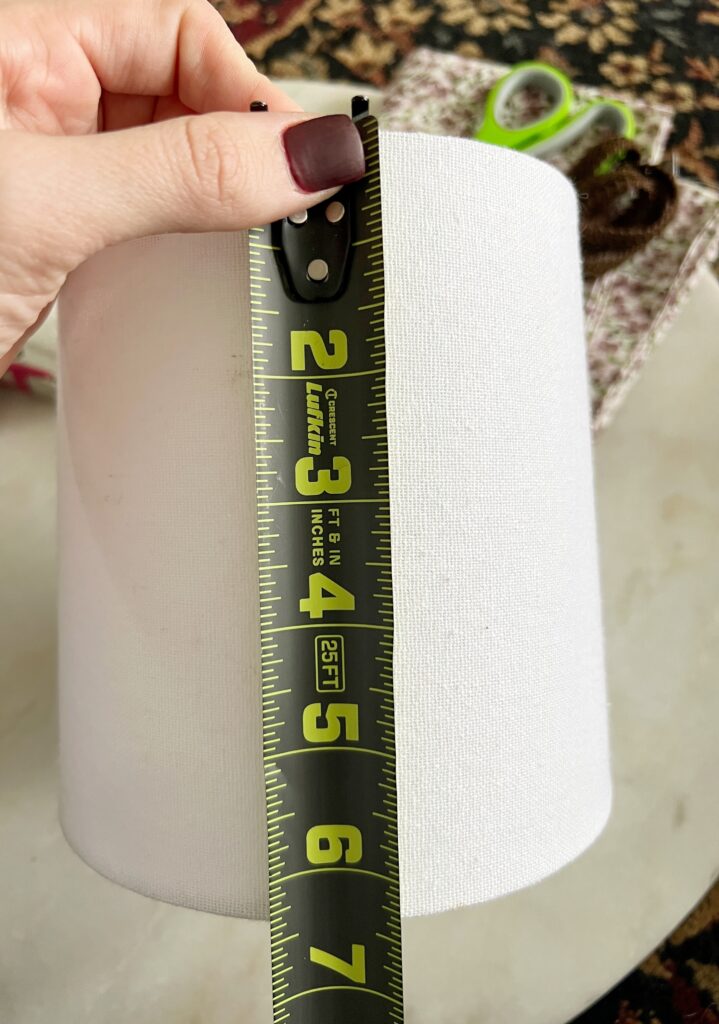
Cut your fabric
Measure the overall length of the lampshade and then add an inch or two extra. I cut a strip of fabric to be about 7 1/2″ in height to be sure I had enough excess fabric!
The width of the fabric doesn’t matter as much because you’ll just cut more when you run out!
Hot glue the fabric at the seam
Start by putting a line of hot glue right along the seam of the lampshade. Press your fabric down, leaving the same amount of excess fabric on the top and bottom of the lampshade.
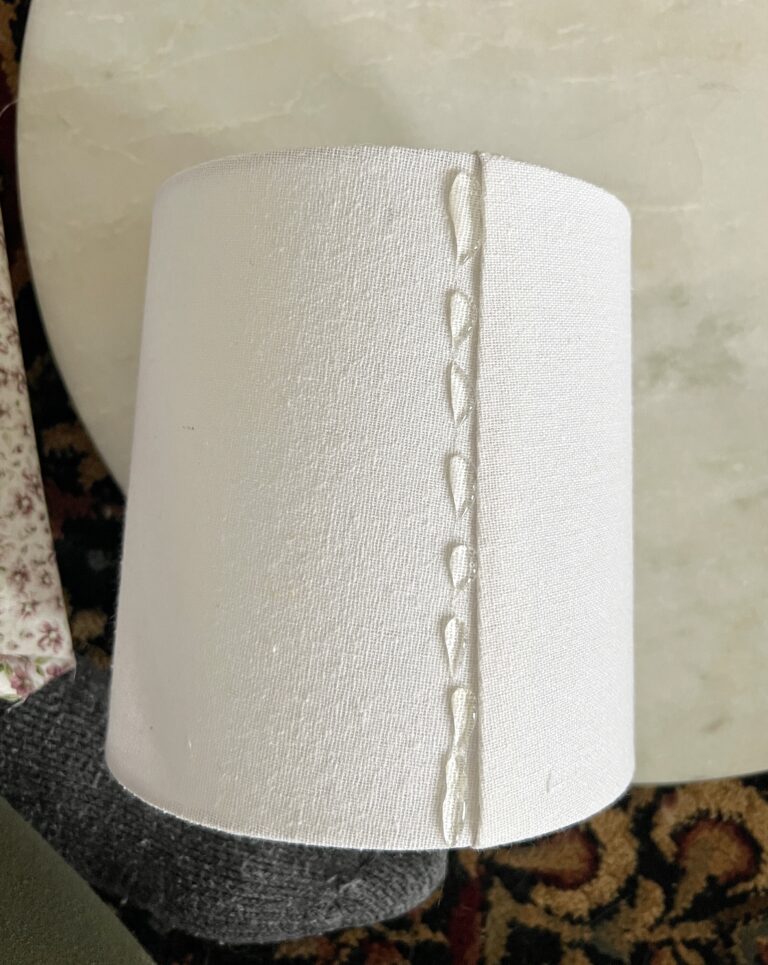
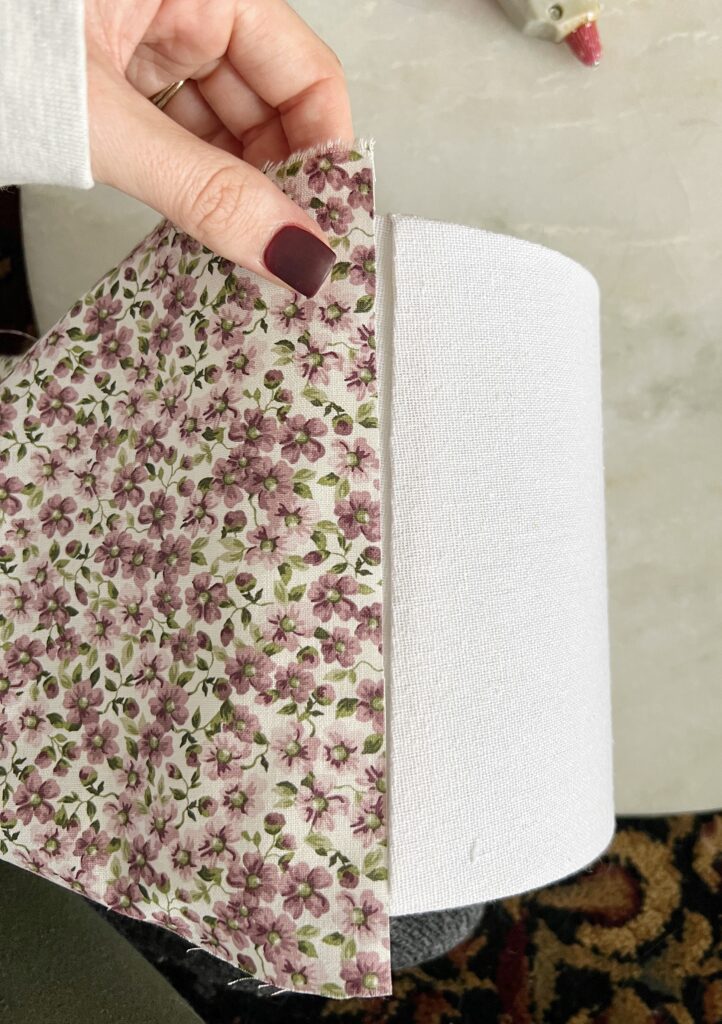
Warning: Be careful not to burn yourself! I’m familiar with my hot glue gun so I know what expect, but the hot glue can really burn when you don’t!
Make pleats along the top rim of the lampshade
I used my pointer finger as a guide for the size of the pleats. Fold the first pleat and place a dot of hot glue underneath it and press down.
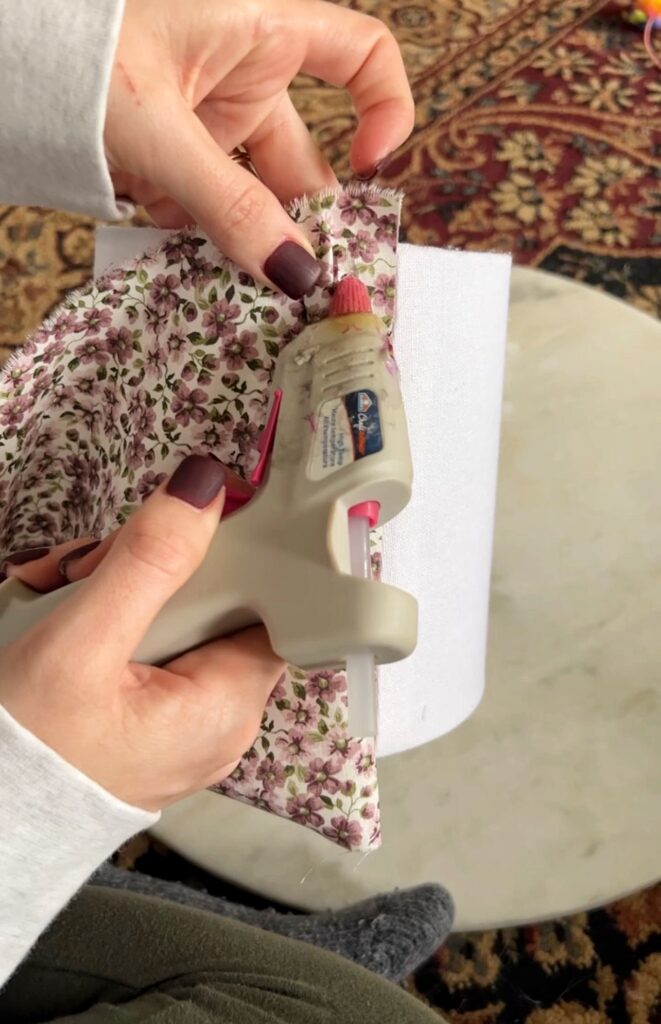
Keep making pleats but only on the top rim. You’ll come back and do the pleats on the bottom rim when you’re out of your first strip of fabric.
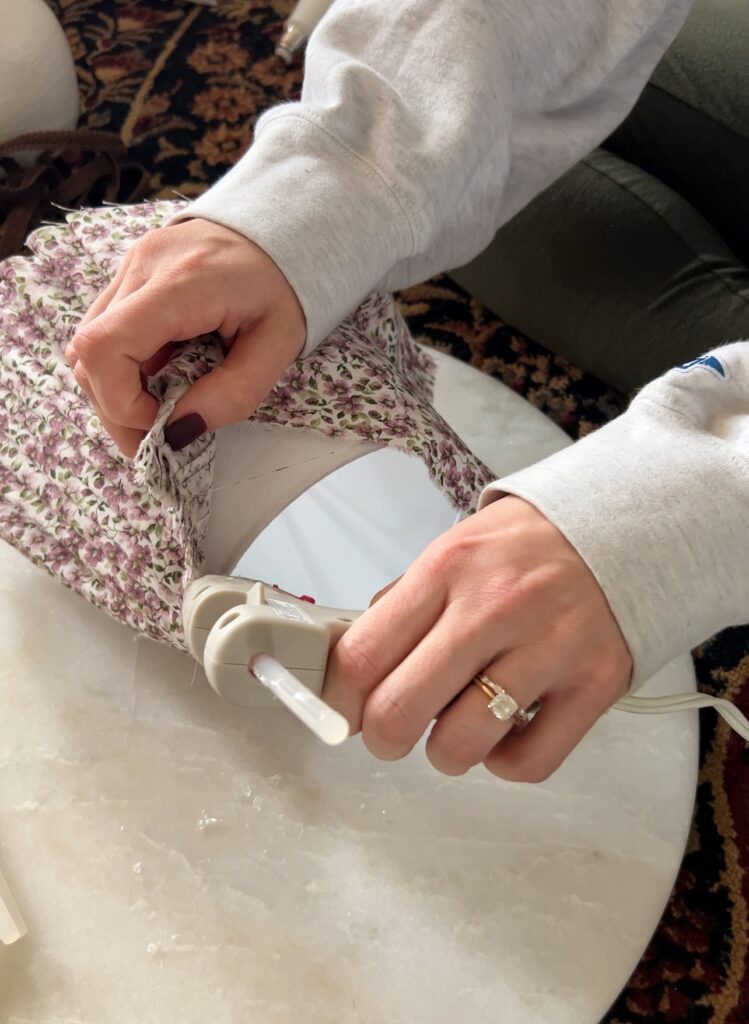
Add extra glue underneath the top pleats
After you’ve done your top row of pleats, see if the hot glue went all the way through. My didn’t so I added more hot glue underneath the pleats as you can see in the photo below!
Make the bottom rim pleats
When you’re doing the pleats on the bottom edge, make sure to pull the fabric nice and tight before you glue. Otherwise, it will look loose! Here’s an example:
This is how mine looked after doing pleats on the top and bottom of one piece of fabric.
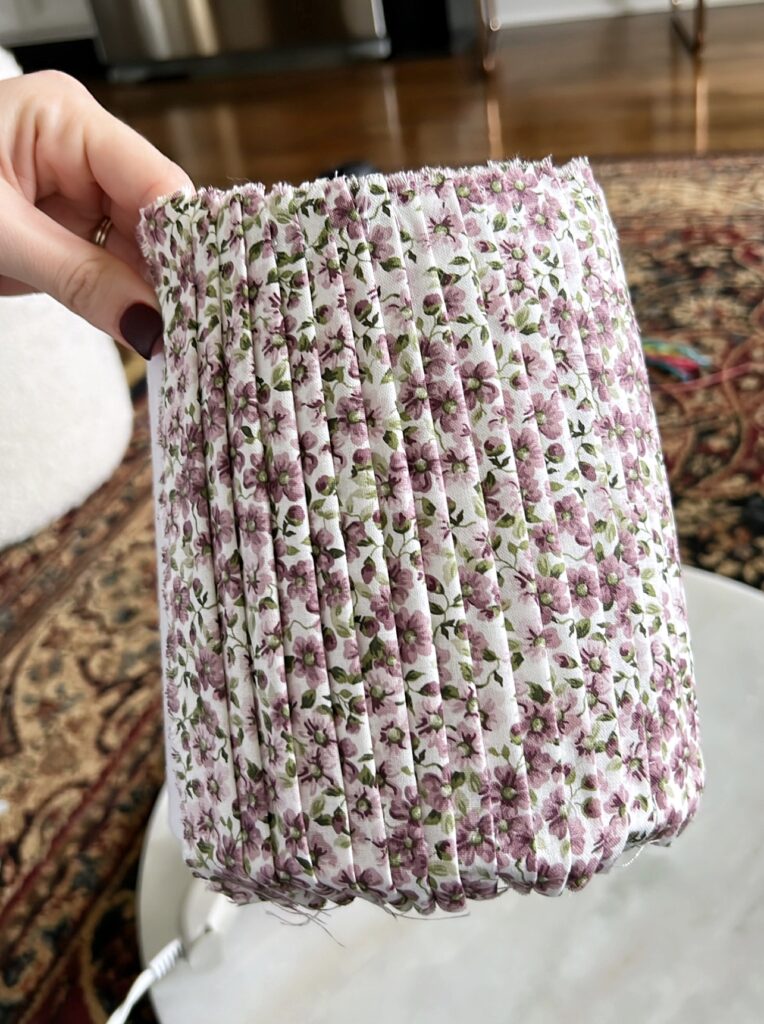
Get more fabric and repeat!
When you finish your first piece of fabric, cut another piece the same size.
To continue the pleating, take your new piece and fold the edge of the fabric under. Glue it lengthwise to the end of the last piece. It blends in so nicely!
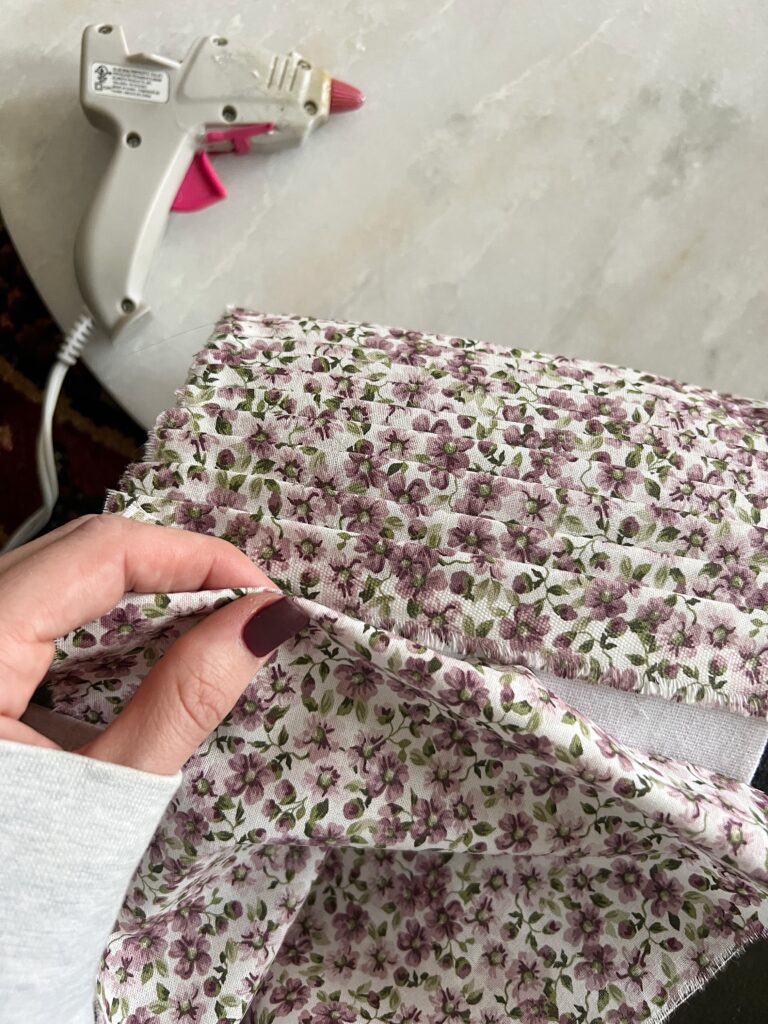
You’ll continue this all the way around and glue vertically once you reach the back. It’s honestly quite relaxing!
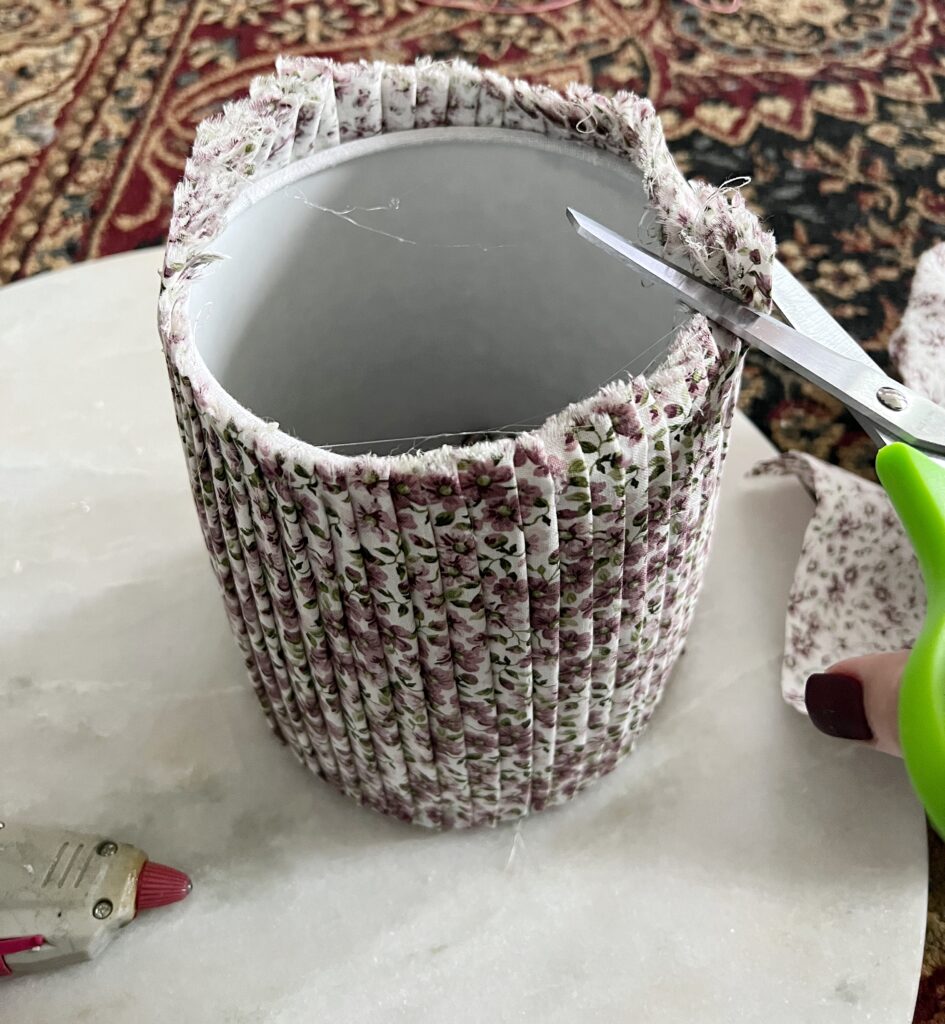
Trim the excess fabric
After that, you’re going to trim all the extra fabric hanging off the top and bottom of the shade. You really want to get as close as you can to the shade for a clean edge!
I was nervous to cut too much off but then I ended up with some areas that you can see the fabric extend beyond the trim a tiny bit.
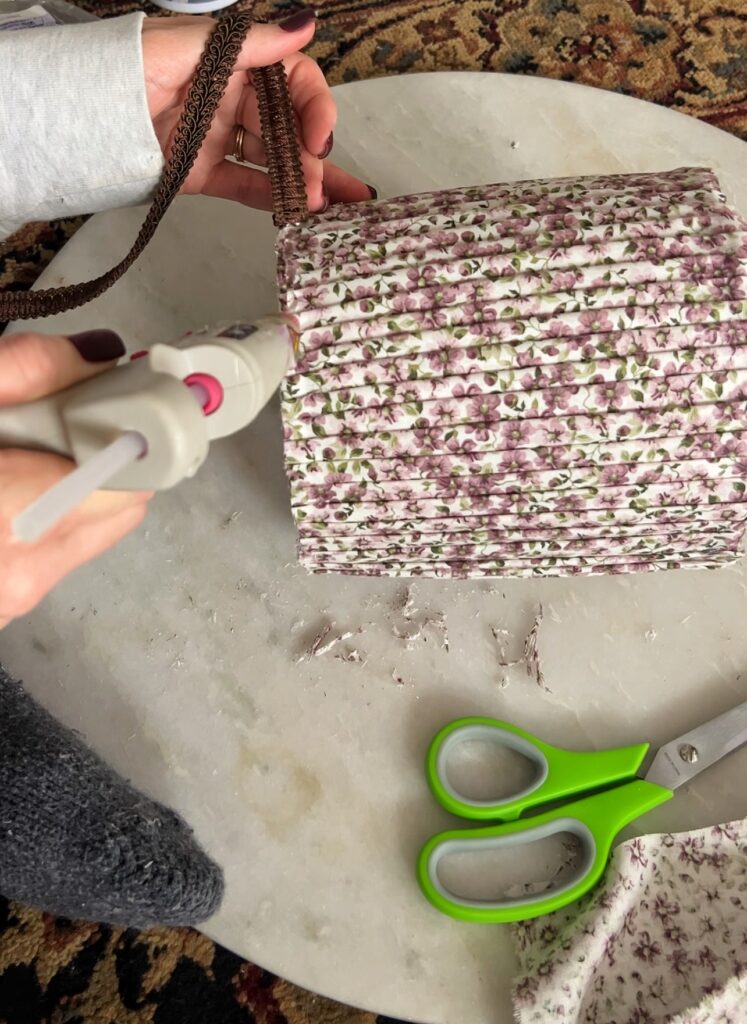
Glue the trim piece
Lastly, you just hot glue the trim! That’s it!!!
Admire your pleated lampshade DIY!
Like I said, such an easy and budget friendly DIY! My end result wasn’t perfect, but I love it exactly how it is and will definitely be making another fabric shade in the near future.
I didn’t need a sewing machine, it cost me less than $15 to make, and now I have my own unique lampshade!
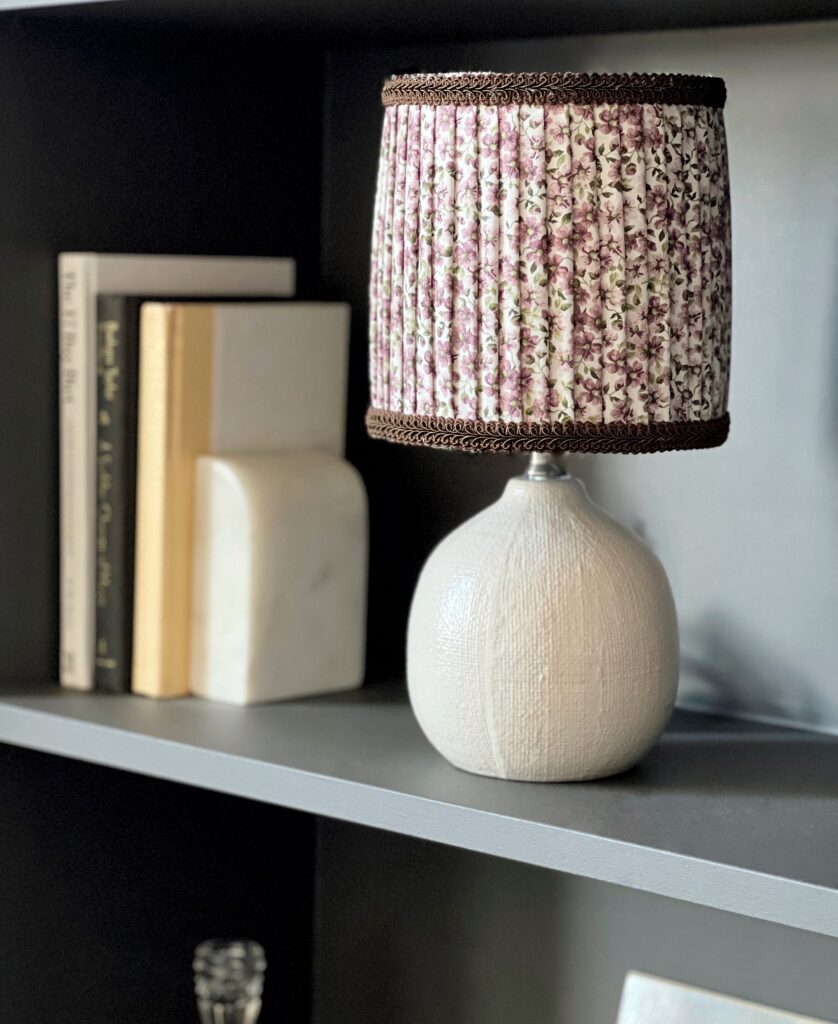
That’s the cutest little DIY lamp shade I’ve ever seen! I love the pattern and trim combo!
You’re so kind! Thank you, Tylynn!! I am loving it!