

Let’s be real—popcorn ceilings can instantly date a room! We just got started on a nursery for our baby girl and decided to tackle a DIY shiplap ceiling first! This is such a great solution to cover an ugly textured ceiling and it creates a clean, timeless look. The result completely transformed the space and it was even easier than we expected. In this post, I’m sharing how we installed our shiplap ceiling, step-by-step, so you can recreate the look in your own home!
Disclaimer: This post contains affiliate links. This means, if you purchase something from a link I provided, I will receive a small commission. This is at no extra cost to you! Thank you so much for the support!
Tools:
Materials:
DIY Shiplap Ceiling YouTube Video
If you’re more of a visual person, we also have a YouTube video on how to plank a ceiling!
Can I Cover a Popcorn Ceiling with Shiplap?
You absolutely can. In fact, it’s a great way to avoid the messy removal process, especially in an older home where there may be a possibility of asbestos. Instead of scraping everything down to have smooth ceilings, shiplap is a simple solution that adds instant character and an updated look to any space!
Planning Your DIY Shiplap Ceiling
Measure & determine direction of the boards
The first thing you’ll want to do is measure your ceiling and decide what direction you’d like the shiplap planks to go. Shiplap has the ability to make a space look visually longer or wider, so keep this in mind as you decide on the direction! We chose to run ours the same direction as our hardwood floors.
Our ceiling was 12.5 ft x 9.5ft and we decided to run the boards along the longer length of the ceiling. I really wanted to use 12ft boards for a seamless look and less cutting! But that left us with 6″ of the ceiling that wouldn’t get covered. I figured if we centered the boards and left a 3″ gap on each end, I could find a way to use crown molding to cover that gap. Thankfully, I did find a way! I shared my simple solution under the crown molding section of this post 🙂
Deciding on your material
There are a variety of options when it comes to getting a shiplap look! It’s up to you to determine which one works best for your home and budget.
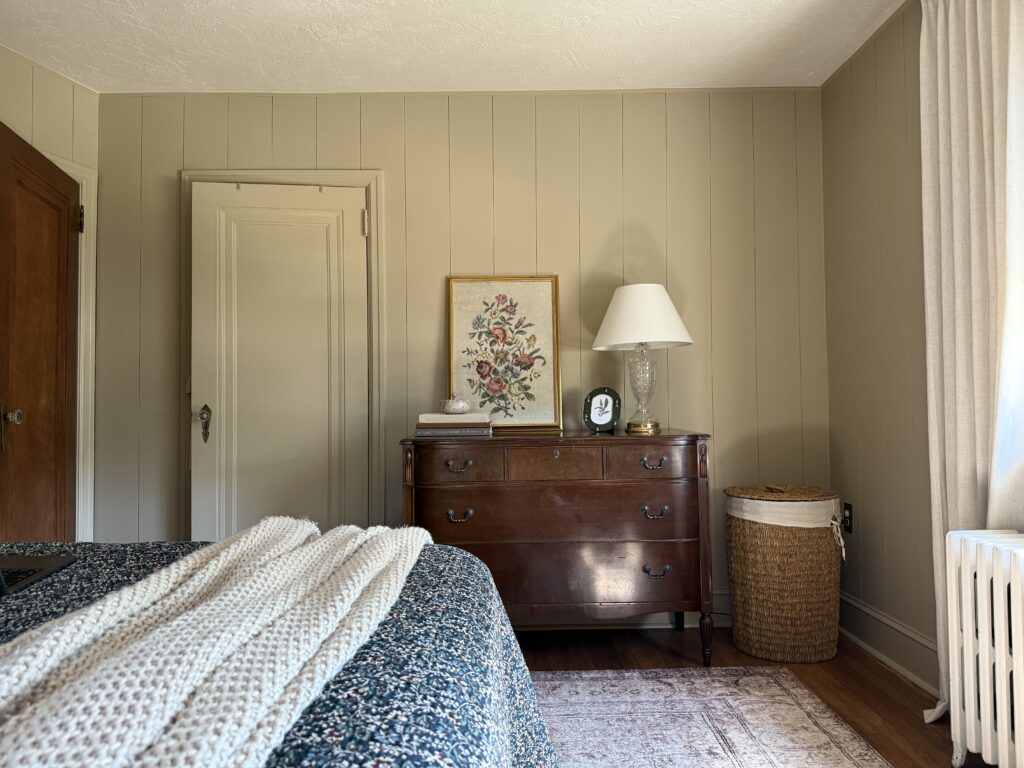
- DIY Plywood Shiplap– We recently did a faux shiplap look all around our bedroom using 1/8″ plywood boards. This is definitely the most inexpensive solution, and you can choose your own board size, but it’s also a lot of work to rip down the boards. But truly, you’d never guess it wasn’t real shiplap. (photo below!) Here’s my tutorial: DIY Vertical Plywood Shiplap
- Shiplap Panels– Shiplap panels come in 4×8 sheets (here’s an example!) which make them easy to install and budget friendly!
- Classic Shiplap Boards– This is what we used for our ceiling planks! It seemed like the best option for us and I loved that we could just use the 12ft boards without cutting!
Planning the fit
Once you decide on the material you’ll be using, it’s helpful to figure out exactly how the boards will lay your ceiling. You just don’t want to end up with just a sliver for your last board. To avoid this, we did the math ahead and started our first board an inch in from the wall. We knew that gap would be covered by the crown molding and this meant we didn’t have to rip down any of the boards.
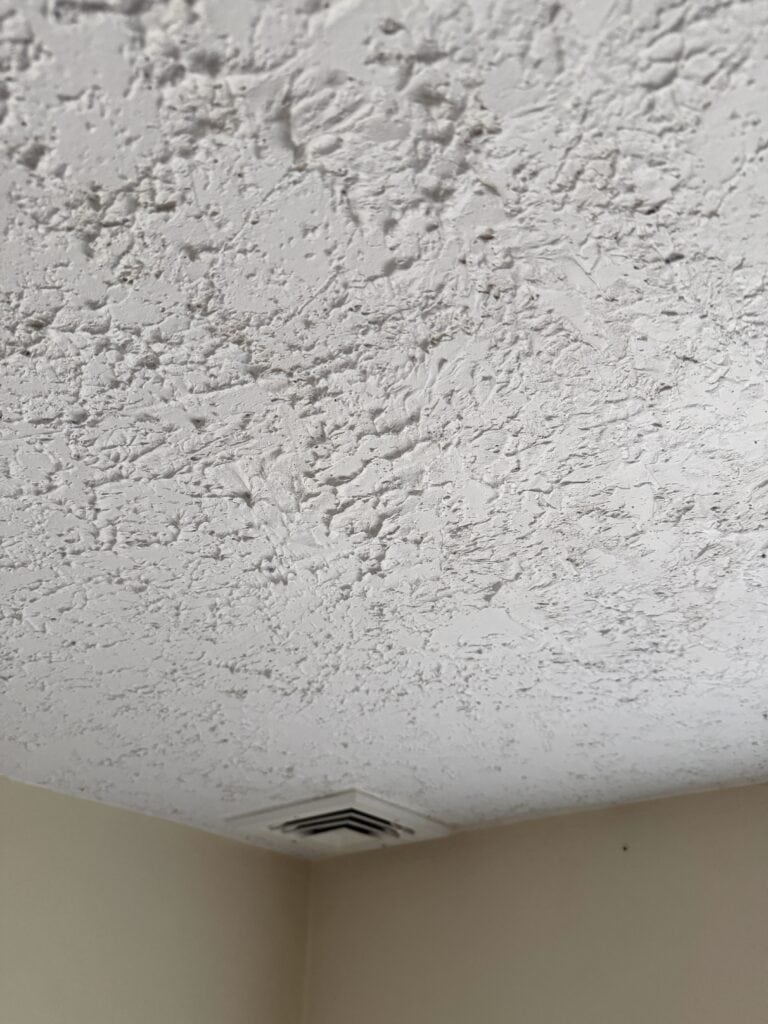
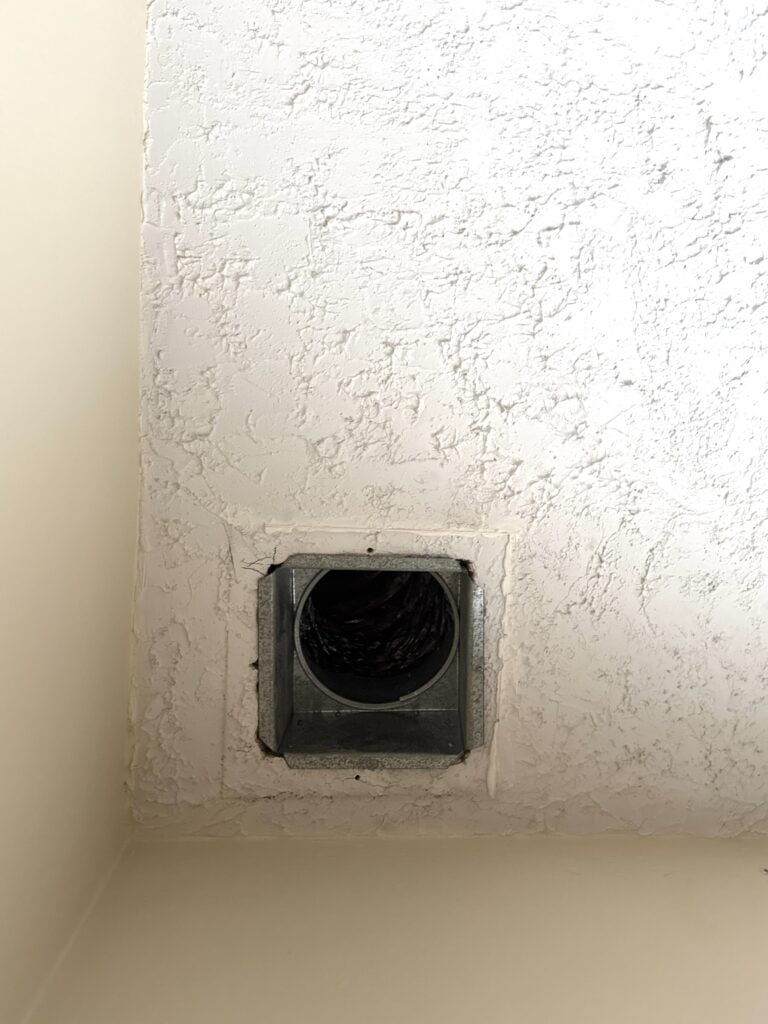
Don’t forget to make note of anything that will get in the way during installation, like ceiling vents and light fixtures. Our ceiling vent was right in the corner so I was worried about the crown molding, but I made it work!! (More on that below!)
Shiplap Ceiling Installation
Marking for the first shiplap board
You don’t want to butt your first board right up against the wall because most walls aren’t straight. And if the first board isn’t straight, the rest won’t be either! The first step is to use a chalk line to ensure you’re starting with a straight line.
We measured an inch in from the wall on each end of the ceiling, marked, and snapped a line! Knowing we were using crown molding, the 1″ gap wouldn’t matter!
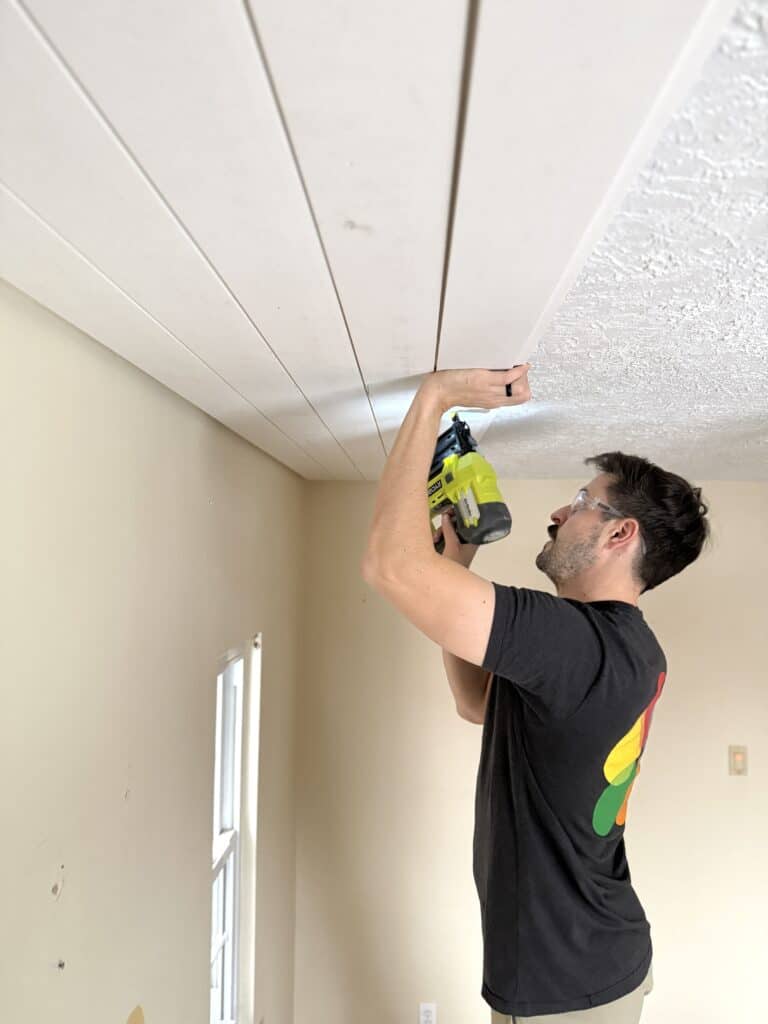
Installing shiplap boards
If you’re using shiplap boards like we did, you’ll notice there’s a lip along each side of the board. It’s important to note that one lip is longer than the either. We didn’t pay attention to this and installed the first board with the smaller lip exposed. The problem with this is that the next board is going to have a tight seam instead of the gap that comes with a classic shiplap look.
To avoid this mistake, make sure your board goes up with the longer lip exposed where the next board will be placed. I hope that makes sense! If it doesn’t, just take two boards and dry fit them on the ground and you’ll see what I mean!
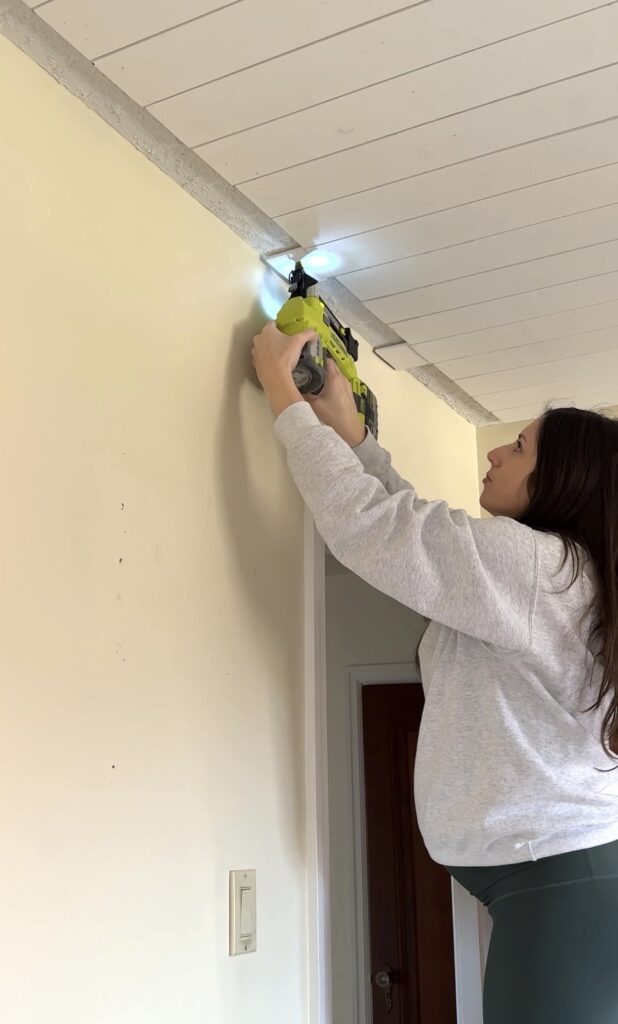
Our magnetic stud finder wasn’t locating our ceiling studs due to all the texture. (If you’re able to locate yours, and your boards are going perpendicular to the joists, you can nail into those!) Using my brad nailer, and 1 1/2″ nails, we nailed in groups of two at opposite angles. This creates a really secure latch vs. just nailing straight up into the ceiling. I promise you don’t need any sort of construction adhesive!
You can see this technique in action in my Instagram highlight!

As you install subsequent boards, be sure to really push them in as you go. This is really a two person job! Some of our shiplap boards were warped so the gap would get progressively larger if we didn’t push them in.
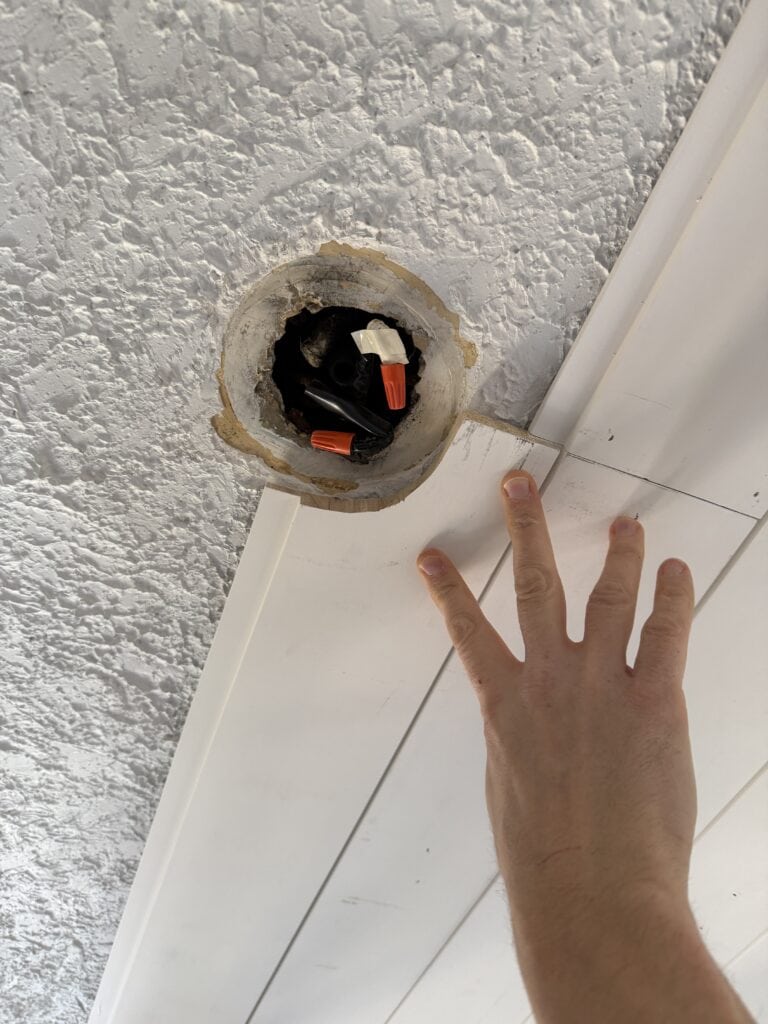
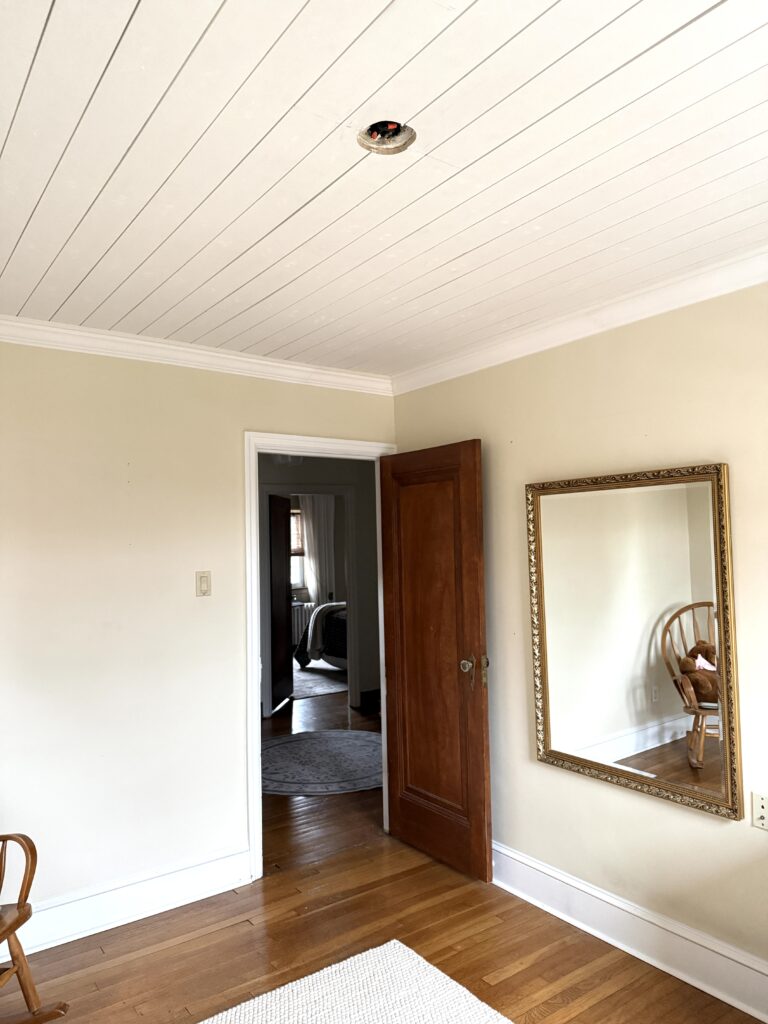
Working around a light fixture
For the special cuts around our light fixture, we just used a jigsaw! We weren’t worried about it being perfect because we’ll either use a ceiling medallion or use a light fixture that covers the raw edge.
It’s possible that you may have to cut a board lengthwise for your last plank. We were lucky that we didn’t have to! But if you do, you could use a jigsaw or a table saw!
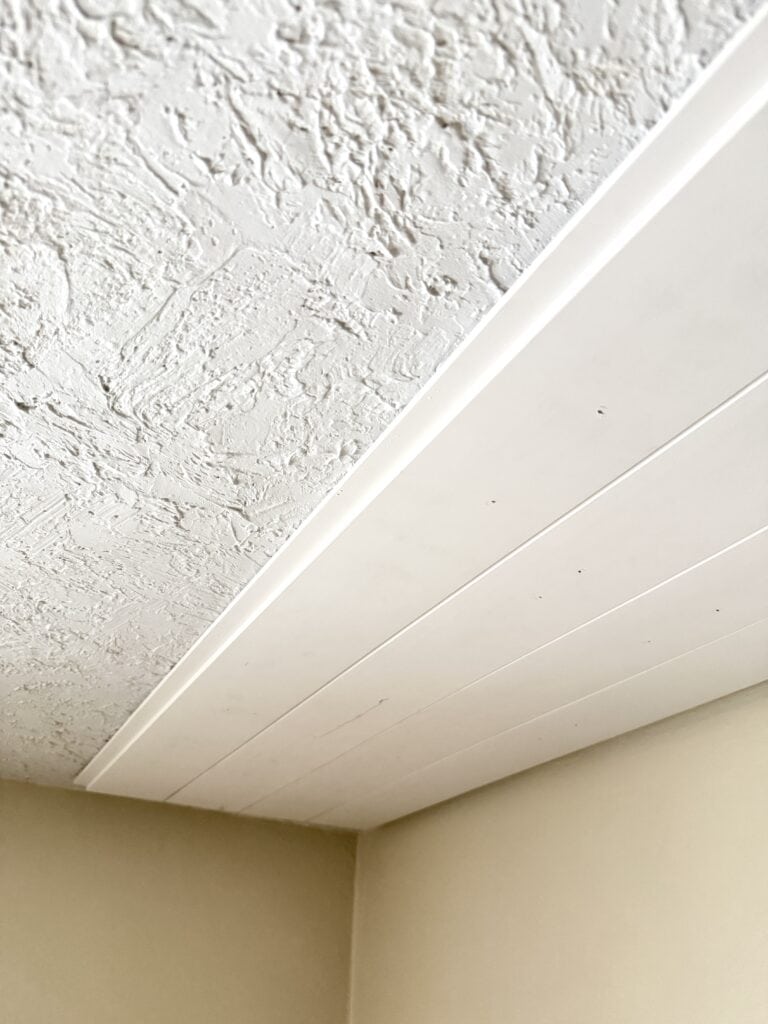
Crown Molding and Finish Work
Remember how we had a 3″ gap on each end of the ceiling because the boards weren’t quite long enough? Well we came up with the perfect solution to fix this! Let me explain…
Our crown moulding wasn’t big enough to cover the gap so we had to get creative. By the way, we could have just purchased larger crown but we didn’t want to because its very expensive and harder to cut. Instead, we first installed a layer of baseboards! This was an easy way to get a polished look and I actually love the added layer of detail 🙂


Before installing the baseboards, I took some scrap pieces of shiplap and nailed them up every few boards. This gave us a place to nail the baseboards into!
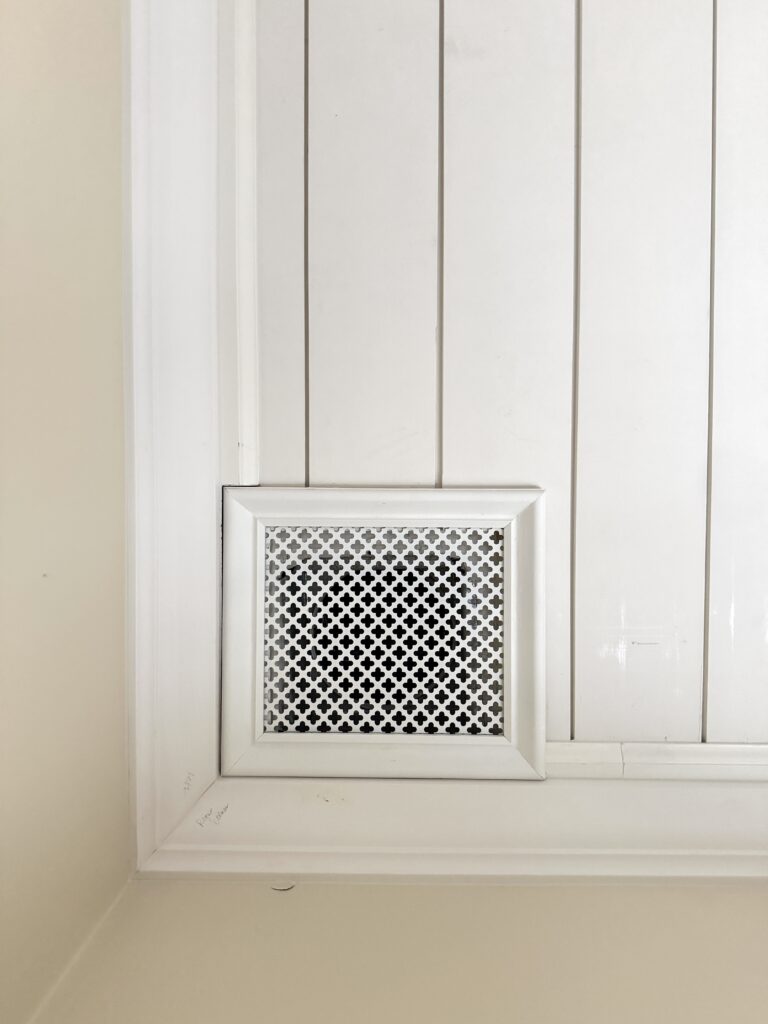
Our ceiling vent was right in the corner of the bedroom which I was a little bit worried about, but the good news is that this was actually a simple fix! All we had to do was notch out the baseboards with our jigsaw! Luckily, the crown fit nicely and we didn’t have to mess with that!
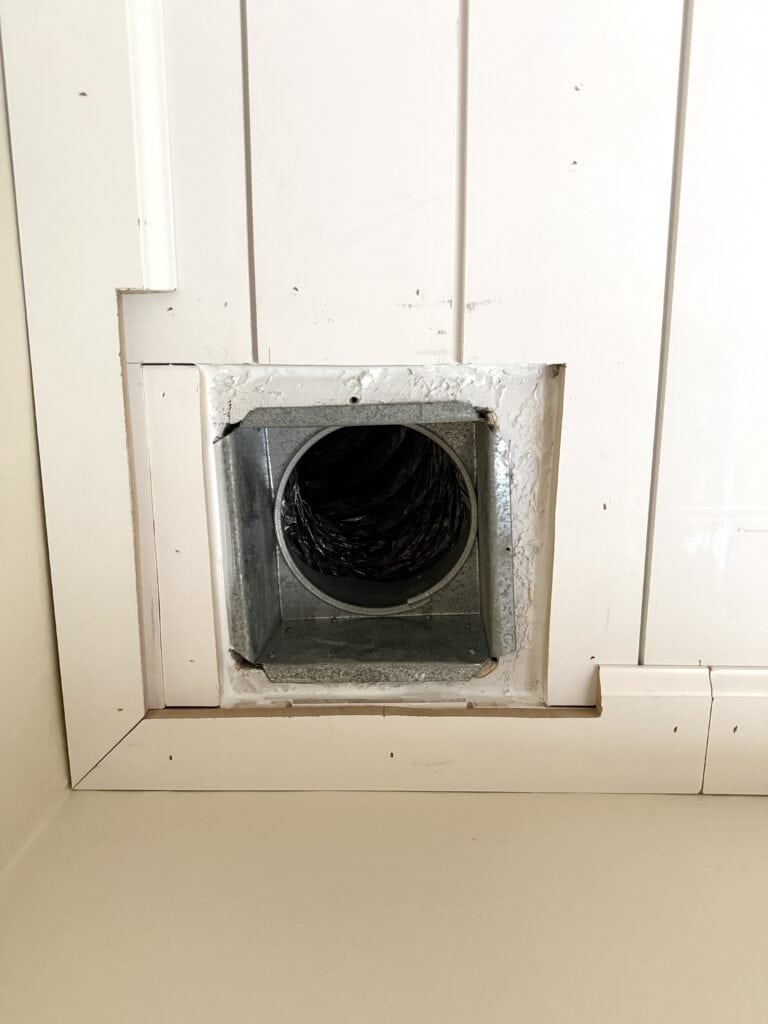
I also decided to make a new vent cover because our previous one wasn’t anything special. Decorative vent covers are actually really simple to make! (Here’s my DIY vent cover tutorial) Essentially, you just make a frame with trim and attach metal sheeting (which you can find at Home Depot or your local hardware store)!
I’m not going to go into detail on the crown molding because I have a whole separate blog post on this (How to Install Crown Molding), but this is the exact product we used.
The final step, and really the most important part, is the finish work! Caulking and filling nail holes is the best way to take your diy projects up a notch. It just makes for a very professional looking end result. I like to use this flexible caulk for crown molding. For the nail holes and seams, you can either use wood filler or spackle and apply with a putty knife!
DIY Shiplap Ceiling Cost Breakdown
As a reminder, our ceiling is 12.5 ft x 9.5 ft. Here’s the cost breakdown for our entire ceiling:
- Shiplap Planks- $357
- Baseboards- $64
- Crown Molding- $100
- Caulk- $6
- Brad Nails- $25
Total Cost: $552
Keep in mind that this isn’t the cheapest way to do a DIY shiplap ceiling! I shared a few different types of materials in the beginning of this post and some would cut back on cost even more!
Other Ideas to Cover a Popcorn Ceiling
If a shiplap ceiling isn’t the right fit for your design style or skill level, there are plenty of stylish alternatives for dealing with old popcorn ceilings! Here are some easy ways to refresh your ceiling and give your entire room an updated look:
- Skim coating with joint compound – This creates a smooth finish on your ceiling, but it can be a very time-consuming process and definitely requires patience and practice.
- Wood planks – This is a great way to add warmth and character, especially in a small space, and offers a similar charm to the look of shiplap.
- Beadboard – Yes, beadboard can be used on the ceiling!! These panels are very lightweight and certainly an affordable way to cover popcorn texture. (Note: If you use a lightweight ceiling panel like this, you’ll likely want to install furring strips first!)
- Tin ceiling tiles – I love a tin ceiling! It adds texture and vintage appeal and can be a good idea if you want something unique. You may even consider painting these with a pop of color for an extra bold look! This is probably the easiest way to cover a textured ceiling, but the tiles can be pricey.
Each option has its pros and cons, but all can dramatically change the feel of an entire room without fully tearing out the ceiling.
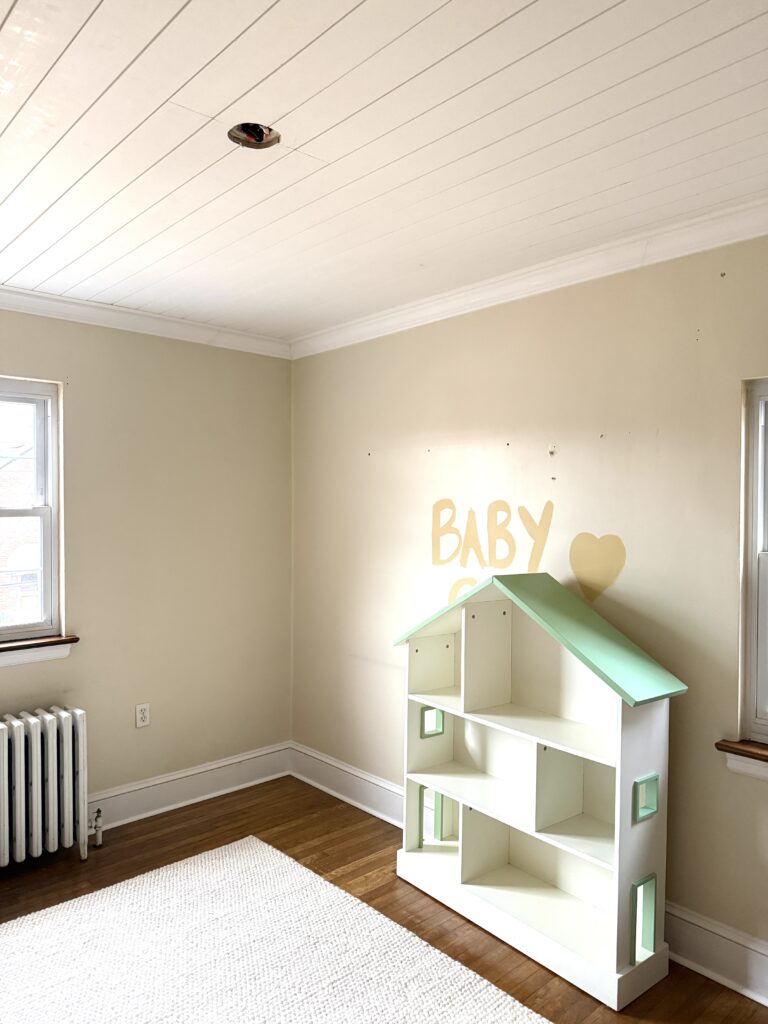
We’re very happy we went with a DIY shiplap ceiling for our nursery! It completely transformed the space. Not only did it add so much character, but it also made our small room feel much larger! Keep in mind, we haven’t painted yet and still have a LOT to do in this nursery, so stick around to see it come together 🙂
Thanks so much for being here and as always, please let me know if you have any questions!
Elisha
