

We all know that wallpaper is not cheap! Making your own hand painted wallpaper is not only way more budget friendly, but it also allows for a completely custom look. Plus, it’s a great alternative in areas where traditional wallpaper doesn’t hold up as well, like bathrooms or kitchens. In this post, i’ll share exactly how I created this soft floral stripe wallpaper pattern for our cottage style bathroom 🙂
Disclaimer: This post contains affiliate links. This means, if you purchase something from a link I provided, I will receive a small commission. This is at no extra cost to you! Thank you so much for the support!
Wallpaper Pattern Inspiration
The most difficult part about creating your own wallpaper is planning the design and choosing colors. My first piece of advice would be to create a “Wallpaper” folder on Pinterest and start saving patterns that you’re drawn to. I ended up doing a mix of a few patterns I liked!
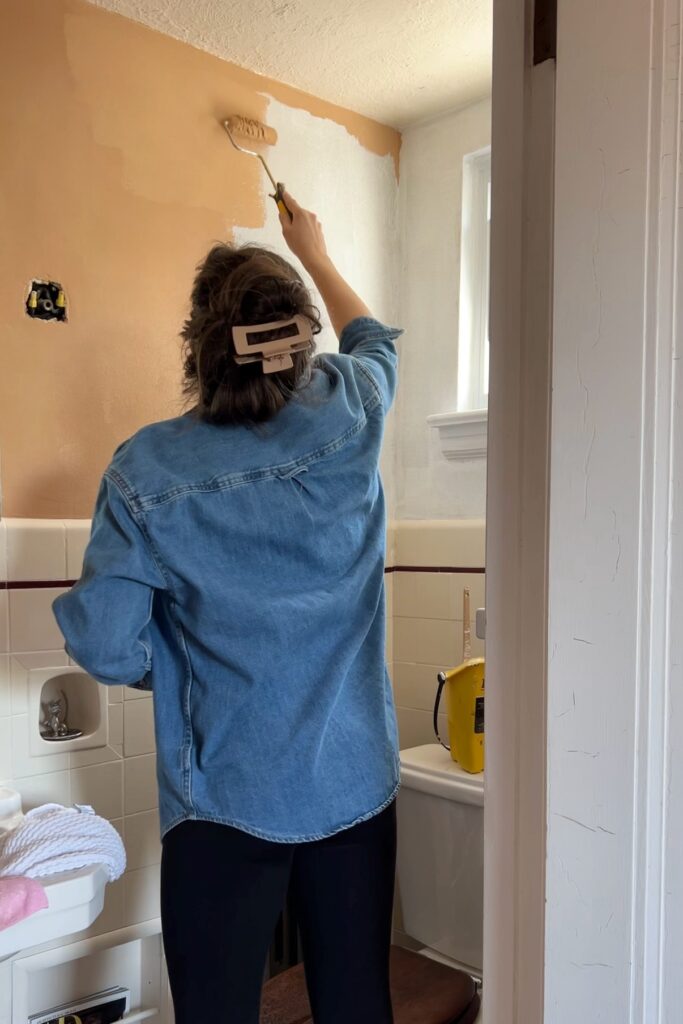
A little backstory- I’ve been working on a bathroom makeover and originally I was planning to use peel and stick wallpaper. I even went as far as installing it almost entirely before ultimately changing my mind. Why the sudden change in heart? Well, a couple reasons:
- Issues with the install- Even after thinking the application was nice and smooth, I would later come back to bubbles. I have a good amount of experience with wallpaper too, so i’m not sure what the problem was here!
- Concerns about mold– Using wallpaper in a full bathroom is a little more risky, which I knew going into this. But one thing I didn’t know is that it’s not recommended to apply wallpaper to exterior walls as it can be a breeding ground for mold. I’m not saying i’ll never use wallpaper on an exterior wall, but in a bathroom with no vent and just a tiny window, the excess moisture is a bigger concern.
This was when I made the tough decision to pivot and do my own hand painted wallpaper! I really loved the floral stripe pattern of the wallpaper so I wanted to use that for inspiration! The spacing of the stripes was my biggest takeaway. I loved the combination of pin stripes with a chunky stripe in the middle.
Testing the Pattern
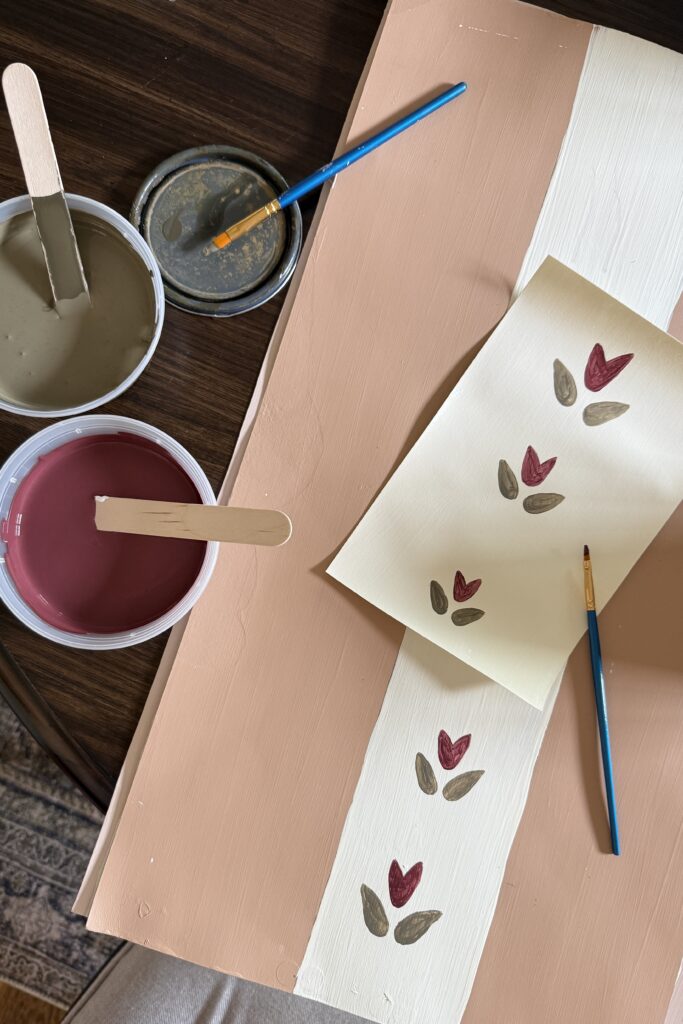
If you’re the type of person that just likes to go for it, do it!! More power to you! I, on the other hand, am a chronic overthinker and a very visual person, so there was no way I could commit to a pattern without making some samples first.

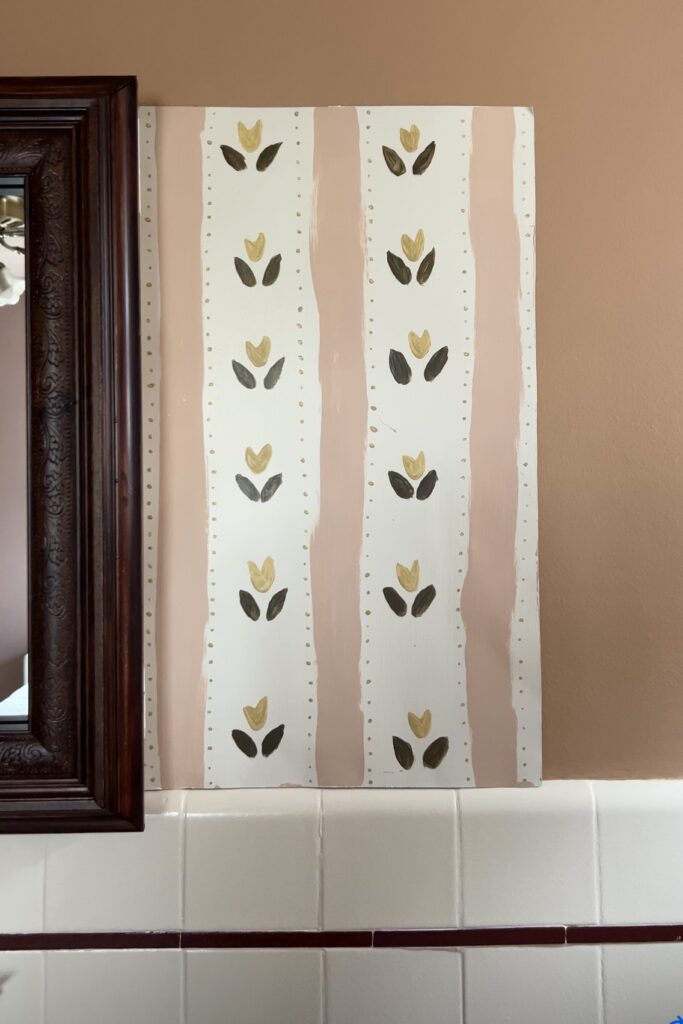
I tested a couple patterns and color combinations on an old poster board. At first I just used yellow and pink paint samples I had on hand since I was unsure of the actual shades I wanted to use.
Choosing Colors For Your DIY Wallpaper
Choosing one color is hard enough, but choosing multiple?! I get it. It’s overwhelming figuring out where to even start. To make it less intimidating, I first chose one main color to use as the background. I went with Farrow & Ball Entrance Hall Pink and I adore it.
Since I knew I wanted stripes with some sort of floral pattern, I figured a shade of white would be best! For this, I chose Farrow & Ball New White, which is really creamy and beautiful!
For the flowers, I pulled a couple colors that were already in our bathroom! I used the green color that I painted our radiator (Sherwin Williams Muddled Basil) and the burgundy I incorporated into our painted bathroom tile (Sherwin Williams Sommelier). Using colors that are already in the space creates a really nice harmony.
If you’re working with a blank slate, I recommend finding a piece of art or fabric that you can pull colors from! I also love using HGTV Home by Sherwin Williams Color Collections as a resource when creating color combinations.
How to Paint Stripes on a Wall
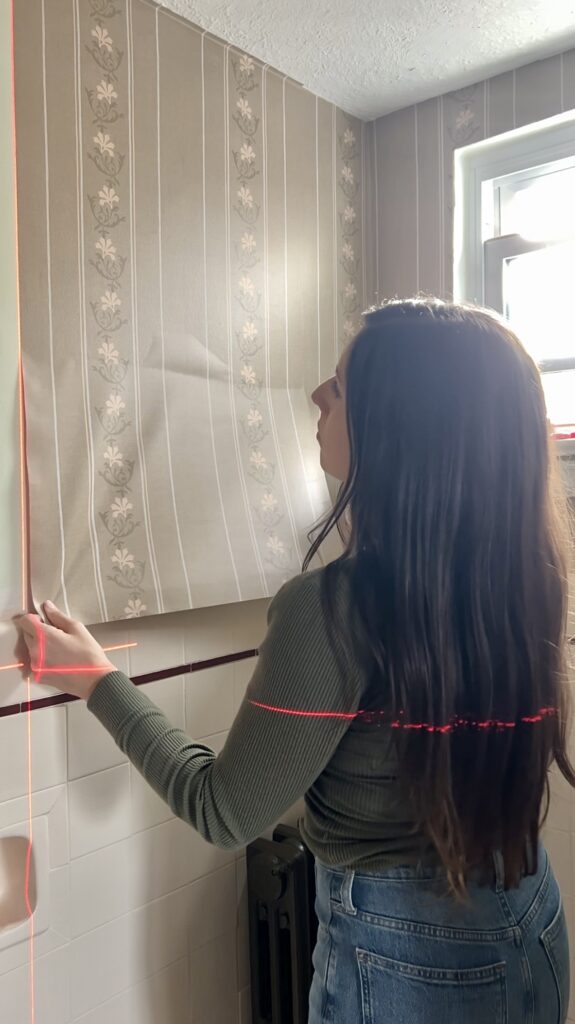
The first thing I did was mark the spacing for the stripes. Luckily I was able to reference the original wallpaper I planned to use to help me determine the measurements. Here’s the exact spacing I went with:
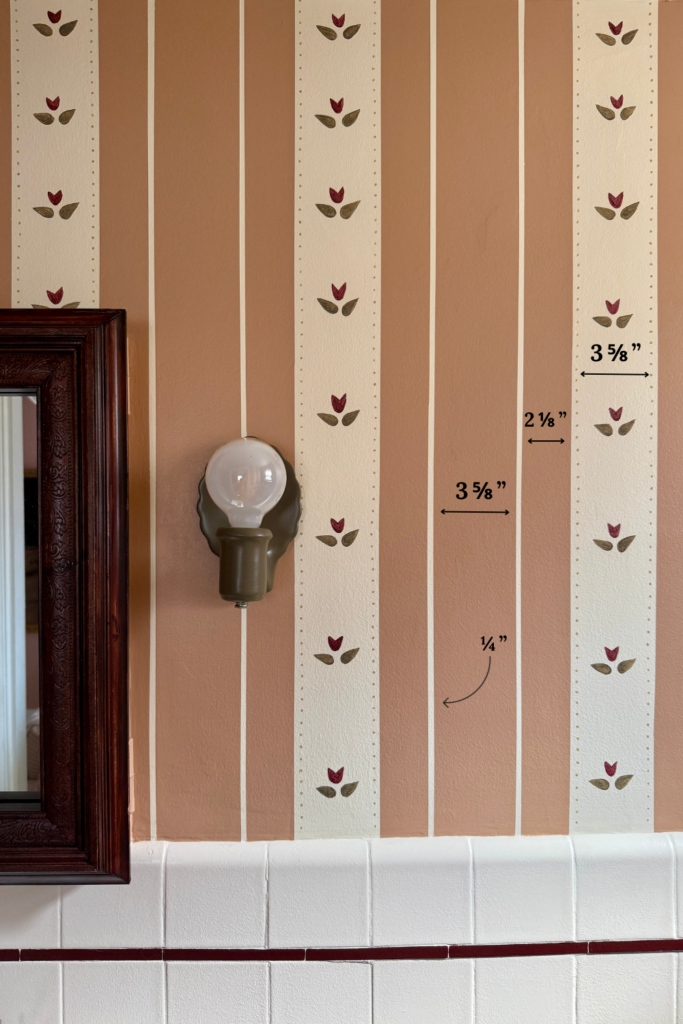
I took a ruler up to the wall and used a pencil to make a little mark for each line. One by one, I lined up my laser level with each mark and used that as a guide as I taped from top to bottom. This part is definitely a little time consuming, but you want to ensure your lines are nice and straight!
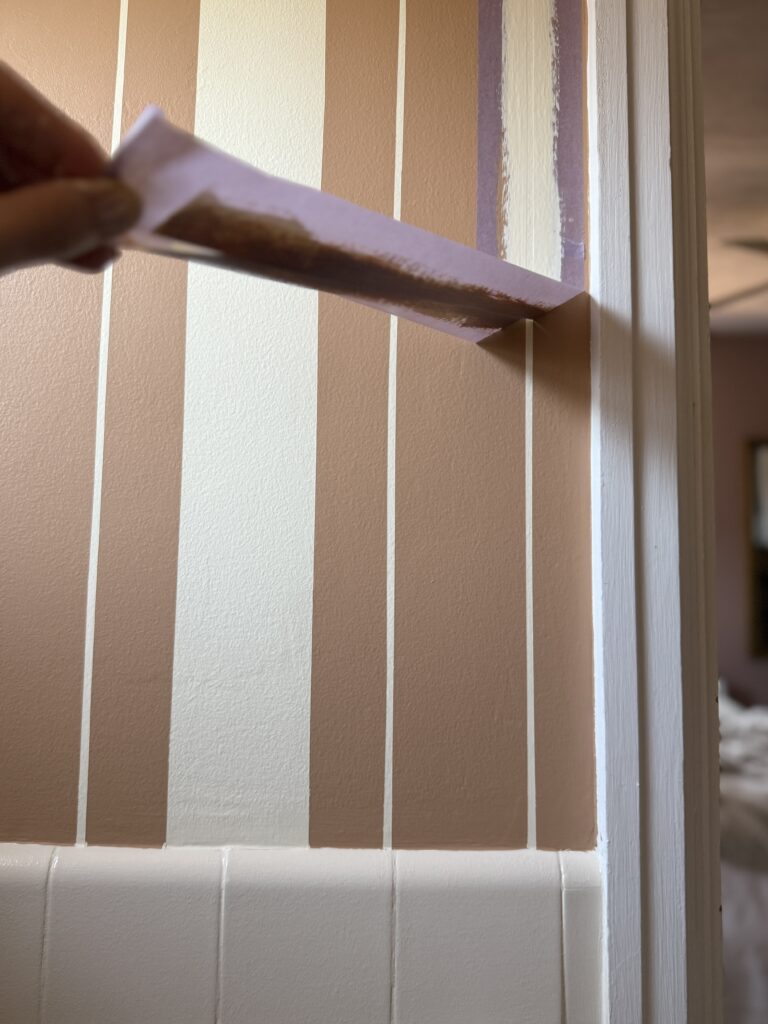
The purple tape is for delicate surfaces so the paint didn’t peel off!
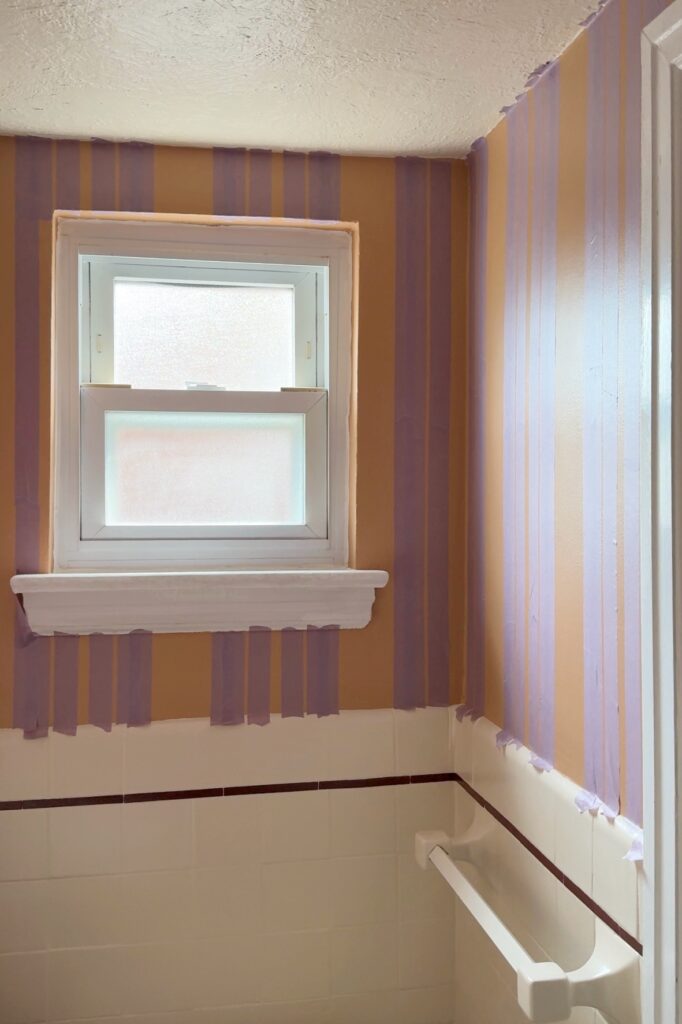
In order to ensure crisp lines, I first went over the tape edges using the wall color. Once that fully dried, I used the white! For the pin stripes, I used a small bristle brush and for the thicker stripes, I used a small roller brush.
Immediately after the second coat, while the paint was still wet, I peeled off the tape. The lines turned out awesome, but I did go back and touch up a few spots with a tiny paint brush.
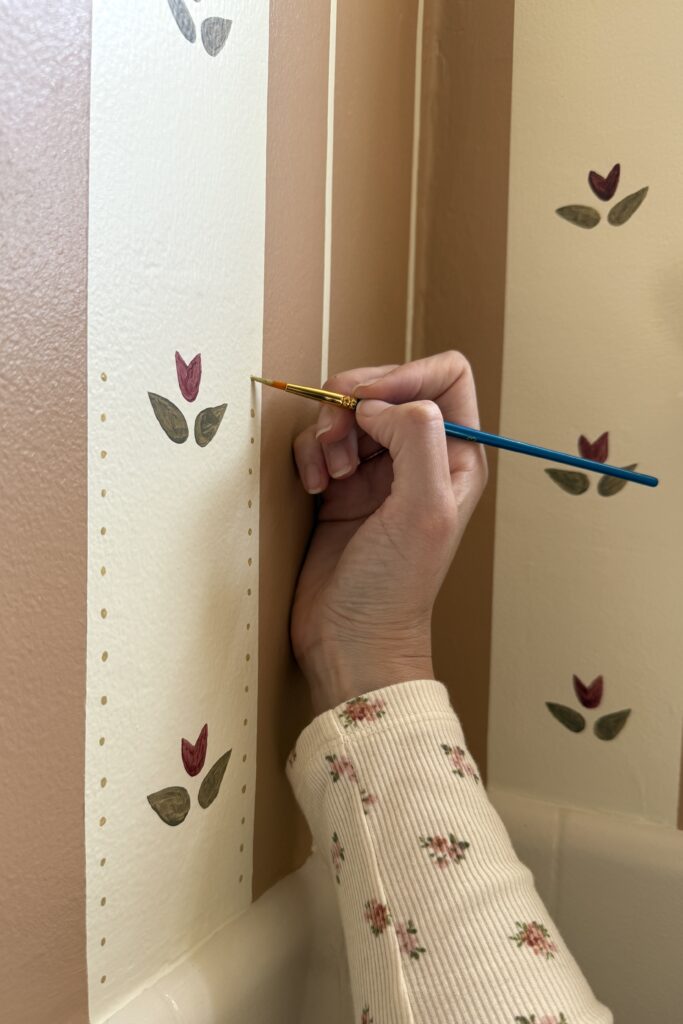
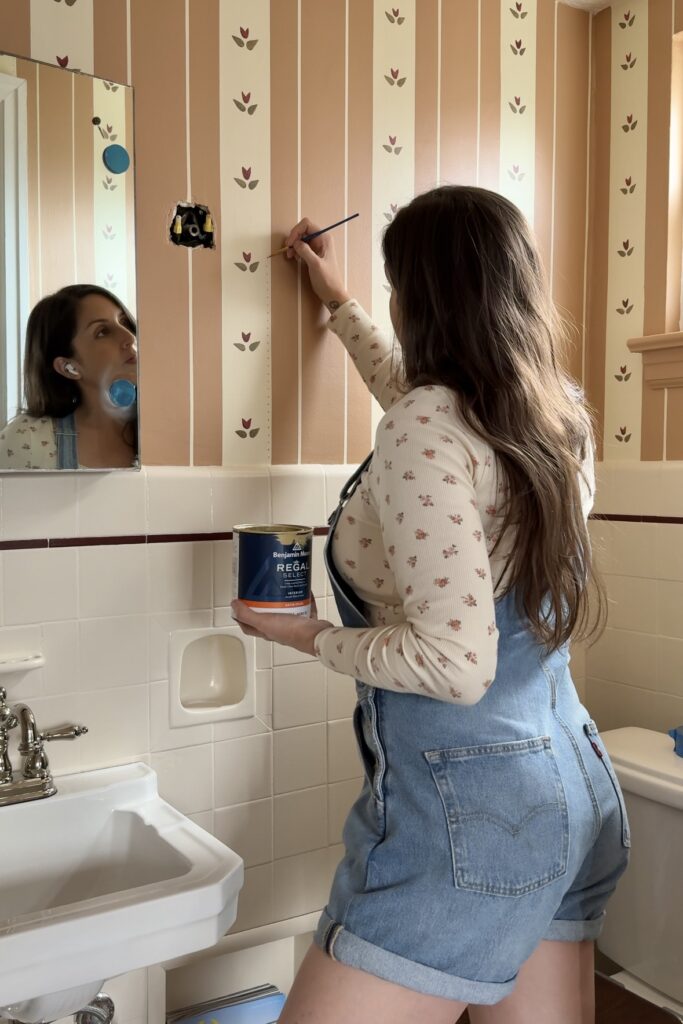
Hand Painting the Tulip Pattern
The tulips are my favorite part about this cottage style wallpaper! They add so much charm and bring in more color 🙂
How to Make a Potato Stamp
At first, I decided to try out a potato stamp! I’ve seen a few people use these and was honestly just curious to see how it would look. I didn’t end up using this method, but I still wanted to share the process and outcome.
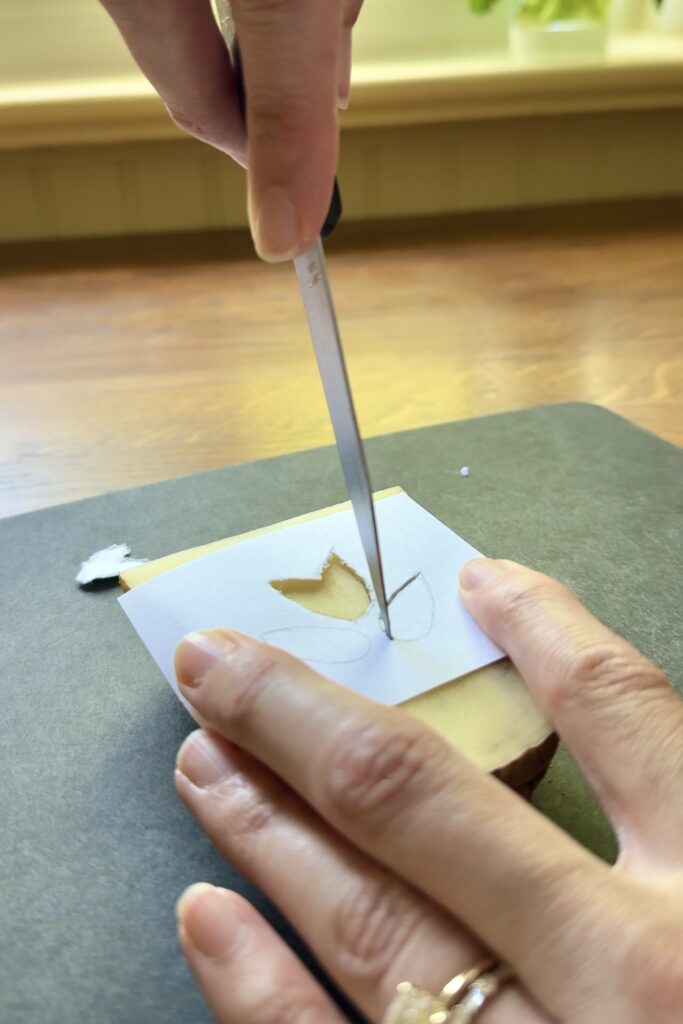
Here’s how to make a potato stamp:
- Slice a russet potato in half lengthwise (I had to slice mine in half the other way too because it was really long!)
- Pat the potato dry with a paper towel
- Make a template of your design (definitely keep it simple!)
- Carve your design into the potato (about 1/4″ to 1/2″ deep) using a small, sharp knife
- Carve away the extra potato surrounding the design
- Apply a thin layer of paint to the design using a foam brush
- Practice a few stamps on scrap paper to get a feel for it
- Press firmly and evenly!
The two tulips on top were from the potato stamp. They turned out pretty cute, but for this project I wanted a cleaner, more polished look. I think the potato stamp definitely has a more organic feel to it which could be adorable in the right space!
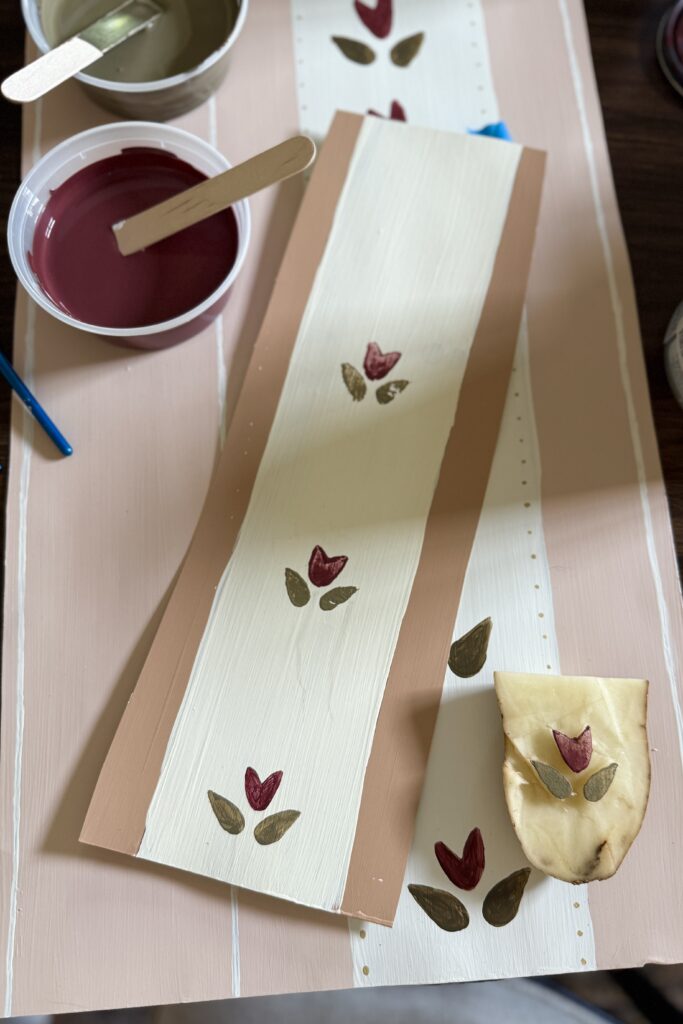
Luckily, hand painting tulips is really quite simple! It was also very therapeutic for me personally 🙂 All you need are some cheap artists brushes. Just like with the potato stamp, I do recommend testing out a few tulips on paper first. This way, you can find the brushes that you like best!

If you know me at all, i’m very much a perfectionist when it comes to DIY projects. But with this hand painted wallpaper, I really tried to let go of that mentality.
I didn’t measure the spacing between the tulips, nor did I use a laser level to ensure they were lined up in the middle. This was personal preference!! Since I was going for a cottage style bathroom, the imperfections add to the charm.
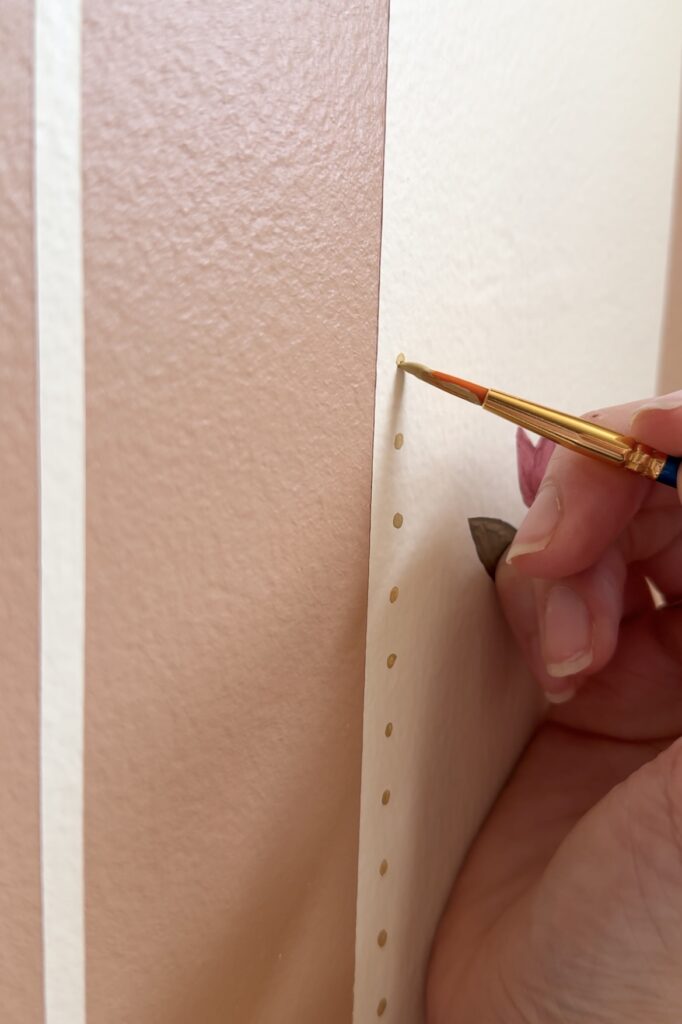
For a little extra oomph, I added some yellow dots along the edges of the big stripes 🙂
Again, I freehanded this part as well!
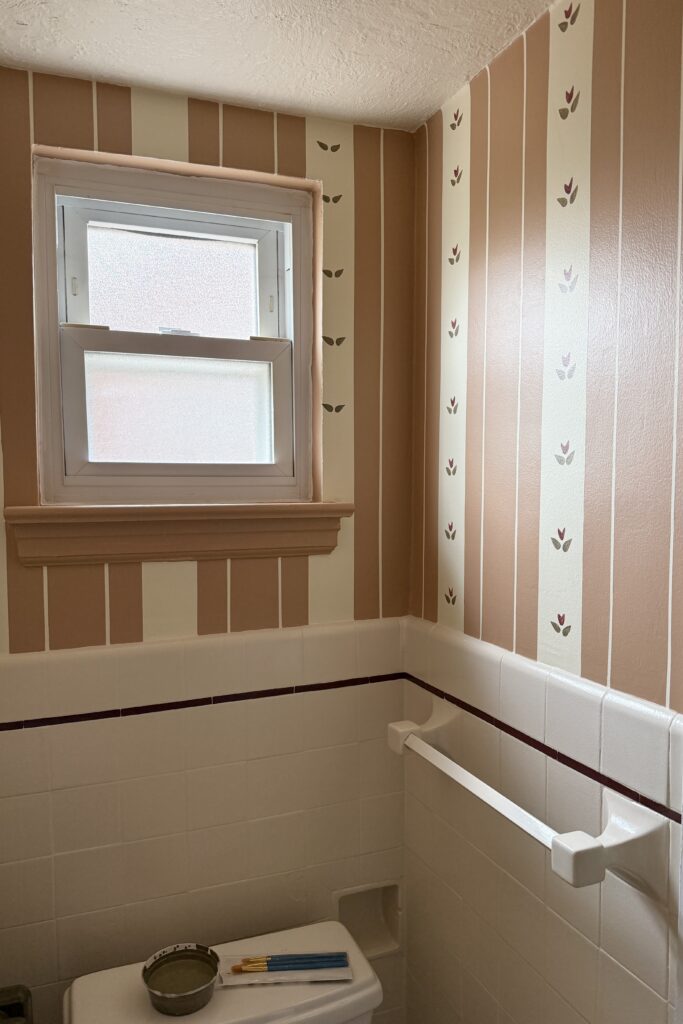
DIY English Cottage Wallpaper
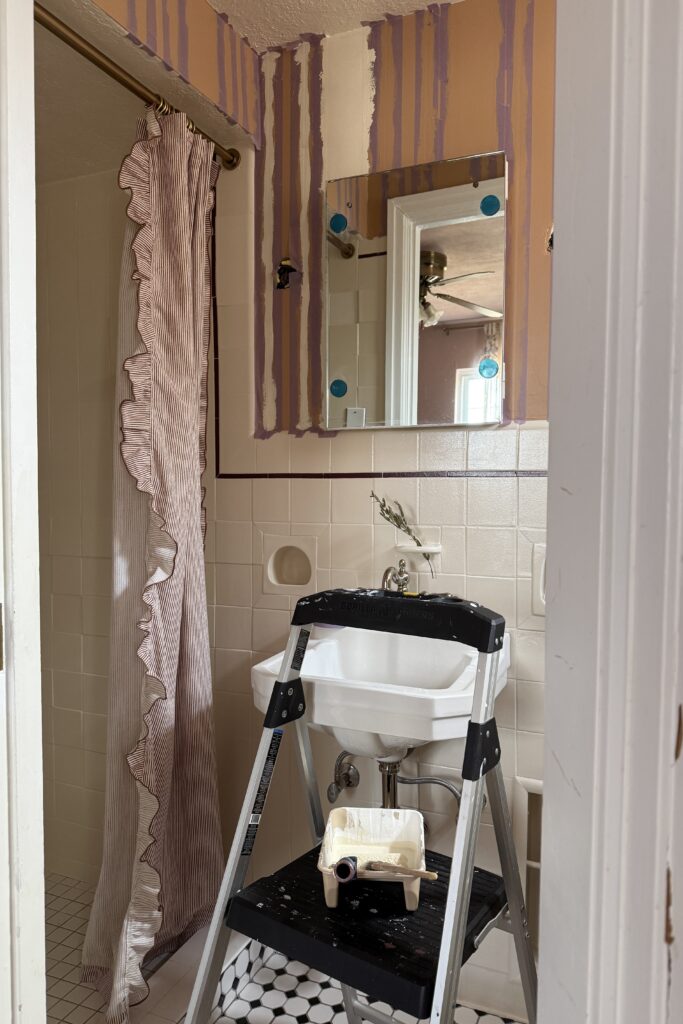
Here’s the finished look! By the way, I just finished this no demo bathroom remodel- you have to see the before! The entire space was transformed using just paint.
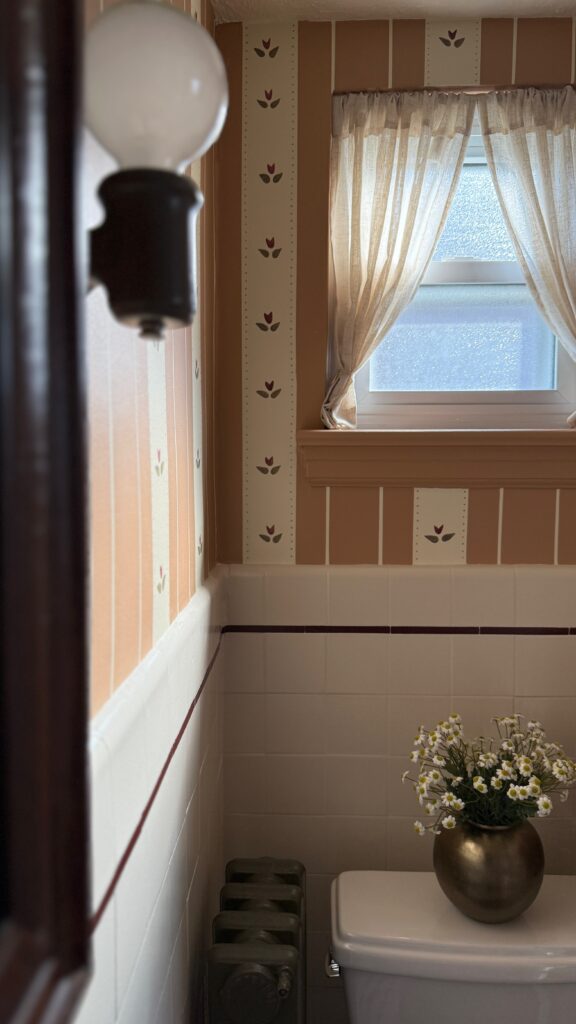


I’m in love with how this turned out. I hope you are too!!! Also, if you’re ever up for actually hanging wallpaper, I do have a couple blog post tutorials that you may find useful; How to Hang Traditional Wallpaper and Best Type of Wallpaper for Beginners.
Thank you so much for being here!!
Elisha
