

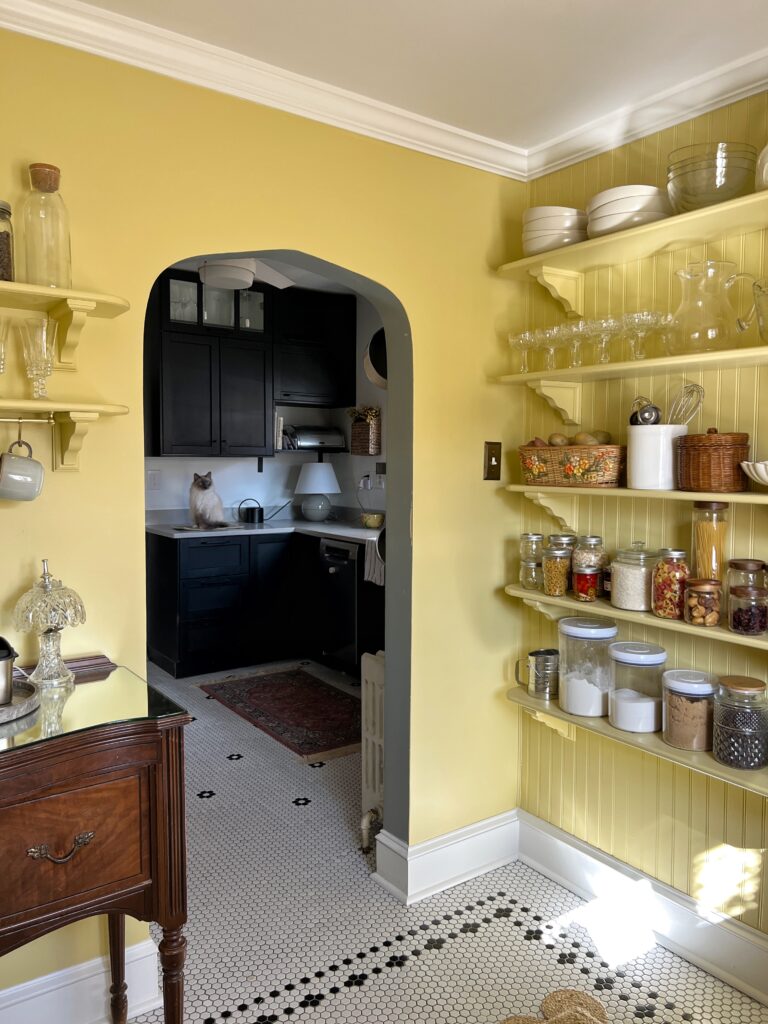
It’s amazing the difference some new shelves can make in a space! Our walk-in pantry (which also acts as a breakfast nook, or even a butler’s pantry!) recently got a makeover and these easy DIY wood pantry shelves ended up being my favorite part!
Whether you’re dealing with the ugly wire shelves, or perhaps just some underwhelming shelves with brackets like what we started with, these cute shelves with corbels are both functional and beautiful! Especially if you’re into vintage or English-inspired interior design like I am! These DIY wood shelves are such an easy DIY project using basic tools and simple materials you can get from your local home improvement store.

Disclaimer: This post contains affiliate links. This means, if you purchase something from a link I provided, I will receive a small commission. This is at no extra cost to you! Thank you so much for the support!
TOOLS:
- Miter Saw
- Jigsaw (Optional)
- Handheld Router (Optional)
- Orbital Sander
- Laser Level (Optional)
- Brad Nailer (Optional)
MATERIALS:
Step One: DIY Pantry Shelves Design Plan
When it comes to building pantry shelves, it’s important to have a plan. If you already have wire shelving, for example, are you happy with the sizing and spacing of the shelves? If not, this is your chance to improvise!
It’s always a good idea to make a list of any food items, small kitchen appliances, etc. that you wish you store in your pantry! You may even need to take measurements of containers, baskets, or appliances.
The previous DIY wood shelves in our pantry were just okay. They were made with a 2×6 pine board and metal l-bracket. We hadn’t touched them since we moved into our new home a year ago. We were able to store a good amount on them, but I knew I wanted a bit more depth to work with. I figured for the top shelf or two I could get away with a bit more depth without disrupting the flow in the room.
For the top two shelves I ended up using 1×10 (actual: 3/4″ x 9 1/4″) pine boards and then for the bottom three shelves I used 1×8 (actual: 3/4″ x 7 1/4″) poplar boards. I also made shelves for our coffee station area and over our butcher block countertop. Those were also made with 1×8 poplar boards.
By the way- I have another tutorial for DIY wood pantry shelves here: DIY Thin Floating Shelves
What is the best wood for homemade shelves?
Hardwoods like maple, oak, and walnut would work great for DIY shelves, but those are definitely not budget friendly options and not as easy to find at big box stores such as Home Depot or Lowes. Unless you’re going for a wood stain look for your shelves, it’s not worth the extra cost or effort.
Here’s a few options I recommend:
- Poplar- This is a very durable option! It’s a little bit harder and more dent resistant that pine, but it’s also more expensive.
- Pine- This is another great option if you get quality pieces! Pine is a softer wood so it tends to be a bit more susceptible to dents and scratches.
- Plywood- You could use a quality 3/4″ plywood and rip your shelves to size with a circular saw.
- MDF boards- MDF can get a bad reputation when compared to solid wood, but it’s actually a very strong option. It also sands and paints very well!
I used a combination of pine and poplar for my DIY wood pantry shelves. The reason I used pine for two of the shelves is because I wanted 1×10 board up top and the hardware store didn’t have poplar board in that size.
What is the best thickness of wood for shelves?
Don’t use anything less than 3/4″ in thickness for your DIY wood shelves. I went with 3/4″ thickness because I knew we wouldn’t be storing anything with a ton of weight. If you plan to store items with a more significant weight, consider using 2″ boards.
Step Two: Make Wood Shelves
Don’t forget, these are your custom pantry shelves, so get creative with them! Originally, I was just planning to cut the wood to size and call it day, but I decided to add a couple small (and simple) details that really added character and just a more finished look.
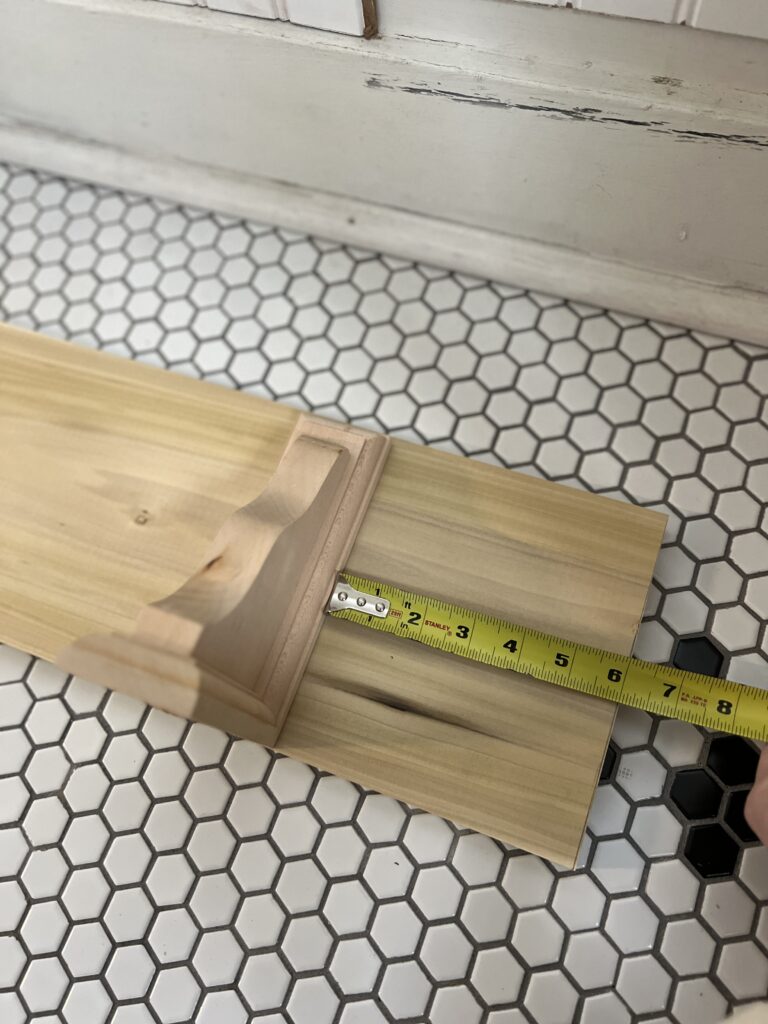
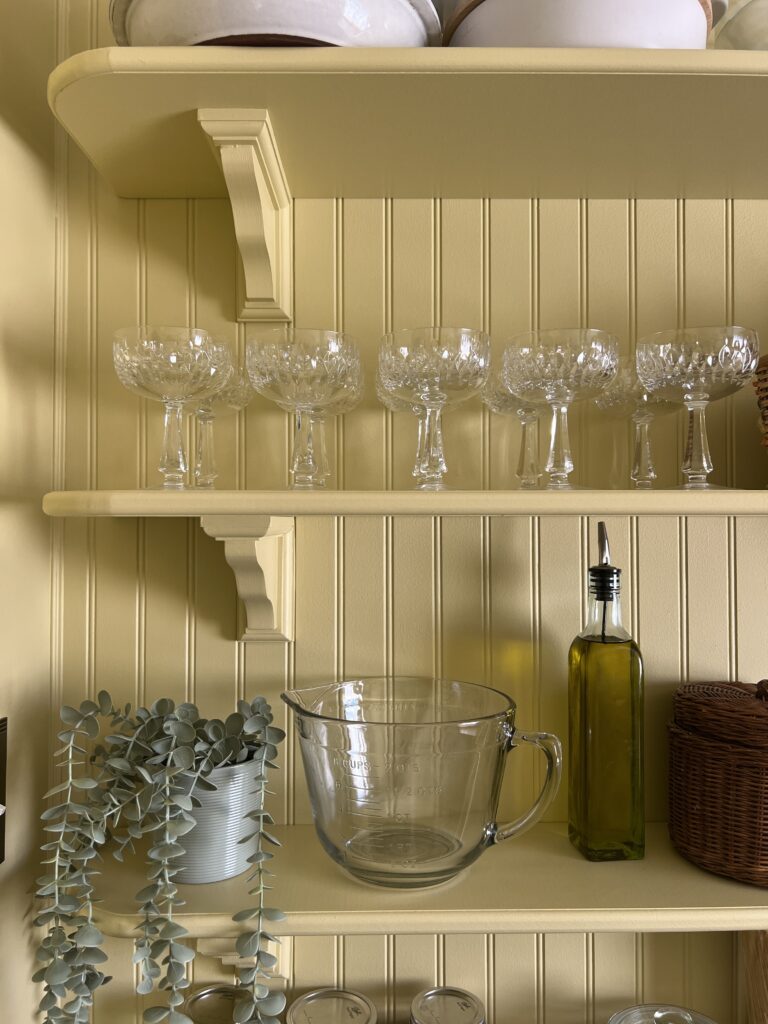
Creating curved edges
After I cut my pieces to size, I decided to curve the edges! This decision was mainly for aesthetics, but it also functionally made sense because we’re less likely to slam our shoulders into the sharp corner of a shelf! A win-win!
To create the curves, I traced the shape I wanted with a bowl and then made a little template out of cardstock paper. You definitely don’t have to make a template but since I was making nine shelves, I wanted to make sure they were all the same!
Routing the edges
The router is still a new tool for me (I only used it once for this DIY radiator shelf) so I was a little nervous to use it again especially with so many pieces of wood. Spoiler alert: I’m SO glad I did. It really took these DIY wood pantry shelves up a notch and didn’t add a lot of time to the project.
I used a 1/4″ roundover bit (I have this set from Home Depot), but I set the bit high so it didn’t cut into the wood too much. I was just looking for a subtle detail.
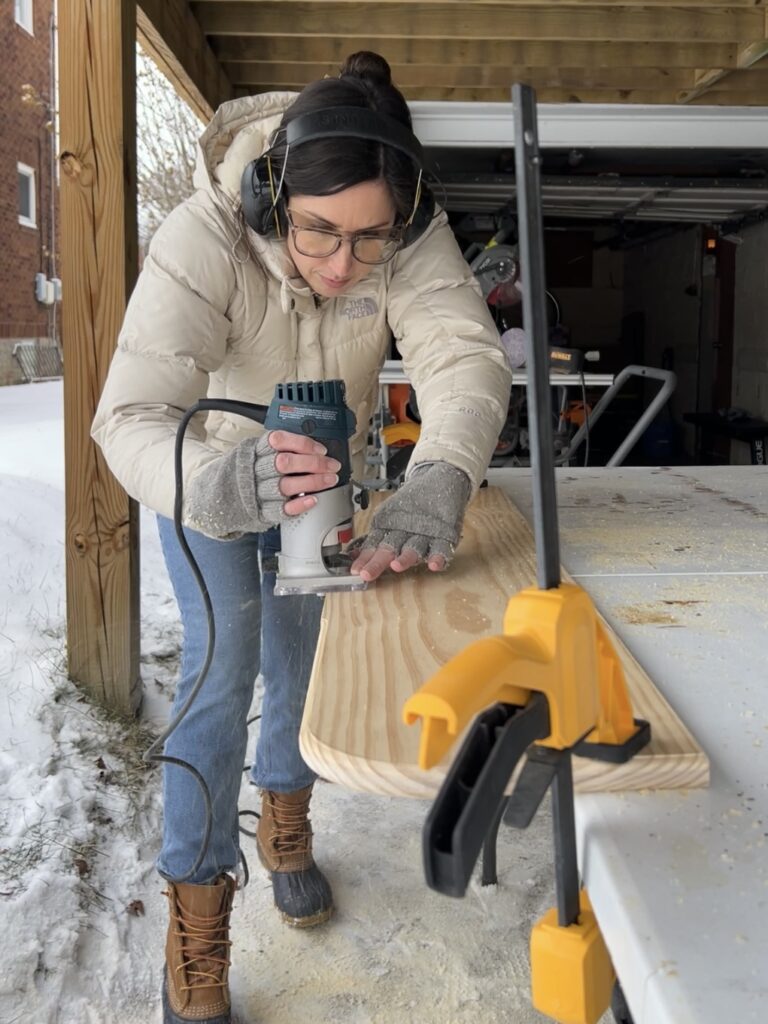
This was also my first time using the router around curves so I wasn’t sure how that would go but after a few tries I figured out a method that worked! I would start on one end, go around the curve and then straight for a bit. I then switched to the opposite end, doing the same thing! Lastly, I would join the routed edges together in the middle! (You can see me doing that in the photo above) Luckily the transitions were smooth and you’d never know I did it in three passes!
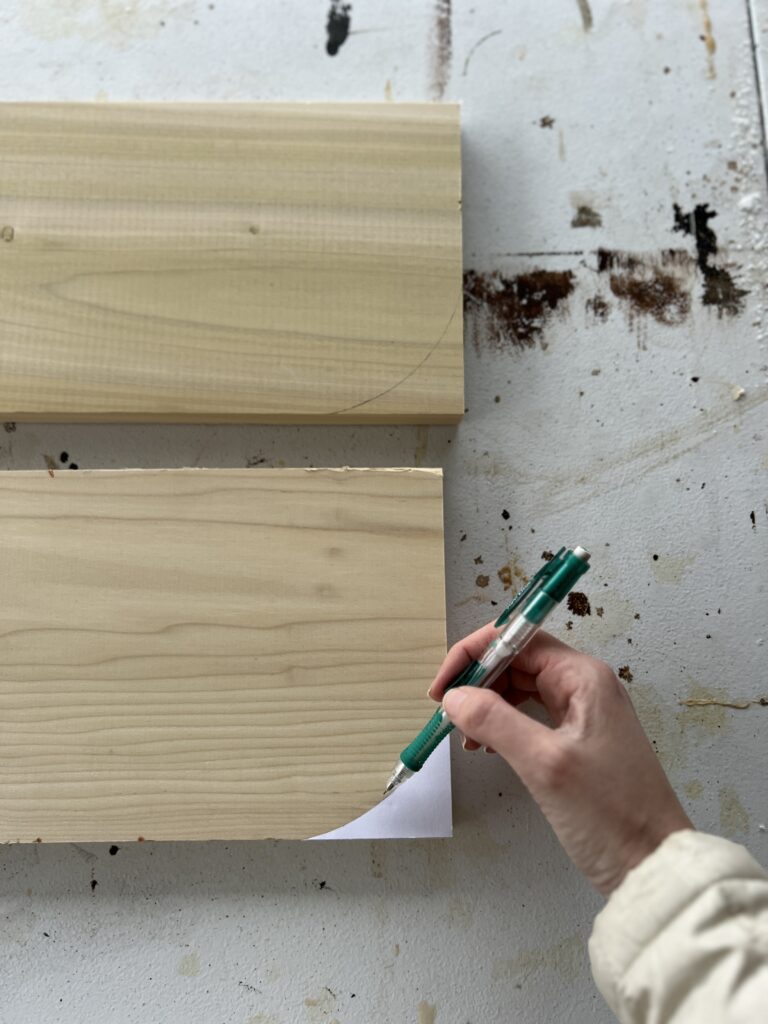
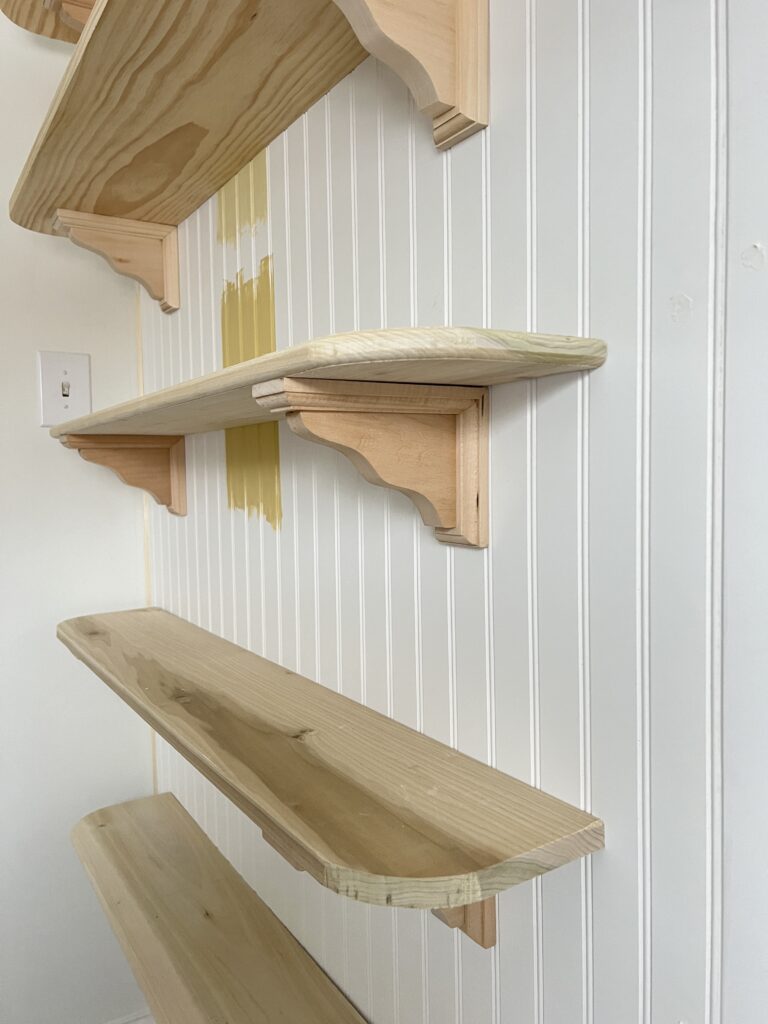
Below you can see the difference between a routed shelf (top) and an un-routed shelf (bottom)! Doesn’t it look so much more professional? So if you have a router that’s collecting dust, hopefully this convinces you to break it out! If you don’t have a router, add it to your tool wishlist 😉 This is the one I have and love!
Before moving to the next step, I used my orbital sander with 220 grit sandpaper to smooth out the top, bottom, and the outer edges of each shelf.
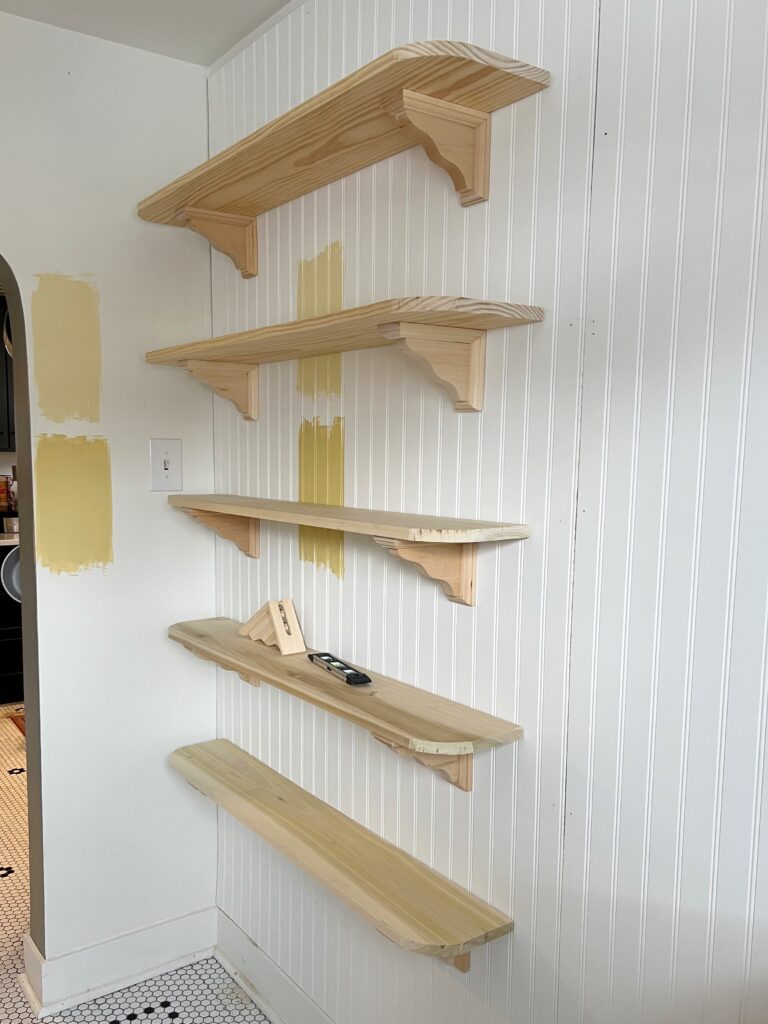
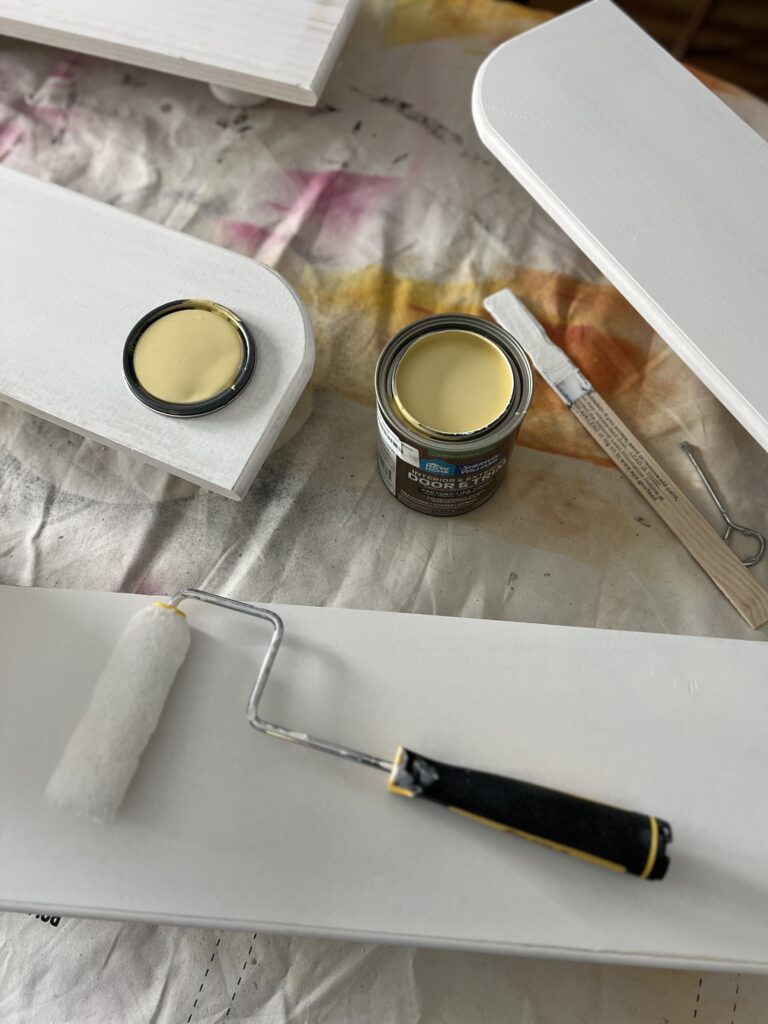
Step Three: Paint Your DIY Shelves
I’m keeping these DIY wood pantry shelves budget friendly by painting them! When dealing with raw wood, it’s always a good idea to prime first! This is the primer I used. I was amazed at the coverage!

For the paint, I used this door and trim paint in a satin finish. Since it’s a door and trim paint, it’ll have extra durability! It really does give a factory-like finish and also has great coverage just like the primer. I did two coats total, sanding in between with a 220 grit sanding sponge.
If you use regular latex paint, I recommend using a top coat (like this) to protect your shelves from chips in the paint!
Step Four: Hang Corbels and Shelves
The last step is to hang your DIY wood pantry shelves!! See, I told you these were simple! No wood glue, pocket holes, or wood screws required!
Before securing the shelf brackets, make sure you figure out the spacing. To prevent sagging shelves, I recommend placing the corbels about 2″-6″ from the edge.
How to hang wooden brackets
Use your stud finder to locate your wall studs. It’s always best if you can secure your wooden brackets to wall studs, but of course that’s not always possible.
In our case, the wall studs just didn’t align with where we needed them to be so we had to use anchors. It’s an extra step, but it’s the best way to make strong, sturdy shelves when you don’t have wall studs to work with. These are our favorite anchors!
My husband was incredibly kind to hang all 18 corbels for our pantry makeover! I’d say this was probably the hardest part of these DIY wood pantry shelves. It’s not difficult, it’s just tedious making sure that they’re straight and even. Using our laser level was extremely helpful for this part.
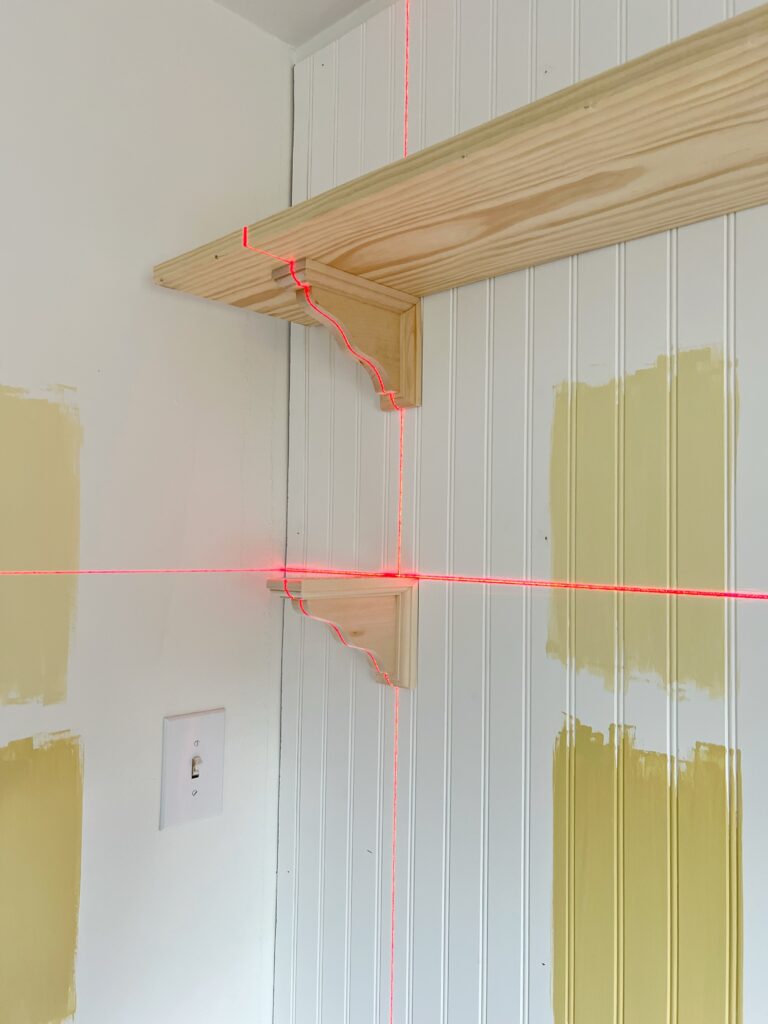
One thing we noticed was that some of the corbels had different hardware even though they were all purchased from Lowes. My husband said very much preferred the hardware on the left because the one on the right just didn’t fit as snug. You can tell just by looking at it, it’s not as nice. I just figured i’d share this in case you use the same wooden brackets as us!

Once the corbels are installed, it’s up to you if you want to secure the wood shelves to them! You can always just set the wood on top, which is what we did!
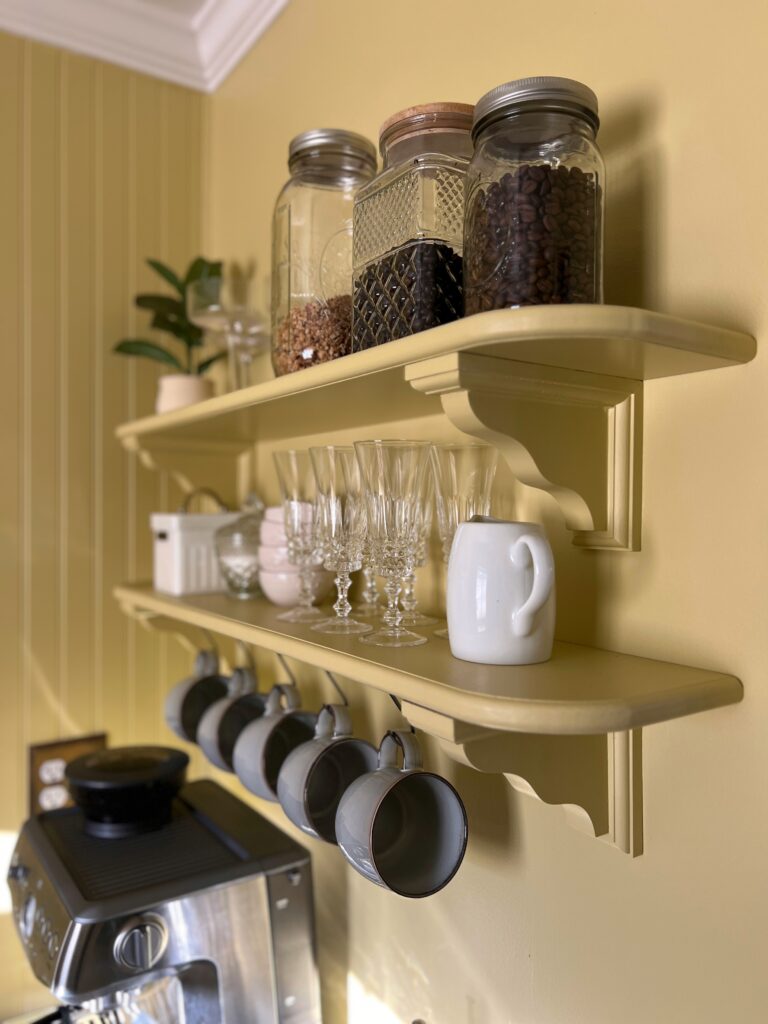
Although for the bottom shelf of our coffee station area, I installed a brass rod underneath to hang mugs. To ensure that shelf was secure, I used a nail gun with 1″ brad nails and nailed from the top down into the bracket. It only makes tiny little holes so I just used a little wood filler and touched up the paint 🙂
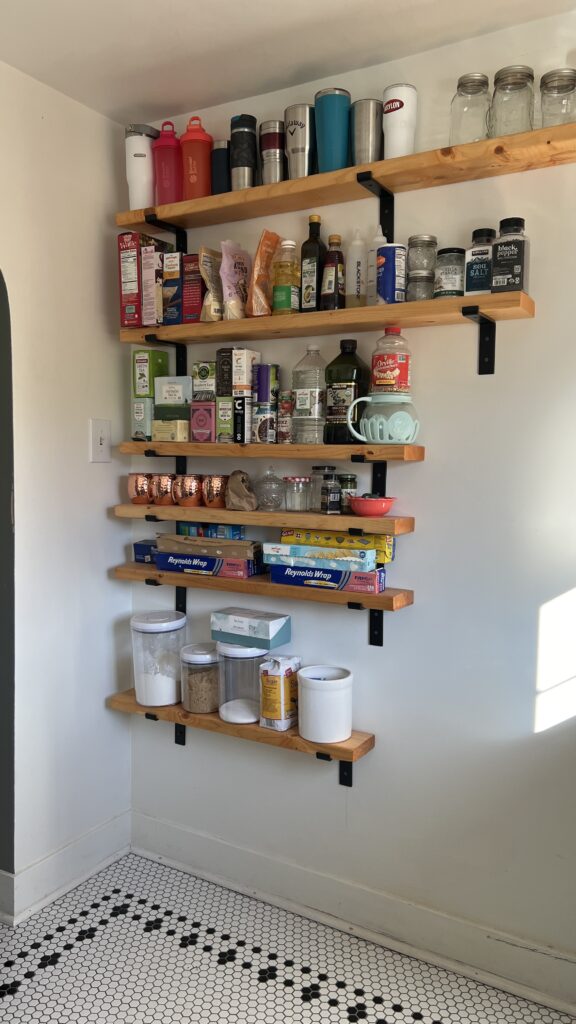
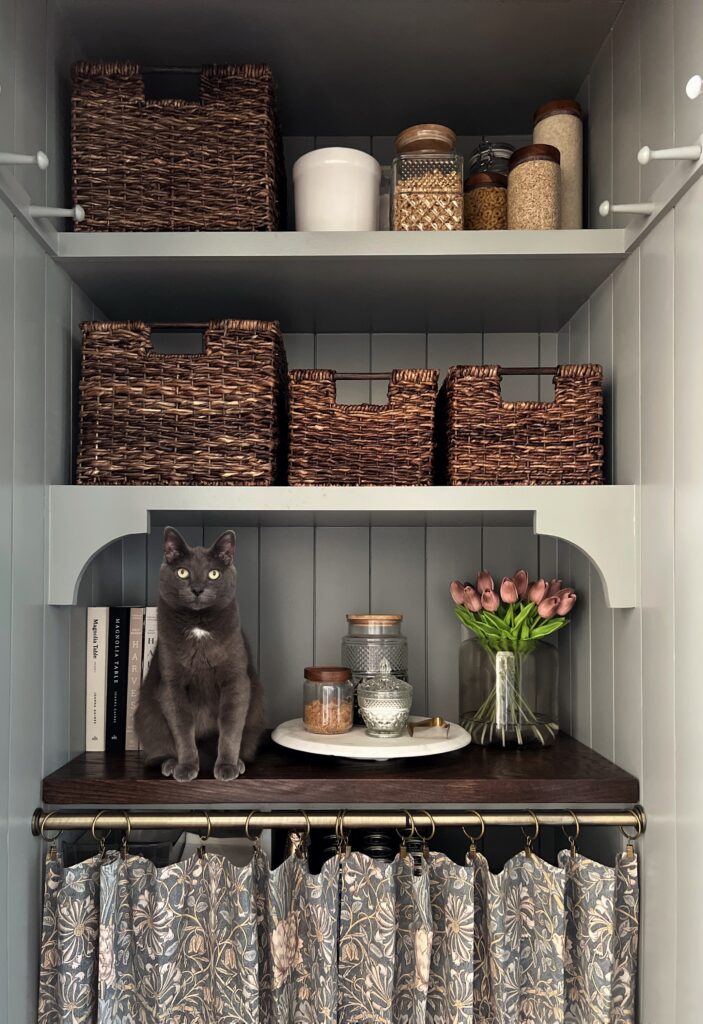
Organizing our DIY Wood Pantry Shelves
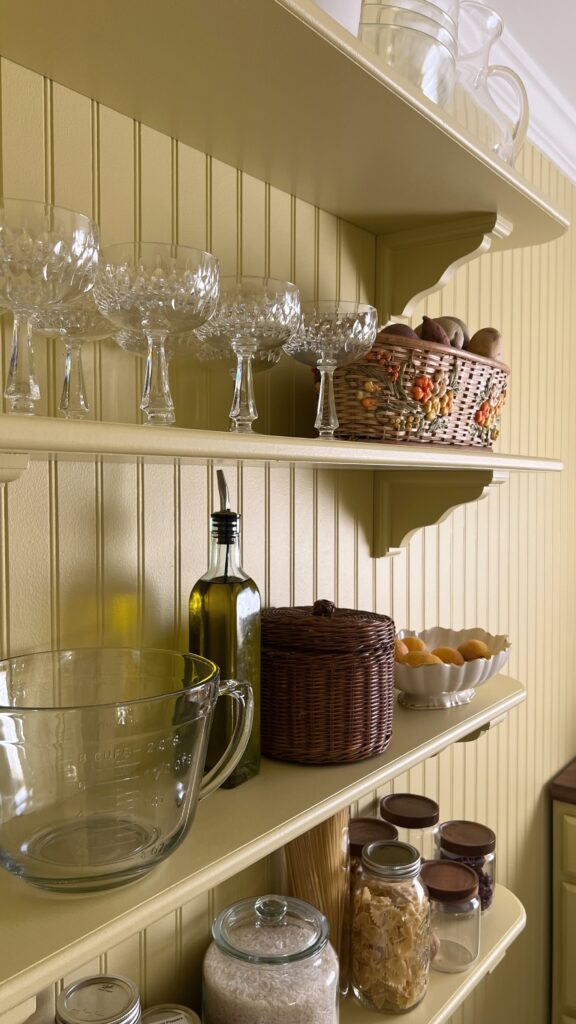
Organizing our new DIY pantry shelves was definitely the best part! Now I know not everyone is on board with the idea of open shelves, but I actually love them! I find it helpful to know what we have, what we’re getting low on, etc. But using glass jars is definitely key! Leaving cereal boxes, pasta, etc. in their original packaging can make these wooden shelves look cluttered and chaotic.
It’s also an opportunity to style the shelves with decor, plants, or functional pieces that happen to be pretty! I was able to free up a good amount of kitchen space by storing our crystal stemware on these shelves!
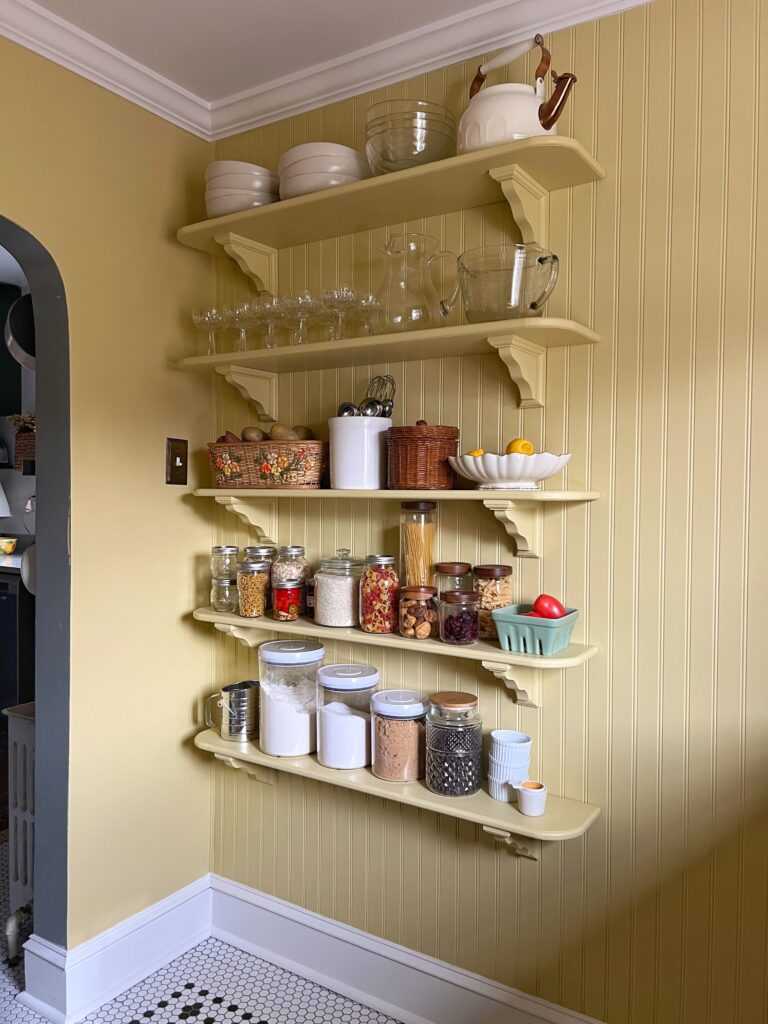
Here’s how we’re utilizing our DIY wood pantry shelves at the moment, but I know will continuing switching things out. I tested a few of our small appliances on the top shelf and they fit nicely if we decided to eventually store them there! We’re just trying to gauge what we use the most and adjust accordingly 🙂
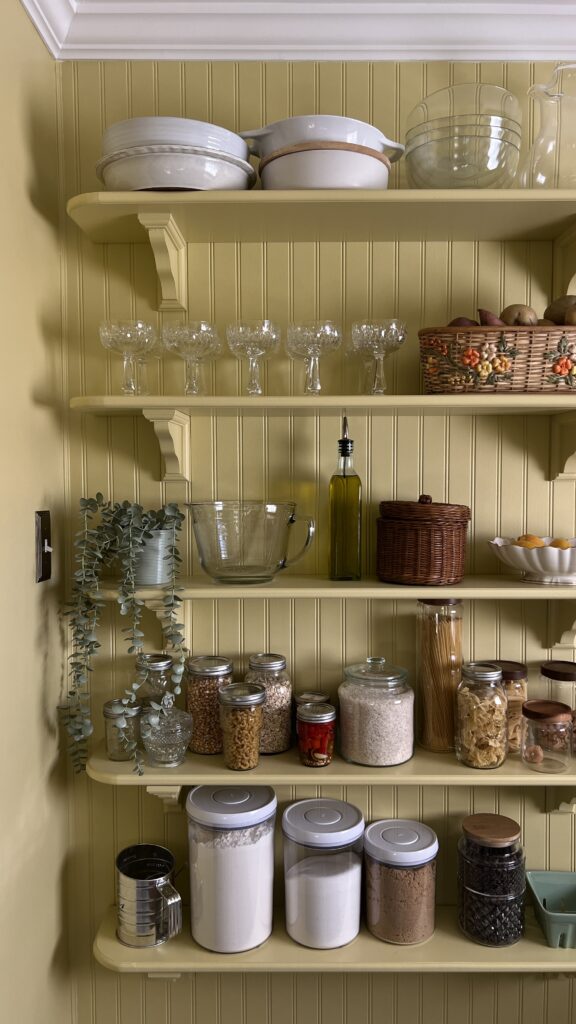
These shelves might seem like they only have a little space, but trust me, we can fit a lot! There’s plenty of storage space with work with, especially if you’re storing a lot of smaller items!
Well, there you have it! Just a few simple steps and you can have custom wood shelving! Click here for all the details on our DIY walk in pantry makeover!
Thank you for being here and please feel free to leave a comment if you have any questions!
Elisha
