

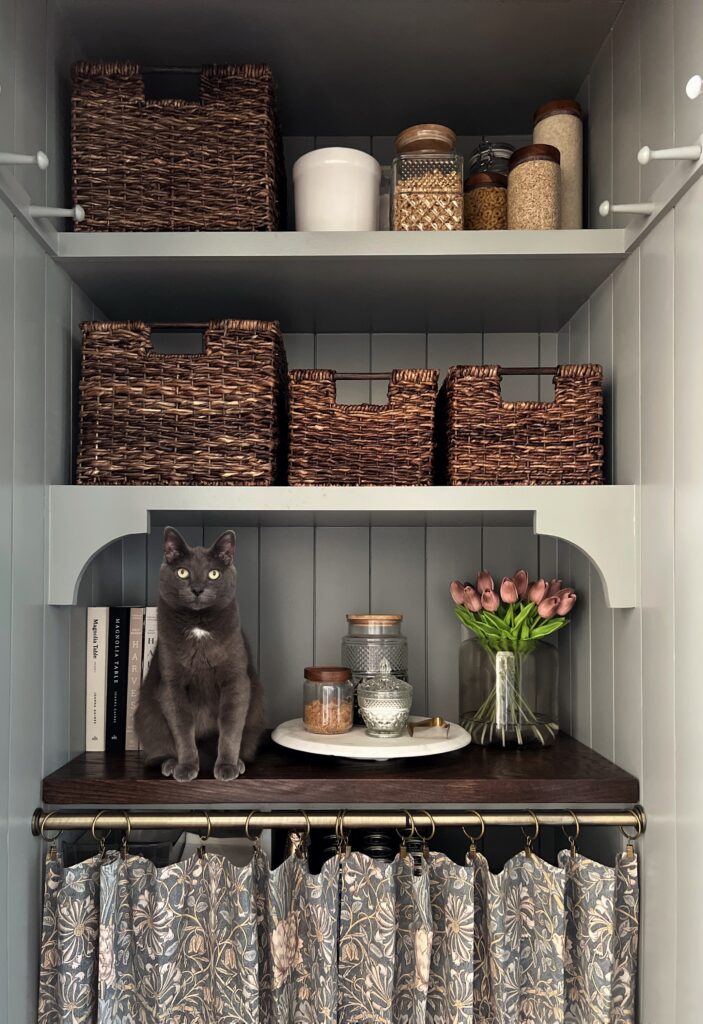
How many closets do you have that are just begging for some real shelves?! We replaced the ugly wire shelves in our pantry with these DIY thin floating shelves and what a difference! We couldn’t be happier with how they turned out.
Floating shelves are such a classic, clean look that can enhance any space both aesthetically and functionally. But the best part? They’re really quite simple to make! If you’re beginner DIYer, you’re in the right place. These DIY thin floating shelves don’t require pocket holes, a kreg jig, or any shelf hardware!
Disclaimer: This post contains affiliate links. This means, if you purchase something from a link I provided, I will receive a small commission. This is at no extra cost to you! Thank you so much for the support!
tools:
- Laser Measurer
- Table Saw (or circular saw)
- Miter Saw
- Framing Square
- Stud Finder
- Drill
- Clamps
- Nail Gun
- Laser level
materials:
- 1×2 boards
- 1/2″ plywood
- 1/4″ plywood (or hardboard)
- 1.25″ screws
- Caulk
- Wood Glue
- Wood Filler
- Sanding Sponge
- Angled Brush
- Microfiber Roller Brush
Step One: Planning & Preparation
Planning your DIY floating shelves
Because I was making DIY floating shelves for a pantry makeover, it was important to figure out the exact plan for that first! Below is the small pantry design I came up with!
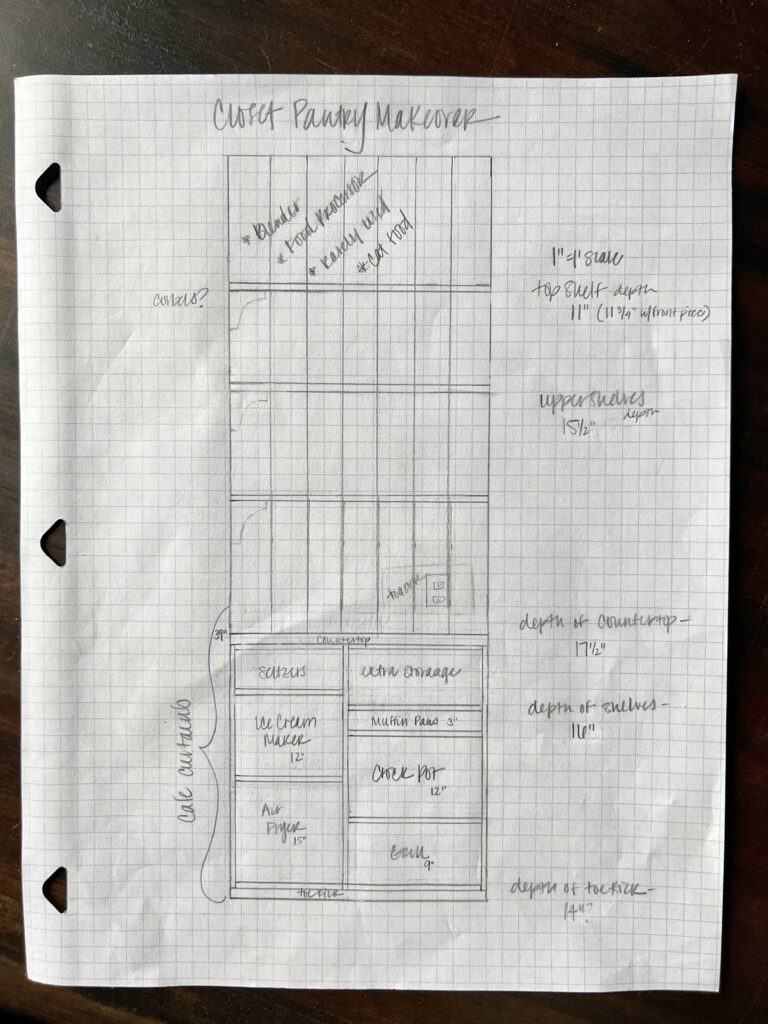
Having an idea of what you’re going to store on the floating shelves will help you determine your dimensions and spacing. Another thing that helped was choosing our pantry baskets first so I could ensure the depth of my floating shelves would accommodate them!
I also used our previous wire shelves to help get a better idea of spacing.
Here’s a great resource to help determine spacing for shelves in a coat closet pantry!
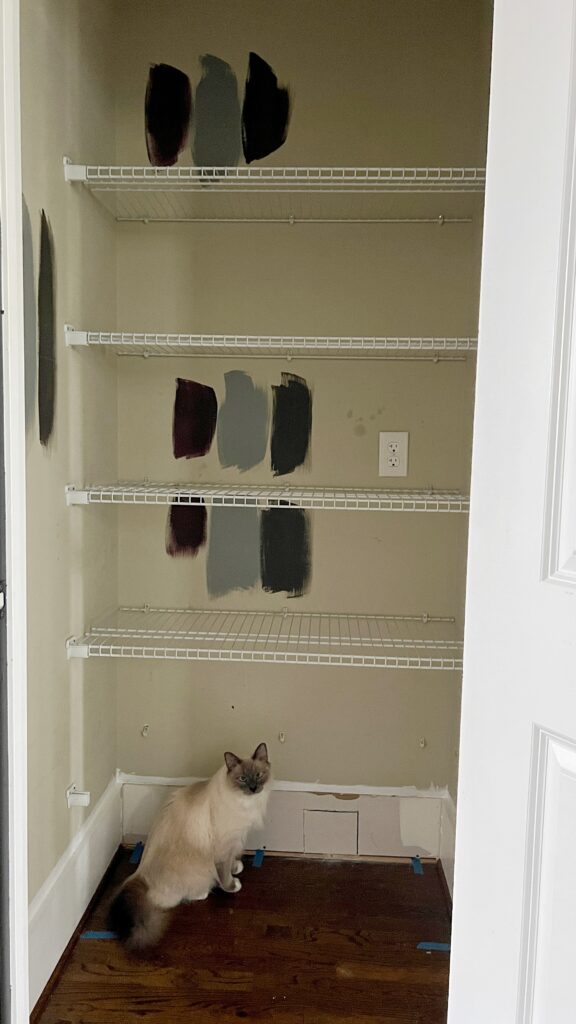
If you’re working with a blank slate, try using painter’s tape to help you visualize the shelf placement!
Mark studs
First things first! See what kind of studs you’re working with! This is my favorite stud finder to use– it’s simple and reliable!
We installed vertical shiplap in our pantry makeover so I just marked the studs using painter’s tape!

Determine measurements
Now that you know the placement for your DIY floating shelves, it’s time to get exact measurements!
Don’t assume that all your measurements will be the same even when working in a closet like I was! Walls are rarely perfect and all three of my shelves varied slightly in measurement.
Important tip: Be as precise as you can! A laser measurer works great for a job like this!
Thin floating shelves cut list
A cut list not only helps with a seamless trip to the hardware store, but it also helps you budget!
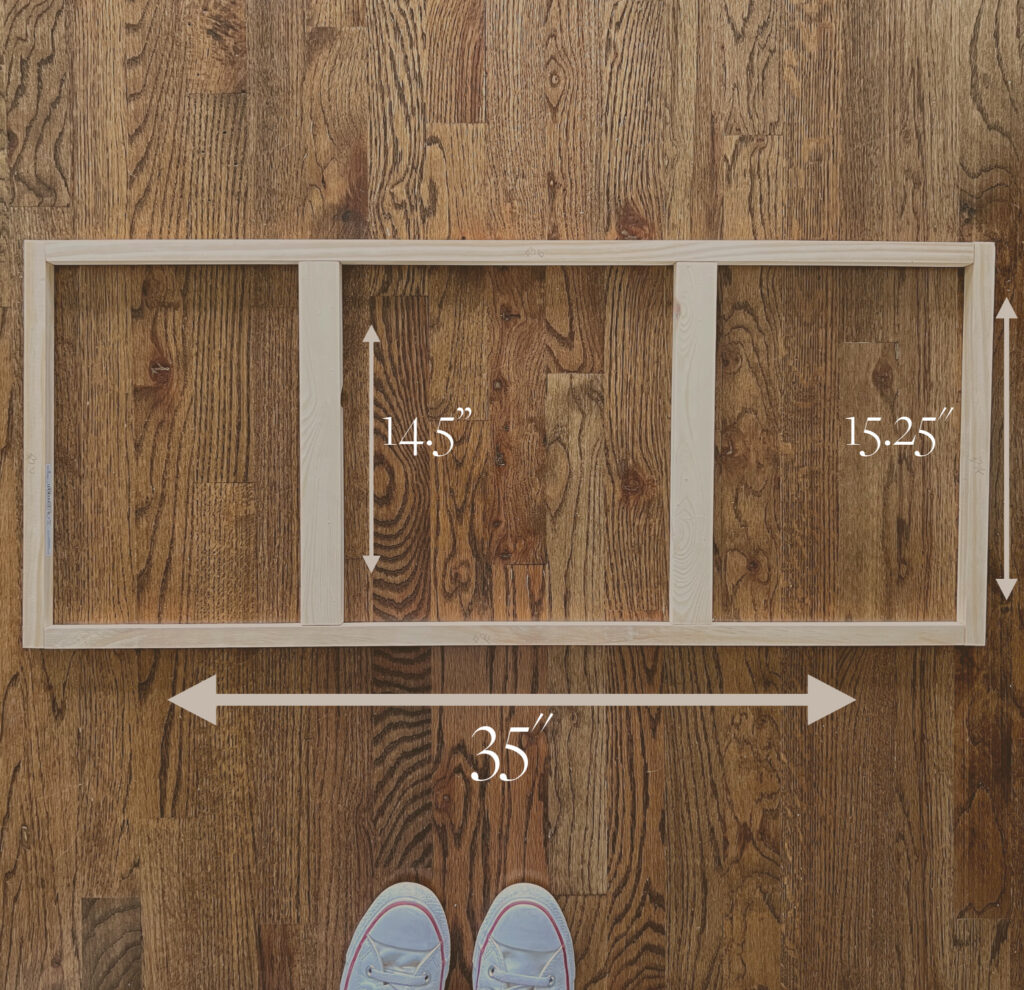
Here was my cut list for three thin floating shelves with 16″x 36.5″ dimensions:
- Six 15.25″ side pieces for bracket
- Six 35″ front & back pieces for bracket
- Six 14.5″ middle support pieces for bracket
- Three 15.25″ x 36.5″ pieces for top layer of shelf
- Three 15.25″ x 36.5″ pieces for bottom layer of shelf
- Three 36.5″ front pieces
Note: I used 3/4″ dowels for my side pieces and front/back pieces, but I actually recommend using 1×2’s on their side (like the middle supports) instead! I’ll talk more about why in step two!
Step Two: DIY Floating Shelf Brackets
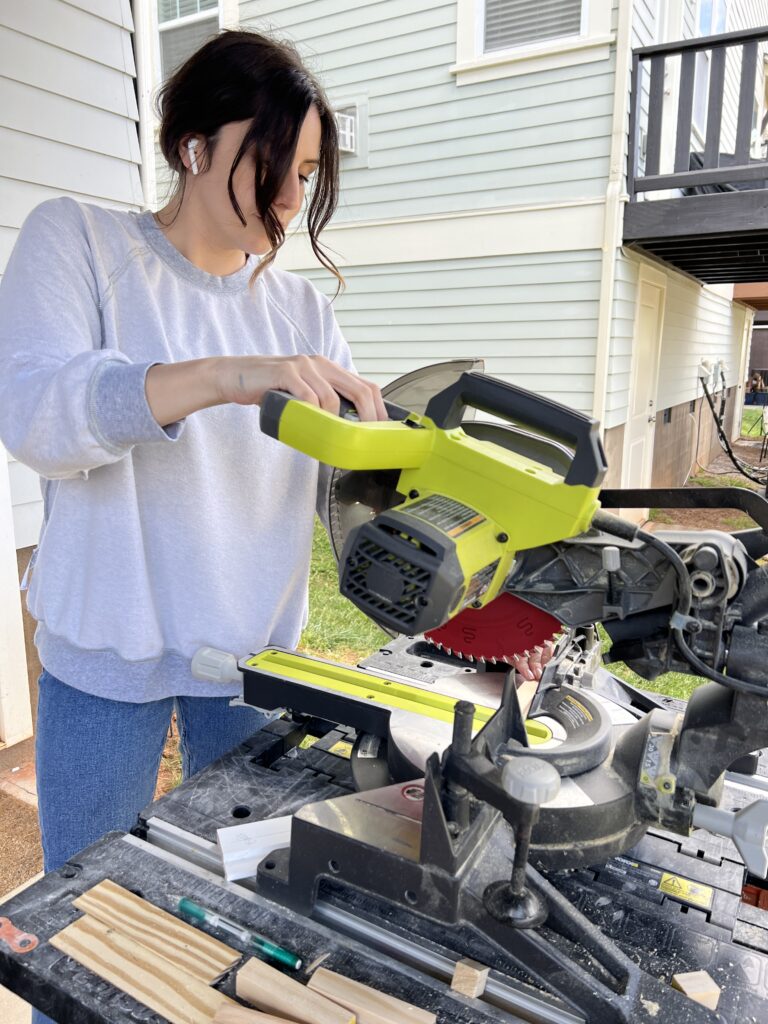
Cut pine boards to size
Working one shelf at a time, cut the front, back, and side pieces to size. Before you actually assemble them, bring them into your space and make sure they fit snug. (You might need a second hand to hold up all 4 pieces)
Since our thin floating shelves had to fit in between 3 walls, it was really important they weren’t too big or too small! After doing the dry fit, I numbered and labeled the shelves because again, they were all a smidge different in size!
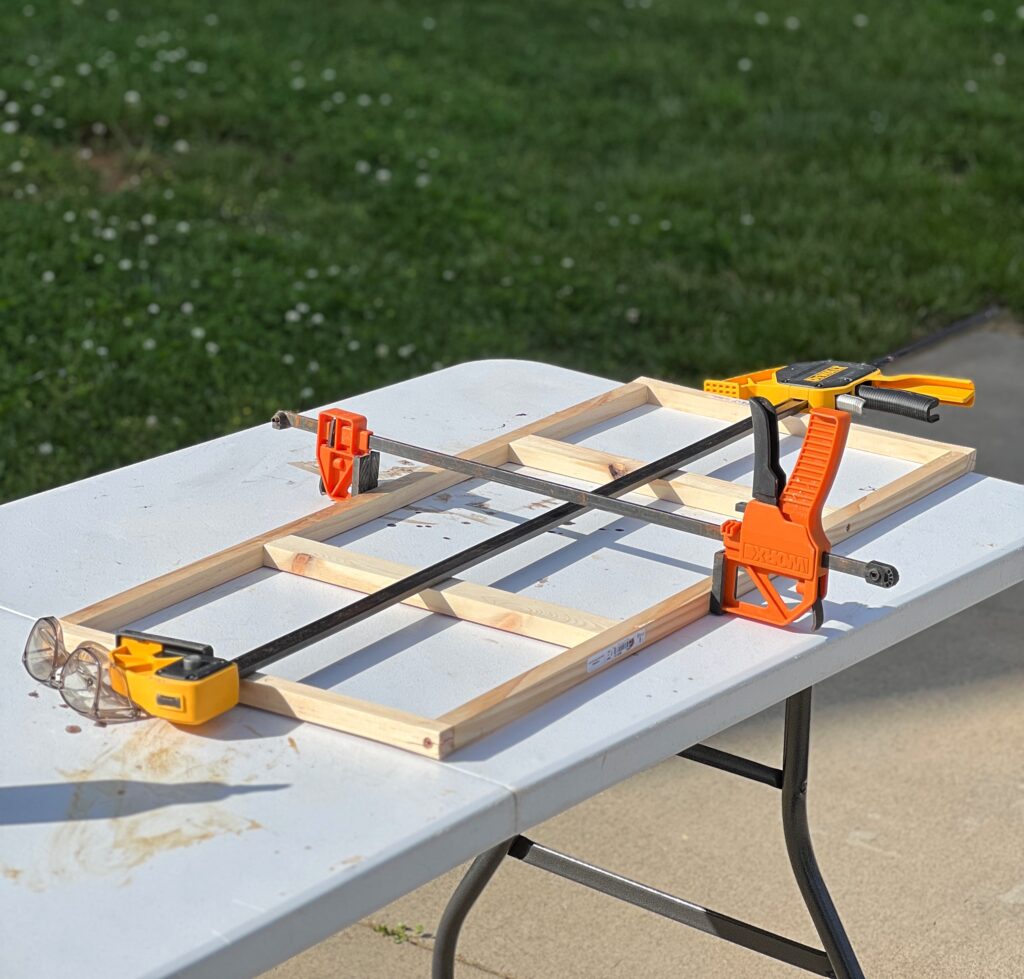
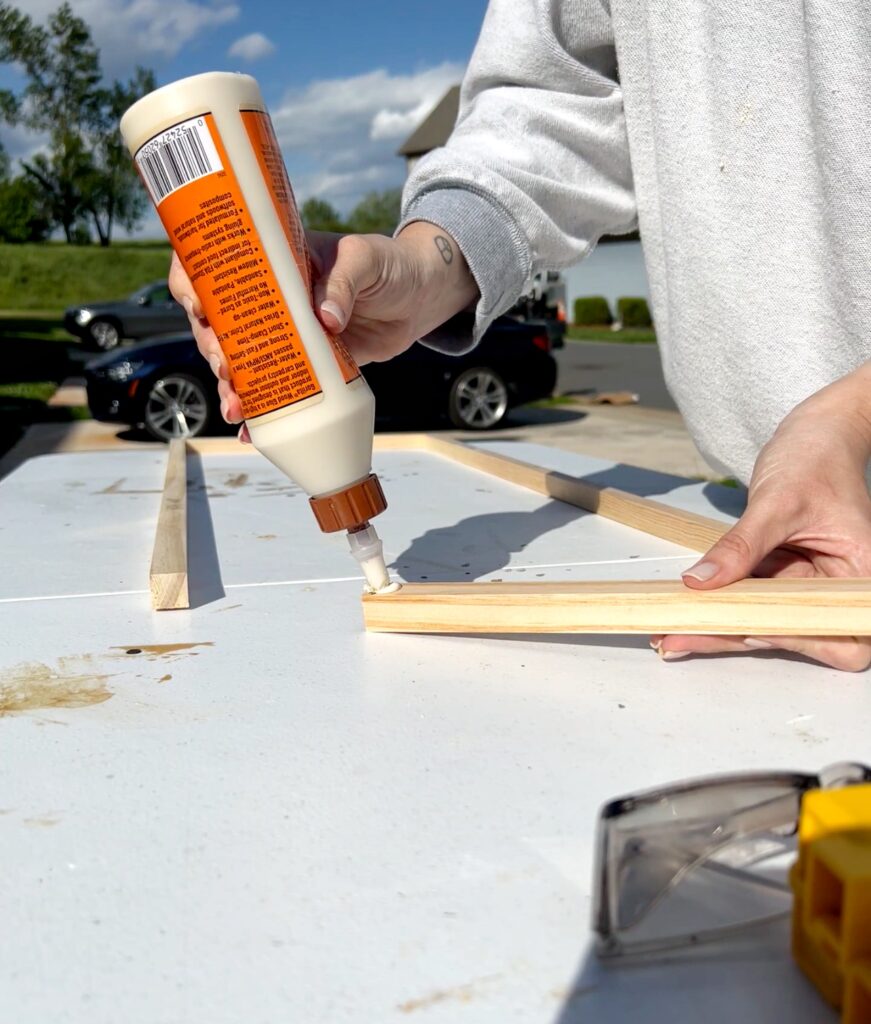
The outer frame
The first step with the thin shelf bracket is going to be the outer frame. Use some wood glue on the corners and then clamp! I had to pull out my large clamps for this!
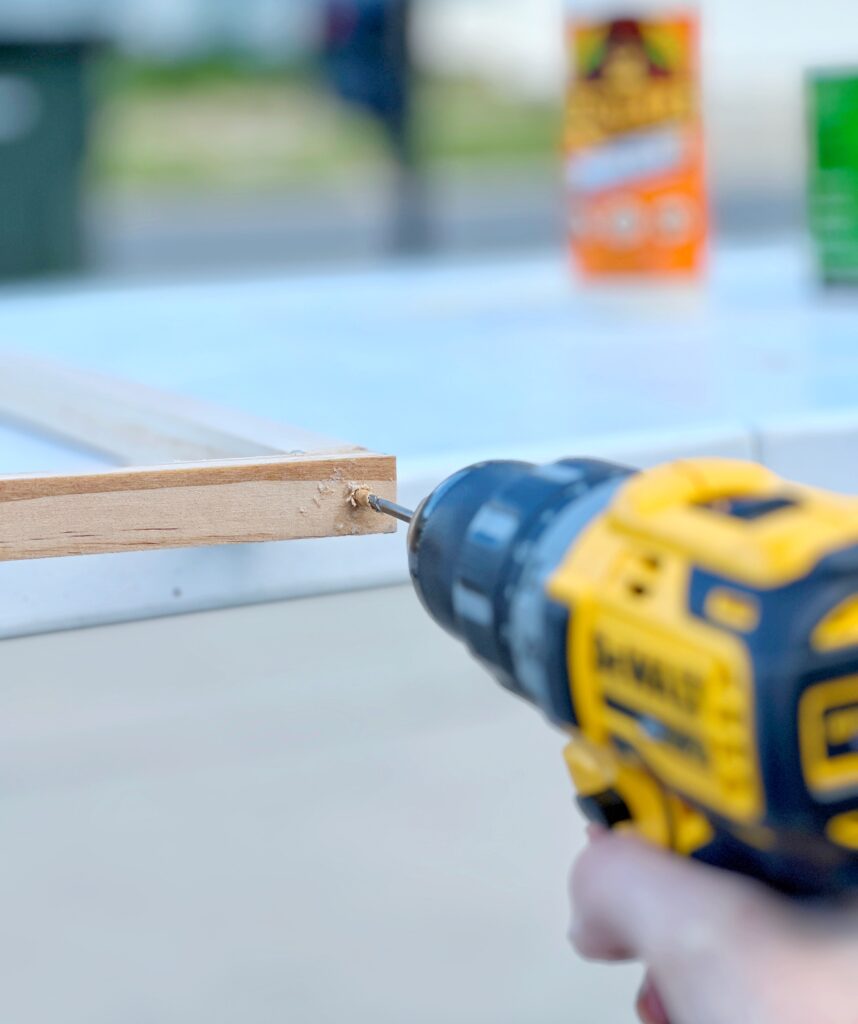
In all four corners, make pilot holes followed by 1.25″ construction screws.
Middle support pieces
Once your outer frame is done, the next step is to add the middle support pieces.
You’ll have a little bit of freedom in terms of the placement for the middle support pieces. You just want to make sure they aren’t in the way of your wall studs. Also, make sure you have room to fit your drill when you’re screwing in the side pieces!
Just like you did for the outer frame, use wood glue, pilot holes, and 1.25″ screws for assembly.
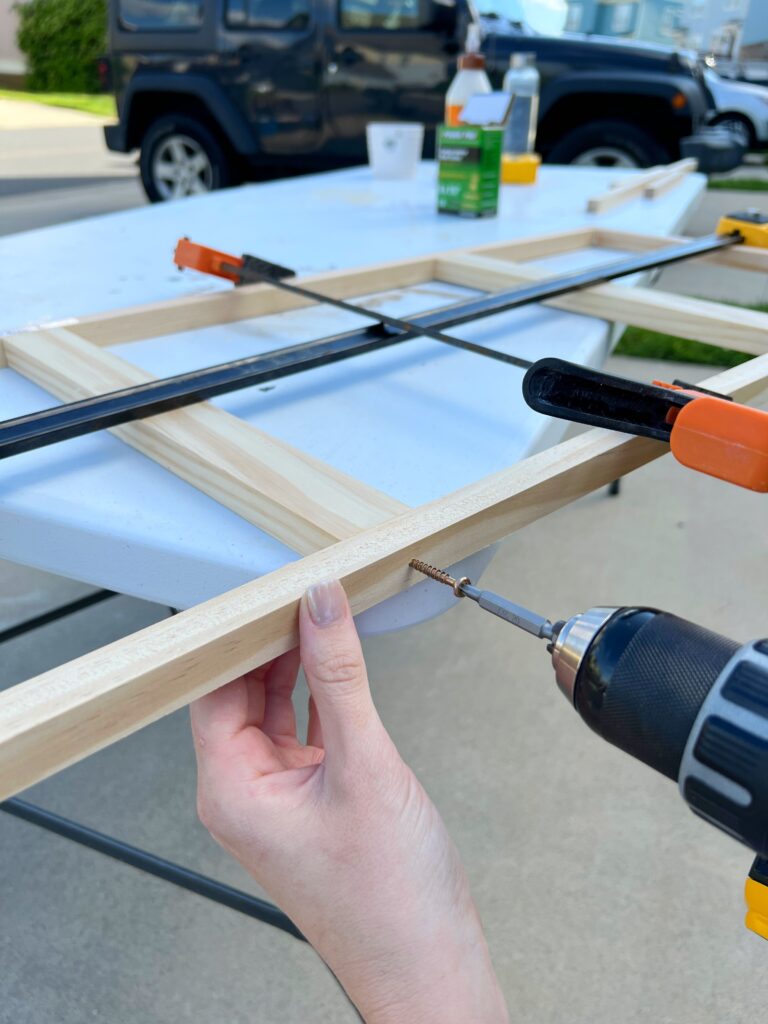
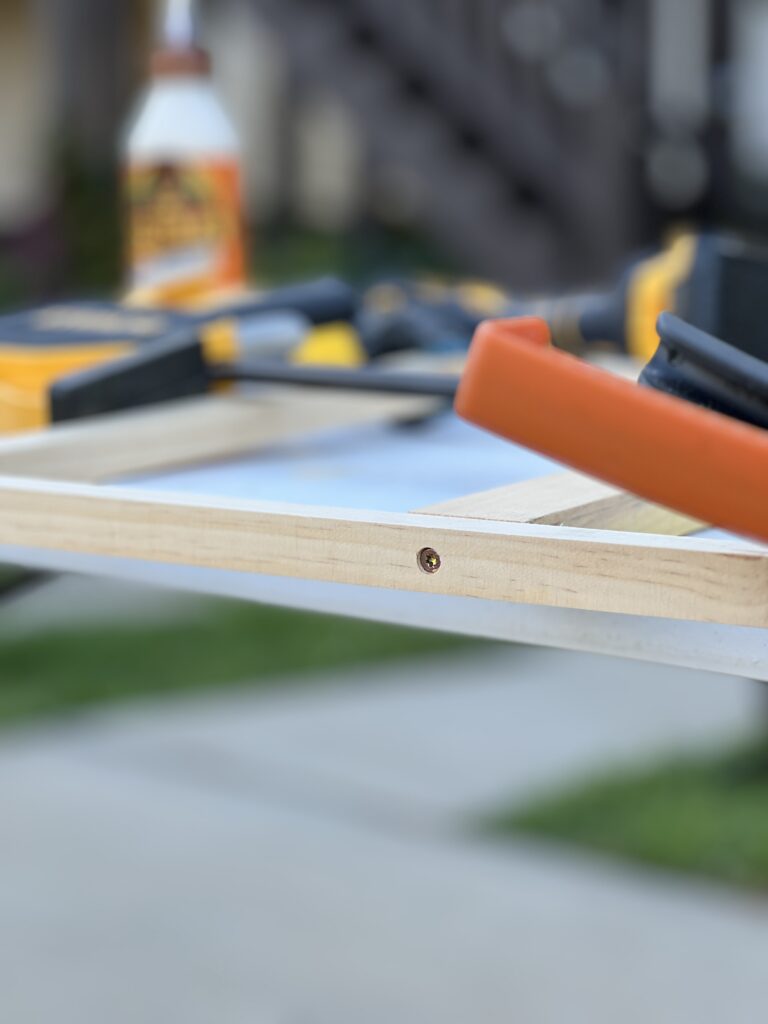
Countersink your screw holes (like in the photo below) so they don’t interfere with the front board!
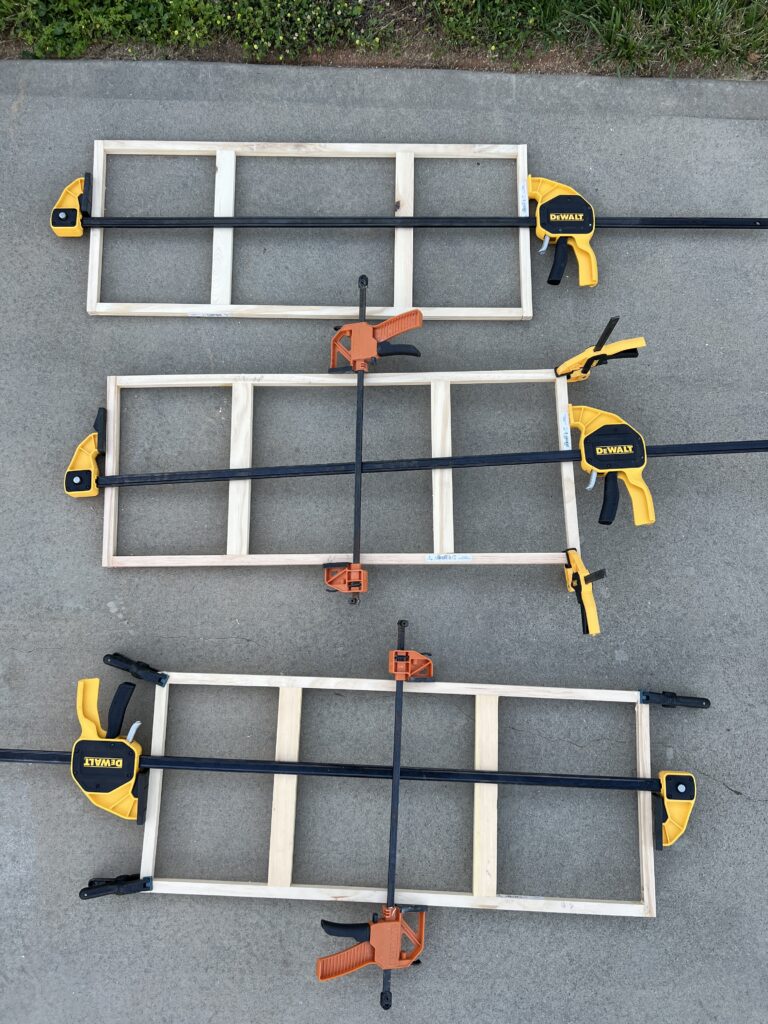
Repeat that process until your thin shelf brackets are done! I ran out of clamps so luckily I didn’t have any more to make!
One thing i’d do differently!
As I mentioned earlier, I used 3/4″ dowels for the outer frame. I wouldn’t do that again because I had some issues with the wood splitting as you can see below!
To remedy this, I just loaded the split with wood glue and clamped it overnight.
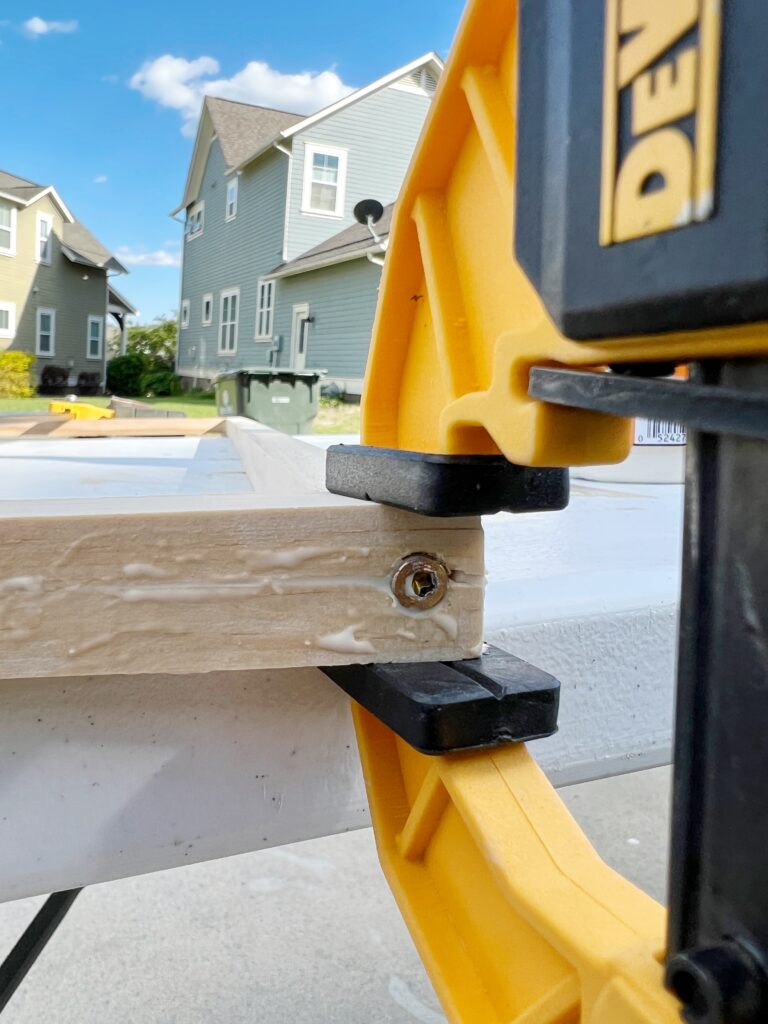
Ultimately the shelves ended up working out fine with these, but next time I would just use 1x2s for the entire bracket.
When you lay a 1×2 on it’s side, like I did for the middle support piece, it’ll be the same thickness (3/4″) as the dowels so you wouldn’t be sacrificing the look of thin shelves. Might as well have more solid wood for an extra sturdy shelf frame, right?!
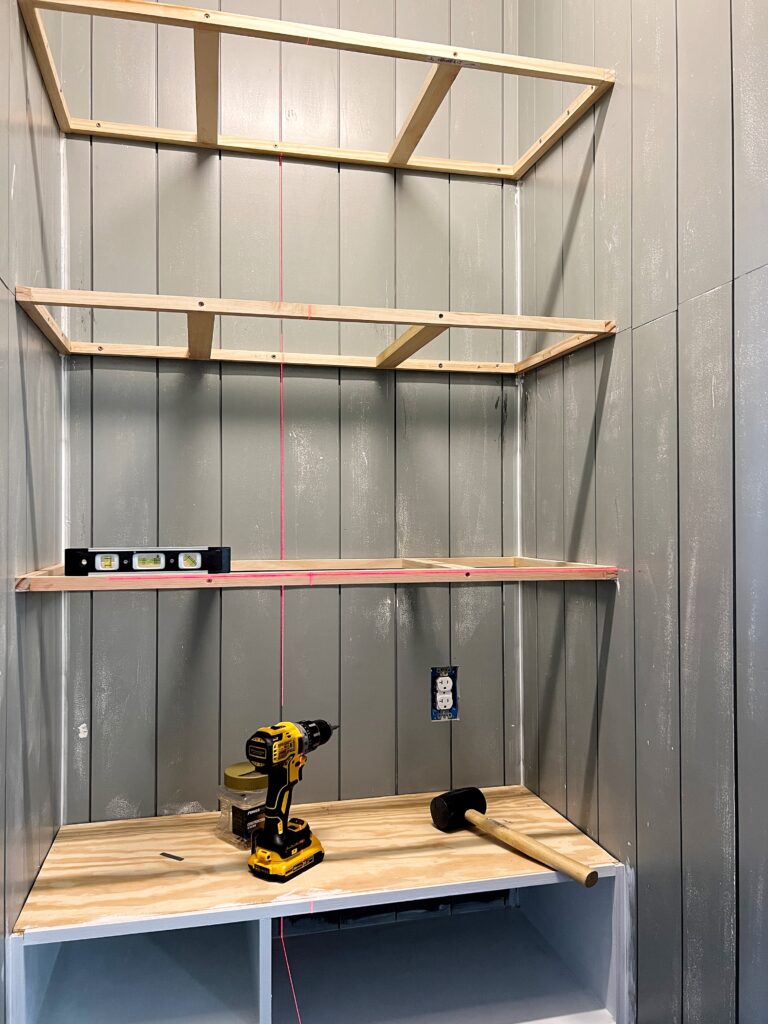
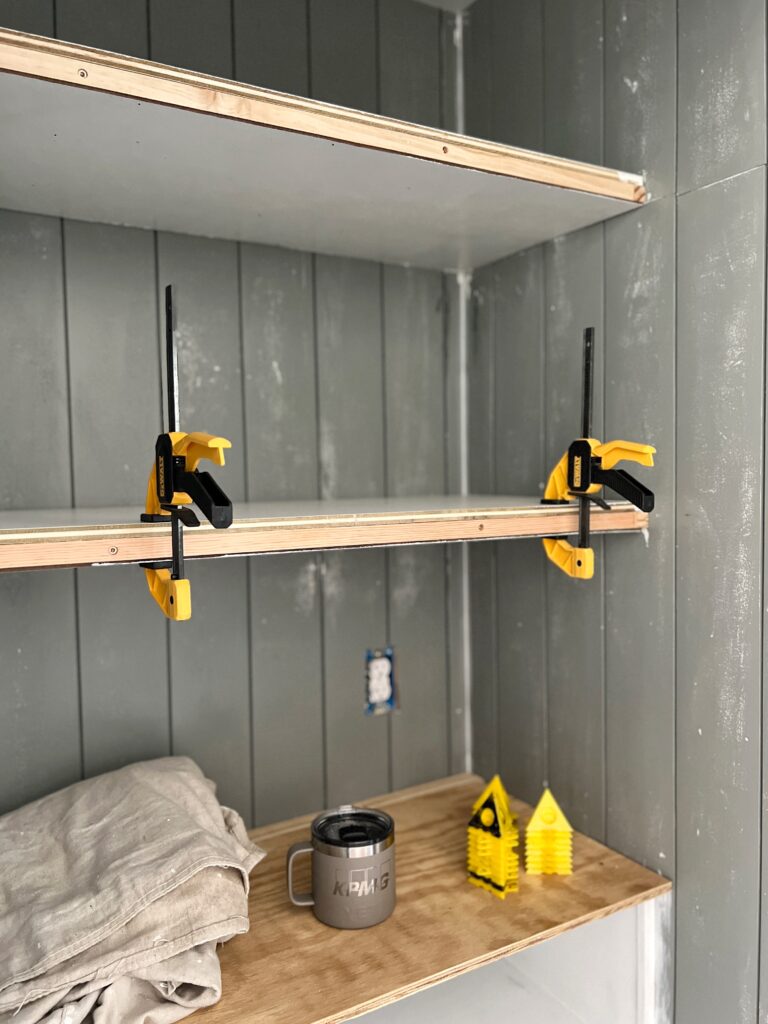
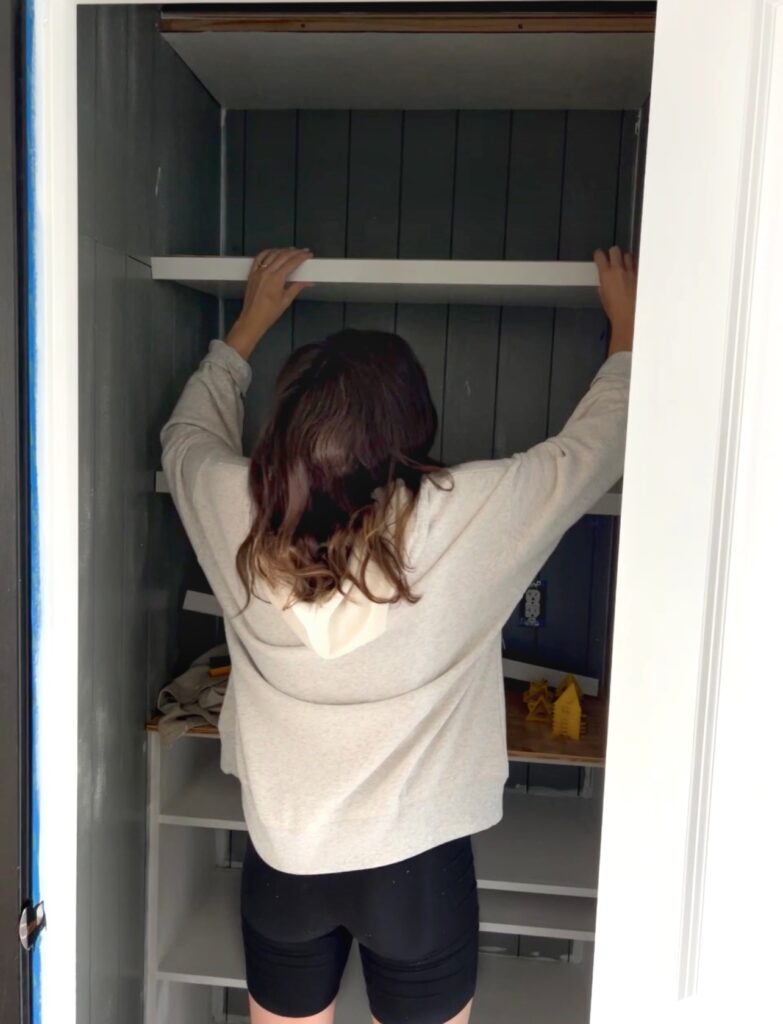
Step Three: Hang Shelf Brackets
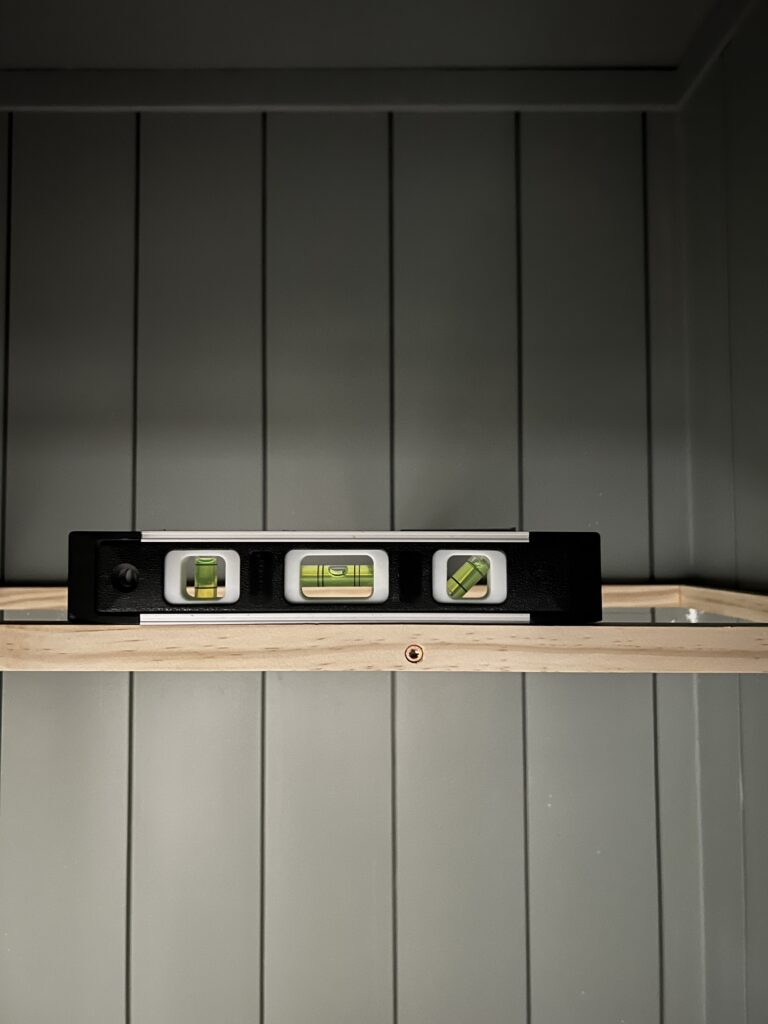
The first thing you’ll want to do before actually screwing your shelf bracket into place is make sure it’s level! I used both my laser level and a small level. Be sure to check all areas of the shelf bracket! My brackets were a little twisted so I had to mess with it a bit to get it level in all areas.
Tip: If you’re working in a small space like I was, it’s a good idea to start with the top shelf first so you have more room!
If you’re also working in a closet like I am, I recommend putting your first screw into the back wall so you can adjust the end pieces if necessary.
Once again, you’re going to make a pilot hole and then screw it into each wall stud. Add some extra screws in between too if need be!
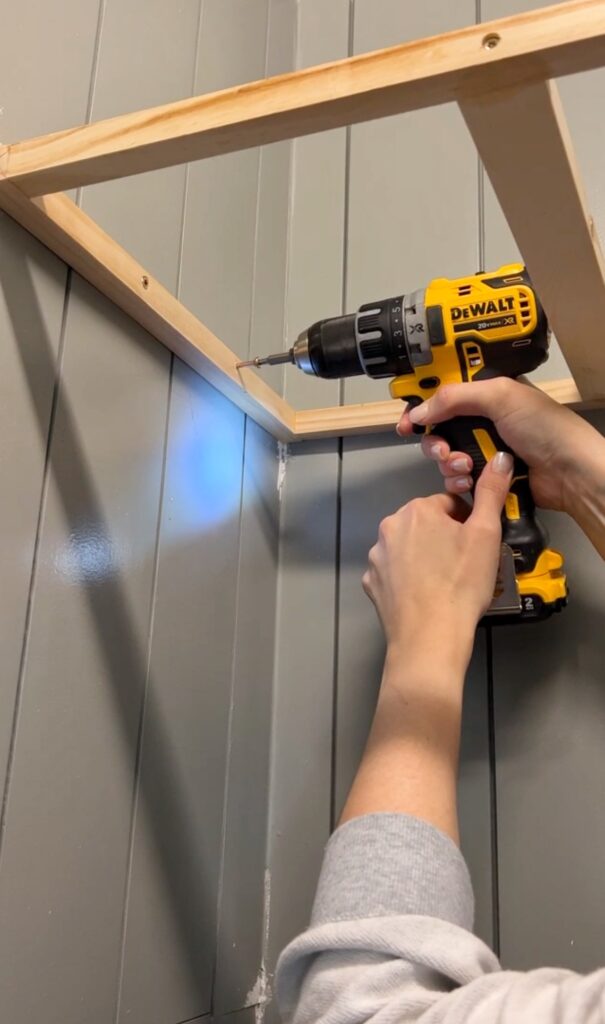
We only had wall studs on the back of the wall, not the sides, but I still used 2-3 screws on each side piece. Since I was screwing into shiplap also, I used 2″ construction screws.
Note: If you’re planning to install these DIY thin floating shelves to just one wall, without the side wall’s extra support, I definitely won’t put too much weight on them!
Step Four: The Top & Bottom Piece
The top peice
Luckily I had some leftover 1/2″ birch plywood that I ended up using for the shelf top of these DIY thin floating shelves! It worked perfectly!
First I ripped the plywood sheet down to 15.25″ using my table saw. If you don’t have a table saw, you can also use a circular saw! I used a circular saw to cut them to the final length!


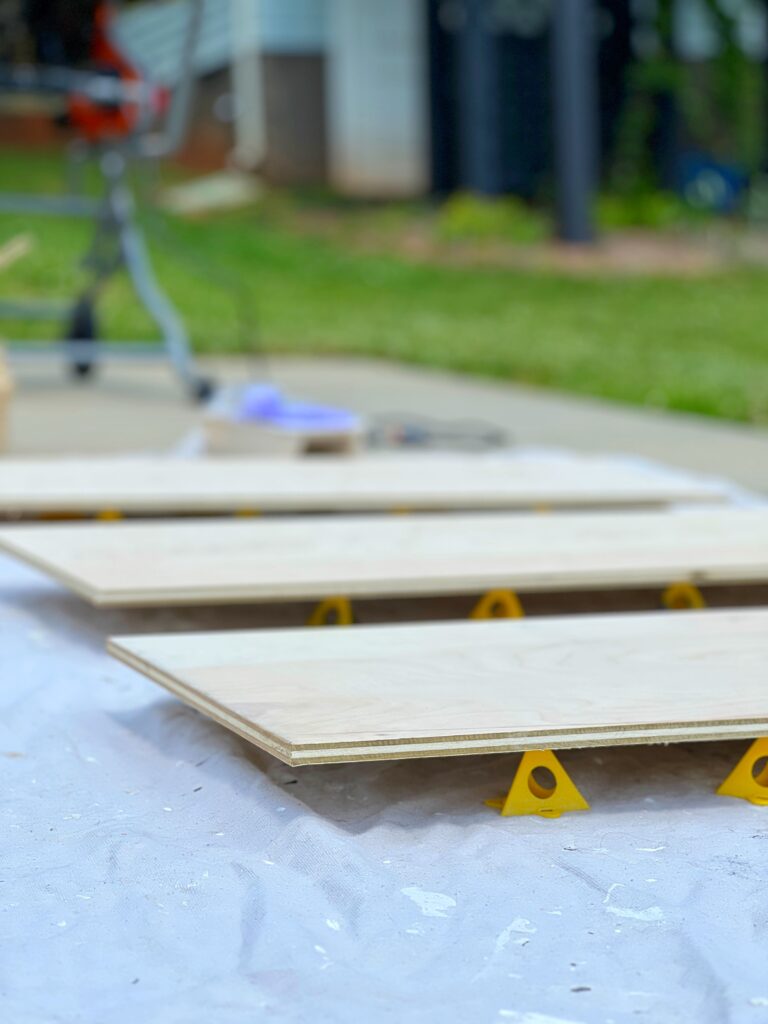
Knowing our pantry floating shelves were going to be painted, I decided it would be easier if I at least primed these pieces before installing them! This is the primer I used!
The bottom piece
For the bottom of the shelf, I was originally planning to use 1/4″ plywood but ended up using hardboard because I had a lot on hand! If you’re looking to make cheap diy floating shelves, this is the way to go because it actually worked pretty great!
I used my cut top pieces to trace the hardboard so each shelve’s top and bottom pieces are the same size! I used my circular saw to cut this as well.
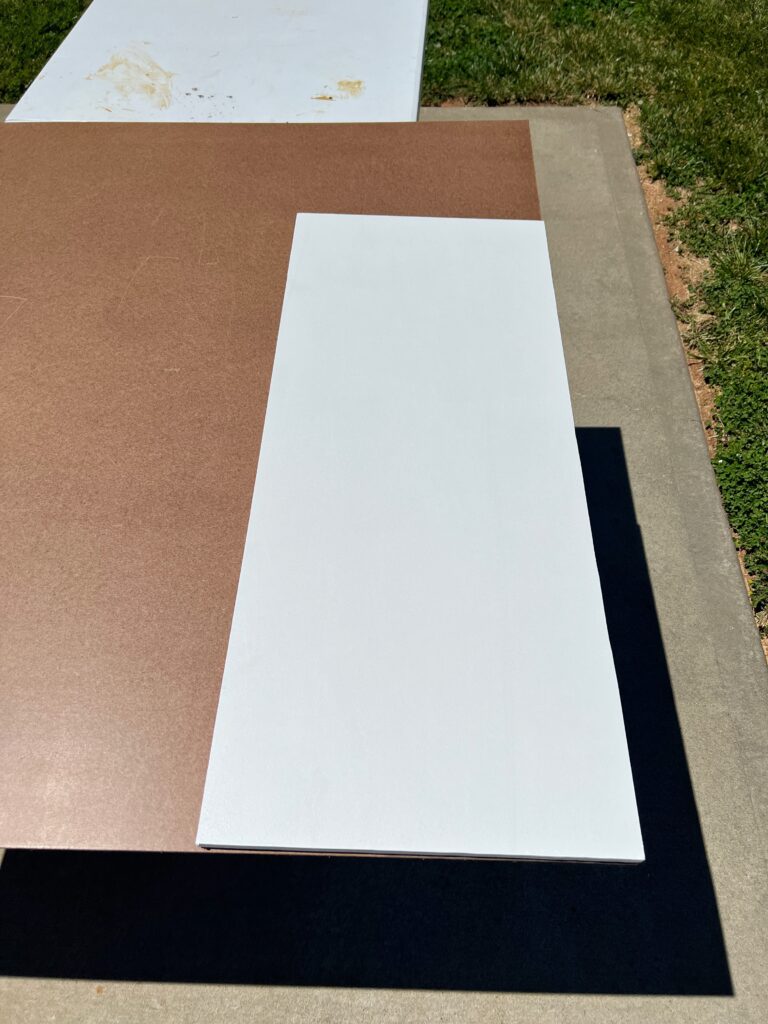
When considering to use hardboard or 1/4″ plywood, know that hardboard is a little thinner so it isn’t completely flush with the front piece! You can see what I mean in the photo below! In this situation, it doesn’t bother me! But definitely something to be aware of!
Assembling the thin floating shelves
This is when the shelves really start to take shape! I clamped everything into place and used 1″ brad nails to attach them!
My nail gun has this little symbol indicating where the nail comes out. This feature was SO handy for this since I needed to make contact with the little 3/4″ dowel!
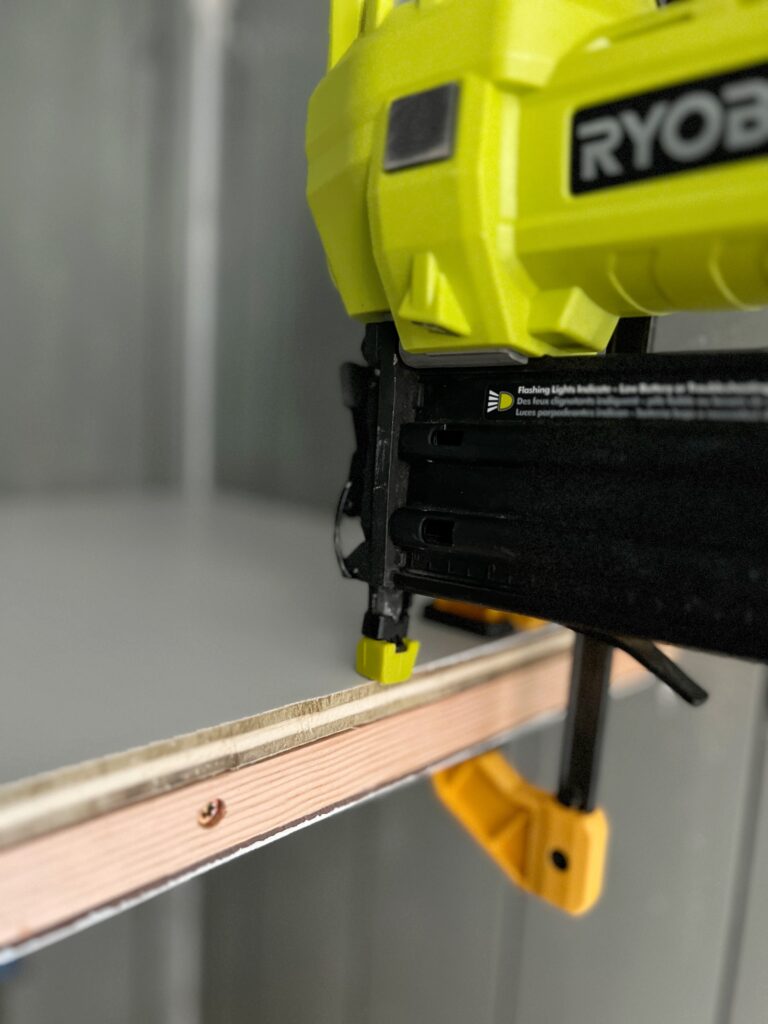
You’ll want to use brad nails along all the edges and also in the middle where the support pieces are! Use the screws as an indicator to where those support pieces are!
Step Five: The Finishing Touches
The front piece
I was so excited to put this piece on that I didn’t even get a good photo!! But I used a 1×2 pine board (that I already primed) and used my brad nailer with 1.5″ brad nails, nailing all along the front!!
Nail holes and gaps
For the nail holes and gaps, I used this wood filler! It’s like they were never there 🙂
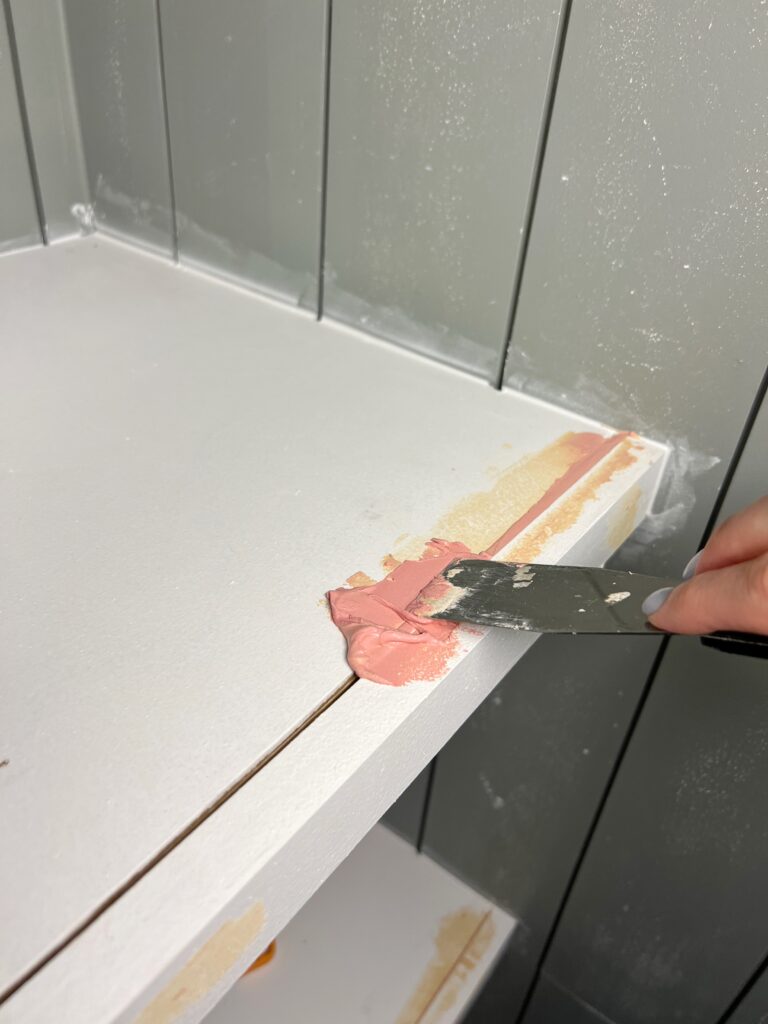
Caulk
You’ll want to caulk along the edges and back of the shelf! When caulking shiplap, use leftover brad nails to get the excess out of the gaps! I believe I used 3 or 4! It works like a charm!


After way too much research, I learned that there’s so many different ways to do DIY floating shelves! But I hope these step-by-step instructions were helpful to you!
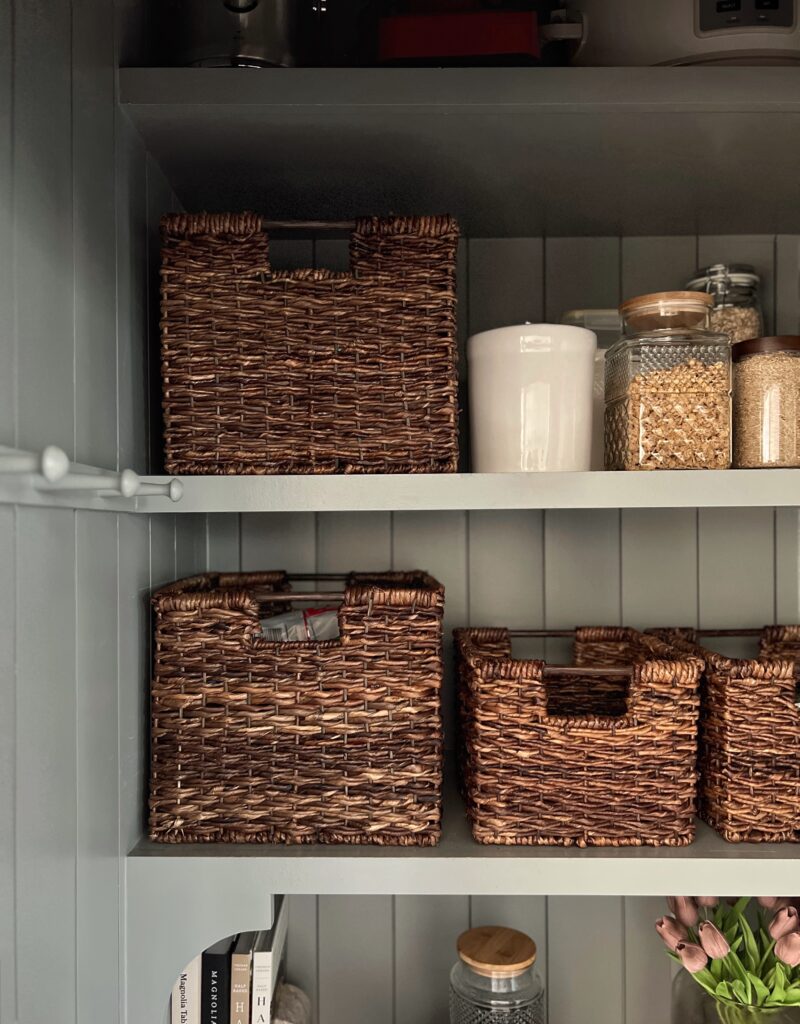
I’m so proud of how these turned out and they’ve been holding a lot of weight in our pantry! The top shelf even has our blender, crock pot, and juicer!
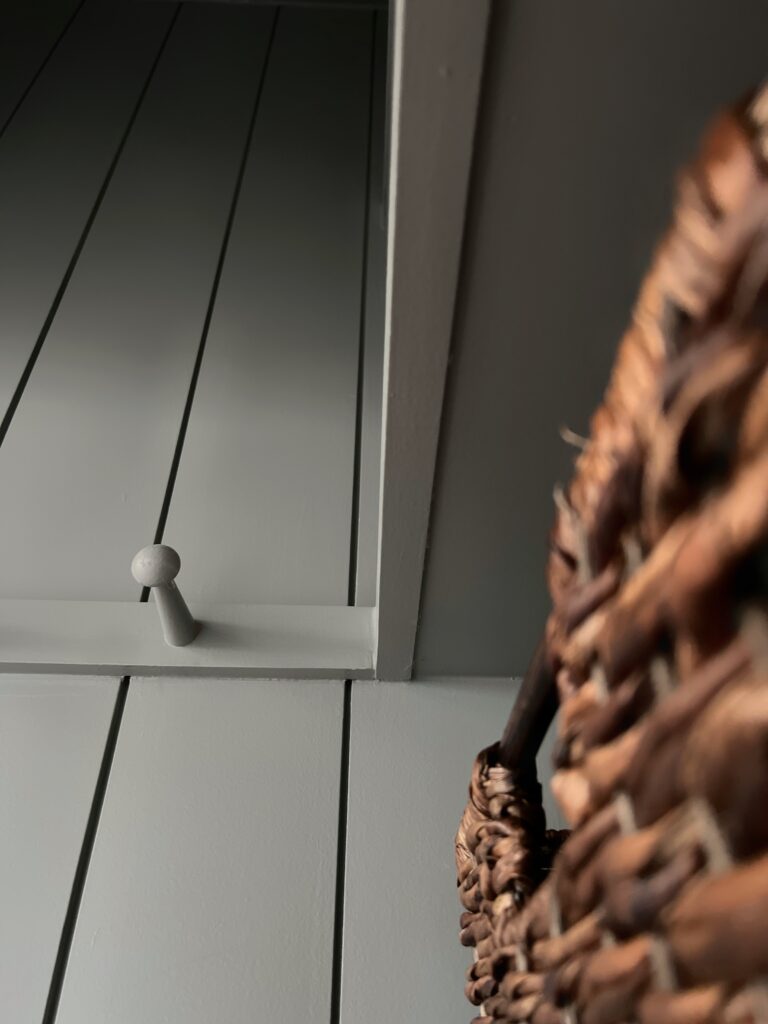
Another important detail I added to these DIY thin floating shelves are these rechargeable motion sensor lights! We only put them on the bottom shelf, hidden behind the corbels! They’re so convenient!
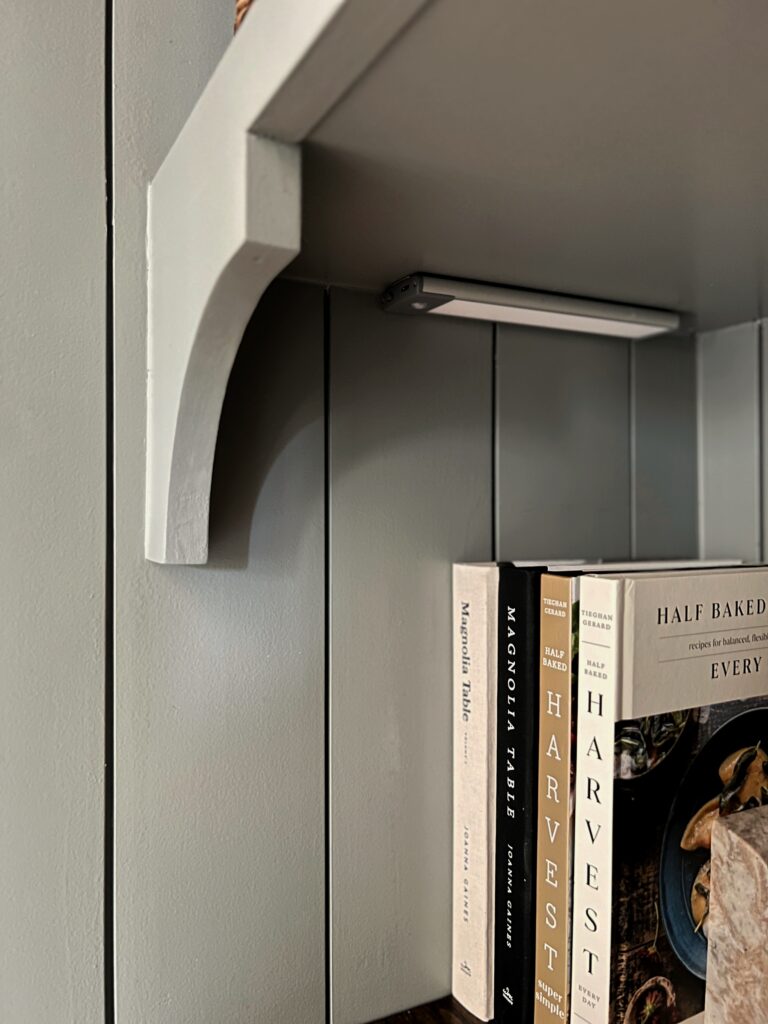
For more details on the DIY shaker peg rail, the DIY corbels, or any other pantry details check out my small pantry makeover blog post!
