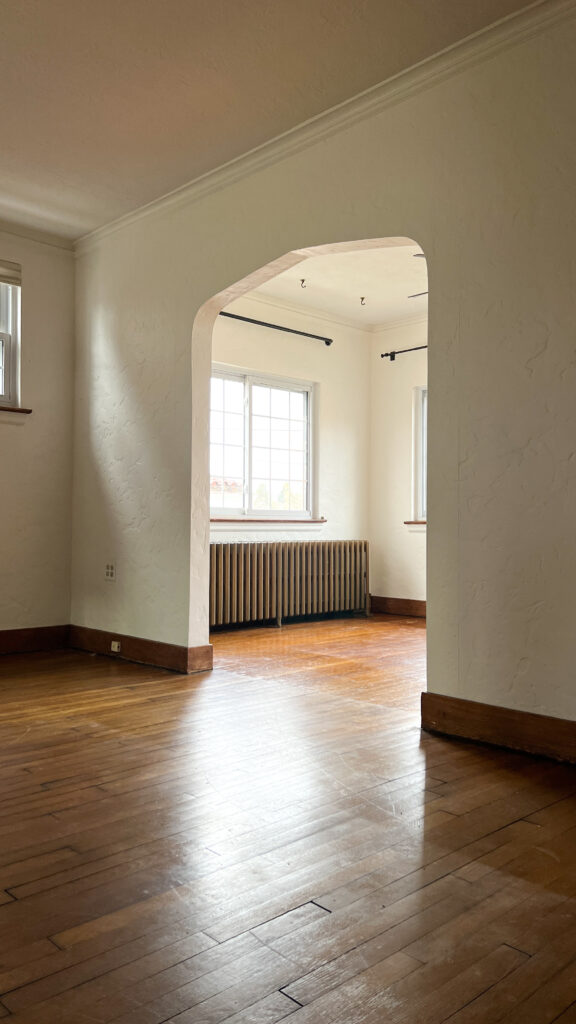
Do your hardwood floors need some love? This beginner’s guide to DIY hardwood floor refinishing will answer all of your questions and concerns about this intimidating process. How do I know? Well… we’re beginners too and when it comes to research and preparation for our DIY projects, I don’t mess around! You’ve landed in the right place, I promise!
Hardwood floors bring a timeless beauty to any home, enhancing its warmth and overall value. Whether you’re dealing with water damage or simply wish to revitalize your living room’s wooden floors, refinishing your hardwood flooring is a rewarding DIY project. With the right tools, some hard work, and this step-by-step guide, you’ll be right on track to achieving a smooth finish that restores your floors’ natural beauty.
How to Refinish Hardwood Floors (Our YouTube Video)
We have a three part YouTube series on DIY hardwood floor refinishing if you’re more of a visual person!
Tools and Materials for Refinishing Hardwood Floors
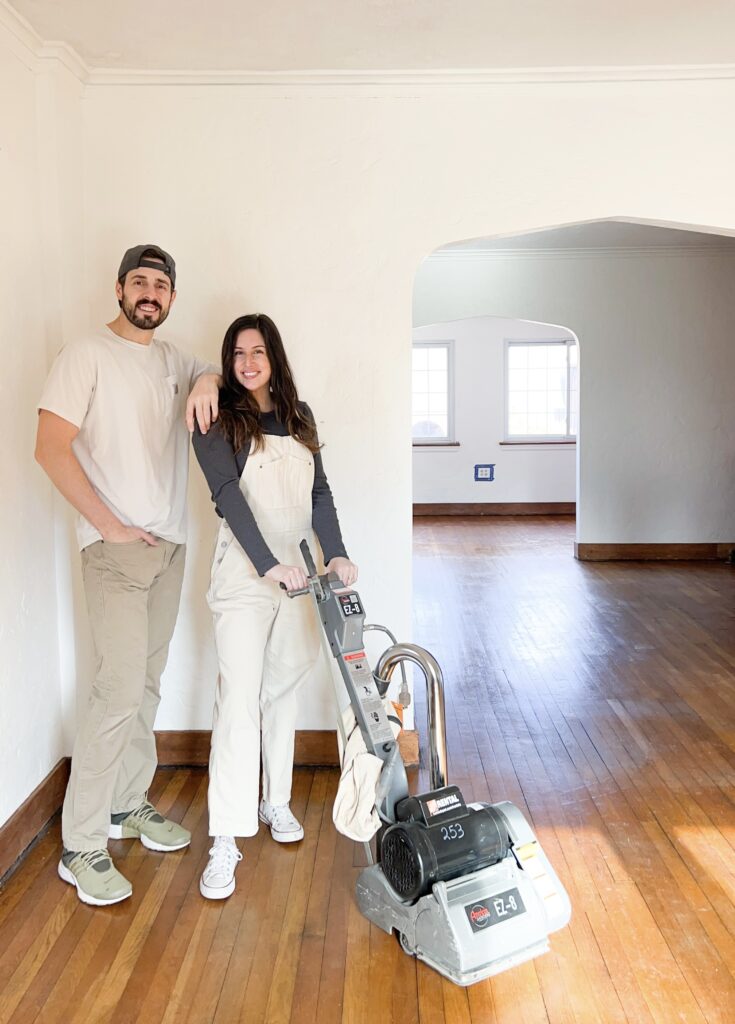
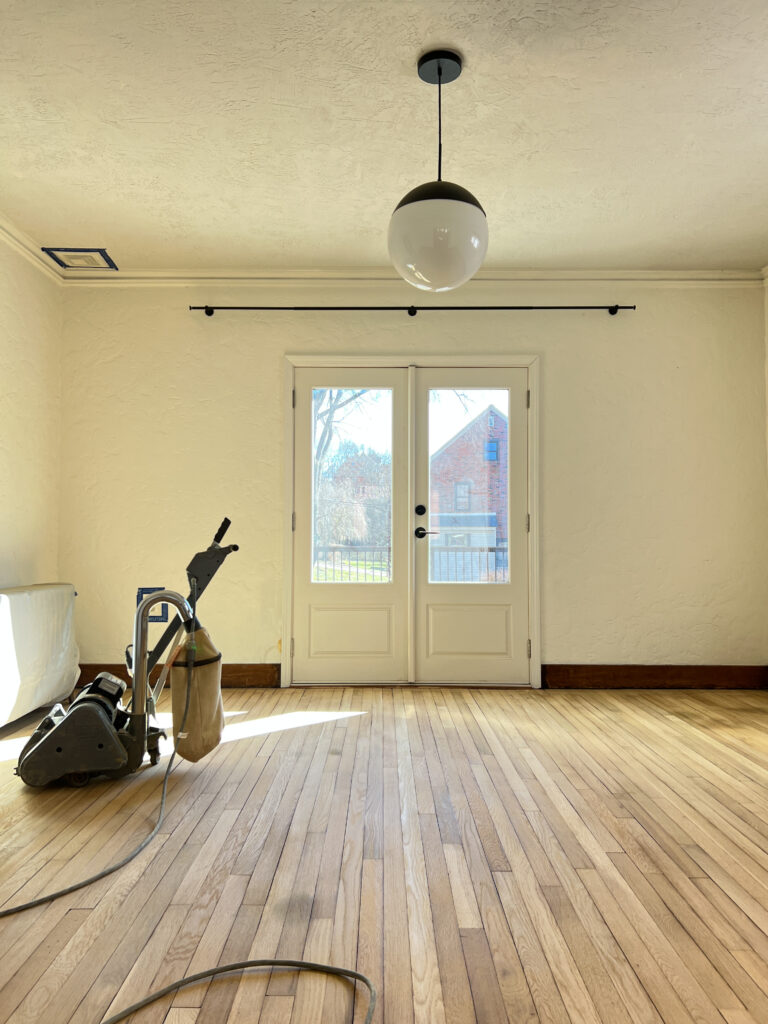
Gathering the necessary tools and planning ahead is crucial for this project. You’ll need to rent a floor sander and an edge sander for the edges of the room. We rented both of these tools from Home Depot and were even able to reserve them online with our pickup date! They’ll also have you choose a drop off date, but it doesn’t matter if you return it early or late… they’ll just charge you based on the number of days you had it.
For small areas and corners, we purchased an affordable mouse sander that I know we’ll continue to use. If I were to do this project again, i’d rent a belt sander. This could be really helpful for certain steps! Other essentials include a shop vac (with the proper filter), plastic sheeting, and safety gear. See below for links to everything we used!
Disclaimer: This post contains affiliate links. This means, if you purchase something from a link I provided, I will receive a small commission. This is at no extra cost to you!Thank youso much for thesupport!
Move all furniture, rugs, and any other items from the room.
Remove baseboards if necessary! We decided not to because ours were already in rough shape and we knew we were going to eventually add shoe moulding and paint them.
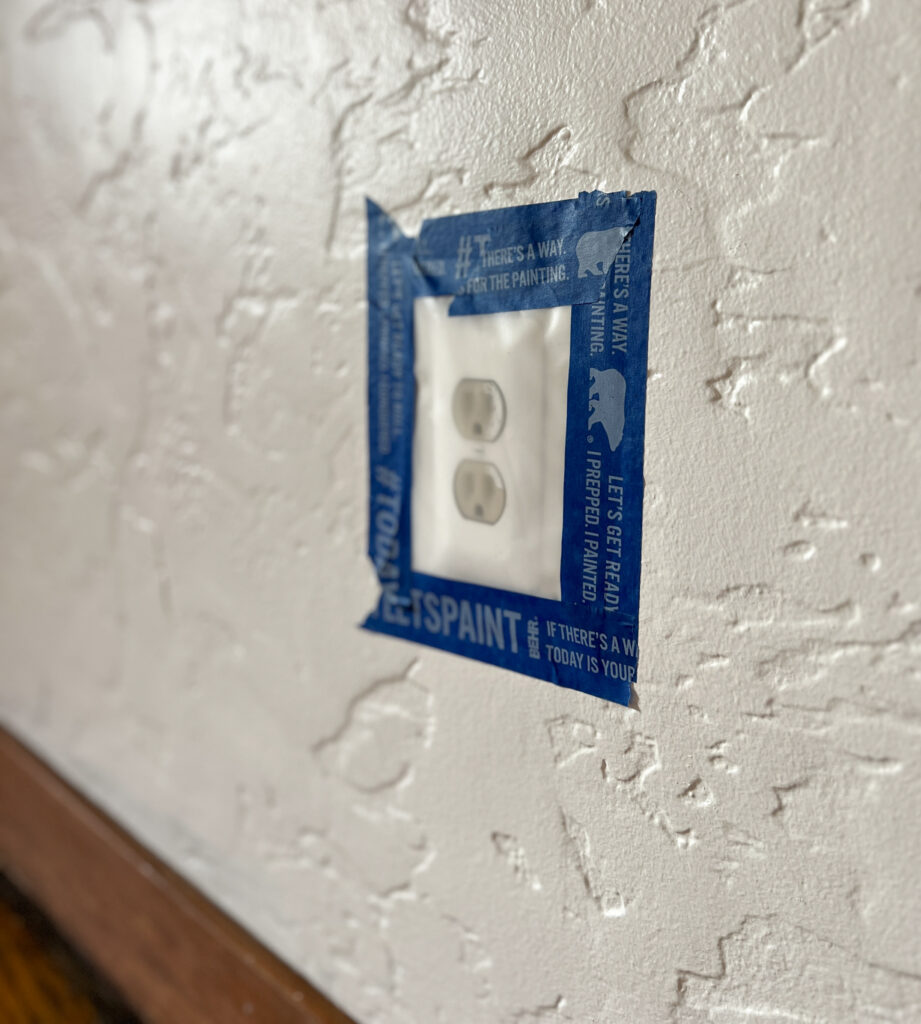
Cover any areas of the room, including the doorways, with heavy duty plastic, as this project will be dusty! Don’t forget vents, electrical outlets, radiators, etc.
Give your floors a quick sweep with a shop vac or vacuum cleaner!
Thoroughly inspect the floor for any nails, staples, or screws. Remove or hammer these in as they can ruin the sanders!
Before I dive into this part, I want to mention that we went into this project knowing that the outcome wasn’t going to be perfect. Sanding down your hardwood floors will only remove 1/16″ at most. Any scratches or stains deeper than this will still be evident.
You might be wondering, well is it worth it to refinish your hardwood floors then? Yes, without a shadow of a doubt. You’re going to be amazed at how good your new floors look, not to mention how rewarding it feels to know that you revived them yourself. Perfection is overrated anyway 😉
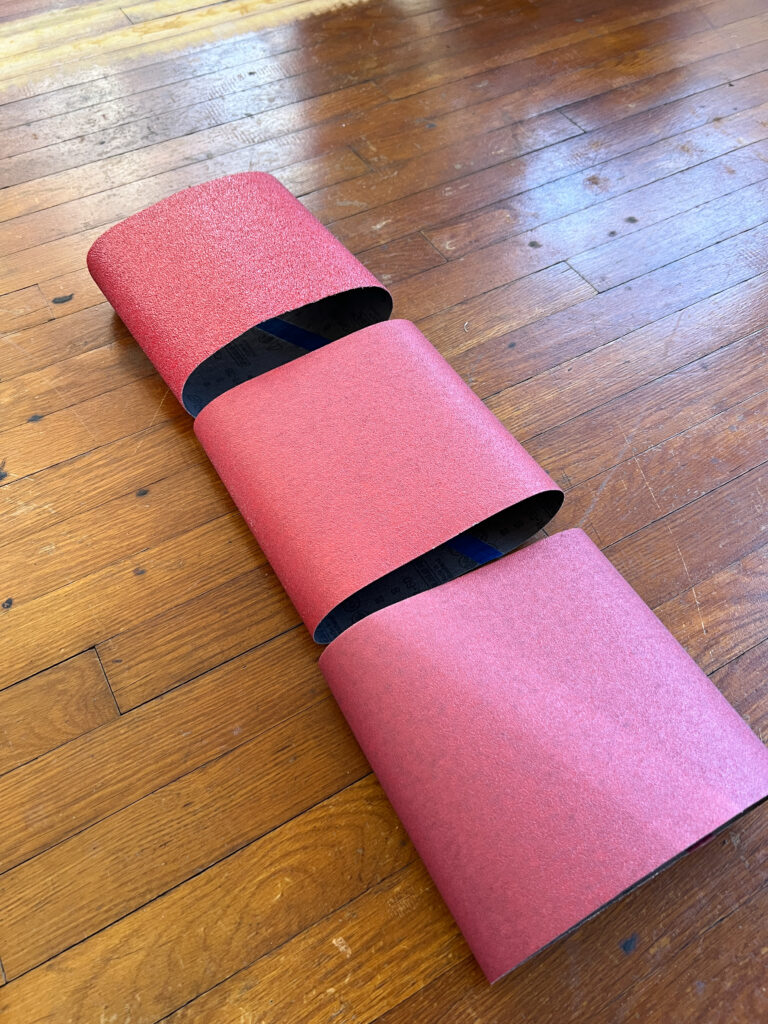
The Grit Sequence
When refinishing floors, you’ll start with a coarse sandpaper and work your way up to the finer grits. You’ll see slightly varied results when you research, but you can’t go wrong with this sequence:
1st: 36-grit sandpaper (**if your floors are in rough shape**)
2nd: 60-grit sandpaper
3rd: 100-grit sandpaper
Matter of fact, Home Depot gave us these grits without even asking us- they know the drill!
Good to know: When renting from Home Depot, they’ll give you a box of sandpaper for each grit. You’ll pay for up front, but whatever you don’t use, they’ll buy back. I was a little shocked when I had to swipe my card for $500+ just for sandpaper… but I got most of it back!
Check out the FAQ section for a full cost breakdown of this project!
Test run with 100-grit
We started with a test run of the drum sander with 100-grit sandpaper first since it’s the least abrasive. This allowed us to get a feel for the drum sander and to see if the 36-grit was necessary for us to use.
While not necessary, it’s still a good idea to do especially if its your first time. It was even more powerful than I thought! It really pulls you forward, so I learned that I needed to pull back on it to maintain a slow, consistent speed.
After taking a closer look at how much it removed, we decided our floors could benefit from starting with the 40-grit sandpaper for our first coat.
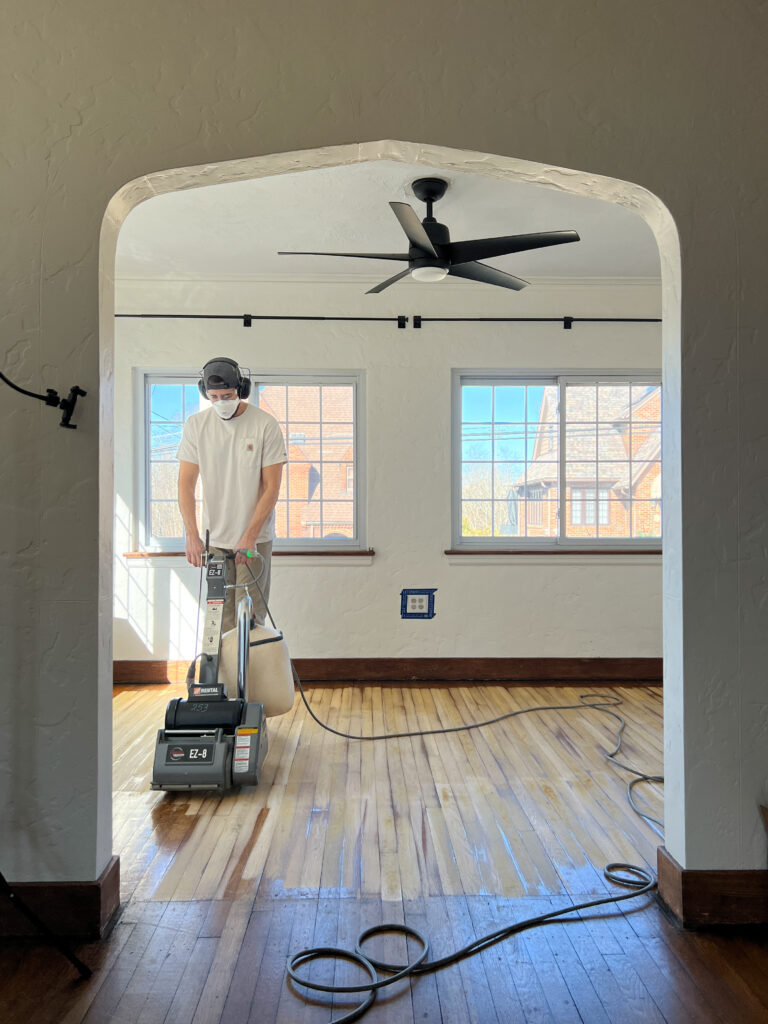
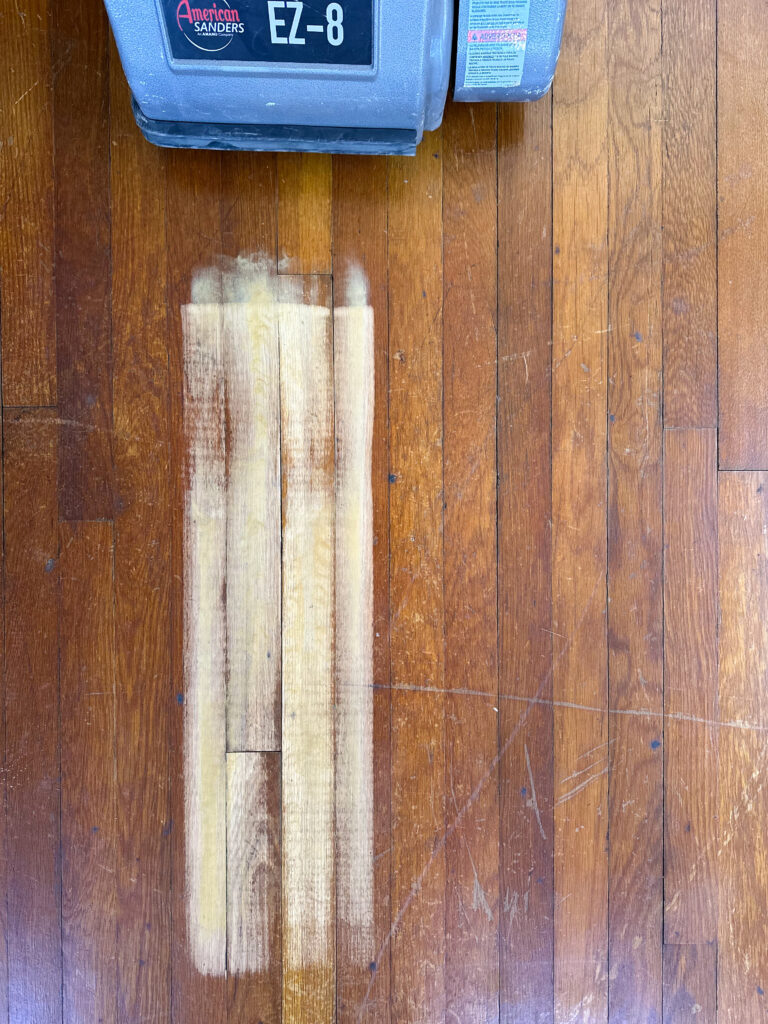
The Drum Sander
Begin sanding the floor with a drum sander and your roughest grit sandpaper, whether that be 36-grit, 40-grit, or 60-grit. This will remove the old finish any surface imperfections. Start in one corner of the room and work your way across methodically, following the direction of the wood grain. (There is a method for sanding diagonally to prevent chatter marks, I was too chicken to try it, but you can learn more about that here!)
Sand in long passes, overlapping each pass by a couple inches. Maintain a consistent pressure and pace as you sand to avoid creating uneven spots or dips in the floor surface. Over-sanding in one area can result in unevenness, while not sanding enough can leave behind imperfections.
Important: How you start and stop the sander is crucial. Make sure the drum is raised up when you turn the machine on. Start moving and then lower it down onto the floor. When you reach the far wall, raise the drum before you stop moving the sander. If you don’t follow this method, you’ll end up with dips and damage to your floor.
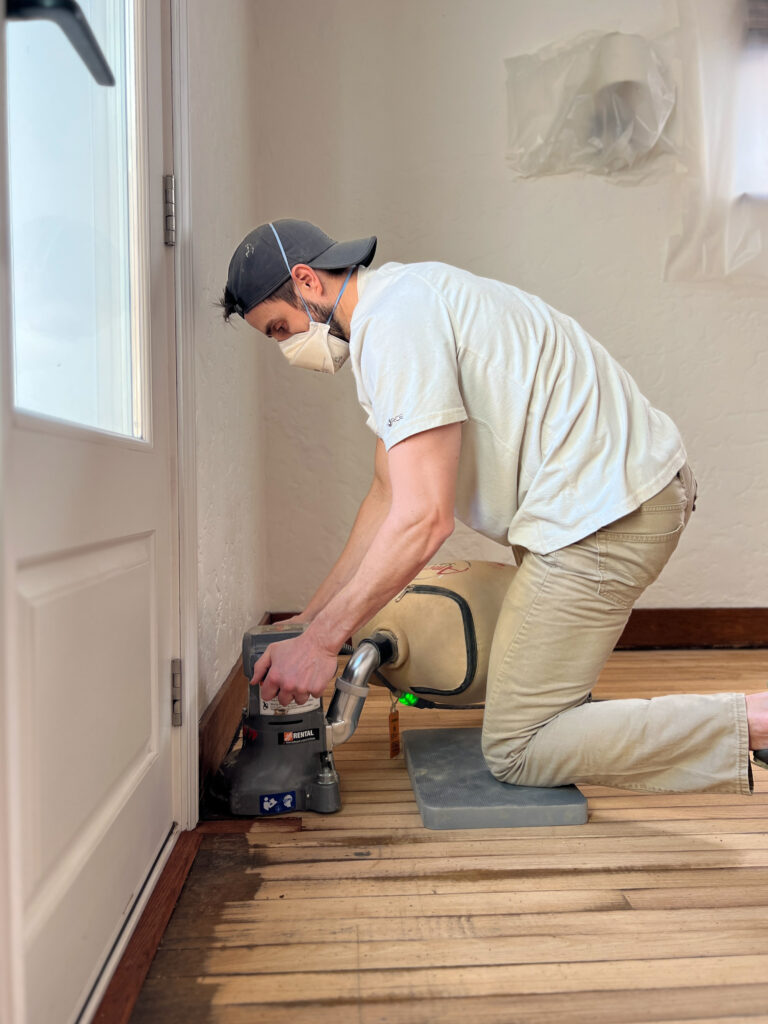
The Edge Sander
Since your drum sander can’t reach to the wall, the next step is getting the perimeter of the room. This is when the edge sander comes in… and this thing is a beast! We found it to be more intimidating than the drum sander. It’s very powerful and takes some strength to control it. Trust me, you’re going to want to these kneeling pads for this project.
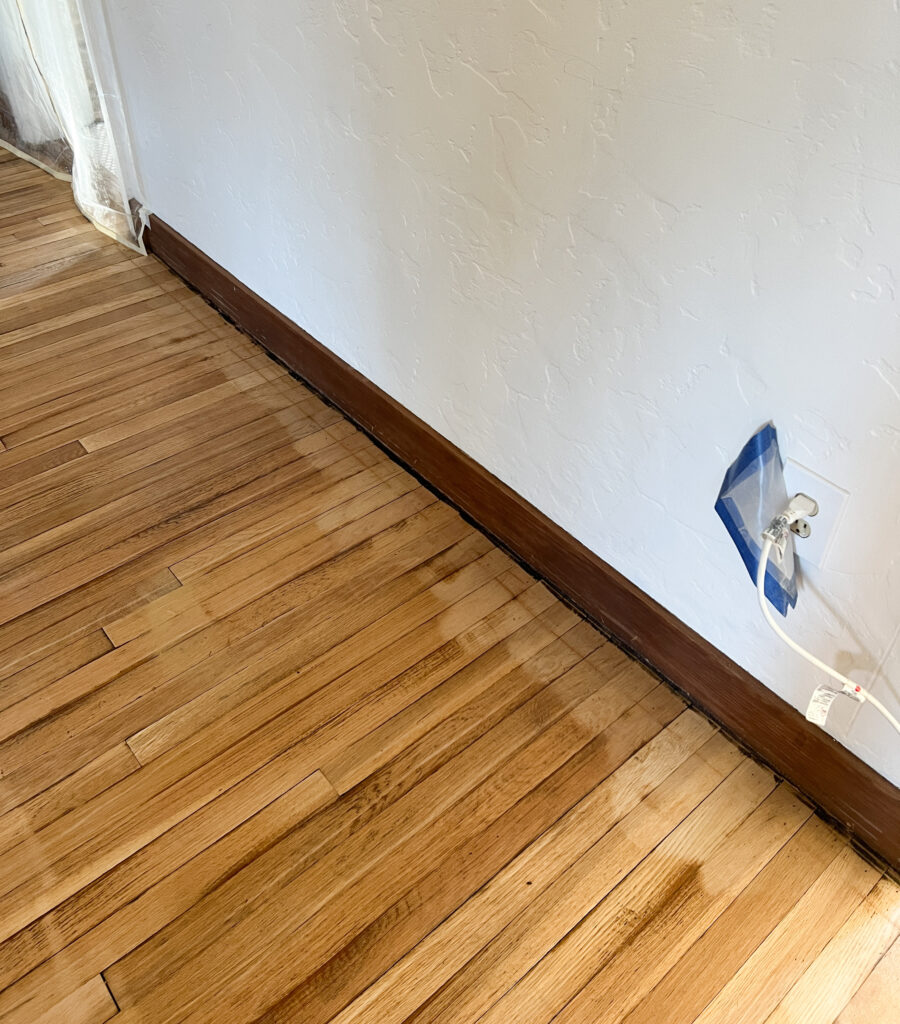
We ran into a big issue during the edge sanding process, but I don’t think most people will have this problem. There was a thick layer of (something) near the baseboards that was gumming up our sandpaper way too quickly. We’re not sure if it was carpet glue or what? But we just powered through and changed our sandpaper frequently. Luckily we had just enough.
Since Dan had to push down really hard to get rid of the mysterious sticky substance, it almost seemed like it finished the floors more than the drum sander. We were a little worried about this, but once we started on the second coat with 60-grit on the drum sander we were able to smooth it out more!
Touch Ups and Finer Sanding
You may have noticed that the first round with the drum sander didn’t get all the finish off. This is because our floors are 94 years old and just very uneven. The drum sander just wasn’t able to hit some of the spots due to the plank sitting a little lower.
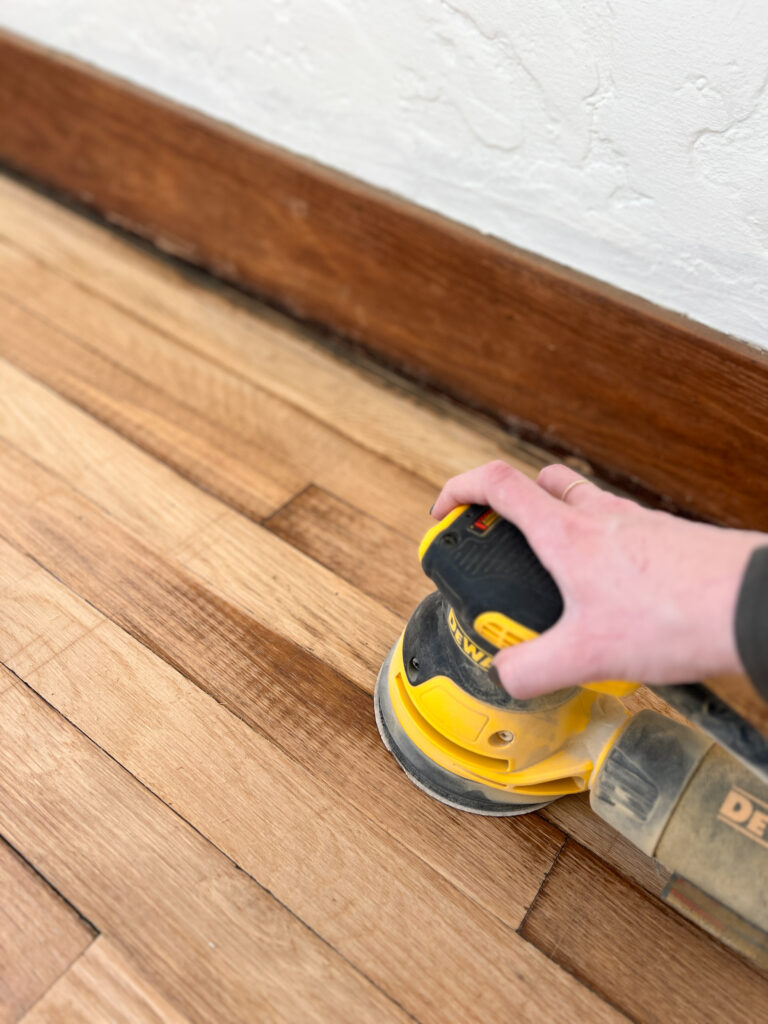
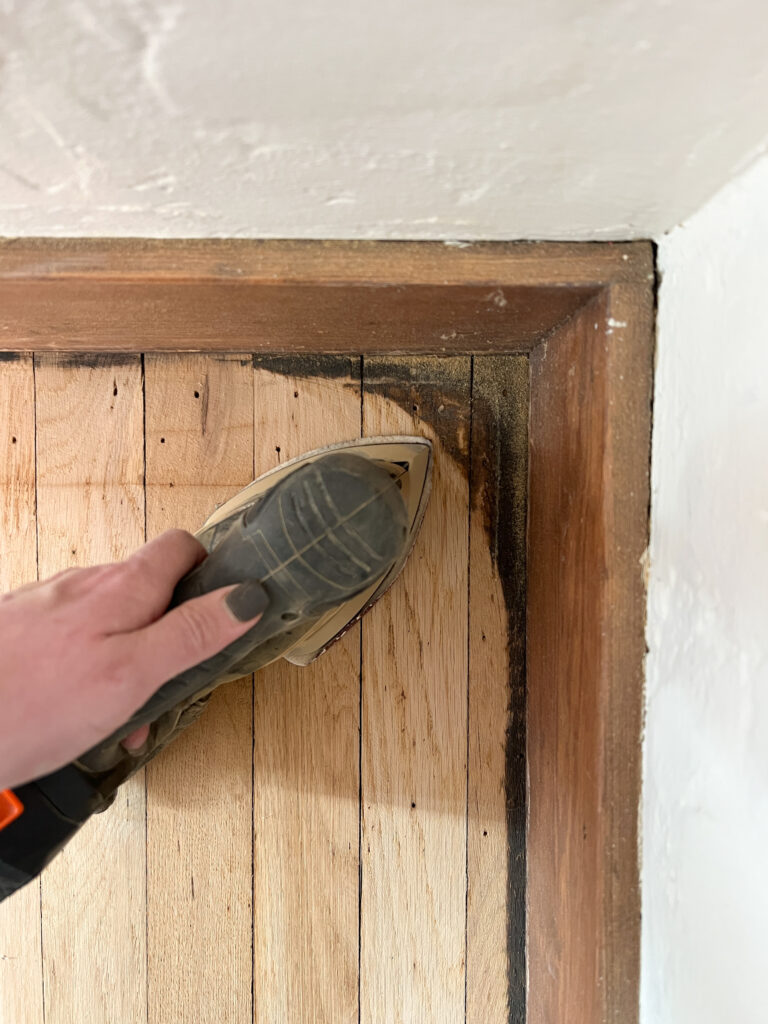
To finish the rest of the floor, we had to touch up these spots with smaller sanders. We used what we had which was a palm sander and a random orbital sander.
For the corners and tight areas like near our radiator, we also used the palm sander. Just make sure you’re all stocked up with the grits you need!
Once you’ve gone through the entire room or space with the 36-grit sandpaper, repeat the process with the 60 grit and then finally, 100-grit. Here’s a few tips and tricks to keep in mind:
Vacuum the floor and sander in between grits. This prevents the sandpaper from clogging and allows the machine to run more efficiently.
As sandpaper wears down, it becomes less effective at removing material and can leave behind streaks or scratches. Change the sandpaper frequently to ensure optimal performance and a smooth finish.
Keep track of the planks you’re sanding to ensure you get an even finish. Before, it was easy to see where you were sanding, but with these finer grits it’s easy to lose track!
Important: Be sure you are emptying your sawdust catcher bag regularly, as sawdust can spontaneously combust. The nice men at the Home Depot where we rented our sanders told us to empty the bags when they were about halfway full in a separate trash can outside. You’ll be amazed at how much dust accumulates during this project!
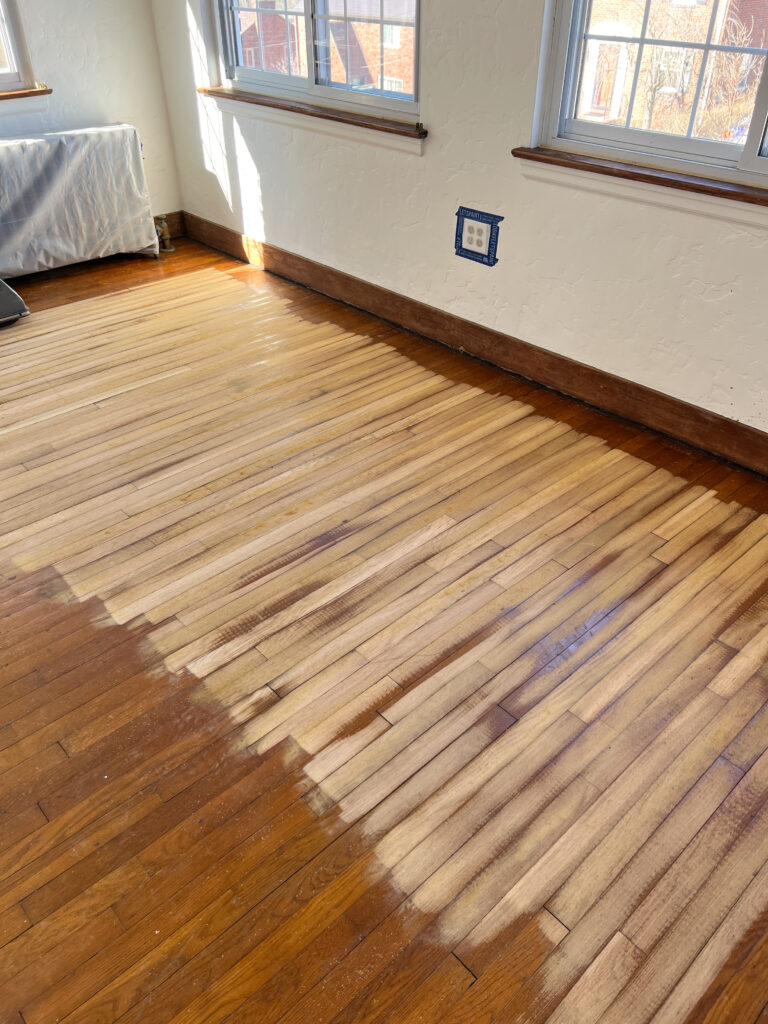
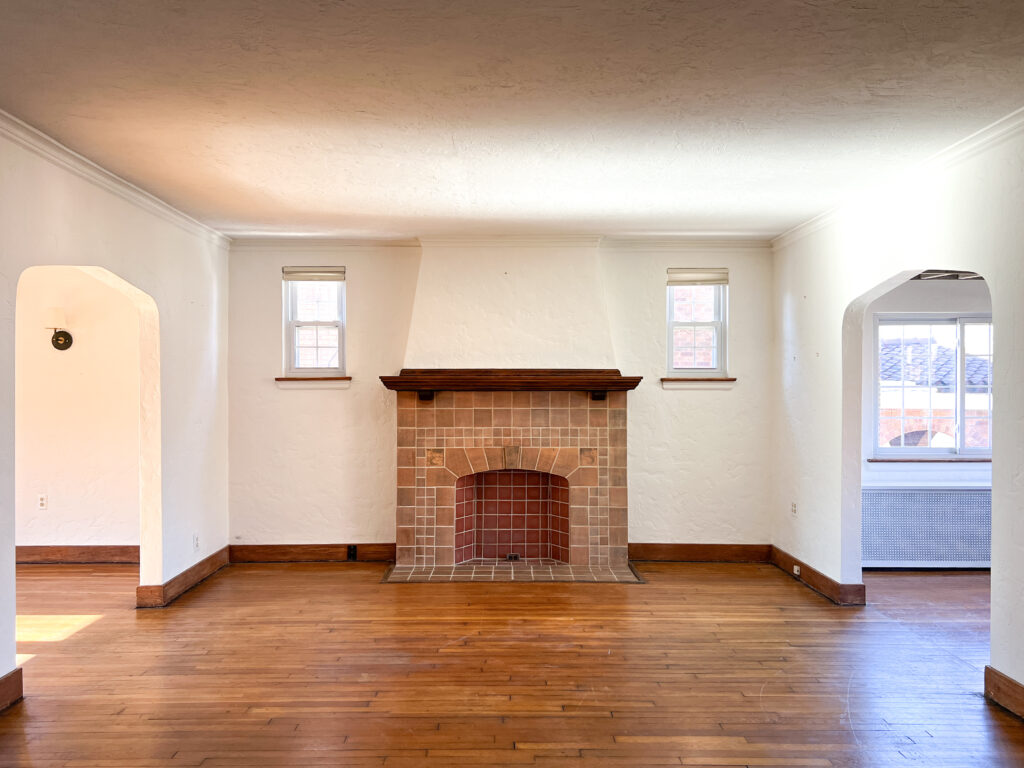
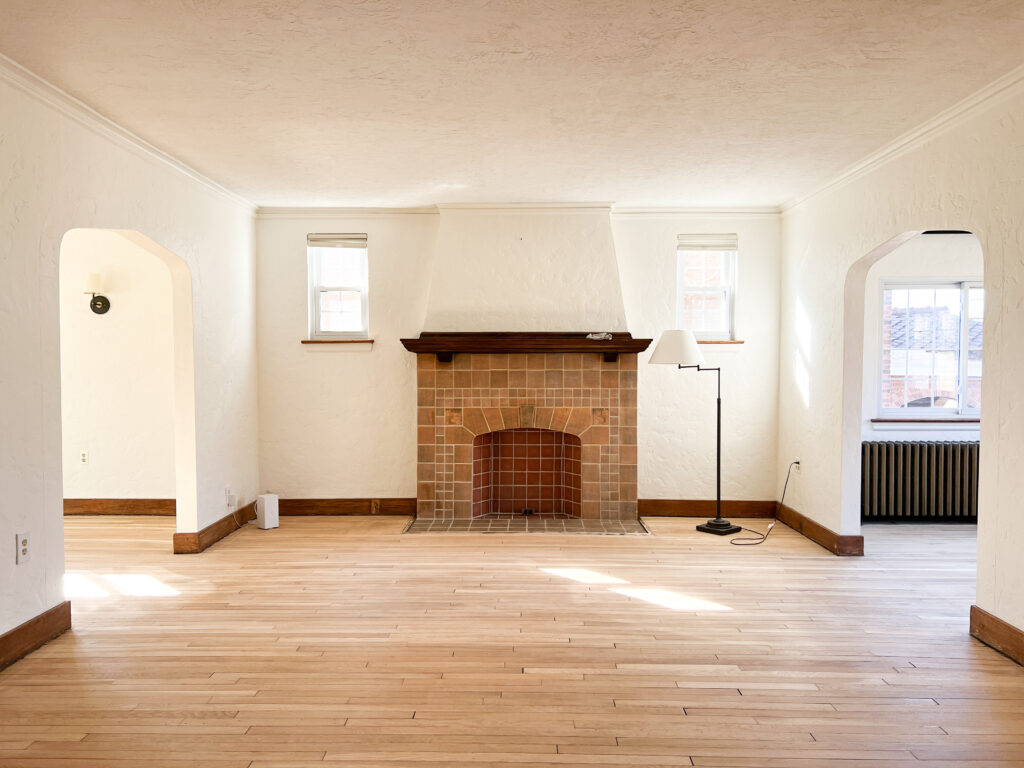
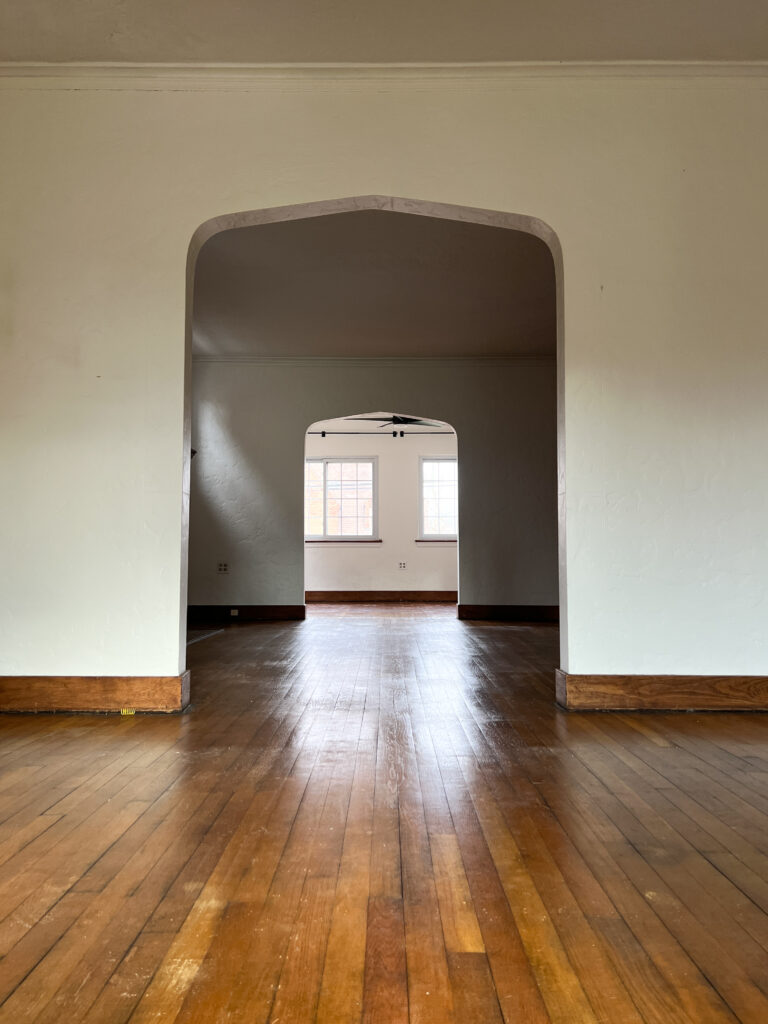
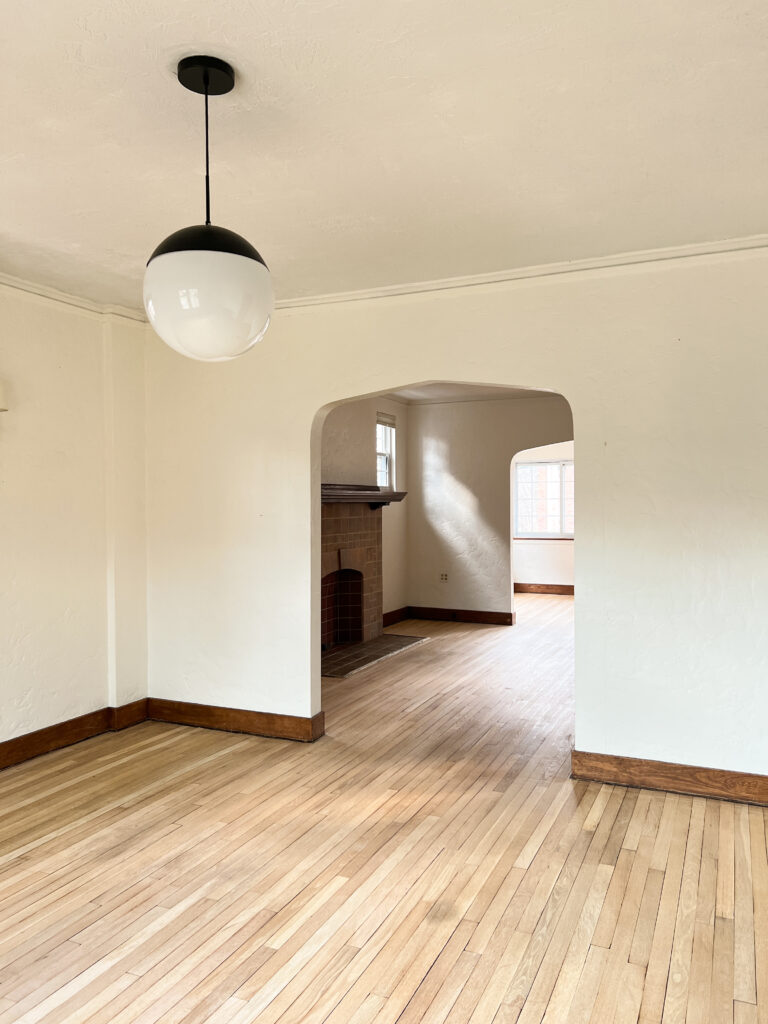
Refinished Hardwood Floors Before and After
How to Stain Your Floors
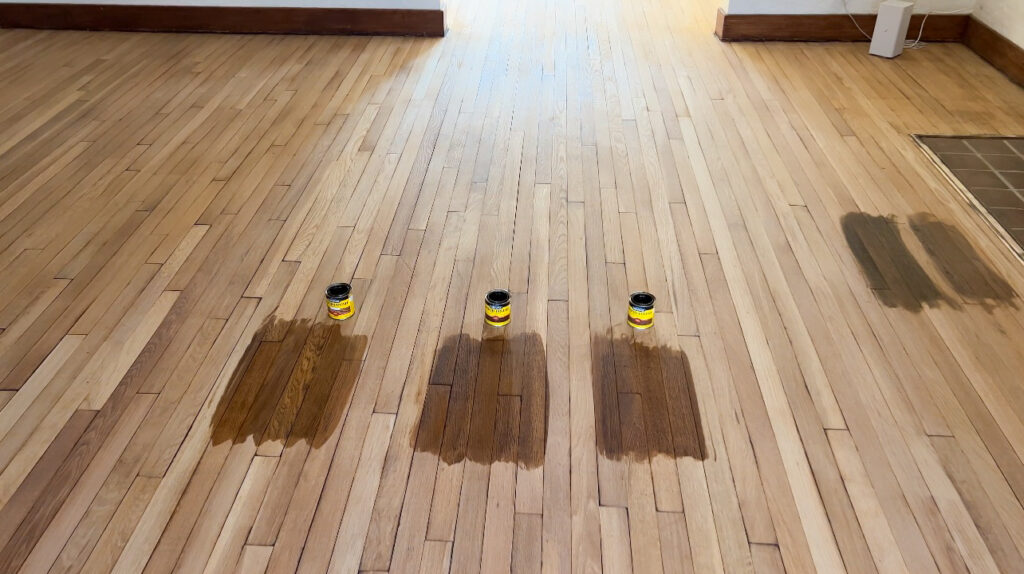
While the light and bright look was beautiful, staining our hardwood floors dark was always the plan. My hope was to be able to use a water-based wood stain so we didn’t have to deal with the toxic fumes associated with oil-based stains. But after testing a couple water-based finishes, I immediately knew that wasn’t going to be the case.
Provincial is such a classic stain color. I had my heart set on it all along, but quickly learned that the water-based provincial is just not the same (like, not even close!) as Minwax provincial.
If you look at the photo below, I have three Minwax oil-based stains (from left to right- english chestnut, honey, and provincial) and to the right are the two General Finishes water-based stain colors (left is provincial and right is brown mahogany). Do you notice the green undertones and overall dull looking finish with the water-based samples? The oil-based stains clearly provided a much richer color.
We made a huge mistake during the process (it involves excess stain) and it was quite the journey. Spoiler alert: we were able to solve the issue without having to sand our hardwood floors down again. Phew!!
Frequently Asked Questions
How long does it take to refinish hardwood floors?
The time it takes to have a refinished floor depends on various factors such as the size of the space, the condition of the floors, and the type of products you’re using. Generally, for an average-sized room, the entire refinishing process can take anywhere from three to five days. You have to consider preparation, sanding, staining (if desired), applying multiple coats of finish, and allowing sufficient drying and curing time between each step.
We were able to sand down our first floor (roughly 700 sq. ft.) in two days. We stained all the floors in one day. Due to the issues we had during the staining process, we haven’t done our top coat yet (stay tuned) but i’m guessing that should take two to three days since we’re using a water-based product.
However, larger areas or more extensive repairs may require additional time, so it’s essential to plan accordingly and allow for ample dry time and curing time to achieve the best results.
How much does it cost to refinish hardwood floors?
The cost for us to refinish hardwood floors on our first floor (about 700 square feet) was about $1,000, but it could have been even less expensive for various reasons! This includes everything we needed to sand, stain, and poly. See below for the full cost breakdown and my notes!
Drum sander rental
3 day rental: $247
Sandpaper: $94
Edge sander rental
3 day rental:$182
Sandpaper: $30
Heavy duty plastic sheeting: $40
Dust barriers: $76
N95 masks: $10
Ear protection: $13
Kneeling pads: $30
Tack cloth: $9
Stain (one gallon): $50
Applicator pad: $10
Shoe protectors: $10
Water-based poly (3 gallons): $260
TOTAL COST FOR OUR FIRST FLOOR: $1,061
This equates to about $1.50 per square foot which is not bad at all when you compare it to hiring a professional which can be anywhere from $4 to $10 per square foot!
Not to mention, this number would have been a lot lower if we didn’t rent the sanders for 3 days. That was one of my biggest regrets as we could have about $140. We picked it up on a Friday morning just because I wanted to be able to start first thing Saturday morning. Next time, i’d pick up on a Friday night and return on a Sunday night.
Some of these tools and materials won’t be necessary for everyone, or perhaps you already have some of them. We spent a lot on plastic sheeting and dust barriers because we were staying in our home throughout this process so safety was huge priority.
How do I fix scratches and dents in hardwood floors before refinishing?
To fix scratches and dents in hardwood floors before refinishing, start by determining the severity of the damage. Remember, when you sand your floors you’ll remove about 1/16″ of wood.
For scratches, dents, or deep gouges you can use wood filler. Apply using a putty knife and then sand down for a smooth finish. We had really tiny nail holes and I not to fill them because I was afraid the dark stain would make them more obvious.
Is water based or oil based polyurethane better for hardwood floors?
In order to make an informed decision on water based vs oil based floor finish, it’s important to fully understand the advantages and disadvantages for each. I have an entire blog post dedicated to this topic: Water Based vs Oil Based Polyurethane Floor Finish.
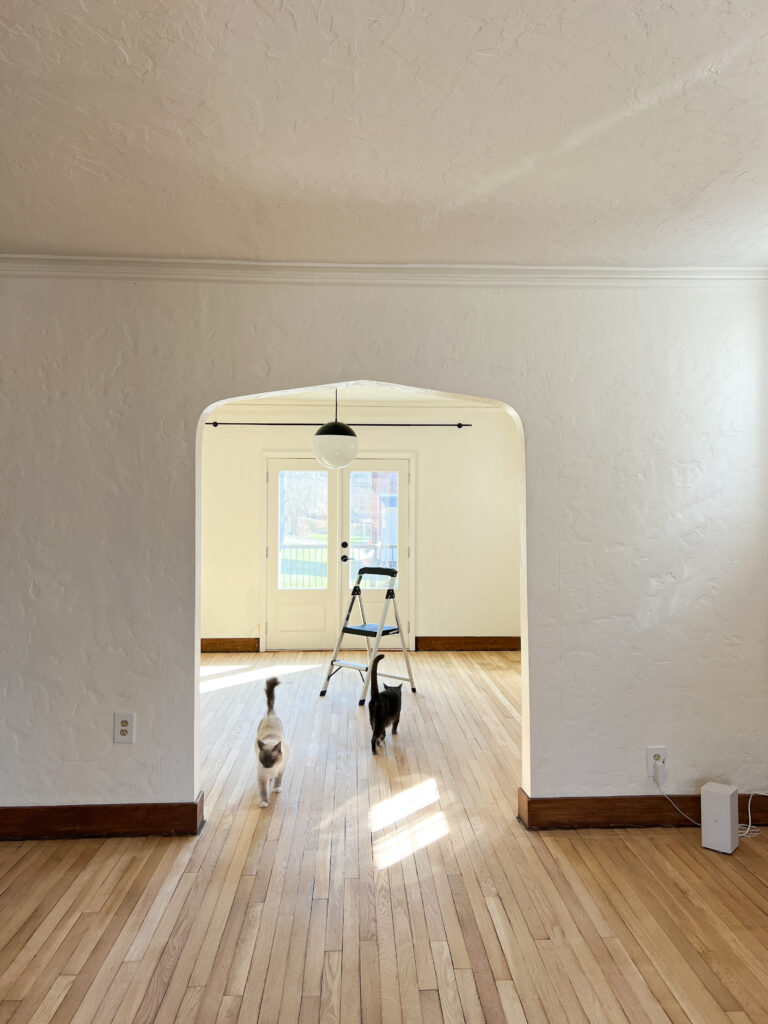
Tips for how to refinish your floors with cats?
This was honestly our biggest concern going into this project. Obviously it would be ideal to sand and stain hardwood floors prior to moving into a home, but that’s simply not the case for everyone. We took extreme caution to make sure our cats were safe throughout this process. Here’s a few tips:
Refinish one area at a time. Luckily we have two floors so we did our downstairs and will need to do the upstairs at a later date.
Put your cats in a designated safe space with all their necessities (food, water, litter box, beds, toys, and things that smell like you!)
Use a feliway diffuser. These calming pheromones will help reduce stress for your kitty.
Check in on them periodically, especially during the sanding process because it’s very loud.
Use heavy duty plastic sheeting and dust barriers to block the dust and/or stain odor from coming upstairs.
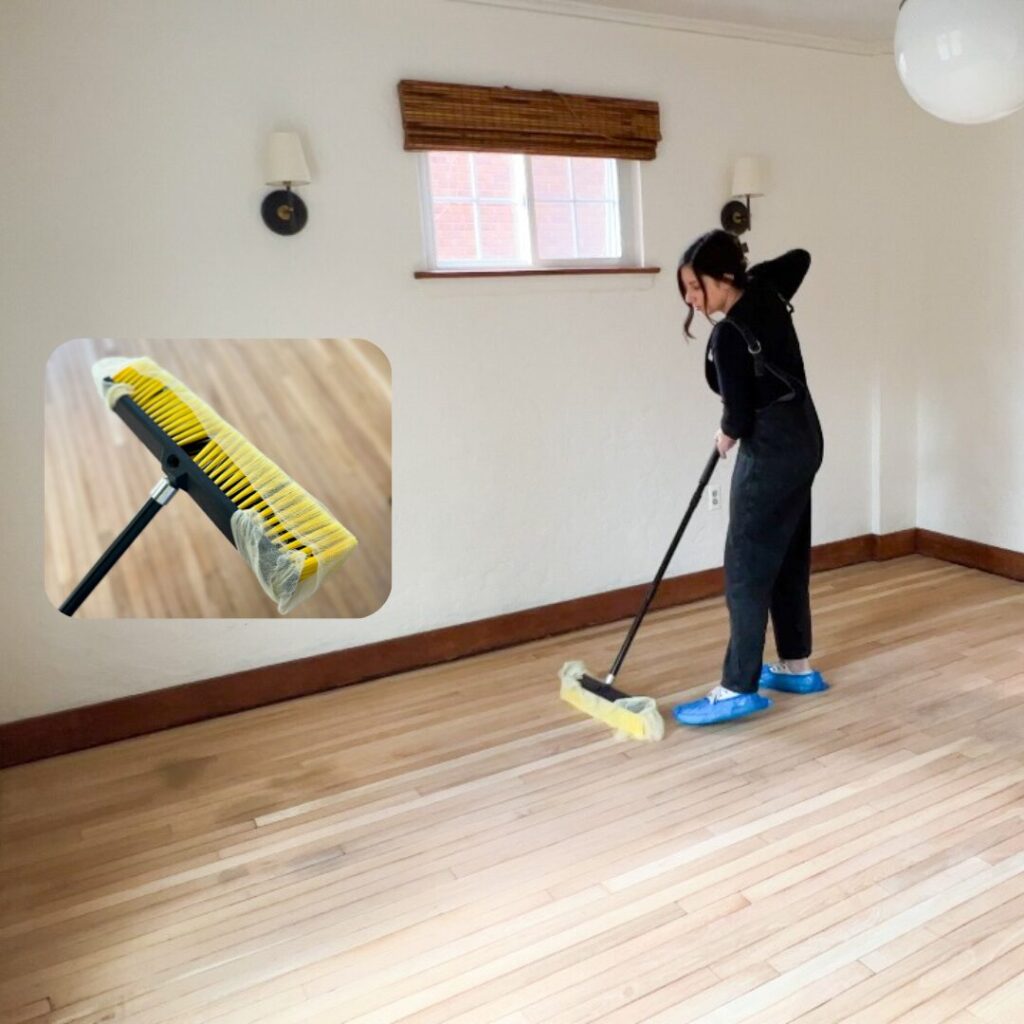
Don’t let them back into the project area until all the dust is completely cleaned up and/or until the stain smell has dissipated. For the dust, give it a day to fully settle then use a shop vac followed by a tack cloth on a broom (see below) across the entire floor. You don’t want them walking in saw dust and then licking their paws.
By following these step-by-step instructions, you’re ensuring your wooden floors regain their lost luster, offering a fresh and inviting look to your home. Plus, the satisfaction of accomplishing such a project on your own is a reward in itself. Embrace the process, and soon you’ll be admiring your refinished hardwood floors, knowing your hard work paid off in bringing out the true beauty of your home.
As always, thank you for being here and please don’t hesitate to comment with any additional questions!