

Do you want the look of shiplap without the expense? I’ve got you covered! By using DIY plywood shiplap, we saved hundreds on our bedroom makeover! And you’d never even know it was plywood. In this easy tutorial, I’ll share exactly how we made and installed this vertical wide plank paneling 🙂
Disclaimer: This post contains affiliate links. This means, if you purchase something from a link I provided, I will receive a small commission. This is at no extra cost to you! Thank you so much for the support!
TOOLS:
MATERIALS:
DIY Vertical Shiplap YouTube Video
If you’re a visual person, here’s our YouTube video 🙂
Planning Your Plywood Shiplap Walls
One great thing about making your own DIY plywood shiplap is that you have total control over how they’ll look. You get to choose the thickness of the plywood, the width of the panels, and the size of the gap! It’s a good idea to know the different options for shiplap materials so you can choose what works best for your time and budget.
Is plywood cheaper than shiplap?
Oh, it sure is! For our bedroom makeover, we chose to do 8″ shiplap planks and ended up needing around 70 panels for all of our walls. Here’s a price breakdown of the total cost for various different materials:
- Classic Shiplap Boards– $908
- Shiplap Panels– $425
- 1/2″ Plywood– $546
- 1/4″ Plywood– $358
- 1/8″ Plywood– $228
We wen’t with the 1/8″ plywood 😉 Just for reference, our bedroom is about 12ft x 14ft we needed 12 sheets of plywood.
How thick of plywood for shiplap?
I recommend either 1/4″ or 1/8″ plywood for shiplap! We chose to use 1/8″ plywood because we have an old home and one of the corners in our bedroom is curved. I knew I would get the most flexibility from the most thin plywood.
Another benefit to using the thinner plywood is if you plan to keep your existing door trim and baseboards, there will still be a substantial variation in depth. Otherwise, the walls be nearly flush with the trim which just wouldn’t look right.
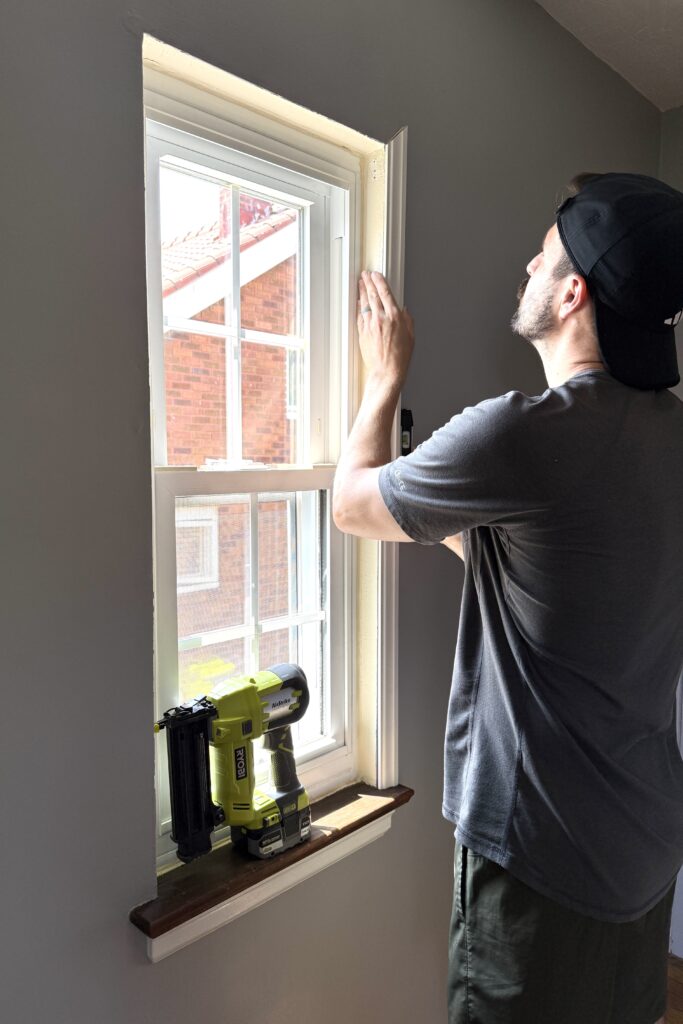
Our windows didn’t have any trim, so before we could install the faux shiplap, we had to add some. This is what we used!
Is shiplap out of style?
Shiplap is a timeless wall treatment that’s been around for a very, very long time. However, there’s different ways to use and style shiplap, which can make all the difference.
Everyone remembers the Joanna Gaines inspired farmhouse craze! When we bought our first home in 2020, my very first project was adding a shiplap accent wall to our living room. Back then, everyone was using it horizontally, paired with rustic decor. To be clear, that approach will always work in a farmhouse or cottage style home.
Today you’ll find more people installing vertical shiplap, which actually can make a space appear larger. The vertical lines draw your eyes up and can add height to a room. You’ll also find that people are gravitating to bold paint colors, where before it was almost always white.
How to Make Faux Shiplap
Using plywood for shiplap will save you a lot of money, but it does come with some extra prep work. The first step is to rip down the plywood into panels. Lowes or Home Depot *might* rip them down for you, but I know certain stores have rules and restrictions on what they can do. But hey… it never hurts to ask!!
We used our table saw to rip our plywood sheets down. If you don’t have a table saw, you could also use a circular saw with a rip-cut guide like this. I don’t personally have one of these yet, but it’s on my wish list! Here’s a video I found on how to set it up if you decide to try it out 🙂
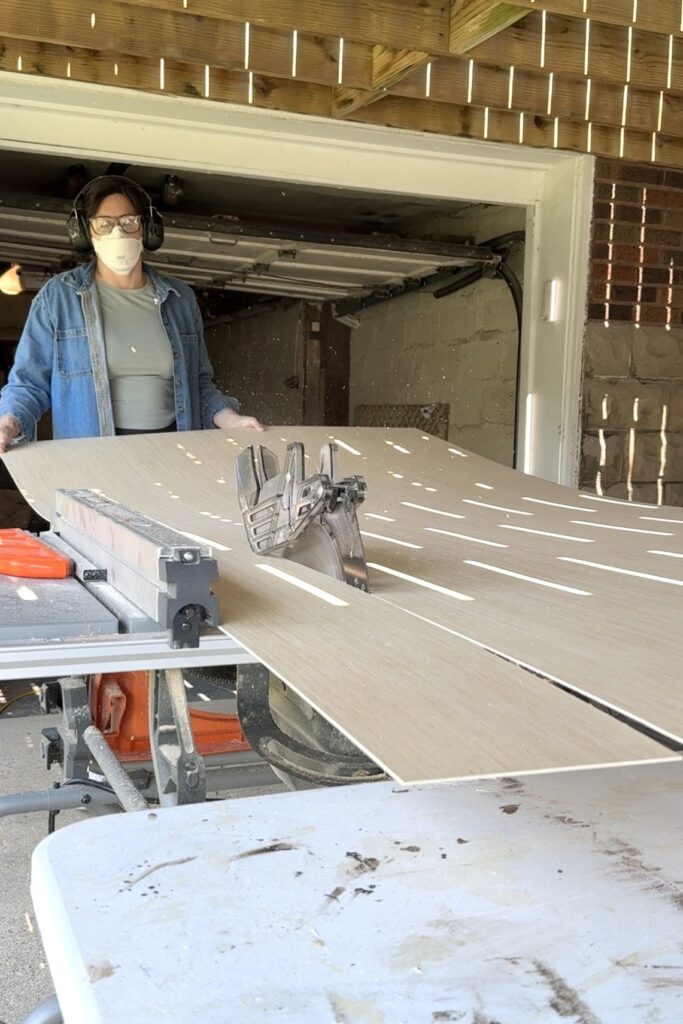
If you’re also doing 8″ vertical shiplap, keep in mind that as you’re ripping the boards down, the blade is going to eat away at some of the measurement. In order to rip my plywood into an even 6 boards without any waste, I set my table saw to 7 15/16″.
Try your best to keep the sheet of plywood butted up against the guide and nice and flat as you’re ripping it down. It’s helpful to have an extra set of hands for this! You can’t see him in this photo, but my husband was holding the other end of the plywood.
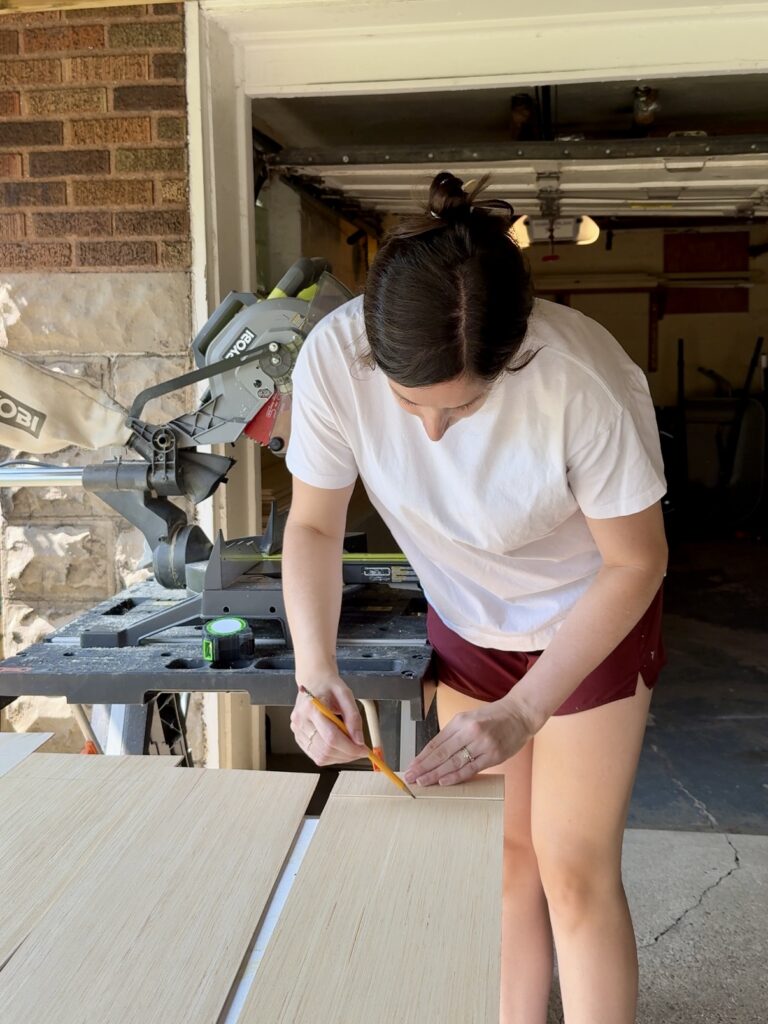
After cutting all the boards lengthwise, I also had to cut them to the right height, which was around 92″ since they sit on top of our baseboards. To make this quick and easy, I cut one board to size and used the scrap piece from that to trace the rest of the boards.
Luckily this part didn’t have to be perfect because I was adding some base cap moulding to the top of our baseboards as well as a small piece of trim where the shiplap meets the ceiling.
For a professional looking finish, do a quick sand on the rough edges of each board before installing!
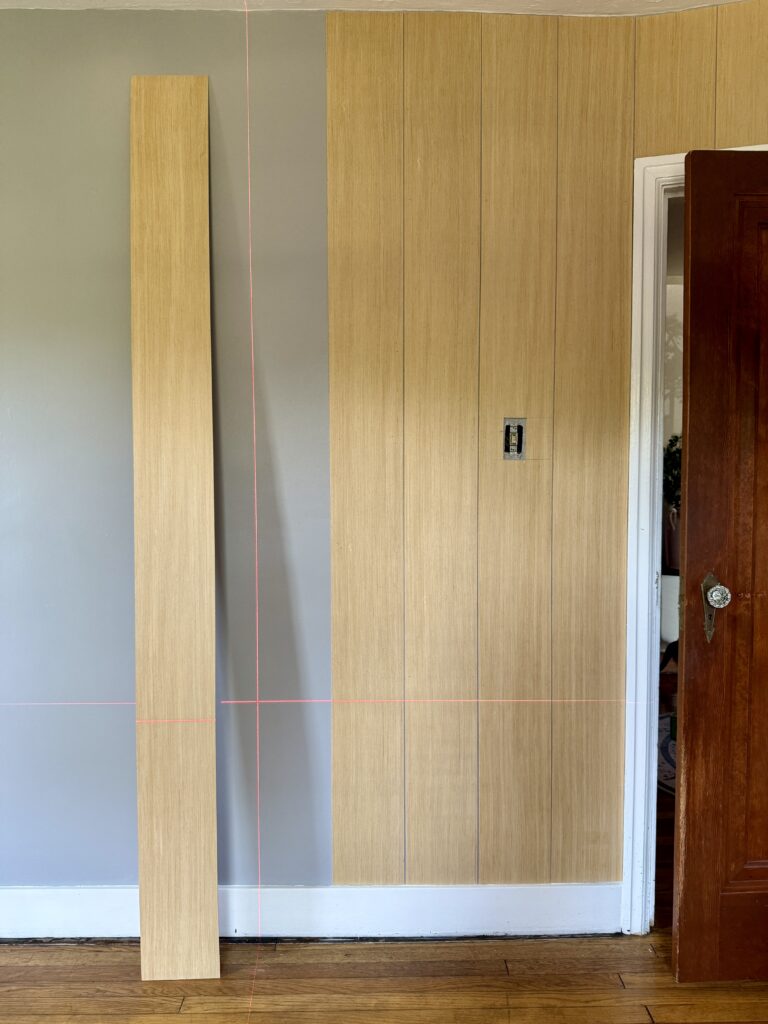
Installing Vertical Shiplap
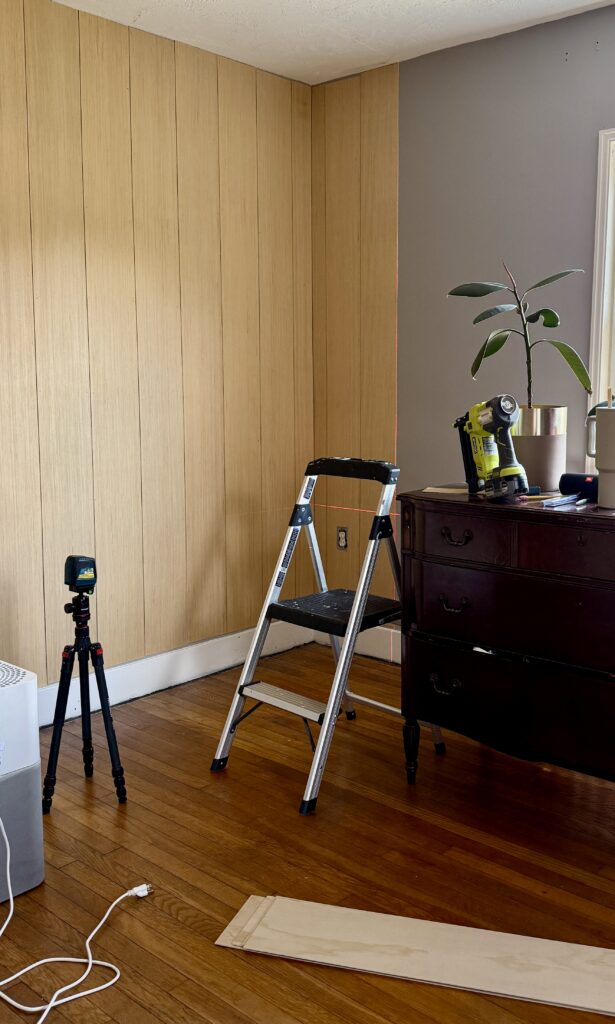
The laser level is going to be your best friend when installing shiplap. It’s absolutely crucial that your first board is level otherwise the whole room will be off! If you don’t have a laser level, I’d recommend using a large level like this.
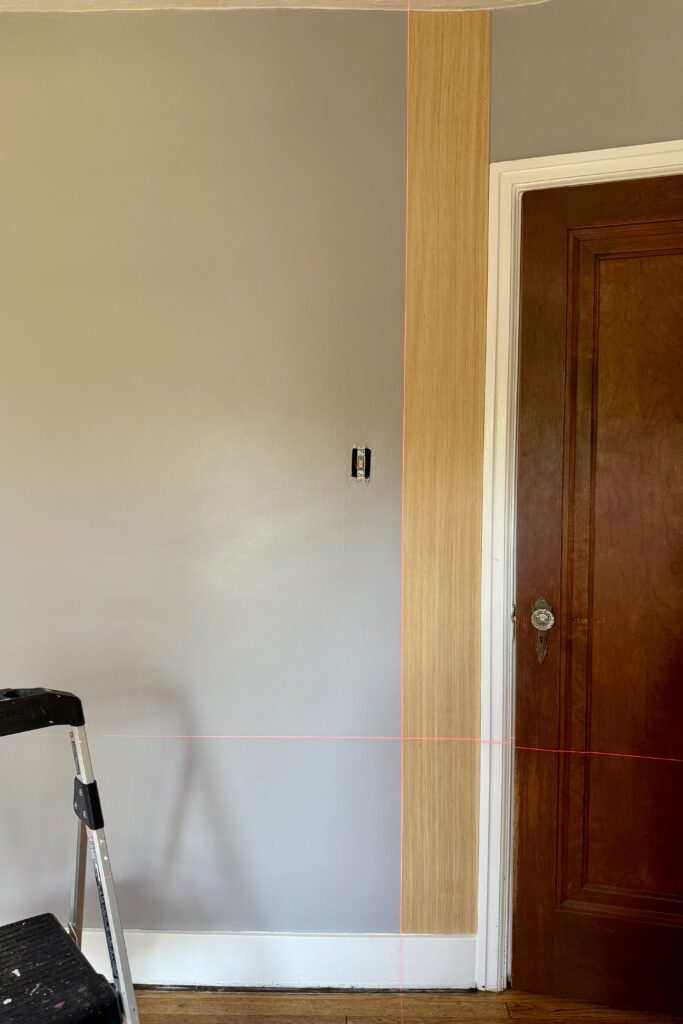
When installing vertical shiplap, there’s no need for a stud finder because you won’t be hitting all the studs. Luckily you don’t need to worry about it! These plywood strips are very lightweight and won’t need to be secured to studs.
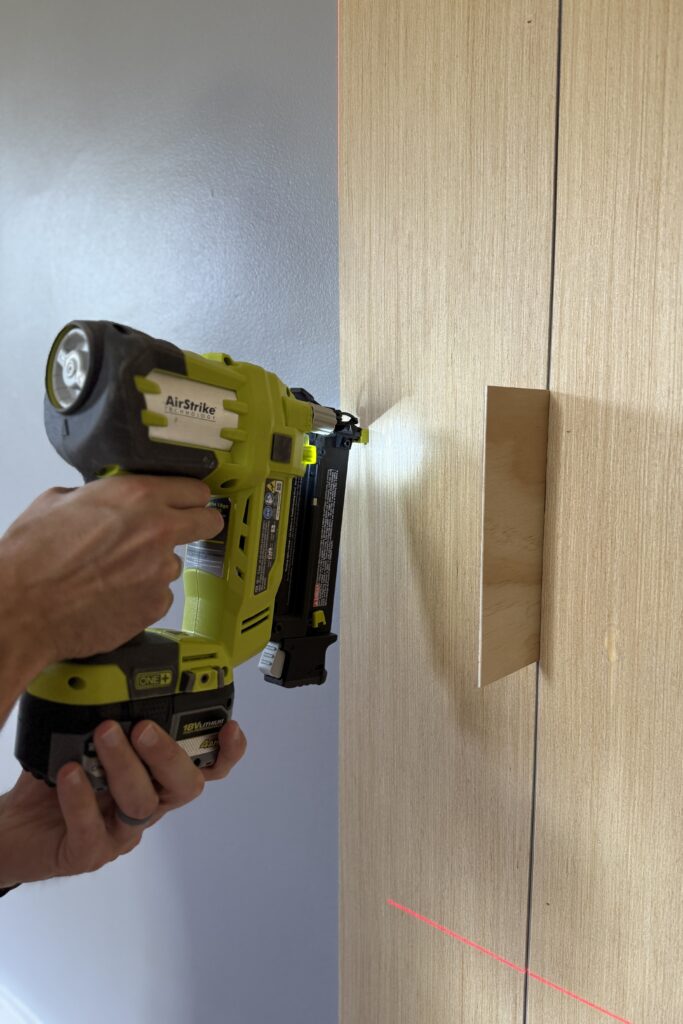
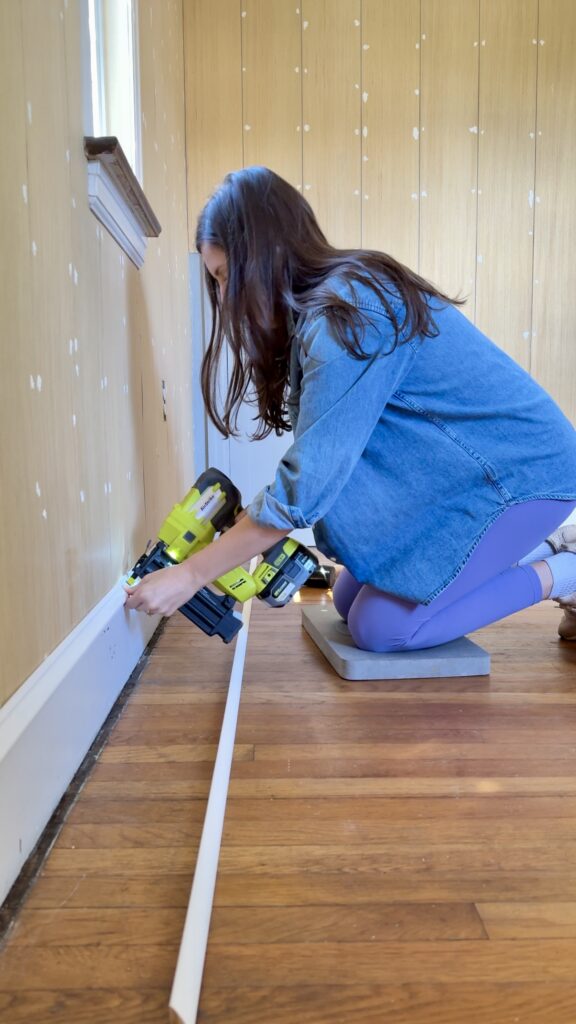
To secure the plywood shiplap to the walls, I used 3/4″ brad nails… and a lot of them! (I went throught a few thousand for our bedroom) I always avoid using liquid nails when doing any sort of trimwork. We have plaster walls and it would be a disaster if we ever tried to remove these plywood boards.
If you’re also using thin plywood like I did, you’ll notice that certain areas will feel loose or bow out a bit. Not to worry! Just keep adding more nails until everything feels nice and flat against the wall 🙂 If you feel like a nail isn’t catching, try slightly angling your brad nailer.
Most often, shiplap has a “nickel gap” so you can actually use a nickel as a spacer. However, I compared the thickness of a nickel to this 1/8″ plywood and they were almost exactly the same. The plywood was just slighty thicker so I used a scrap piece of the plywood as my spacer. It has more length to it than a nickel so I feel like this is definitely the easiest way! I moved this up and down as I was installing the boards to ensure the gap was consistent.
Dealing with the tricky shiplap cuts
You’re going to run into some tricky areas as you’re installing your DIY plywood shiplap. Most commonly, a light switch or outlet.
For outlets, I like to dab toothpaste or paint on all four corners of the outlet cover, position the board in it’s place (don’t forget to account for a nickel gap), and then press the board against it. This is such an easy way to mark where you’ll need to cut. For light switches that protrude out, you can’t use this method so we always just measure and mark.
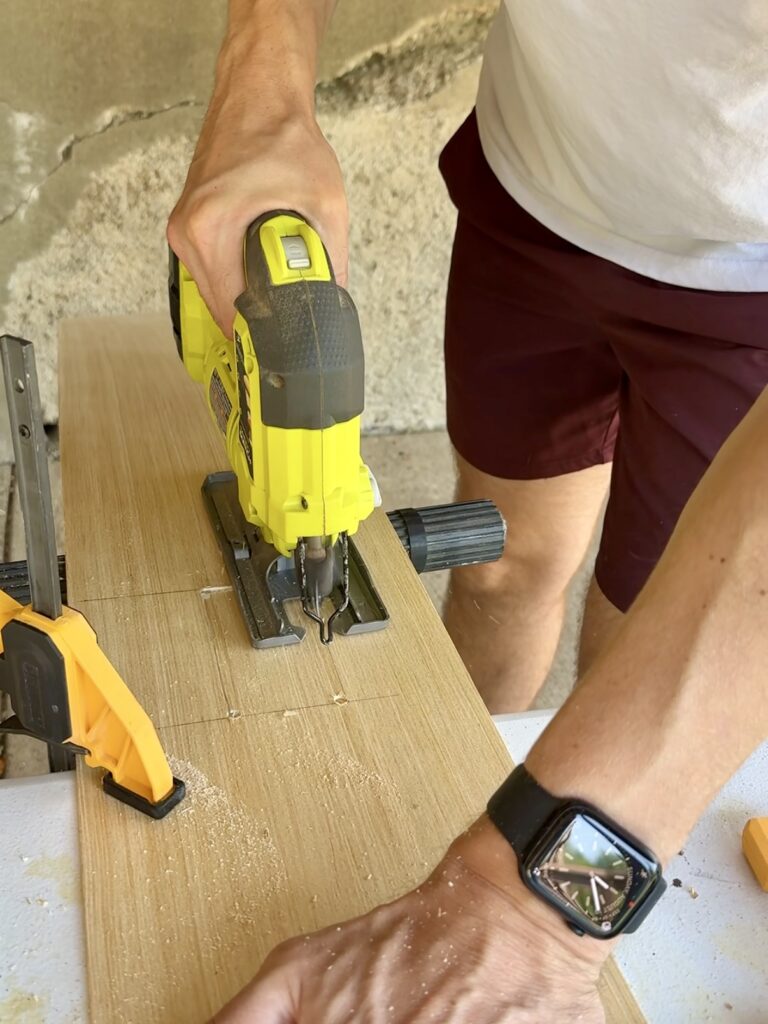
Next, we take a large drill bit and drill four holes in the corners. (The hole has to be big enough to fit your jigsaw blade.) Then we just cut it out with a jigsaw!
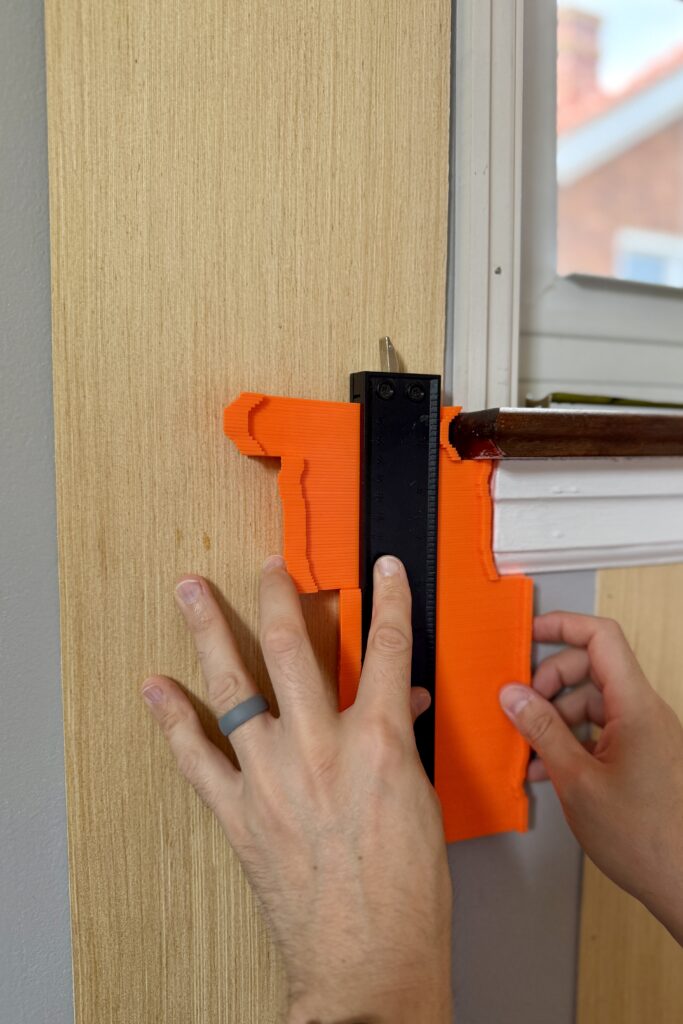
We also had some really tricky window trim to work around. Hopefully you won’t have to worry about anything like this because it was pretty annoying! Luckily we have a contour gauge which ended up being really helpful in marking the odd cutout. I’ll admit, the cuts weren’t perfect, but wood filler and caulk always save the day!
Unless the width of the wall happens to be the perfect length, you’ll likely need to cut a board lengthwise when you hit a corner. Instead of bringing out the table saw again, I just used our jigsaw and then the other half can go on the next wall (like you see in the photo below). Again, caulk will make this corner look seamless!
Trim and Finish Work
We added some extra trimwork to our baseboards and ceiling. For the baseboards, I installed some base cap moulding and quarter round moulding. This gave us a cleaner look!!
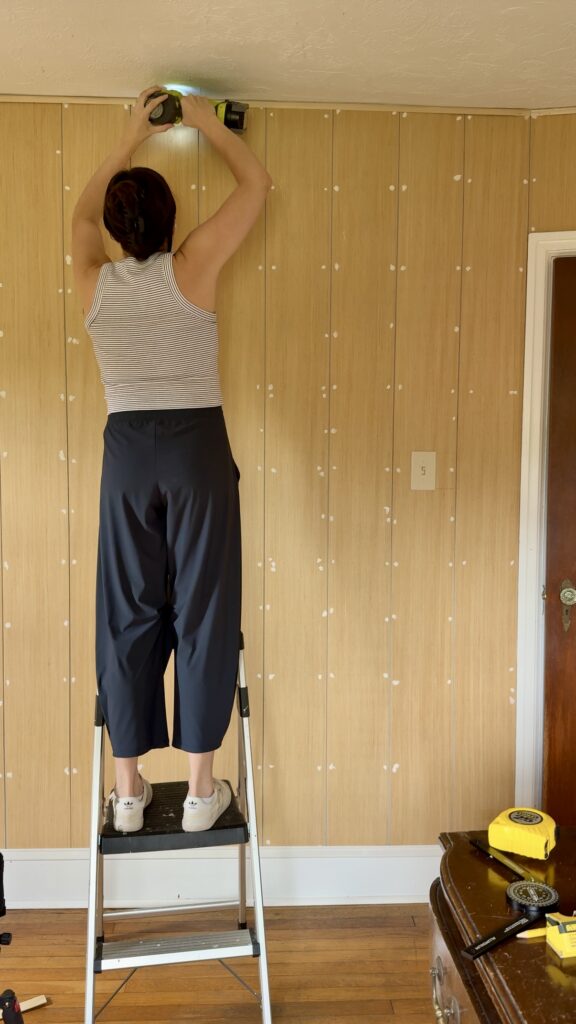
For the ceiling, I used this little chair rail. You can also do crown mouldling or really any type of trim. Here’s my tutorial on how to install crown molding!
For finish work, I filled the thousands of nail holes with this spackle and a putty knife. Instead of sanding the spackle once it dried, I prefer to use a damp rag and wipe down the holes until smooth. It’s much less messy!!
Lastly, I caulked the corners of the walls, where the trim hits the ceiling, and where the shiplap boards meet the window trim.
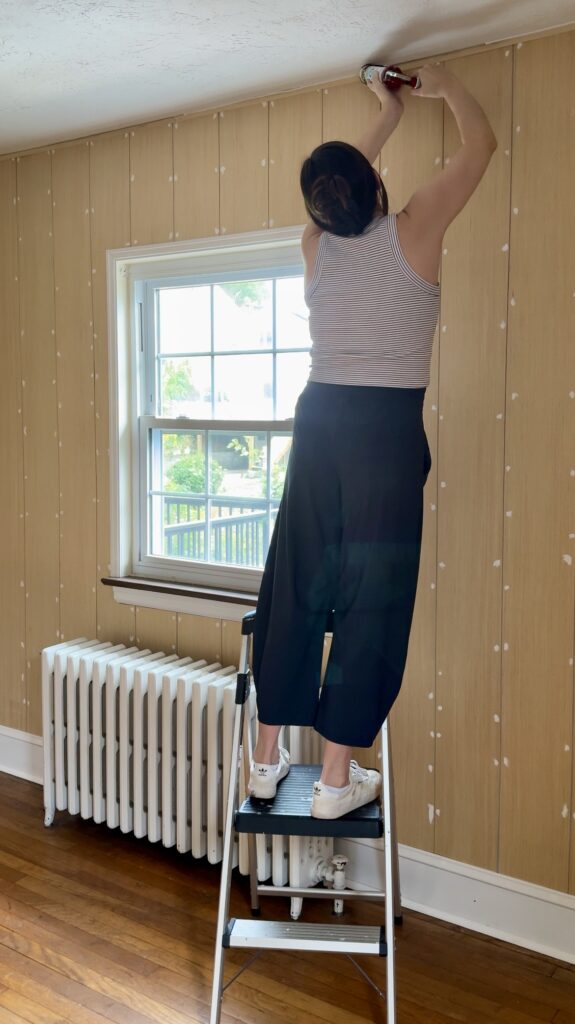
Best Practices for Painting Plywood Shiplap
Shiplap is a bit of a pain to paint because you have to get into the gaps. Some people like to paint the wall before installing, but I decided not to because it just seemed like a waste of paint. When I installed vertical shiplap in our pantry makeover, I painted the edges of the shiplap boards before nailing them up which was really helpful. But, in this case, we’re using plywood for shiplap so that’s not an option.
First I primed (using this primer!) the plywood since its raw wood. First I used a small brush to paint the gaps and then I came in with the roller brush. With such a small gap, it does take a lot of extra time, so plan accordingly!
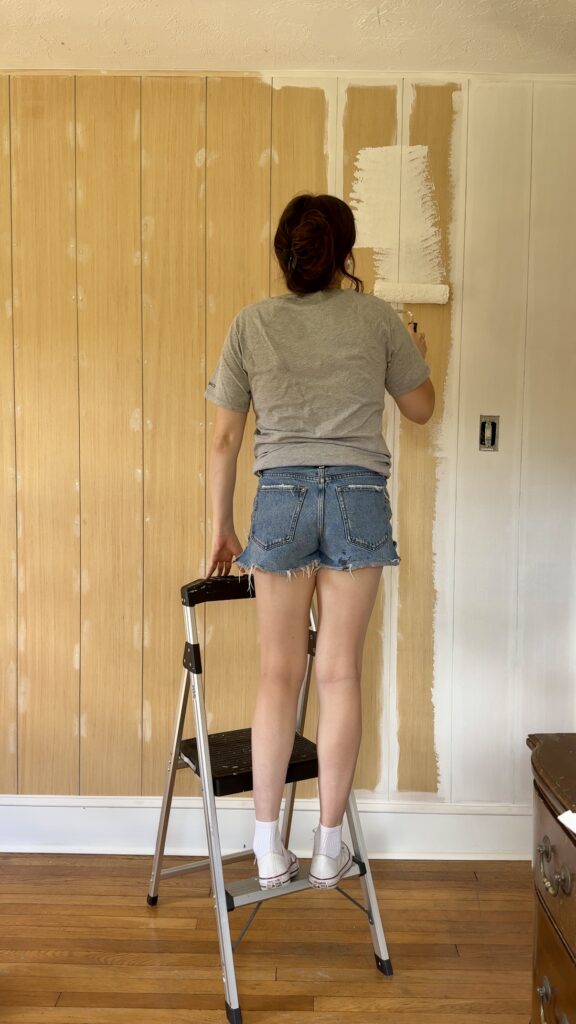
Then, I repeated the process with my paint color. I only did a couple boards at a time. For one, my hand would get tired painting the gaps and two, I prefer to use the roller brush overtop while the paint is still wet to prevent visible brush strokes.
For the second coat, I didn’t worry about the gaps! This is the paint I used. The coverage is amazing and I probably didn’t even need a second coat but I had the paint anyway. Plus I missed a few little spots on the first coat!
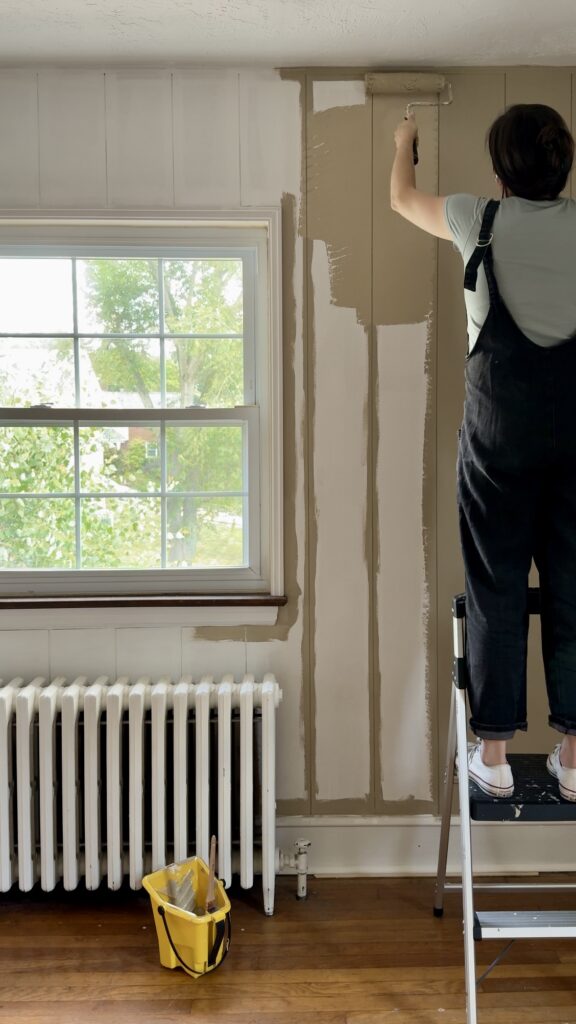
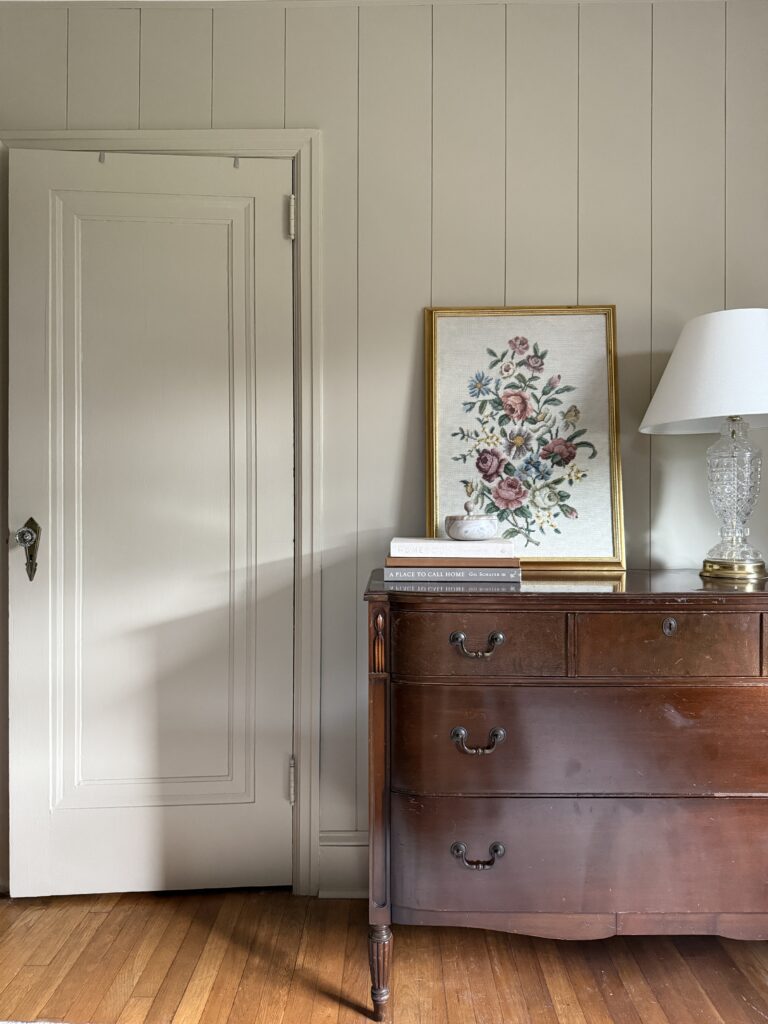
For the the walls I used eggshell and for the trim I used satin. This is the paint I used for the trim! Oh, and if you’re wondering, the color is Universal Khaki (HGSW6150)… HGTV Home by Sherwin-Williams and Sherwin-Williams 2026 Color of the Year. It’s such a timeless mid-tone tan, I love it!
PS if you’re curious to learn more about the different paint sheens and how to paint trim, check out this popular post of mine!
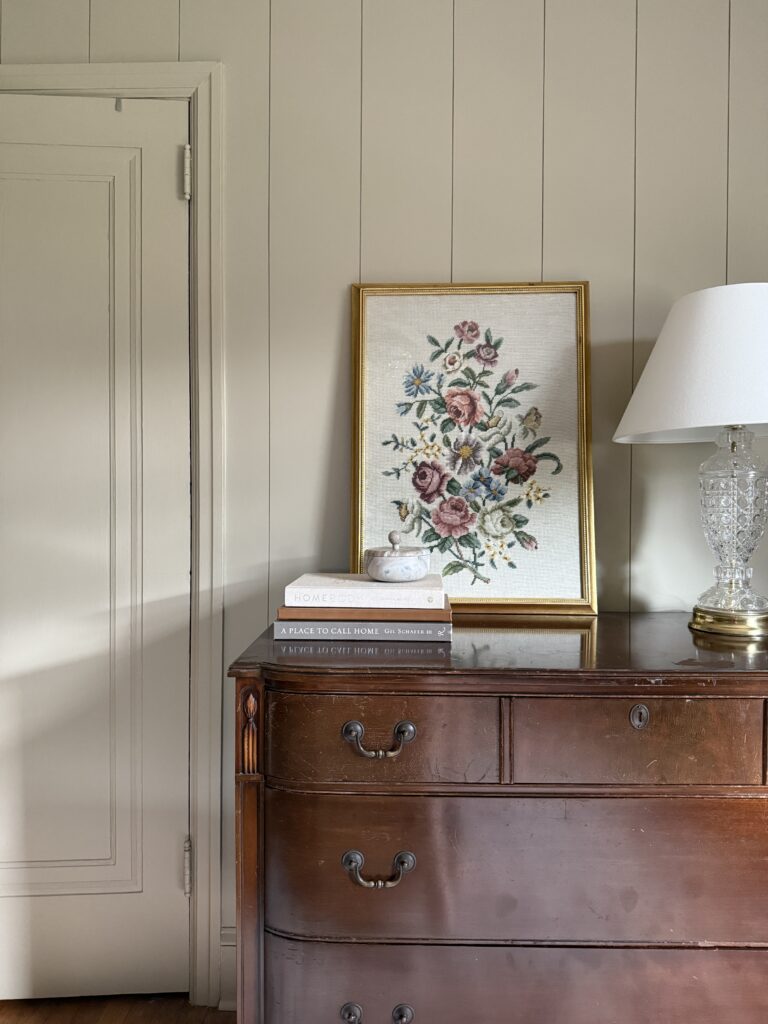
Our Vertical Shiplap Bedroom Before and After
We hadn’t touched our bedroom since we moved into our new home a couple years ago. So in order to fully appreciate the after, I have to show you the before:
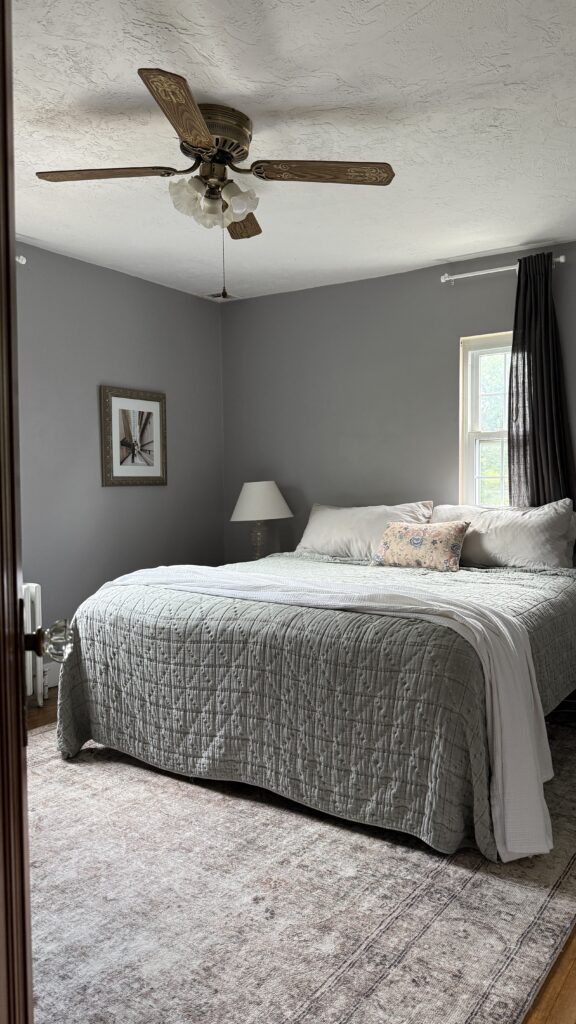
Annnnnd, the after!!! 🙂 (We rearranged our bedroom!)
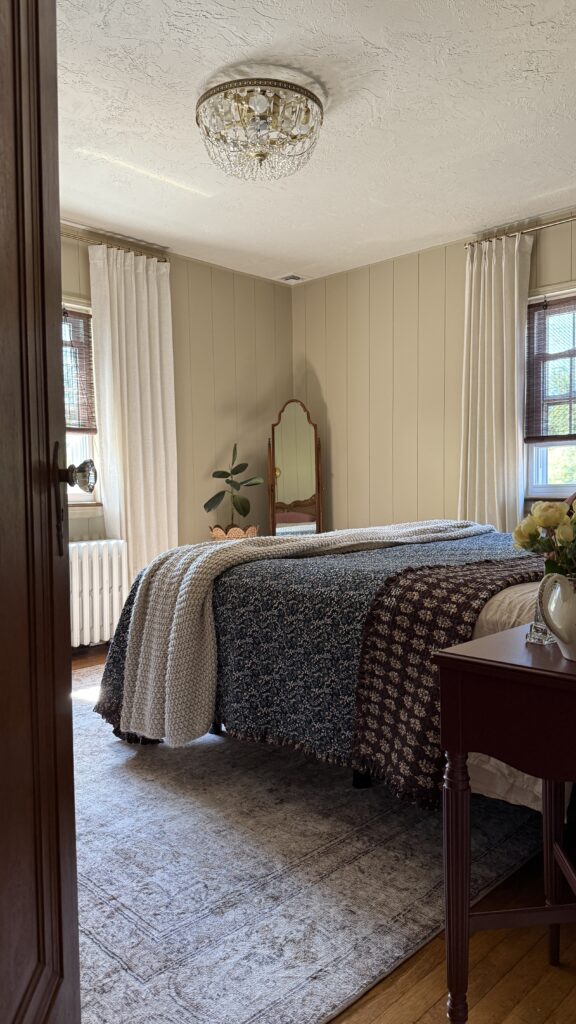
I mean, you’d never guess this wasn’t real shiplap?!
Click here to shop our bedroom!
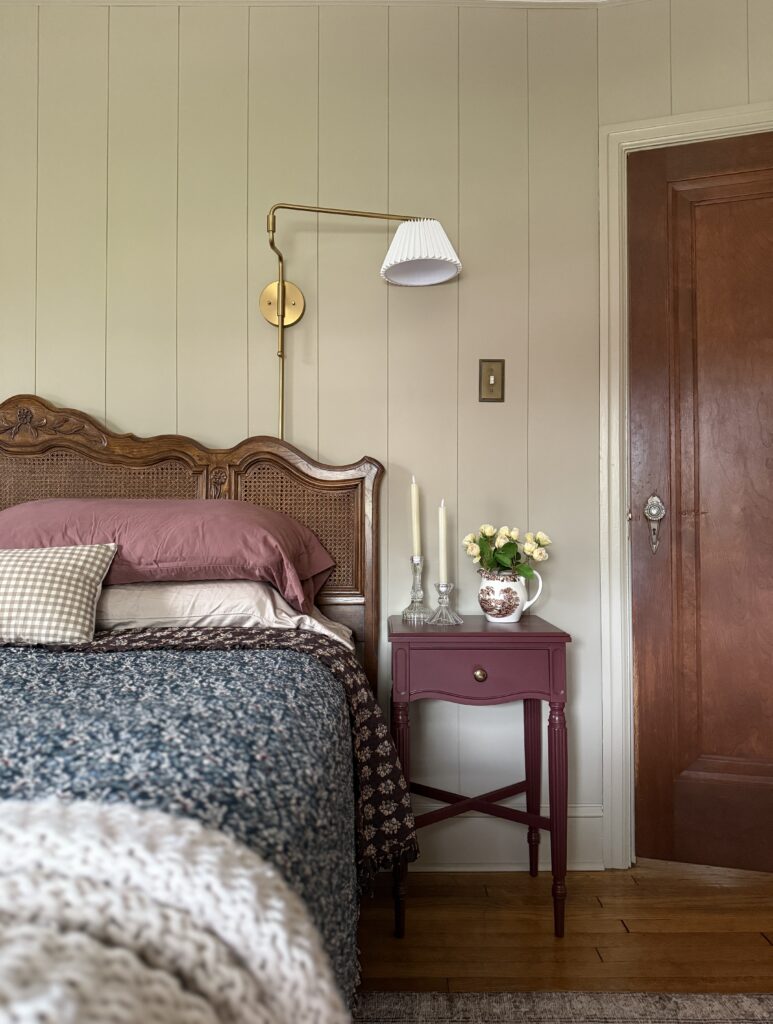
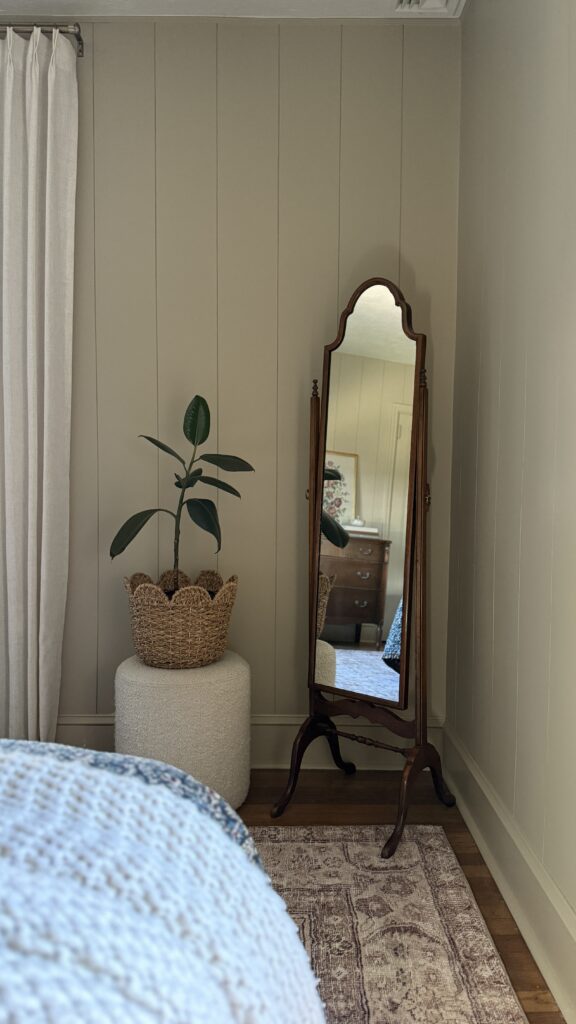
The vertical shiplap not only adds so much character to our bedroom, but it also made this small space feel larger! We couldn’t be happier with it. I hope this post inspires you to make your own DIY plywood shiplap! Please let me know if you have any questions.
Elisha
