

Do you have boring, builder grade bathroom cabinets? Well, so did we, but this DIY fluted bathroom vanity makeover gave our en suite a luxury, custom look we’ve been enjoying for years!
Let’s face it, bathroom vanities are a lot of money, especially if you have expensive taste like I do! But with some fluted trim, a fresh coat of paint, and new hardware… you can give your bathroom vanity a whole new look.
Did I mention this bathroom vanity makeover was one of my first diy projects?! It’s really doable and I’m going to give you all the tools and information you need to do your own!
Disclaimer: This post contains affiliate links. This means, if you purchase something from a link I provided, I will receive a small commission. This is at no extra cost to you! Thank you so much for the support!
tools:
- Brad Nailer
- Miter Saw
- Table Saw (or circular saw)
- Concealed Hinge Jig
- Drill
- Paint Sprayer
- Edge Banding Trimmer
- Painter’s Pyramids
materials:
- 220 Grit Sanding Sponge
- 3/4″ Birch Plywood
- Half Round Trim
- Edge Banding
- 3/4″ Brad Nails
- SW Extreme Bond Primer
- Enamel Paint
- 1/4″ Nap Roller
- Wood Filler
- Gold Cabinet Pulls
- Brass Knobs
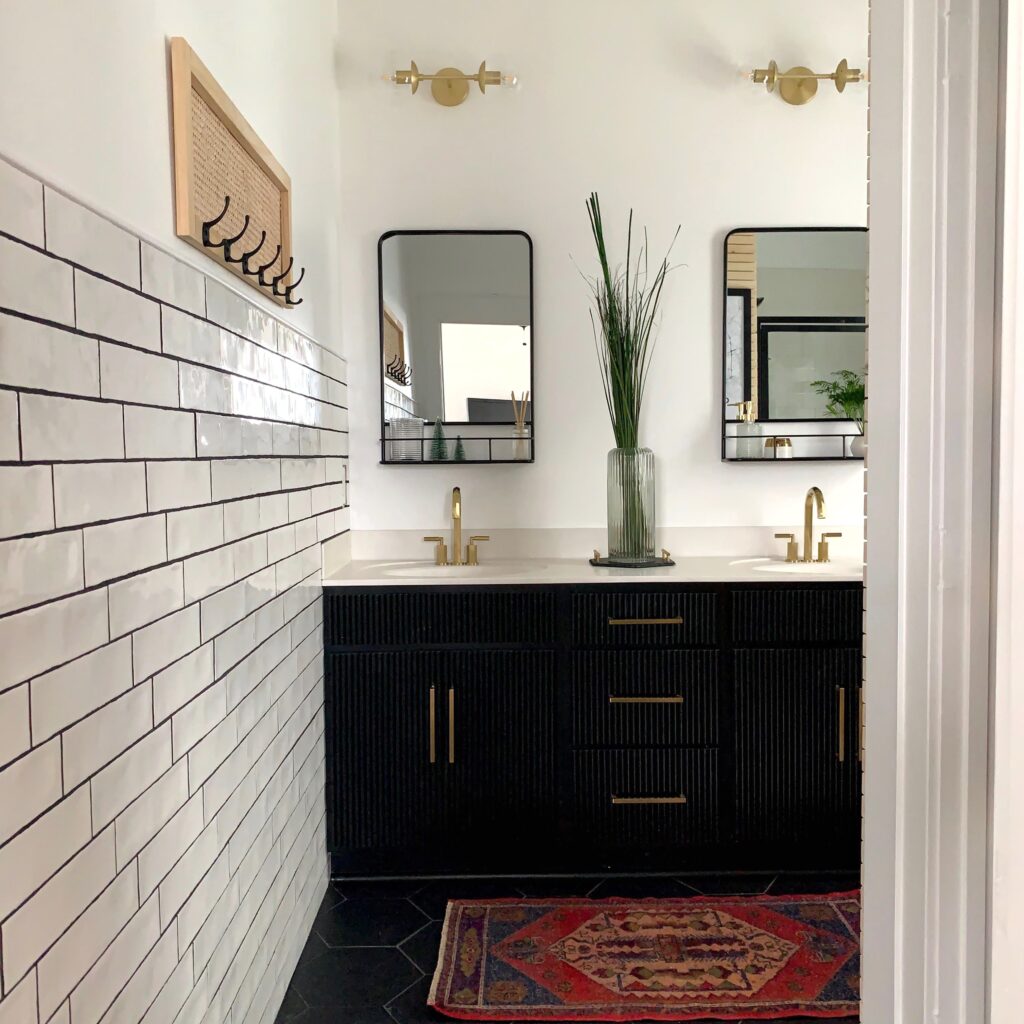
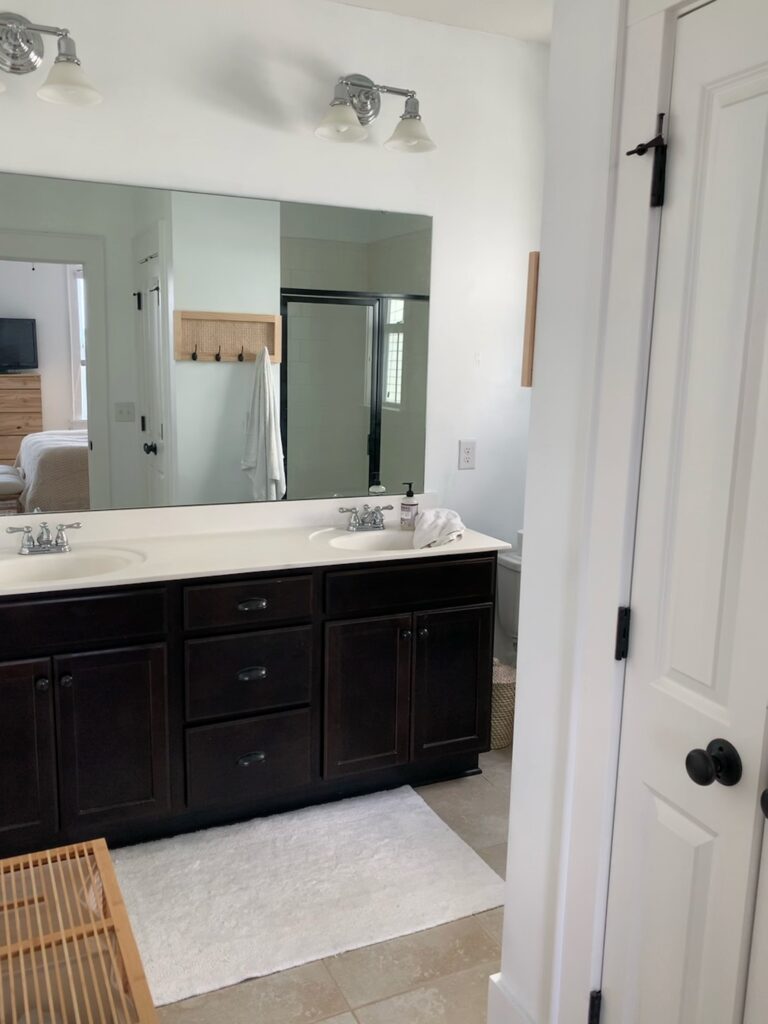
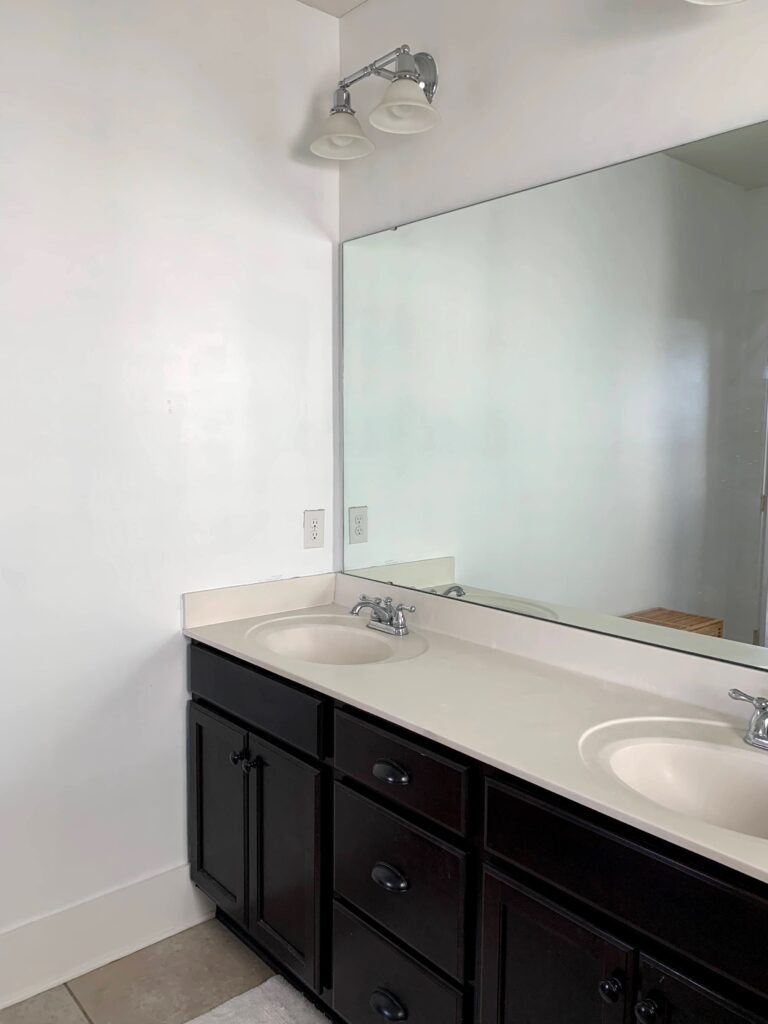
Fluted Bathroom Vanity Makeover: Before and After
Before
After
Step One: Bathroom Vanity Prep
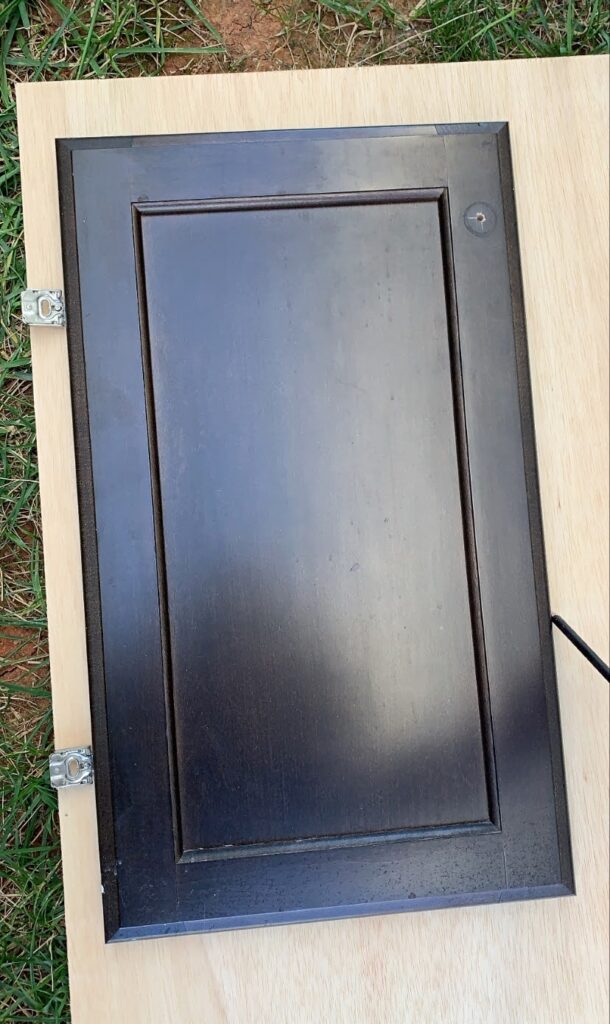
The first step is to remove all the doors and fronts from the old vanity! You can use either a screw driver or a drill for this part.
Now you’ll give the bathroom vanity a good cleaning! It’s important to make sure there isn’t any grime the paint would have trouble adhering to. This is my go to cleaner for furniture!
Make sure to clean the cabinet doors and fronts too if you’re planning to use them for this bathroom vanity makeover! (I had to make new ones so I didn’t need to bother cleaning mine)
After cleaning, scuff sand with 220 grit sandpaper! Wipe up the dust with a damp rag or tack cloth.
Tape off the bathroom vanity and then do one coat of primer.
I highly recommend Sherwin Williams extreme bond primer. We did this bathroom vanity makeover DIY three years ago and the paint held up so well!
Step Two: Make New Cabinets (Optional)
We ended up making new doors and drawer fronts using 3/4″ plywood but this may not be a requirement for you depending on your bathroom vanity design.
I was really hoping we could just add the fluted trim right overtop our current cabinets, but the trim framing them wasn’t removable. If your cabinet doors are flat already, or you can remove the trim to make them flat, you’re gold! You can move onto step three!
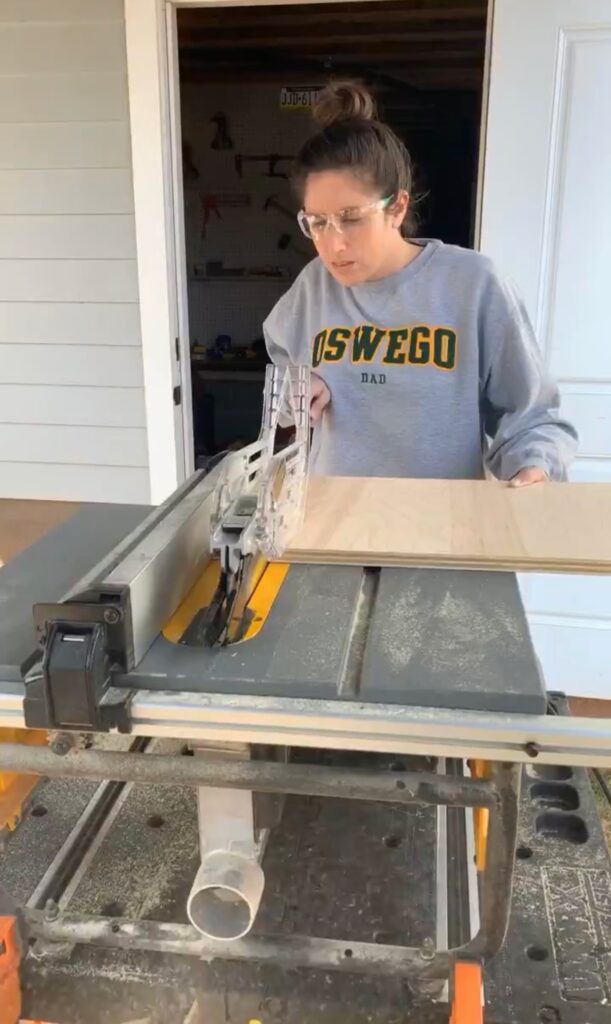
Cut 3/4″ plywood to size
Measure the length and width of all your cabinet doors and drawer fronts.
Use a table saw or circular saw to cut all of your pieces to size. Home Depot might also be able to help you cut, or at least rip down, your plywood to save time!
Create holes for the hinges!
To keep it simple, we just used the hinges that came with the existing vanity!
We used this Kreg Concealed Hinge Jig to help drill the holes for the hinges… otherwise I probably wouldn’t know exactly how to tackle this part.
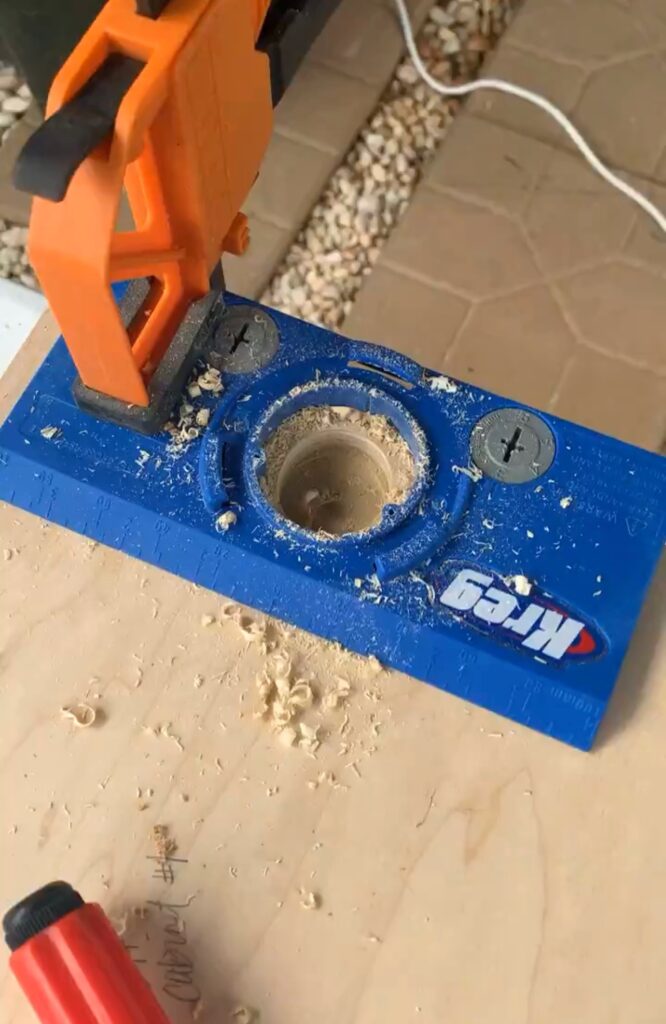
This was really simple to use following the instructions (you just need a drill) and I know it will come in handy again! It was also helpful to reference our old cabinets for placement.
Check the fit
Before moving on to the next step, take the time to make sure your new pieces fit! I had to trim down one or two of them. Also, the hinges can be adjusted a lot so before you trim anything, play around with the hinges first.
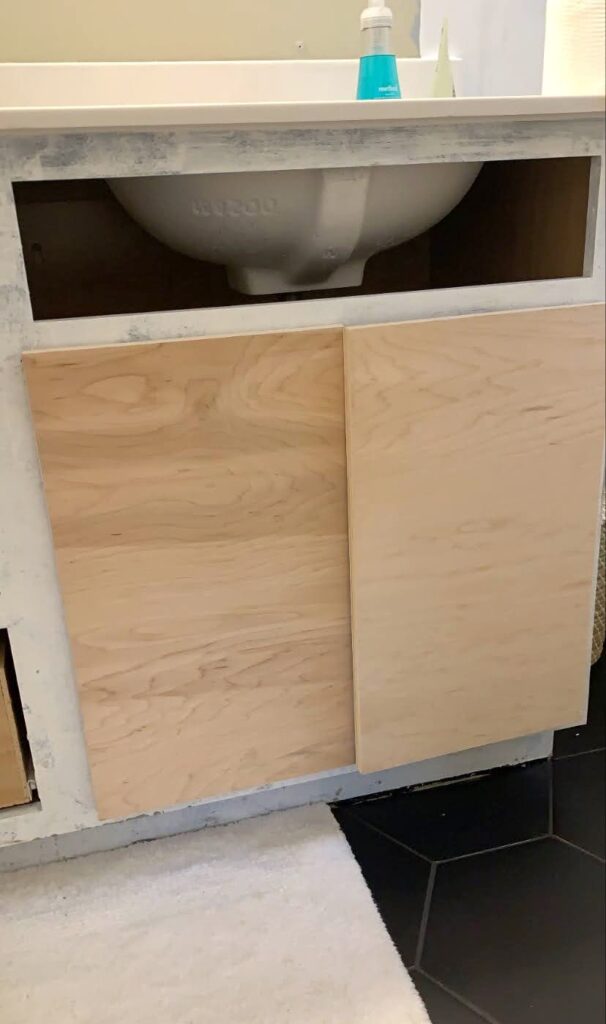
I’ll admit, our cabinet doors are far from perfect! But it was our first time and ultimately I feel really proud of how they turned out…imperfections and all!
Edge banding
For a more finished look, I applied edge banding to all the new pieces. This covers up the rough plywood edge and makes it look like a solid piece of wood.
Here’s the edge banding I used– it’s birch to match the plywood, however the wood species didn’t matter much since I was painting them anyway!
To apply the edge banding, you just iron it on and then trim it. This edge banding trimmer works awesome! After you trim, sand the edges and you’ll be amazed how nice and smooth it looks!
Step Three: Fluted Cabinet Doors
If you know me at all, you know how much I loved a good fluted detail!
There’s quite a few options for getting a fluted look! For example, I used pole wrap for my Fluted Coffee Table DIY, I used a fluted trim for my Fluted Wall Panel, and wooden dowels for this Ikea hemnes shoe cabinet hack!
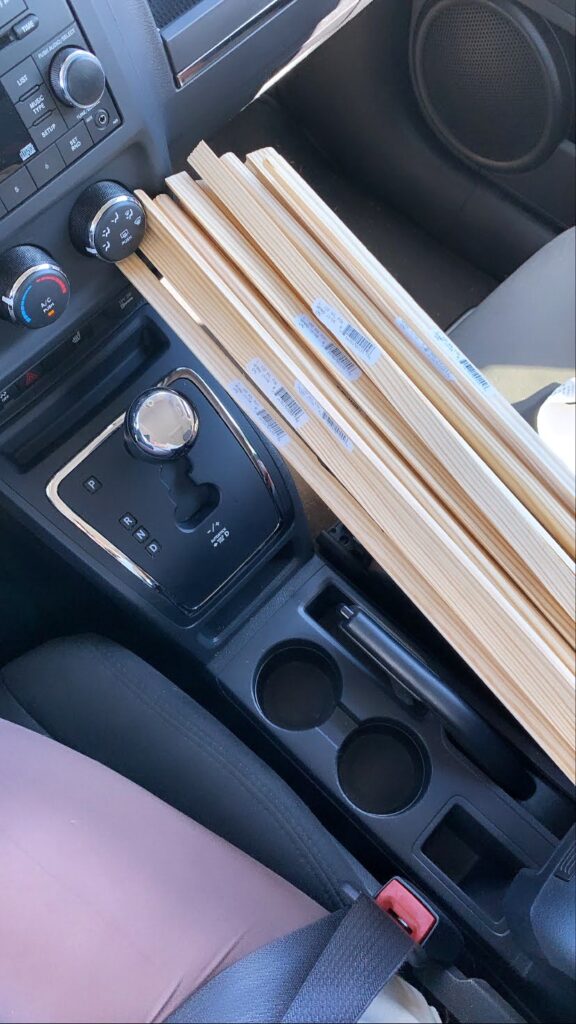
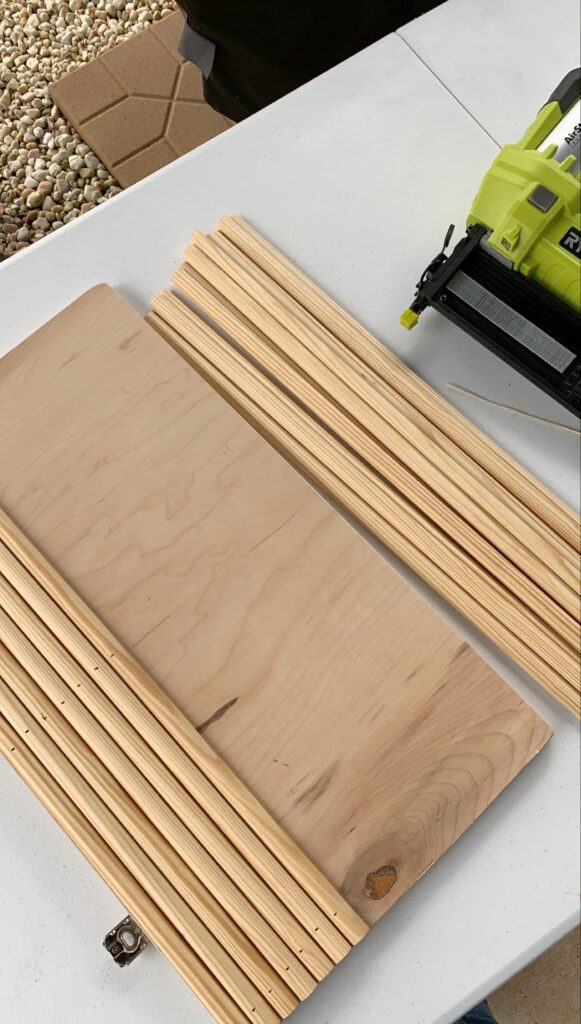
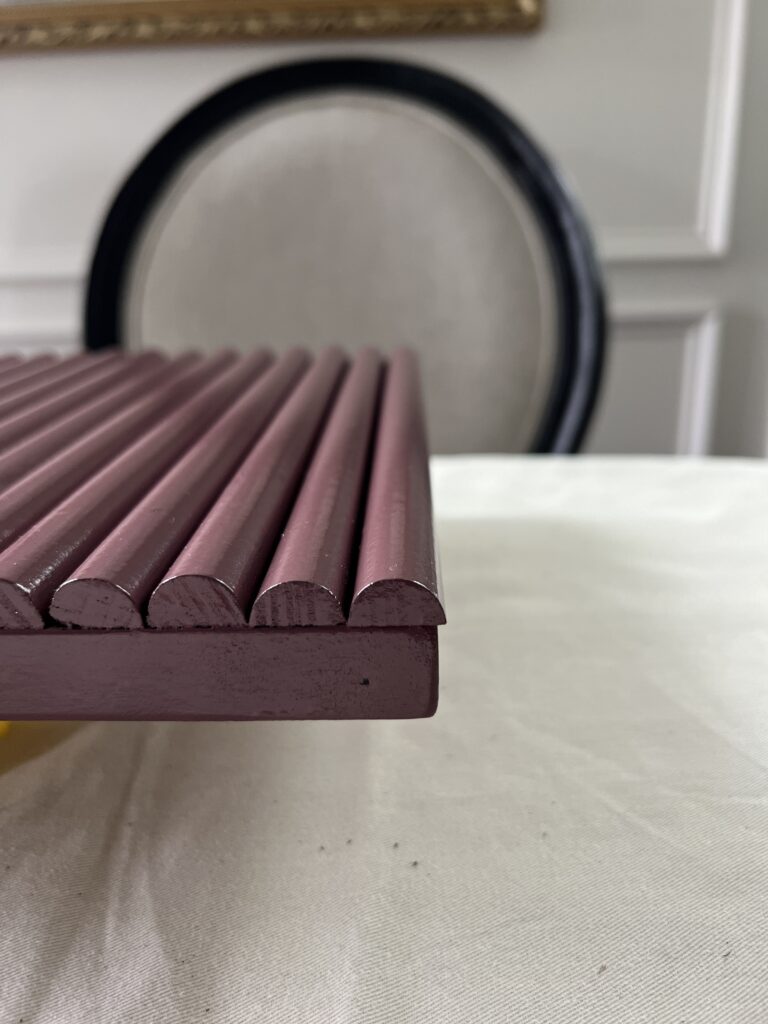
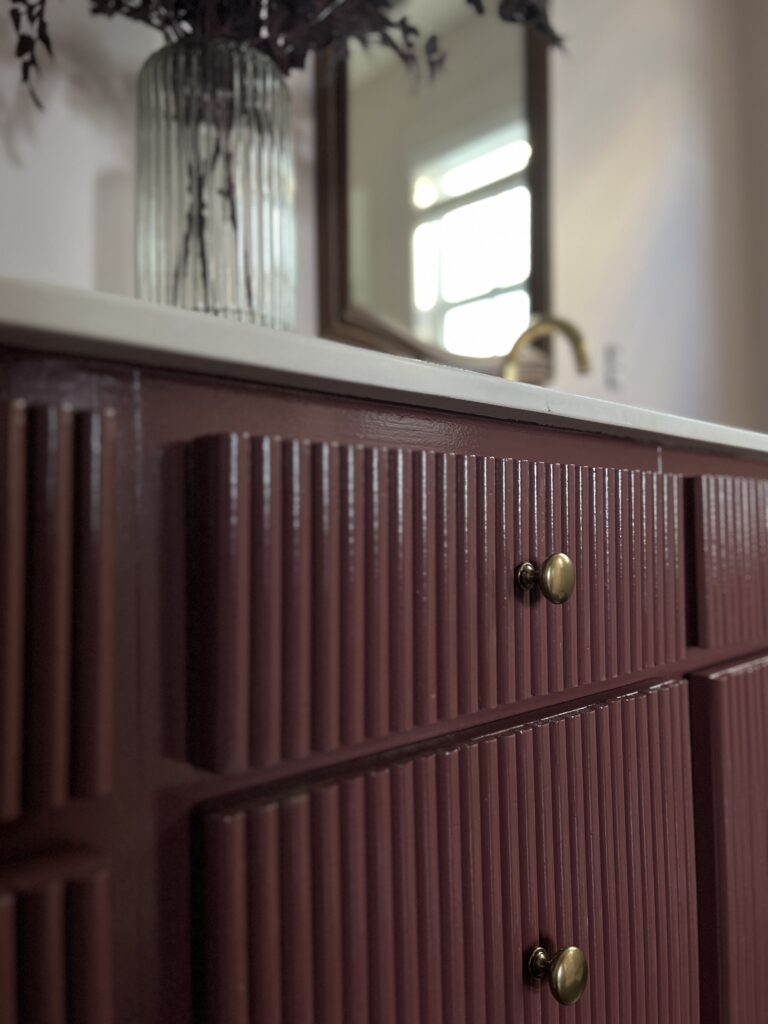
Add fluted trim
For our fluted bathroom vanity, I used half round trim! I can’t remember how many I bought exactly, but my guess is somewhere between 15-20 8ft pieces.
I recommend doing a dry fit first to see how they’ll line up so you don’t have one sliver left. Use a brad nailer and 3/4″ brad nails to attach the trim pieces. Wood glue isn’t necessary!
Another thing to keep in mind during this step is your hardware! We didn’t pay attention when choosing the pulls. Some handles landed in a crease while some on the fullest part of the dowel. Not ideal, but we made it work!
Also, don’t fret when your trim pieces aren’t a perfect fit. It’s bound to happen.
For some of the fronts I had extra trim hanging off the side a little bit, like you see in the photo below, but honestly you can’t tell once everything is painted and up!
Fill nail holes & sand
Use wood filler for all the nail holes and once that dries, do a light sand with a 220 grit sanding sponge!
You’ll also want to make sure there’s no crumbs or anything in the creases! I was extra and got one of these compressed air dusters to blow anything out!
Caulk (Optional)
I didn’t do this, but you can caulk all the creases of the trim for a less rigid look! In the future, I think I would try this, but it’s totally not necessary!
Also… how cool would this fluted detail be on kitchen cabinets or a kitchen island?! Just sayinnn!
Step Four: Paint
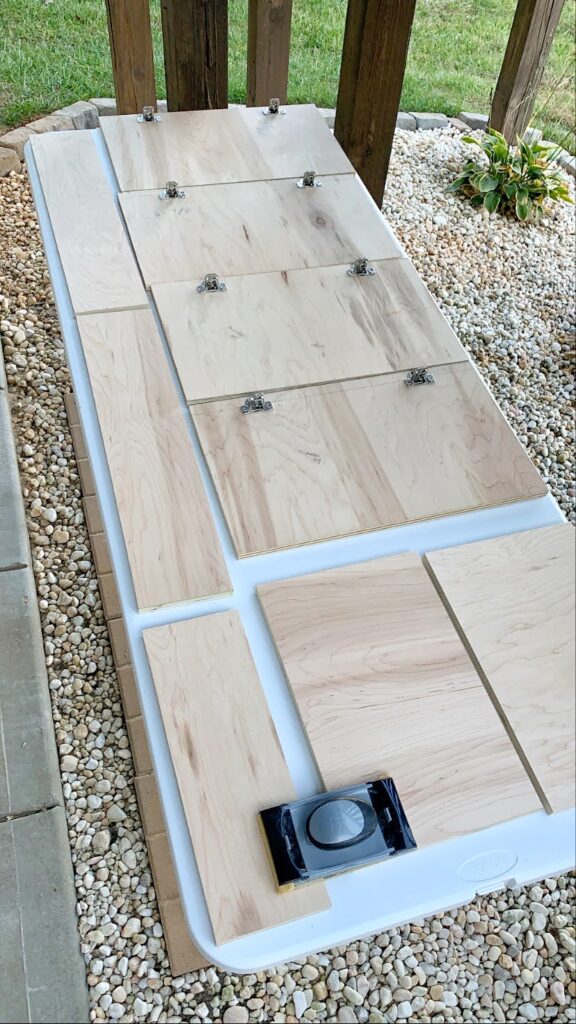
Since the half dowels are raw wood, you’re definitely going to want to prime before painting! I used the same Sherwin Williams extreme bond primer and just did one coat.

For the bathroom vanity paint, I used Sherwin Williams urethane trim enamel paint in a satin finish. The color is Tricorn Black. This paint is incredible! It’s self leveling and extremely durable!
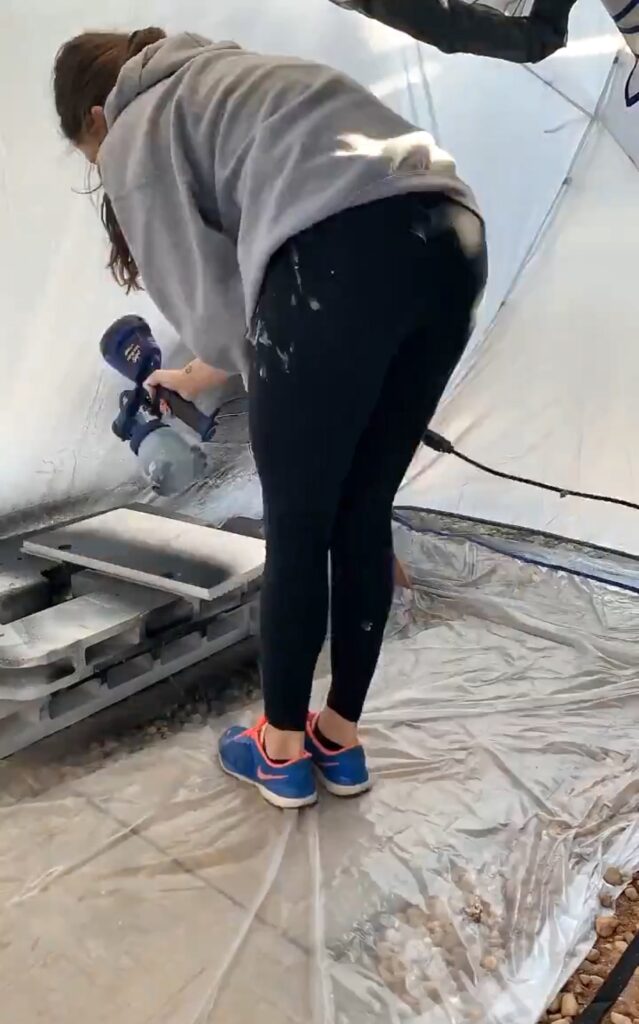
I used my paint sprayer for my first time painting these, but you don’t have to!! Two coats of paint was perfect and these plastic painter’s pyramids were so helpful for propping up the doors while painting. I use them all the time now!
Sadly I didn’t get any photos or videos installing the pulls, but I did for my second makeover- see below!
Fluted Bathroom Vanity Makeover Part II
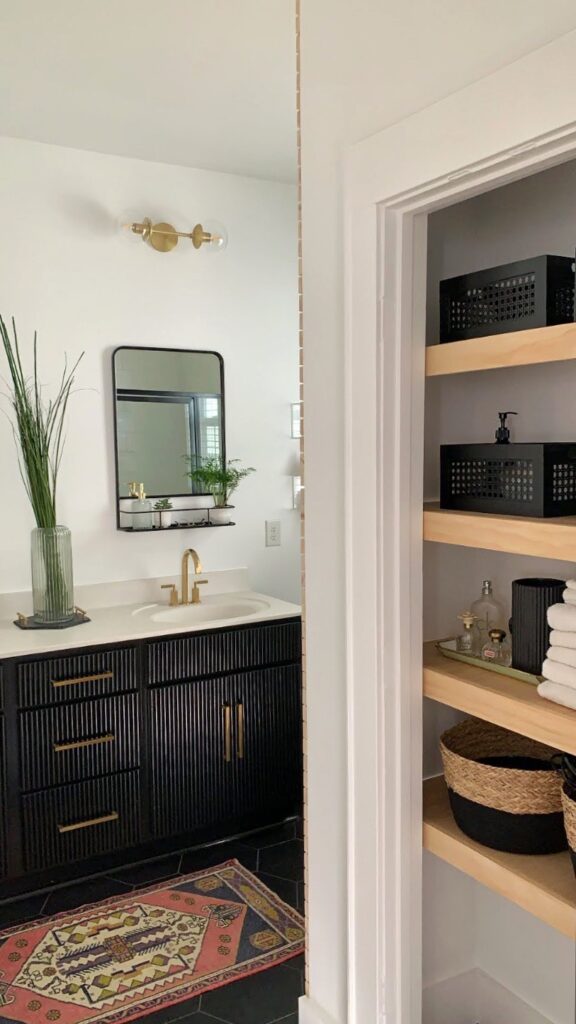
My style has evolved a lot since I did this bathroom vanity cabinet makeover back in 2020! At the time, I was very into modern design so I went with the black bathroom vanity with oversized modern gold pulls.
Now, in 2023, I wanted more of a modern vintage bathroom so I gave it a makeover with new cabinet hardware and a little paint!
The new paint color
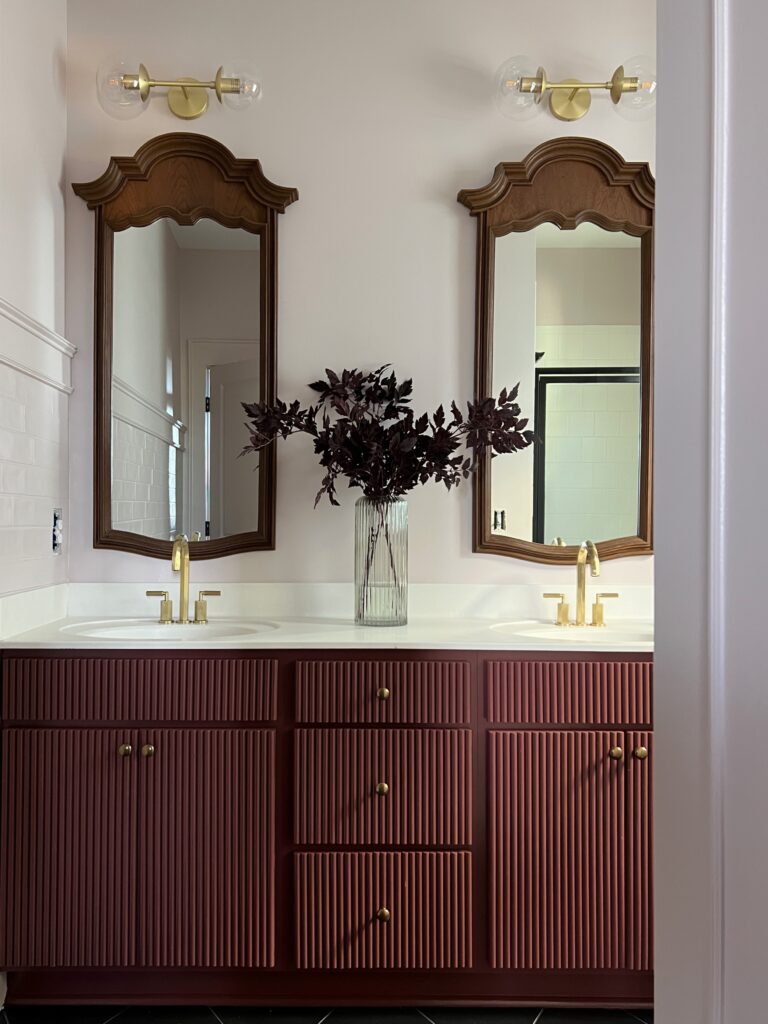
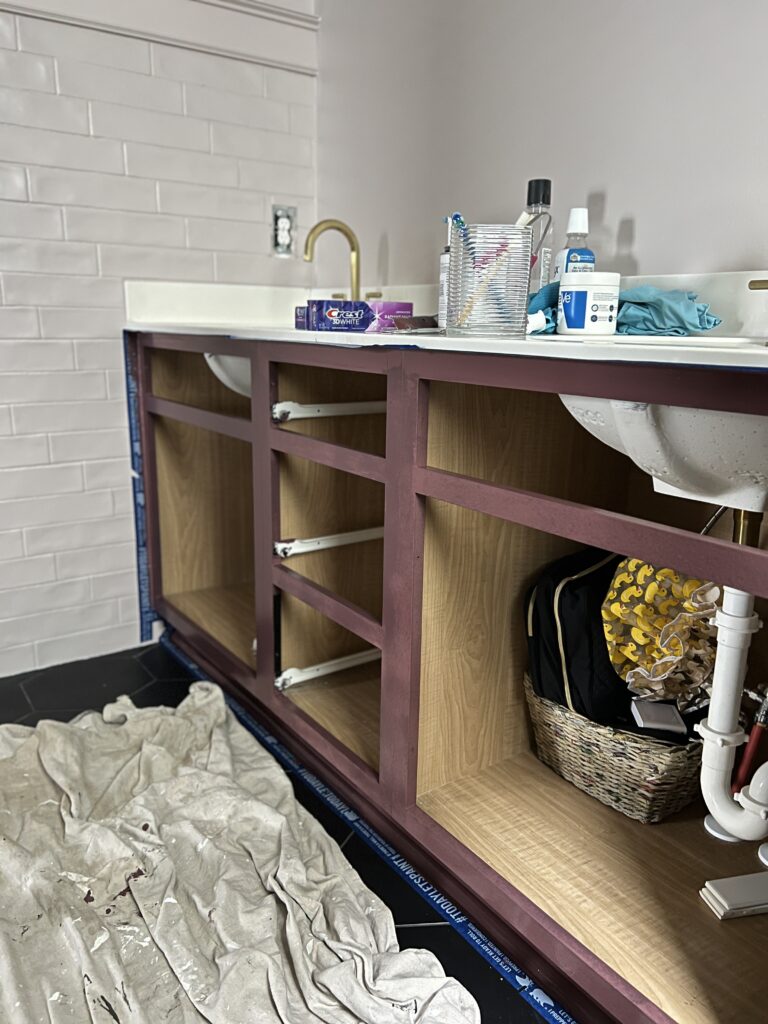
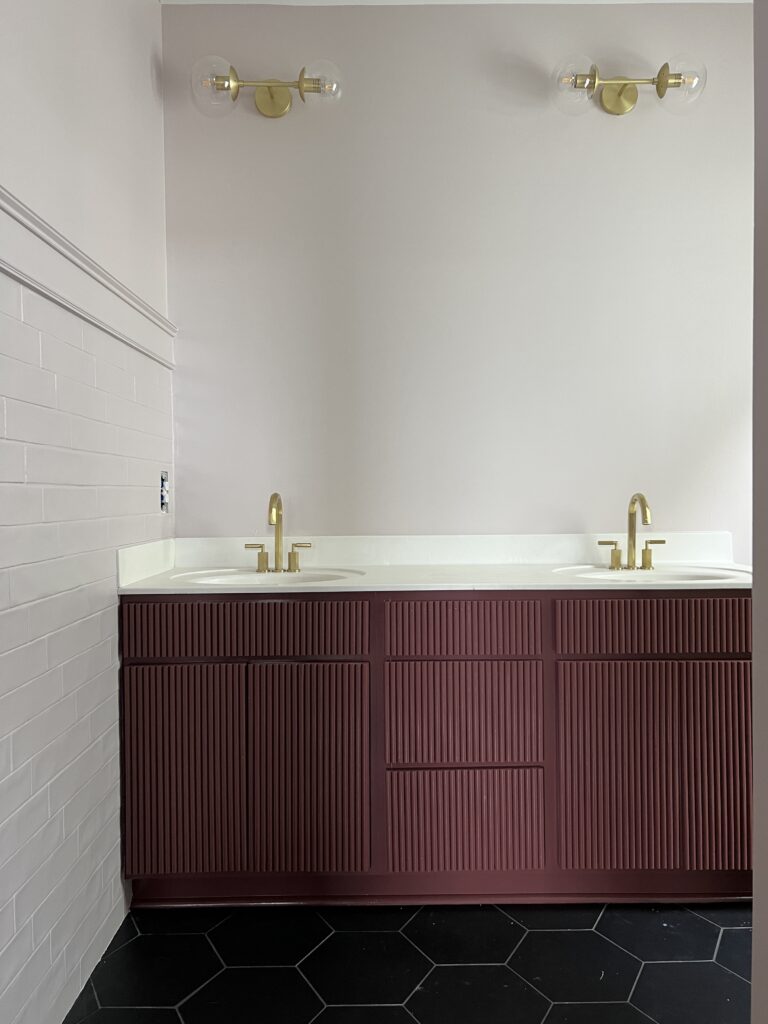
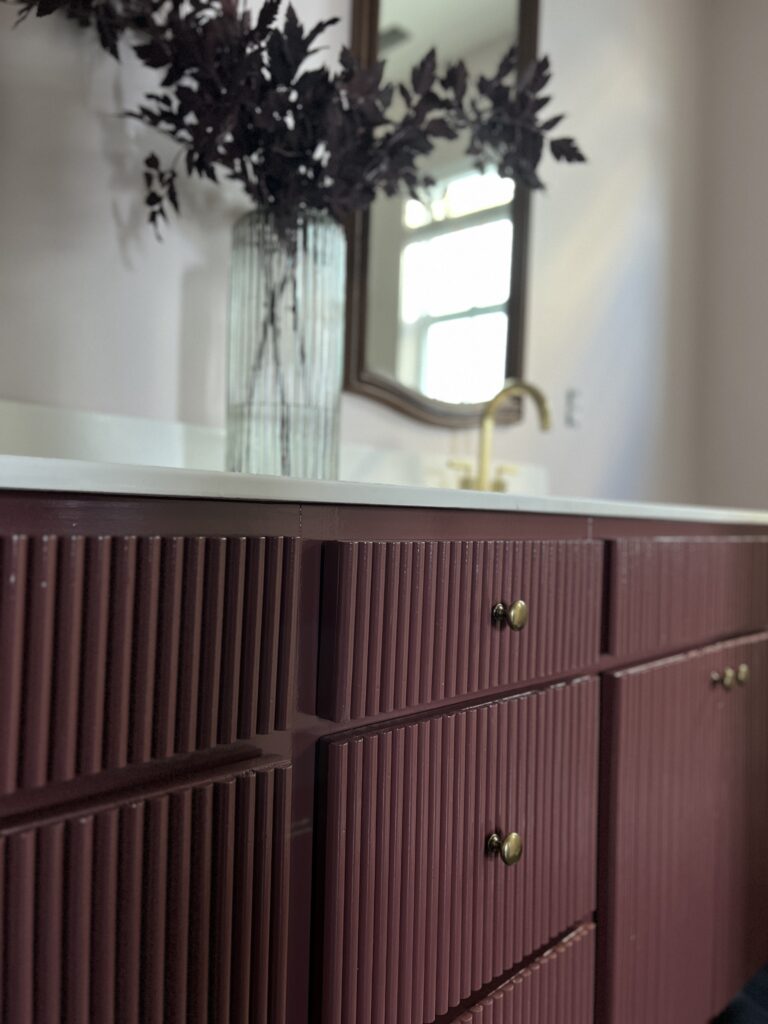
For my second bathroom vanity makeover, I went bold and paint our bathroom vanity this burgundy color!
This is our en suite bathroom and I just recently painted our entire bedroom burgundy. It’s one of my new favorite paint colors and I thought a burgundy bathroom vanity would really compliment the bedroom and the blush bathroom walls.

Prep work
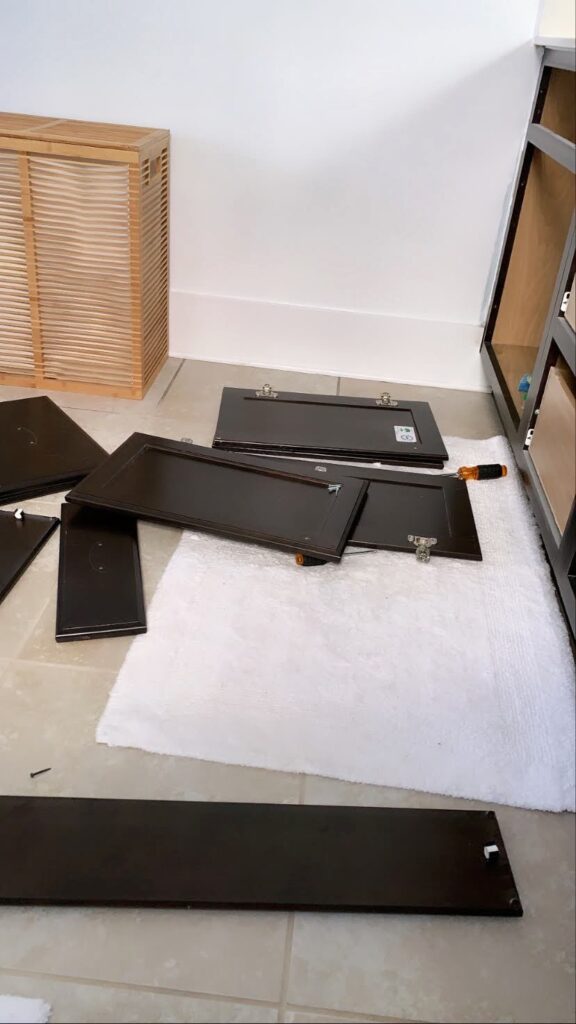
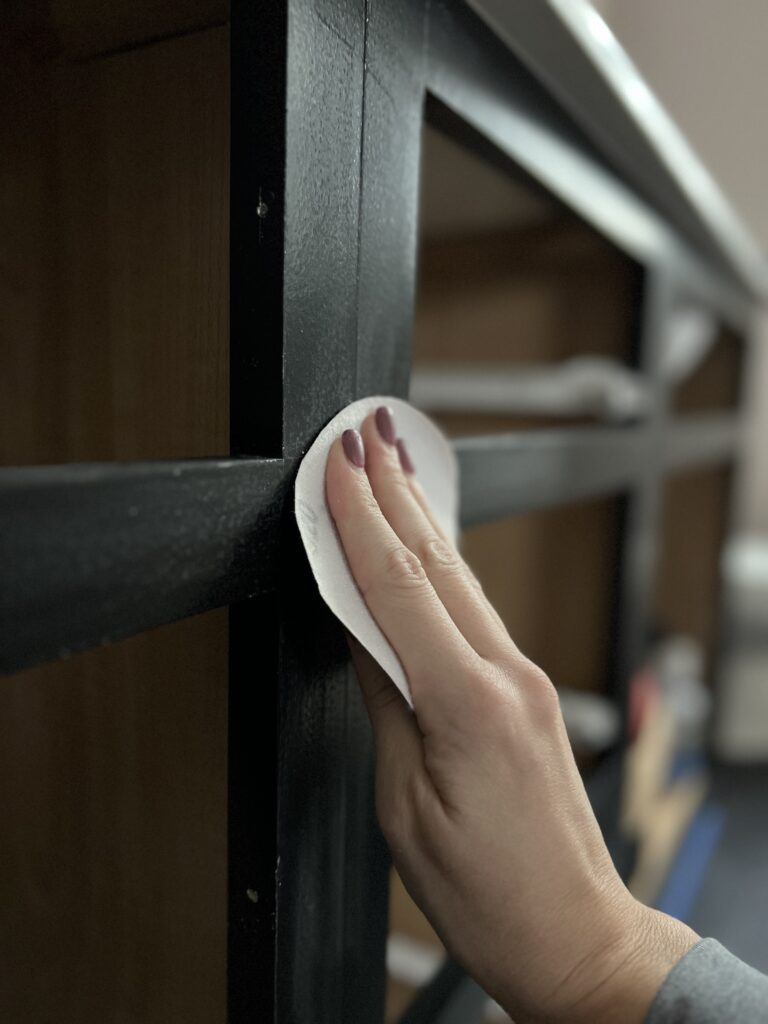
Before just jumping in and re-painting, I removed all the doors and drawer fronts again, gave the vanity a good cleaning, and sanded it with 220 grit sandpaper.
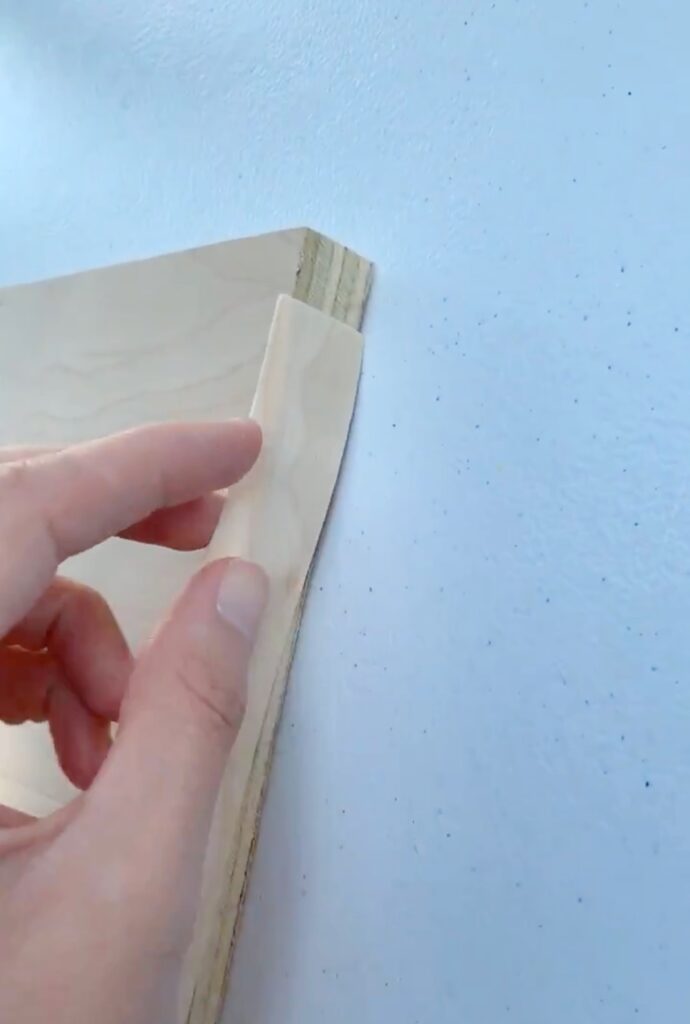
Since I decided to change out the hardware, I had to remove the trim that had holes in it from the previous gold pulls. I’m very thankful I didn’t use wood glue!
This was really simple to do. I scored each side of the trim, pulled up the piece I needed with a painter’s tool, clipped the brad nail with end nippers, and then used nail sets to push the nail down into the plywood. You can see what I mean in the video below!
In hindsight, I do wish I primed before re-painting. I thought I might be able to get away with it since the previous paint was in good condition, but I noticed some little scratches after.
Paint
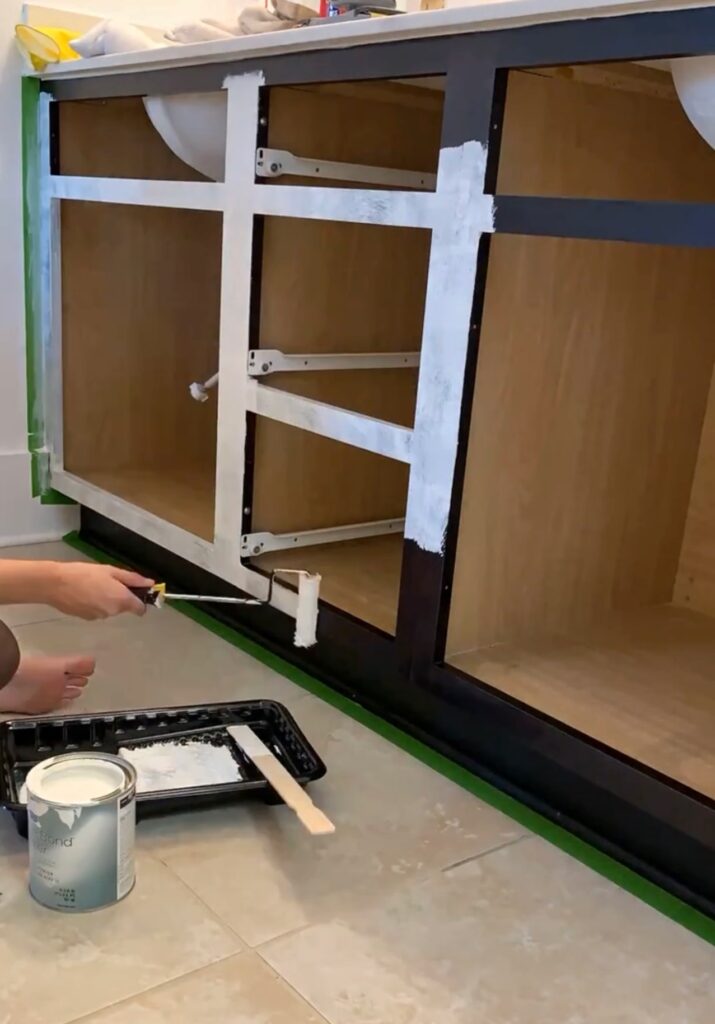
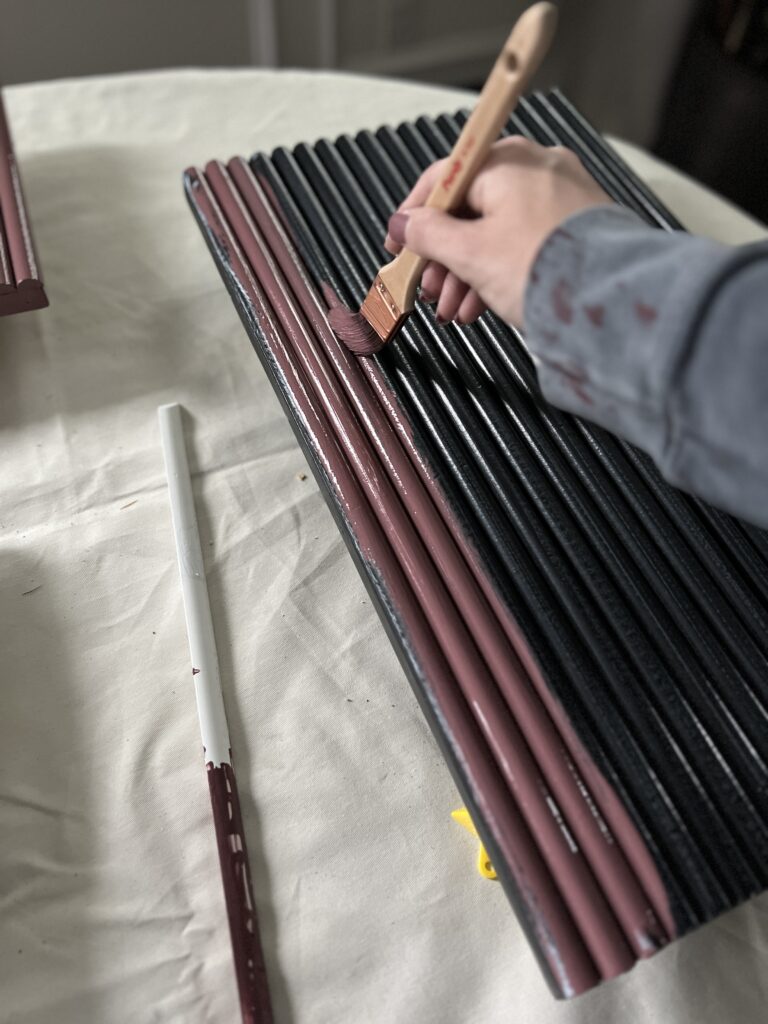
This time around, I decided to just paint by hand because I don’t have the best setup for spraying. Here’s how the vanity looked after the first coat of paint:
First I went in with a small angled brush to get all the creases and then I came back with my roller brush to smooth it all out.
For the burgundy bathroom vanity, I used Benjamin Moore’s advance paint in a semi-gloss finish.
I’m a huge fan of this paint too! It always produces a smooth finish. Just keep in mind there’s 16 hour re-coat time!
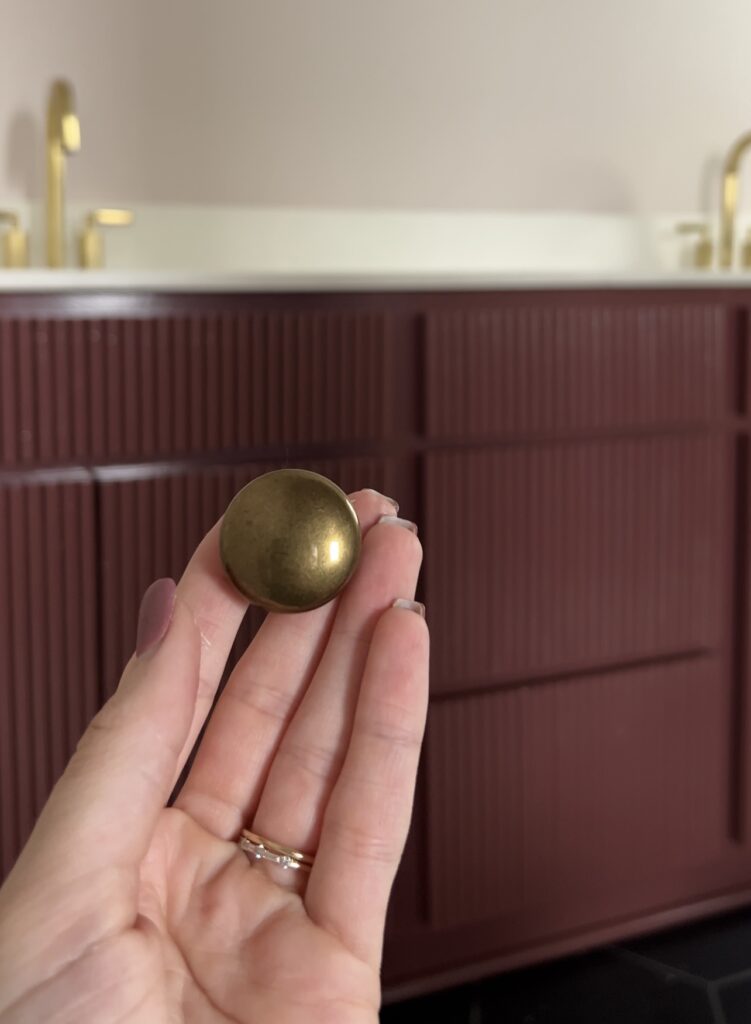
Installing the knobs
How pretty are these brass knobs?! They’re affordable, such great quality, and I love that they’re sold individually instead of a pack since I needed 7!
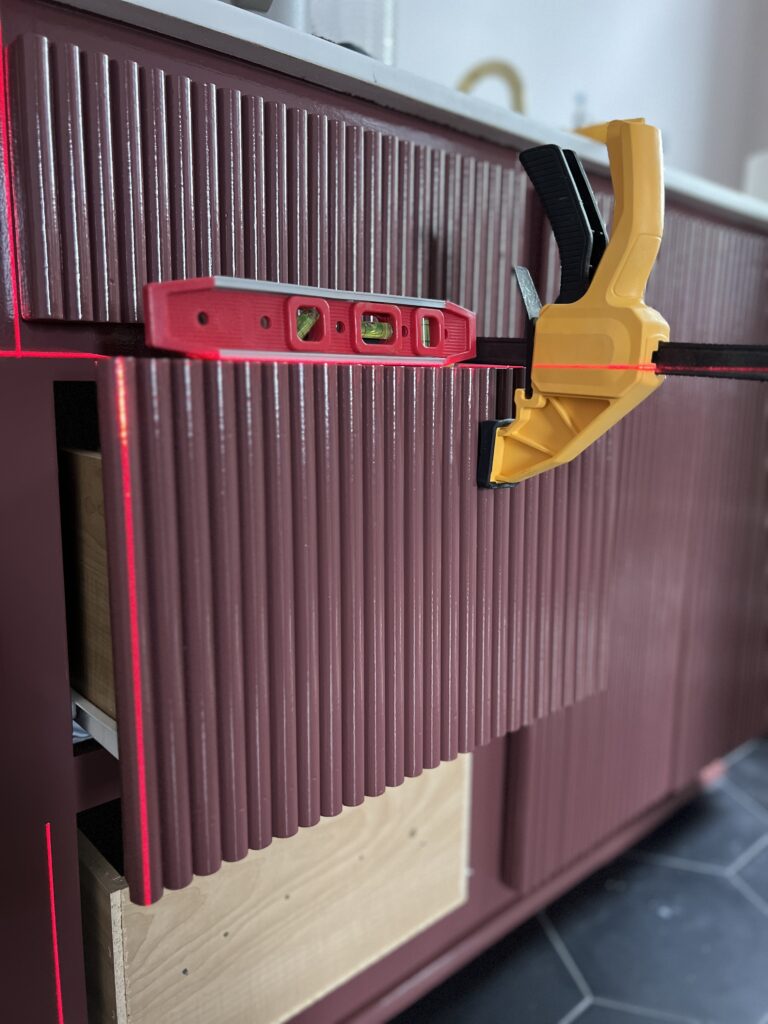
My laser level was incredibly helpful for installing both the drawer fronts and the knobs!!
Here’s a look at the inside of the drawer! So many holes LOL. This is the 3rd set of hardware this bathroom vanity got so thats why there’s so many!
Since the knob screws had to go through both the drawer boxes and the drawer fronts, I used a large drill bit on the inside and drilled in about 1/4″ so the screw could countersink far enough to extend beyond the drawer front about 1/4″!
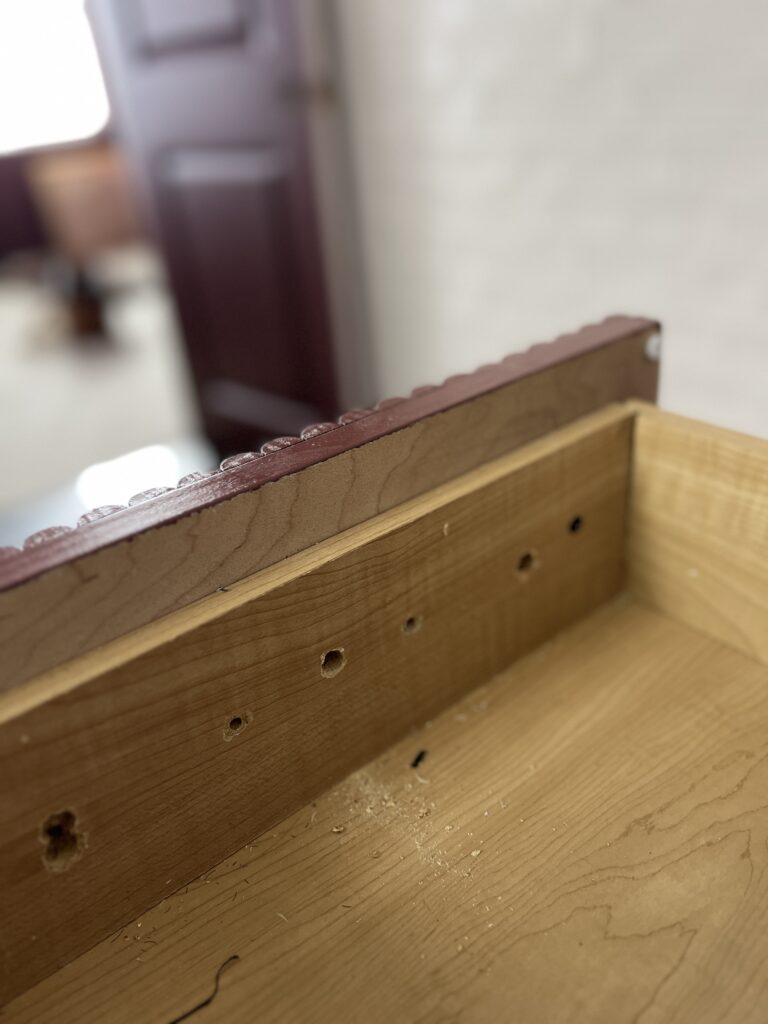
Then, from the outside, I used a drill bit the size of the screw and drilled all the way through to the inside of the cabinet. Again, using my laser level to make sure the holes are even.
Once you make your pilot hole, you simply screw in the knobs!

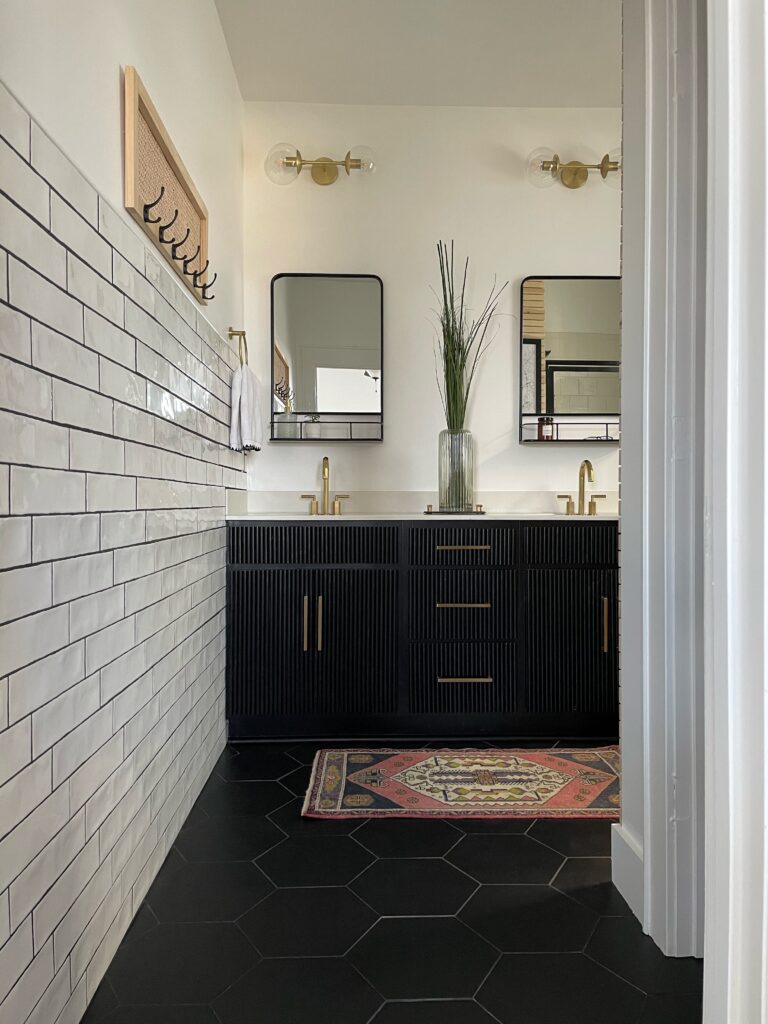
Burgundy Bathroom Vanity
How great are these new mirrors I found on Facebook Marketplace?! $50 for pair… I got so lucky!

Another impactful change of this bathroom vanity makeover was replacing the faucets with these affordable antique brass ones!

Click here to shop our en suite bathroom!
I’m completely swooning over the new look of our diy vanity makeover. It just feels more “me” now.
Hopefully this blog post was helpful and I inspired you to give your old bathroom vanity new life! Let me know if you have any questions!

What color did you use exactly?
I love it!
Hi Leticia! I love it too! It’s Benjamin Moore New London Burgundy!
Well done! So cool. 👍
Thank you so much Leslie!! 🙂