

This post is sponsored by Krylon. All opinions are my own.
Did your home come with an old brass chandelier that just doesn’t suit your aesthetic? Well before you get rid of it, you should consider trying this DIY brass chandelier makeover!
One of my biggest regrets when moving into our new house was making impulsive purchases because I was just anxious to make it feel like home. A better approach, in my opinion, is to be patient and intentional when choosing items for your home.
This doesn’t mean you can’t have fun in the meantime! Spray paint is such an easy way to breathe new life into your outdated chandelier… or just about anything for that matter! And the nice thing is, you don’t need a ton a money for this upgrade!
In these step-by-step instructions, i’ll show you how I gave this old chandelier a more modern look!
Disclaimer: This post contains affiliate links. This means, if you purchase something from a link I provided, I will receive a small commission. This is at no extra cost to you! Thank you so much for the support!
tools:
- Pliers
materials:
- Krylon Fusion All-In-One
- Krud Kutter
- Sanding Sponge
- Tack Cloth
- Chandelier Lamp Shades
- Woven Lamp Shades (too cute!!)
Brass Chandeliers
I’m sure we can all agree that chandeliers in general have long been a classic, elegant interior design luxury.
But styles and trends evolve and certain chandeliers, like the metallic look of a shiny brass chandelier, are considered outdated light fixtures.
Are brass chandeliers worth anything?
Brass chandeliers can have value if they’re high-quality or antique pieces. The age and craftsmanship play a big role in this! If you feel like your brass fixture might be worth something, i’d recommend researching further before painting it!
I found my brass chandelier on Facebook Marketplace for $25. It’s a very basic fixture that you might find in a builder grade home, but it’s a perfectly good chandelier that just needed a little love!
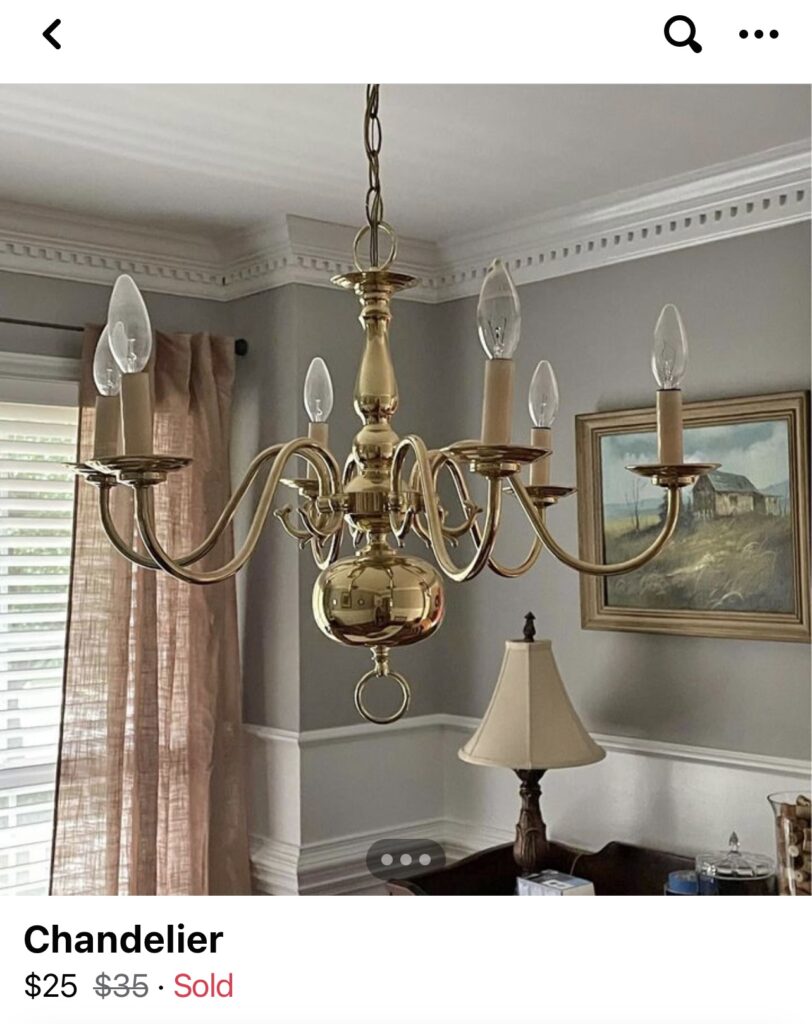
If you’re on the hunt for a fixture to makeover, I see brass chandeliers just like this all the time on Facebook marketplace! You can also check your local thrift store or flea market.
Are brass chandeliers in style?
Brass is definitely making a comeback in interior design. However, we’re not talking about the shiny brass from the 80s and 90s, but more of a brushed brass.
Chandeliers will never go out of style, but the finish does matter. If you like the shape of one, a makeover will help you give it a whole new look!
Can you spray paint a brass chandelier?
You absolutely can! You just have to follow the proper steps which i’ll share in this blog post!
How do you update a brass chandelier?
There’s many things you can do to update a brass chandelier, but the best option is spray paint!! A little goes a long way and i’ll prove that to you in this blog post!
You can also replace, paint, or add shades! If you want some extra bling, add glass crystals or beads. Even a small change like new bulbs will make a big difference!
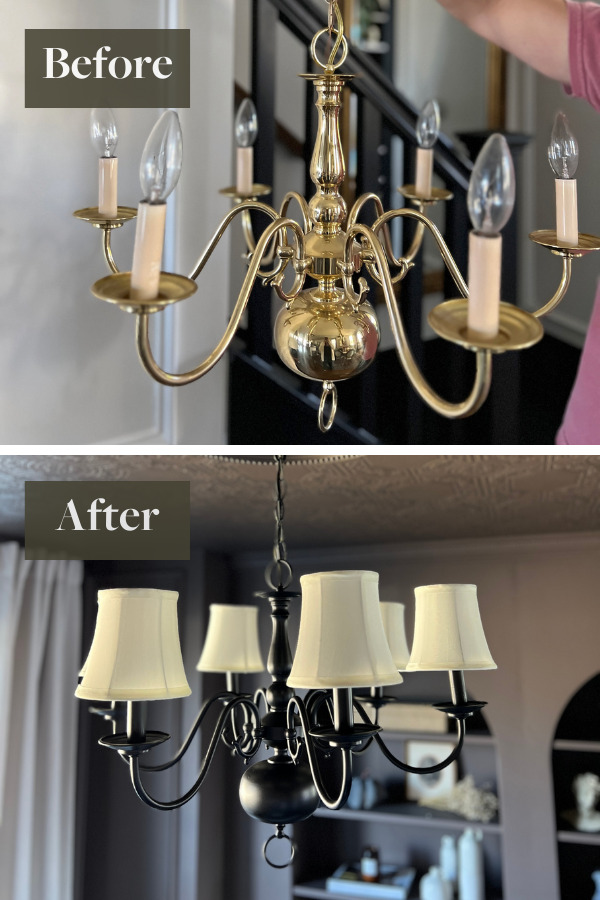
Chandelier Makeover Before + After
Step One: Make Adjustments
Can you adjust the length of a chandelier?
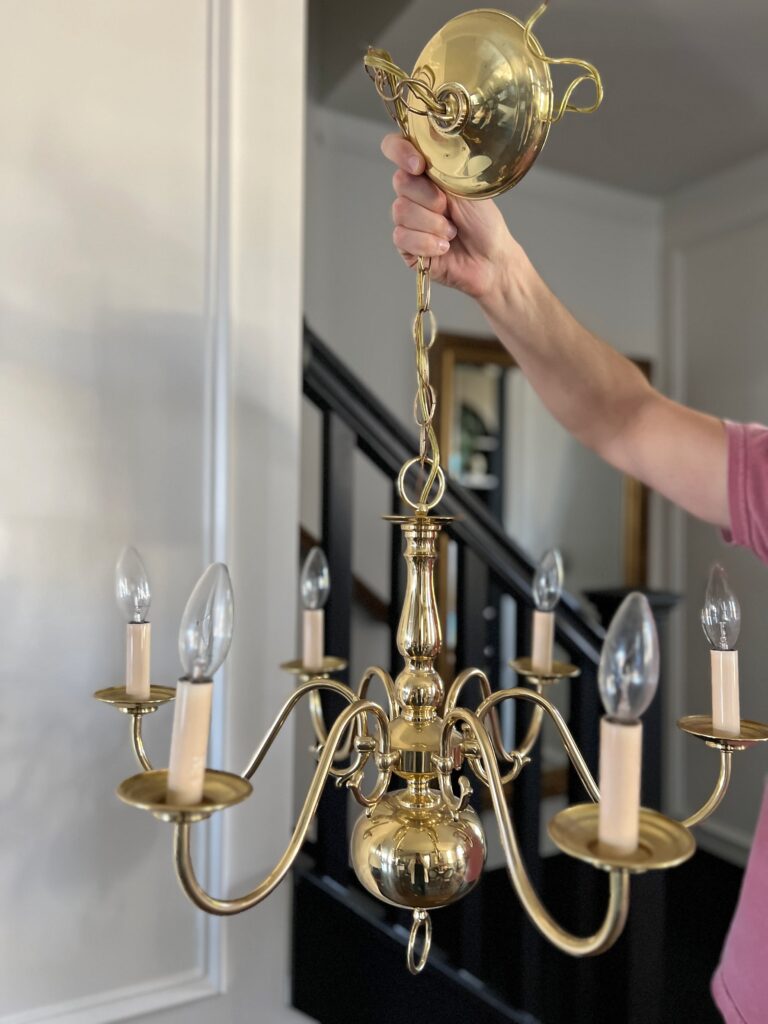
Yes, you definitely can! The first thing you need to do is hold up the chandelier to see how low you want it to hang.
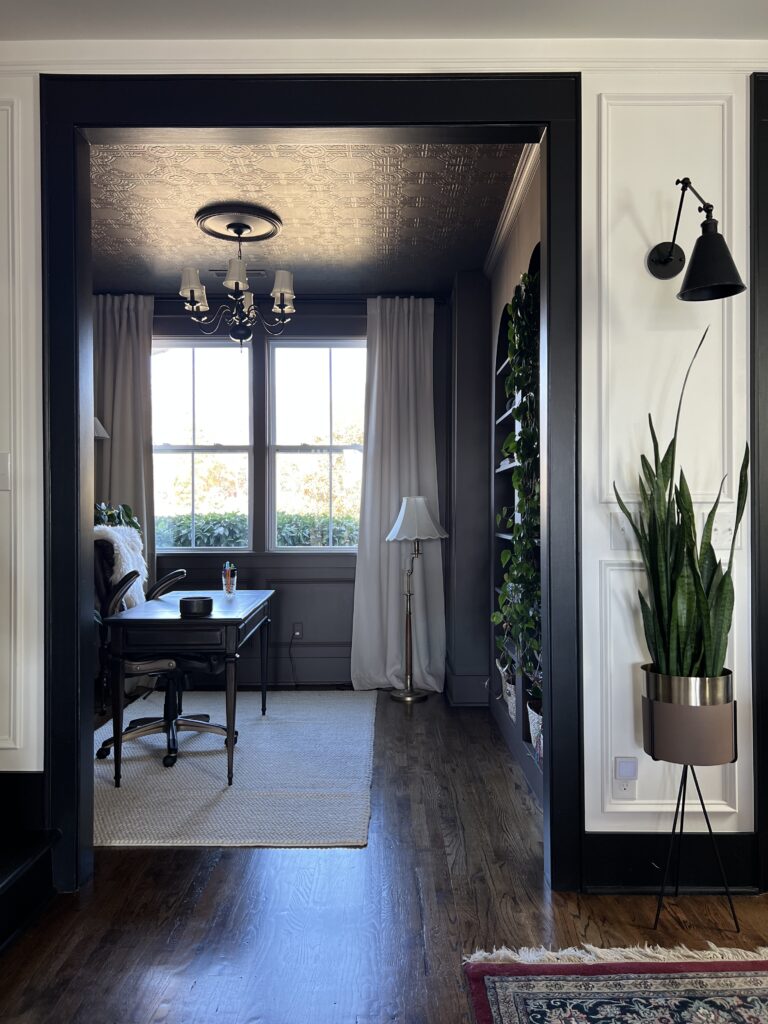
Our chandelier went in my office and it hovers over my desk area so we were able to have it a little lower since it’s not an area where we’re walking around.
For a living room, make sure the bottom of the chandelier isn’t hanging lower than 7ft. If it’s a dining room chandelier, make sure it’s about 36″ above your dining room table.
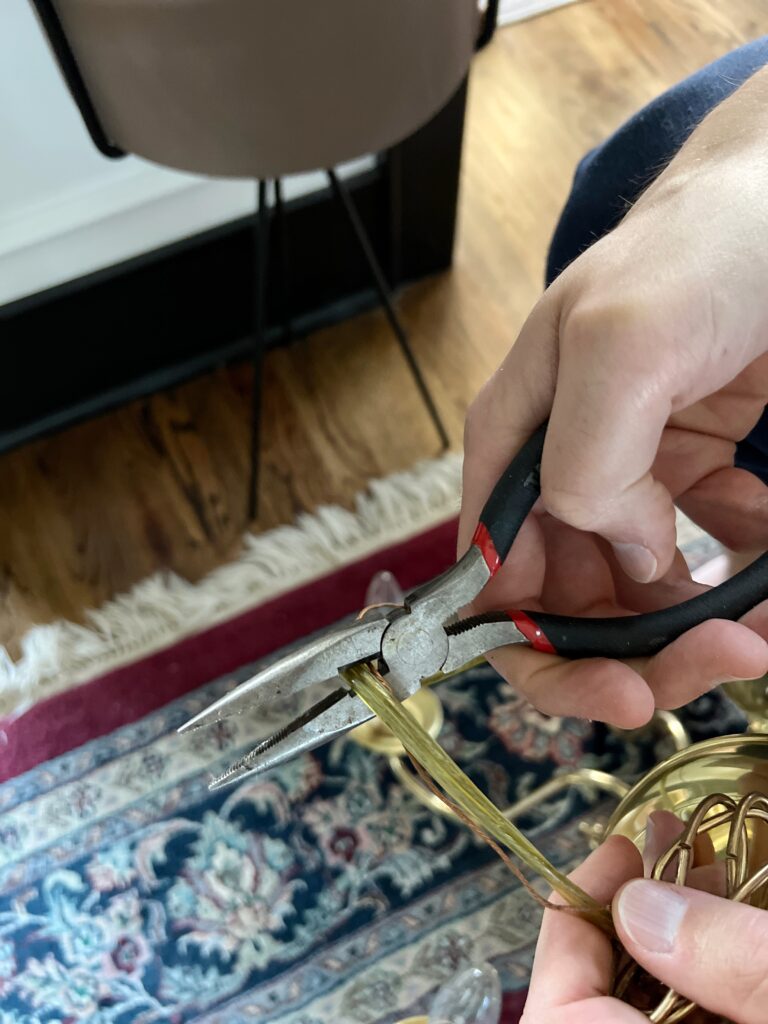
How to shorten a chandelier chain
Find the split in the chain and use a pair of pliers to separate the link! It’s that simple!
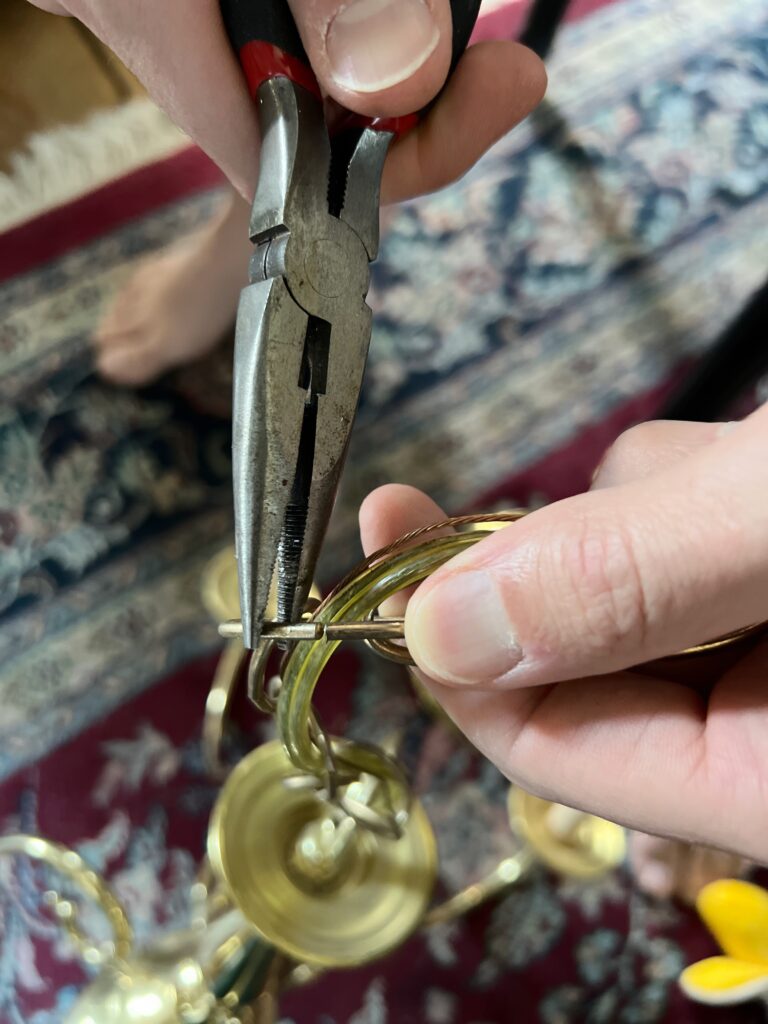
You’ll also need to cut the cord to the right size depending on how many chain links you removed. You can use the pliers for this part too!
If you need to lengthen your chandelier, you can purchase new chain links!
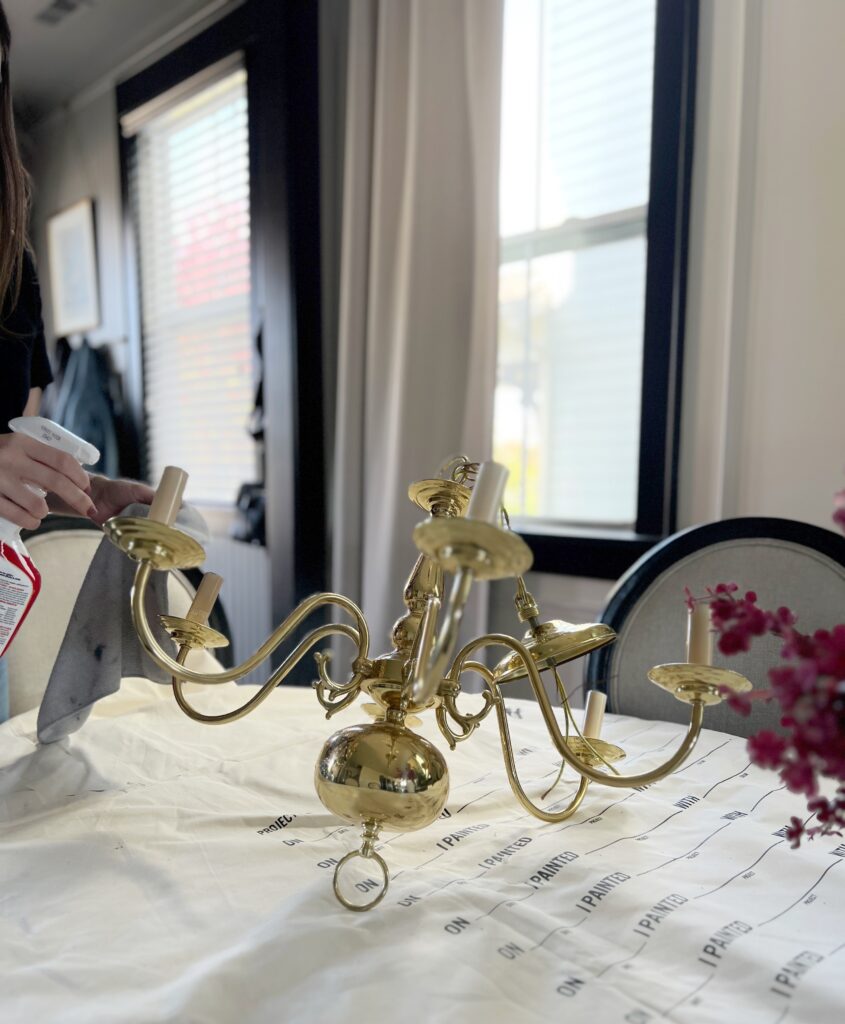
Step Two: Clean
Cleaning is an important part of the preparation process! Especially if you have a vintage chandelier that has been collecting dust for a long time!!
I always use krud kutter to clean before spray painting! Just be sure to use a drop cloth underneath because you don’t really want the chemicals getting everywhere! Apply the cleaner to an old rag or microfiber cloth so you can get into all the little areas.
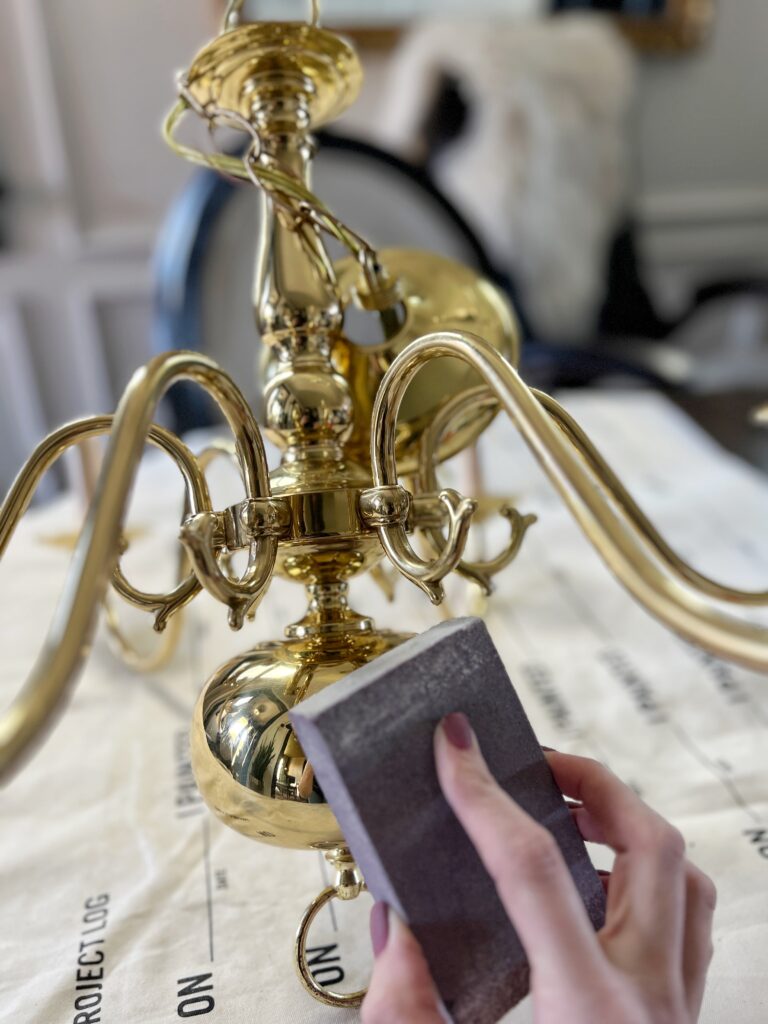
Step Three: Scuff Sand
The next step is to sand the surface. This will ensure good adhesion to the paint! All you need is a light sand with low to medium grit sandpaper.
I used a 220 grit sanding sponge and wiped away the dust with a tack cloth!
Step Four: Spray Paint
The best part!! Spray painting is always my favorite because it’s quick, easy, and you get instant results!
I decided to go with black for this chandelier makeover because we have black fixtures throughout our entire house and I just want to keep that consistent!
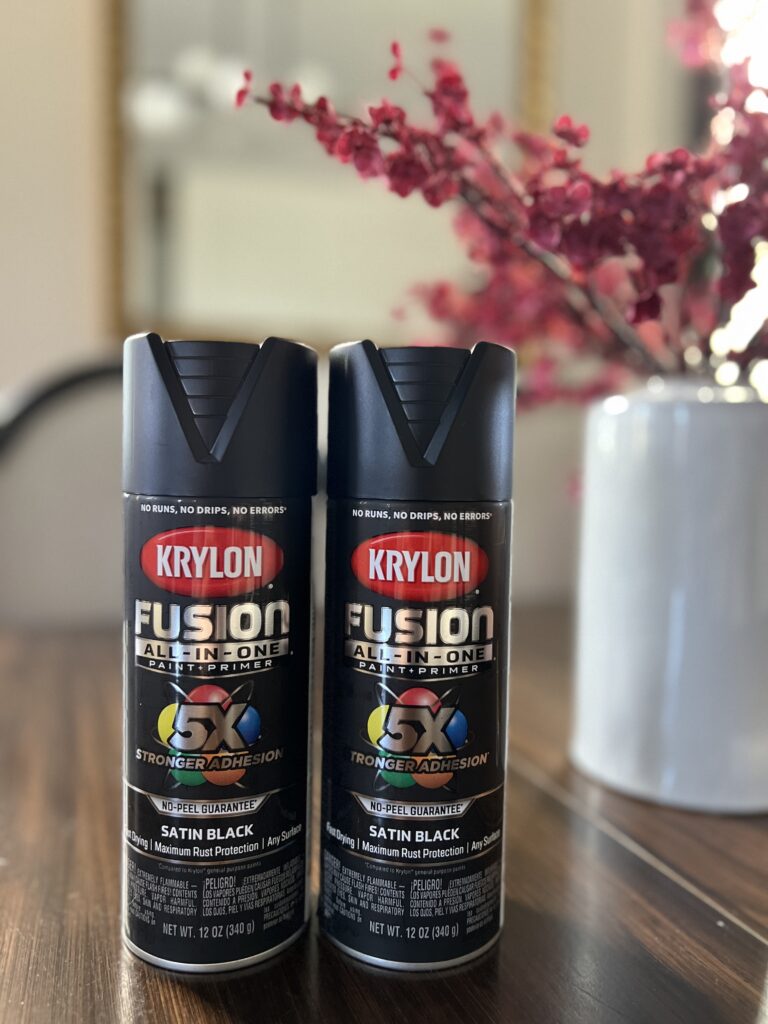
The best black spray paint
Krylon’s fusion all-in-one in black with a satin finish is a staple in our household. Fusion is the best! It has 5x stronger adhesion (compared to Krylon general purpose paints), it doesn’t require priming, and it’s meant for any surface!
You can also get this in flat black, matte black, or gloss black. I like the satin because it has the perfect amount of sheen to it.
Here’s a chair makeover I did using this color!
Tips for spray painting
- Always read the back label before spraying!
- Avoid spraying on a windy day!
- Shake the can well for 1-2 minutes and test before using
- Keep the can 10-12″ away from your project
- Use steady, sweeping motions
- Do multiple thin coats and wait 1 minute between coats
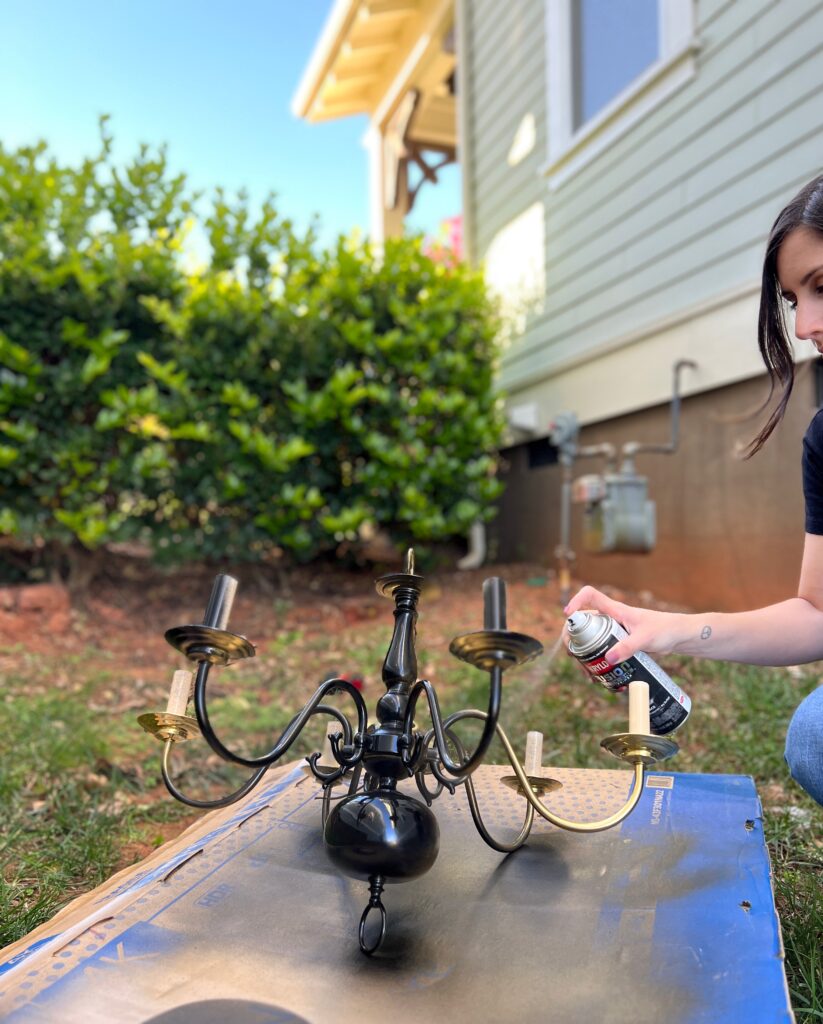
How to spray paint a brass chandelier
If you have somewhere you can hang your chandelier and paint it, that would be ideal! We don’t have a garage so I had to just lay it down and spray.
Using steady, sweeping motions cover as much area as you can on the first coat. Be careful to not get too close or hold the spray in place for too long or you’ll get drips. You can have a foam roller nearby to smooth those out in case that happens!
For the second coat, pick up the chandelier and rest it on its other side! Be diligent about getting underneath the candle cups and all around the chandelier arms.
It ended up taking 3 coats to get coverage for the entire chandelier since I had to keep shifting it. But luckily Krylon dries so fast! They also have a big spray button which is comfortable on your hands and allows you to apply it in any direction, even upside down!
I used less than one can of spray paint for the entire piece!
Note: I decided to also paint the candle sleeves black, but if you wanted to paint them another color, you can easily slide those off before painting!
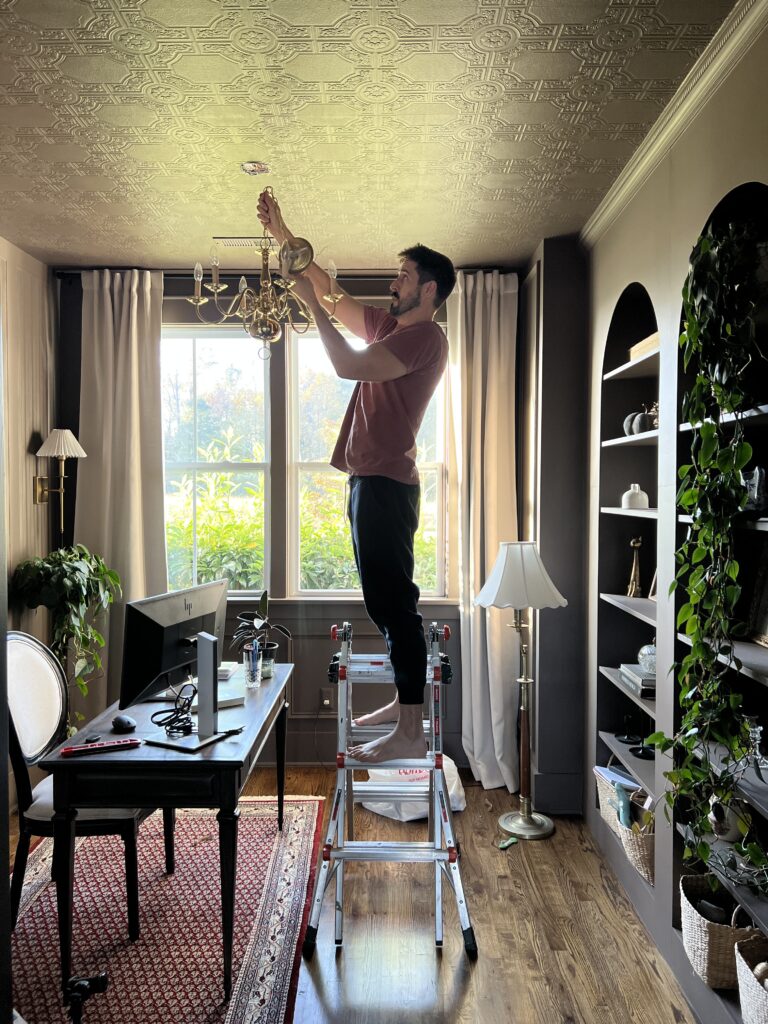
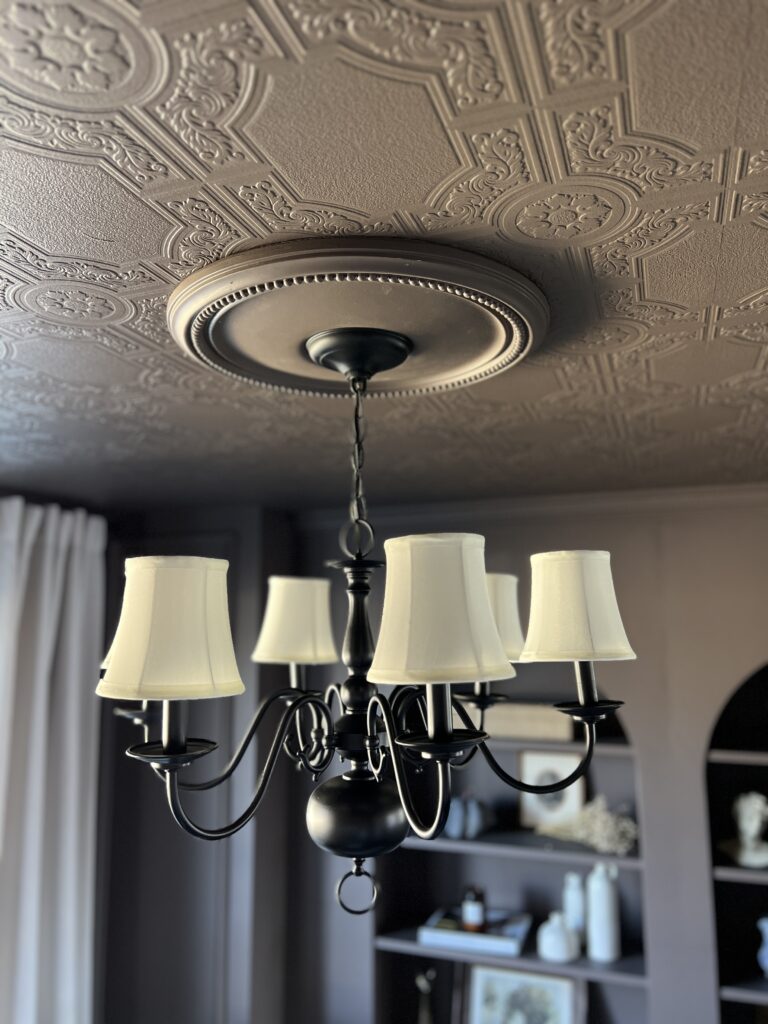
Step Five: Hang it up!
Ceiling medallions add so much character so we decided to also hang this up as a compliment to our new chandelier!!
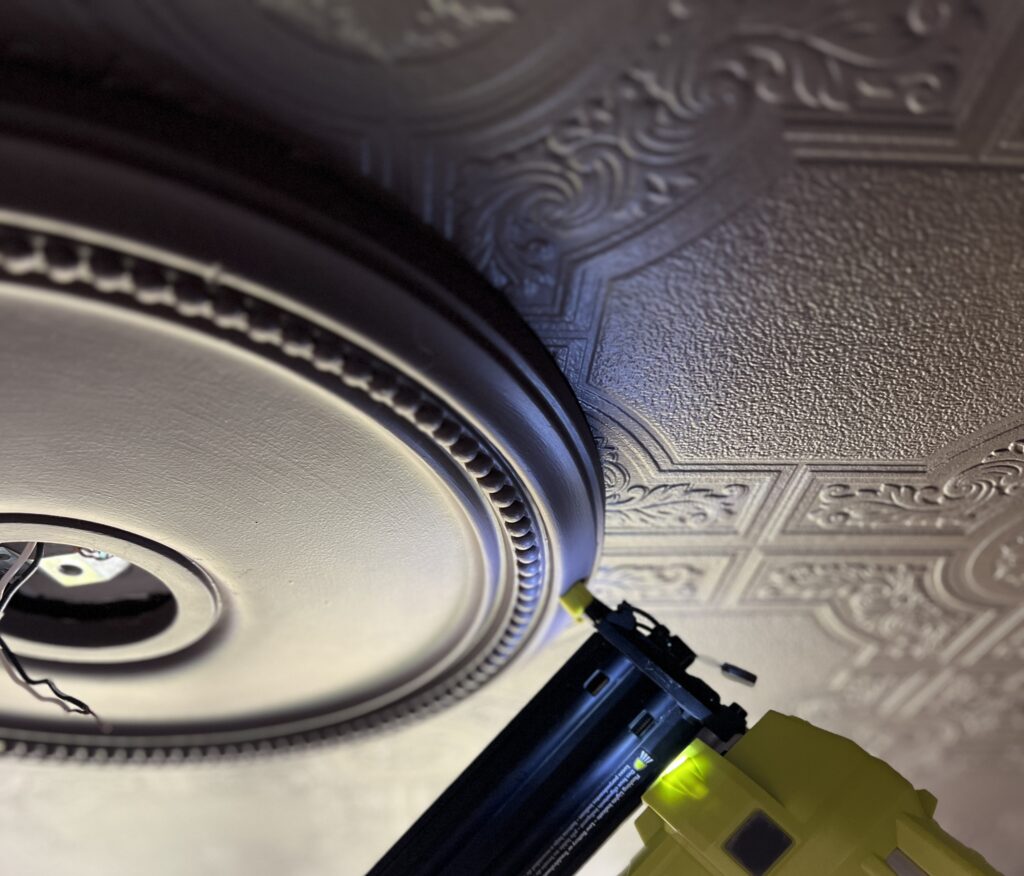
My husband handled the electrical wiring, and I wouldn’t feel comfortable sharing that process, but it’s fairly simple. He learned by watching youtube videos!!
If you liked the idea of a gold chandelier, but didn’t want the shiny brass, you can take this a step further and use some rub n’ buff to give it a more antique brass look. Check out this example here!
Step Six: Add Shades (Optional)
The perfect finishing touch to this DIY brass chandelier makeover is adding these adorable little shades!
It is an extra cost, but worth it in my opinion! Shades do a great job of diffusing light from the bulbs. It makes the lighting much cozier!
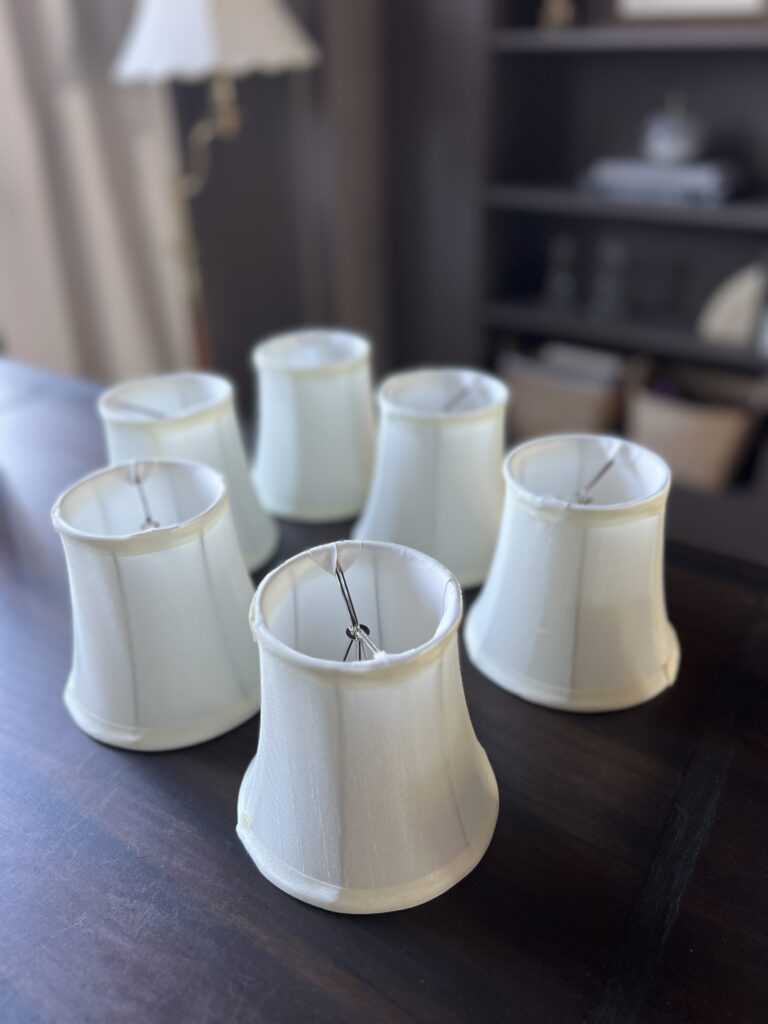
These cute little shades are so easy to put on! They just clip right over your lightbulbs. They come in all sorts of colors and styles to fit your aesthetic! Check out these cute woven shades!!

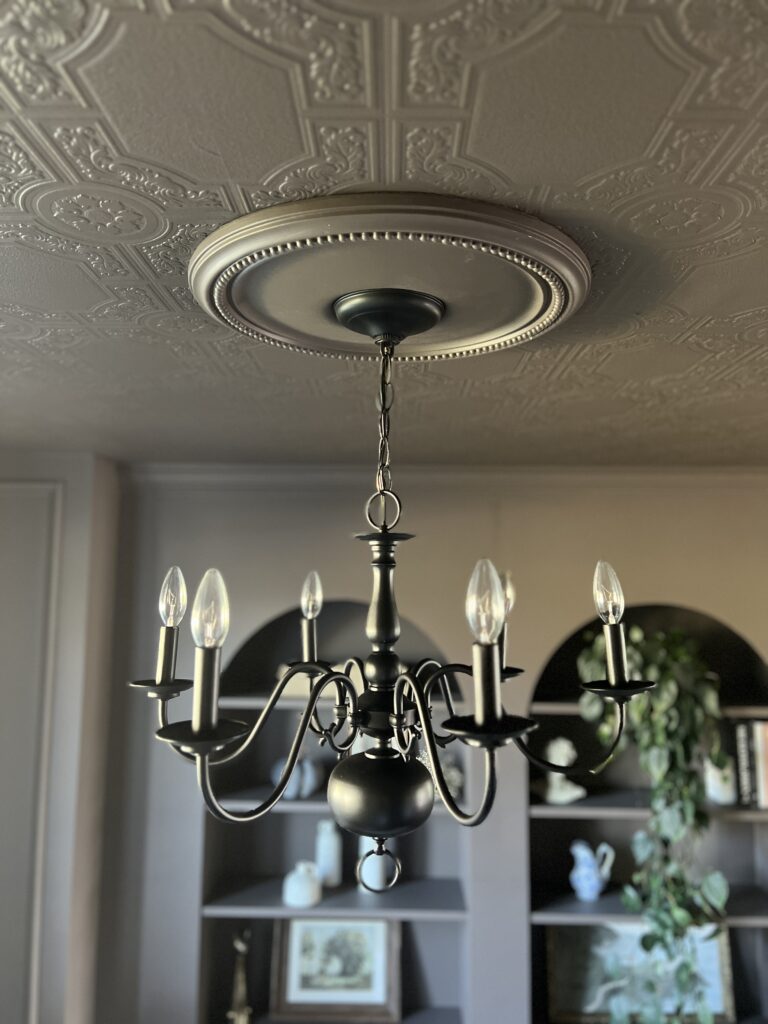
What do you guys think of the final look?!?
Full disclosure- my original plan was to just buy a new chandelier, but I’m so glad I decided on this light fixture update instead. I saved so much money and there’s something very satisfying about a thrifty makeover!


This whole project was done in one day. A small amount of time, money, and effort went into making this old light look brand new.
I hope i’ve convinced you that it’s a great idea to give your outdated light fixture new life before going out and buying a new one! Cheers!
