

This post is sponsored by Minwax. All opinions are my own.
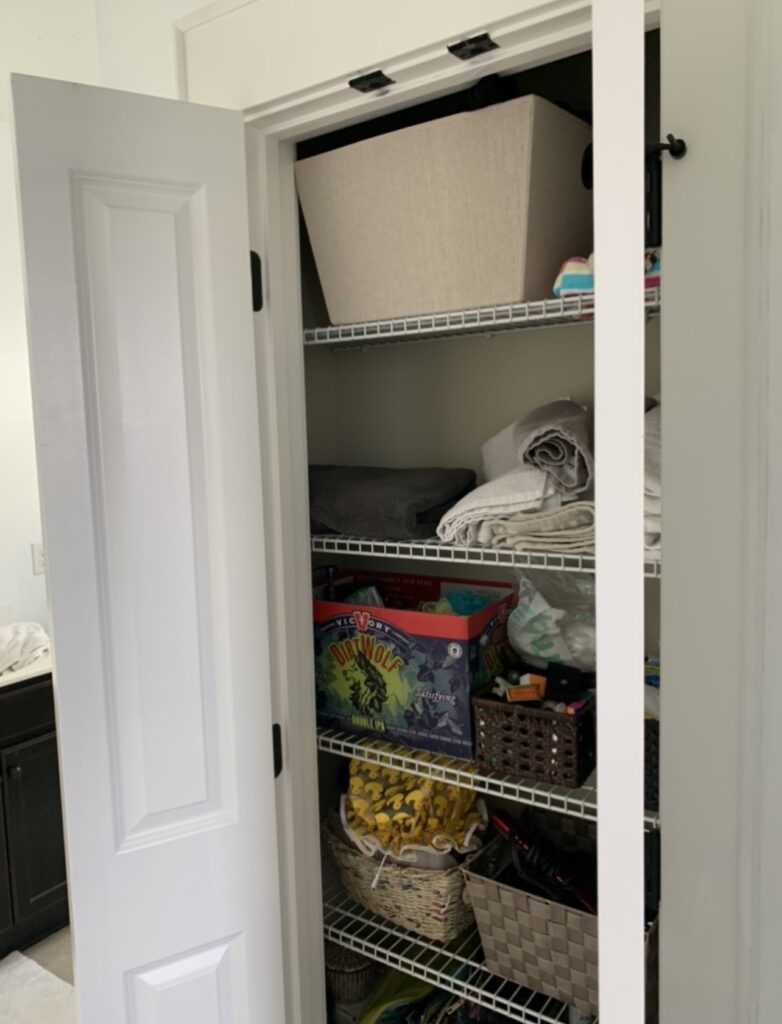
DIY wire shelf covers are the perfect solution for dealing with the ugly wire shelving that many of us have in our linen closet, laundry room, or pantry! I don’t know about you, but I can’t stand when small items slip through the wire cracks!
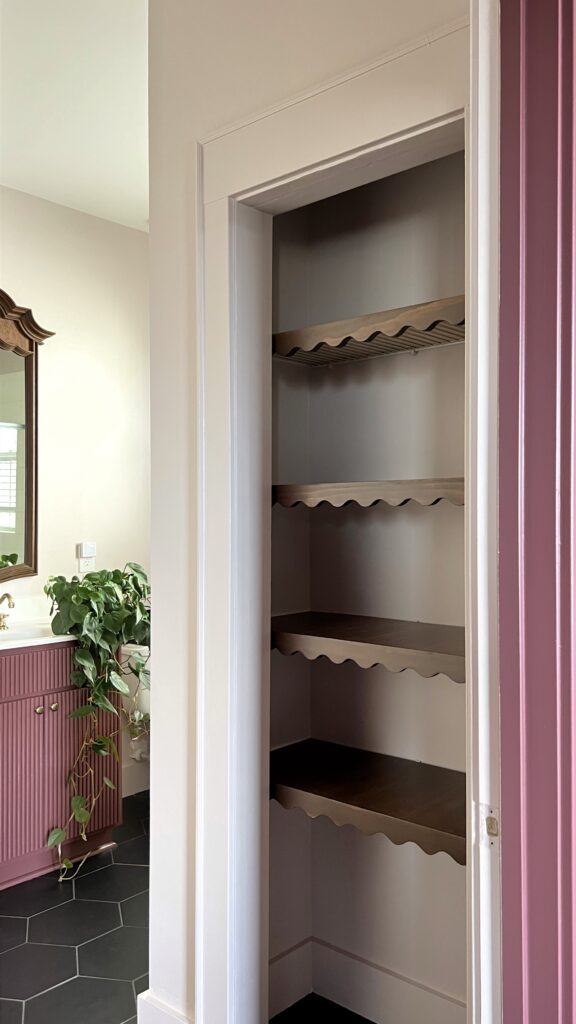
It was actually in 2020 that I made these wood shelf covers for the closet in our bathroom. They held up great, but as my style evolved, I wanted a darker wood tone so I decided to give my original shelf covers a little makeover using Minwax stain and a fun scallop detail!
This is such a simple project! And if you’re looking for a good step-by-step tutorial for DIY wire shelf covers, you’re in the right place!!
Disclaimer: This post contains affiliate links. This means, if you purchase something from a link I provided, I will receive a small commission. This is at no extra cost to you! Thank you so much for the support!
tools:
- Measuring tape
- Brad Nailer
- Table Saw (or Circular Saw)
- Sander
- Miter Saw
- Jigsaw
- Jigsaw Fine Finish Blades
- Drill
- Sanding Drum Kit
materials:
- Bulletin Board Border
- Sandpaper
- 1/4″ Plywood
- 1×3 Pine Boards
- Wood Glue
- Sanding Sponge
- Paint Brush
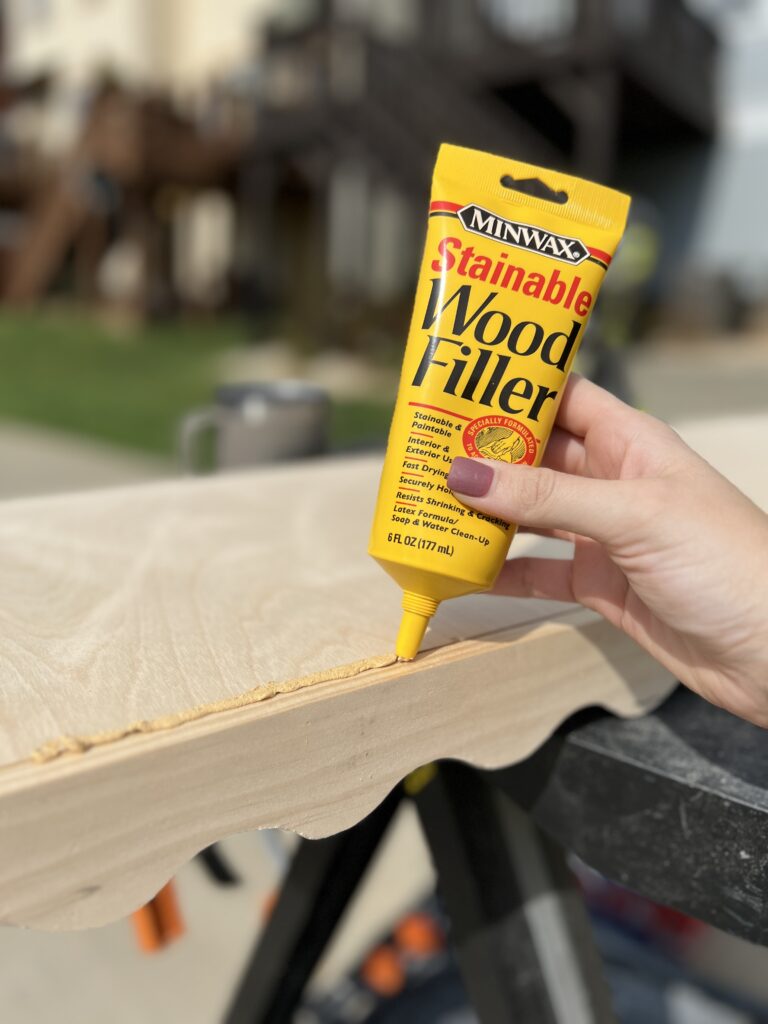
- Minwax Stainable Wood Filler
- Minwax Water Based Pre-Stain Wood Conditioner
- Minwax Water Based Solid Stain
- Minwax Polycrylic Satin
Step One: Plan and Prep
How to measure for DIY wire shelf covers
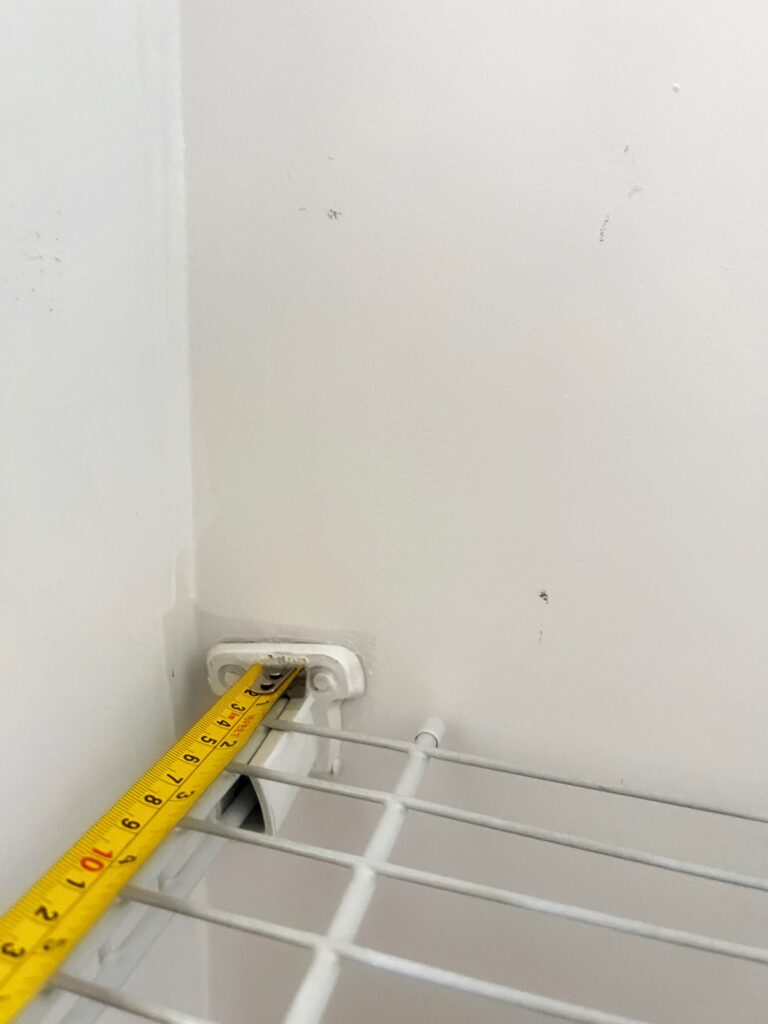
The first step is to measure!! It’s important to take into account the wire shelving hardware in order to get the correct dimensions for your DIY shelf covers.
When I measured, I made sure to butt the measuring tape up against the brackets otherwise the top of the shelf wouldn’t be able to sit flat.
Make sure you have enough room… we didn’t!
The linen closet in our bathroom is very tight. When I was measuring for the shelves I realized there actually might not be enough room to fit the lip (front piece) of the wire shelf covers. Sure enough… there wasn’t!
In order for the shelf covers to fit, I had to remove a piece of trim from the frame on the inside of the closet. You would never be able to tell unless you stuck your head way inside the closet.
Make your cut list!
I’m sure your closet will be different, but I made 4 wooden shelf covers that measured to be 39″ x 12 3/8″. One sheet of 1/4 inch plywood and two 1×3 boards were more than enough for me!
If your closet has angles, check out this blog post tutorial!
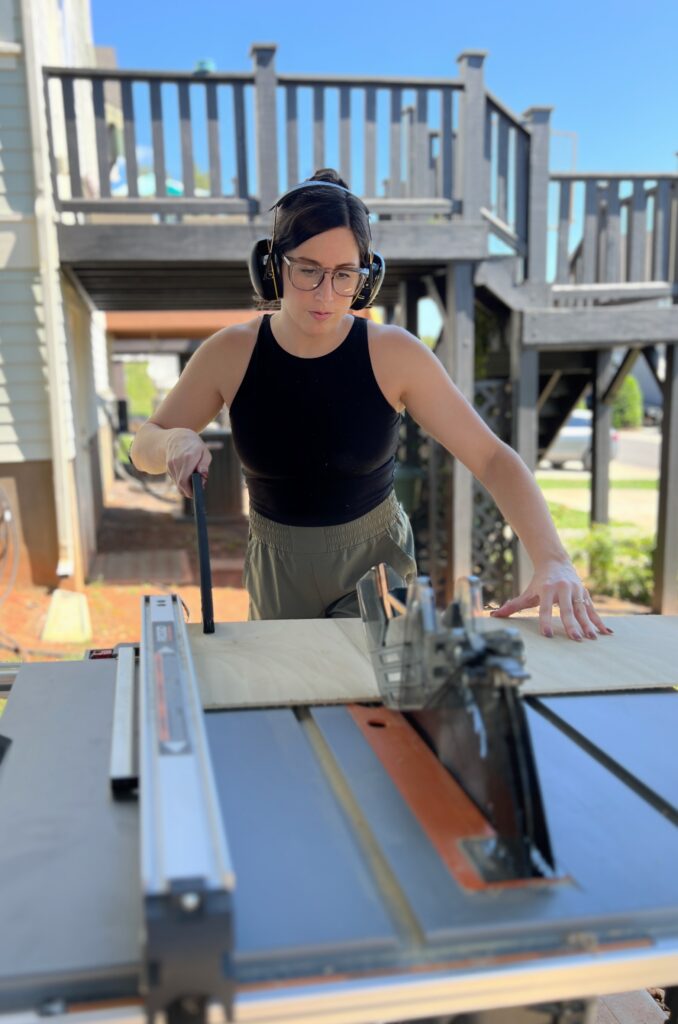
Step Two: Make Your Cuts
The 1/4″ plywood will be the wood overlay and can be cut using a table saw (you could also use a circular saw on a foam board)! I used my table saw and ripped it down to my 12 3/8″ width. After that, I cut it to the 39″ length.
Note: If you don’t have the right power tools to rip down your plywood at home, see if your local Home Depot or Lowes will do that step for you!
Pro tip: when cutting plywood against the grain, use painter’s tape where your cut will be to prevent tearing! You can see what I mean in this blog post.
For the pine boards, you can simply cut them to size with a miter saw!
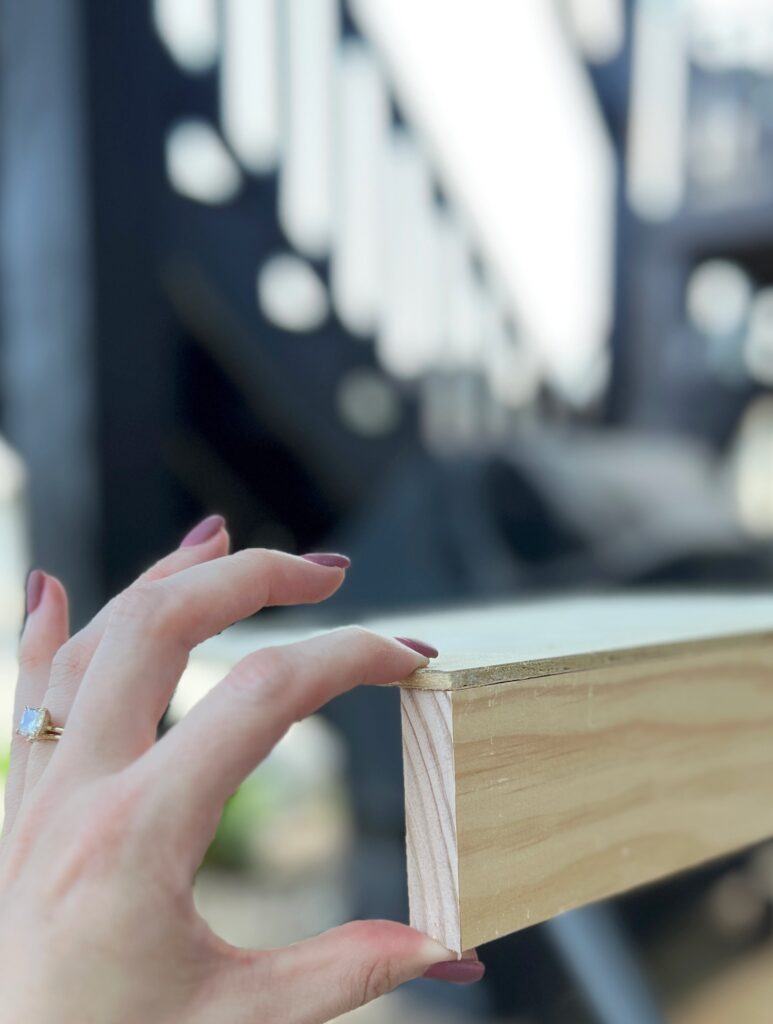
Step Three: Make a Rabbet Joint
Don’t worry… I just recently learned this term. A rabbet joint is a recessed groove cut into wood!
With these wood shelf covers, the goal is to have somewhere for the plywood piece to rest! You have a few options for this part:
Use a router
This would be the best and easiest option! But not everyone has a router! Because of this I can’t tell you exactly what bit to use, but if you have a router I’m assuming this would be a very simple and basic cut to make.
Use a table saw
This is the method I used and I’m not going to lie, it took a little bit of trial and error to figure out. I’ll show you what ended up working for me!
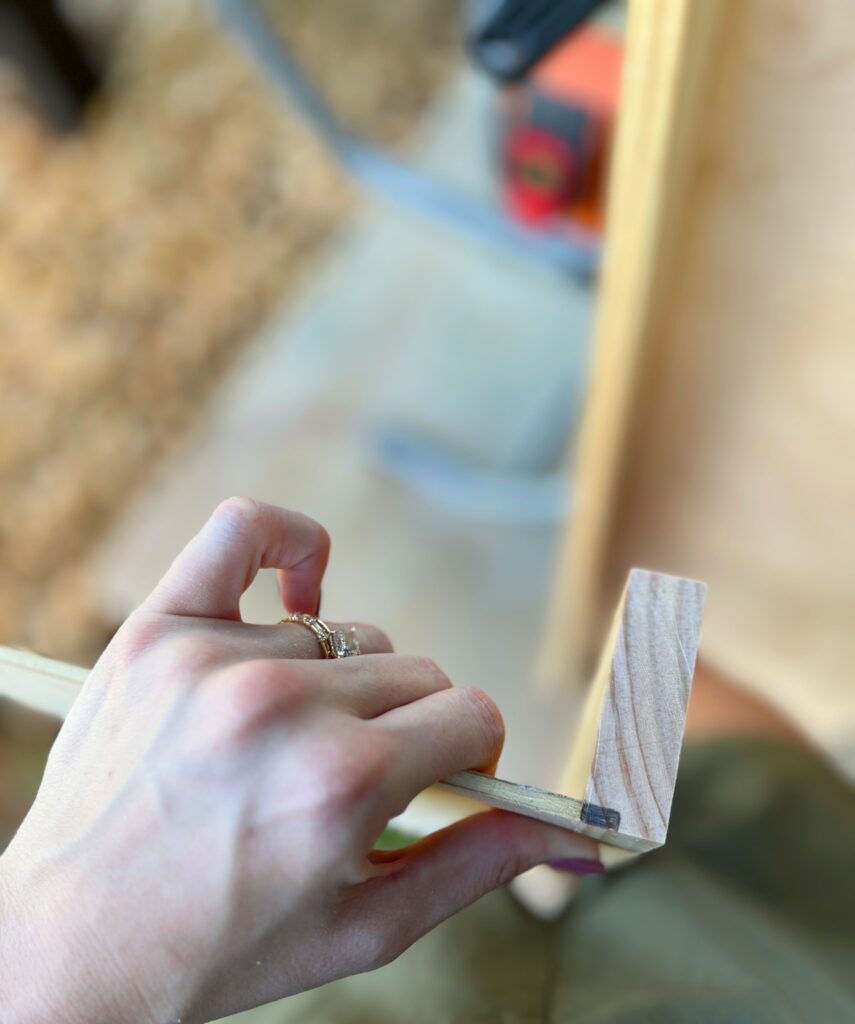
The first thing I did was use a scrap piece of plywood to help draw the notch that I need to cut out of the pine board.
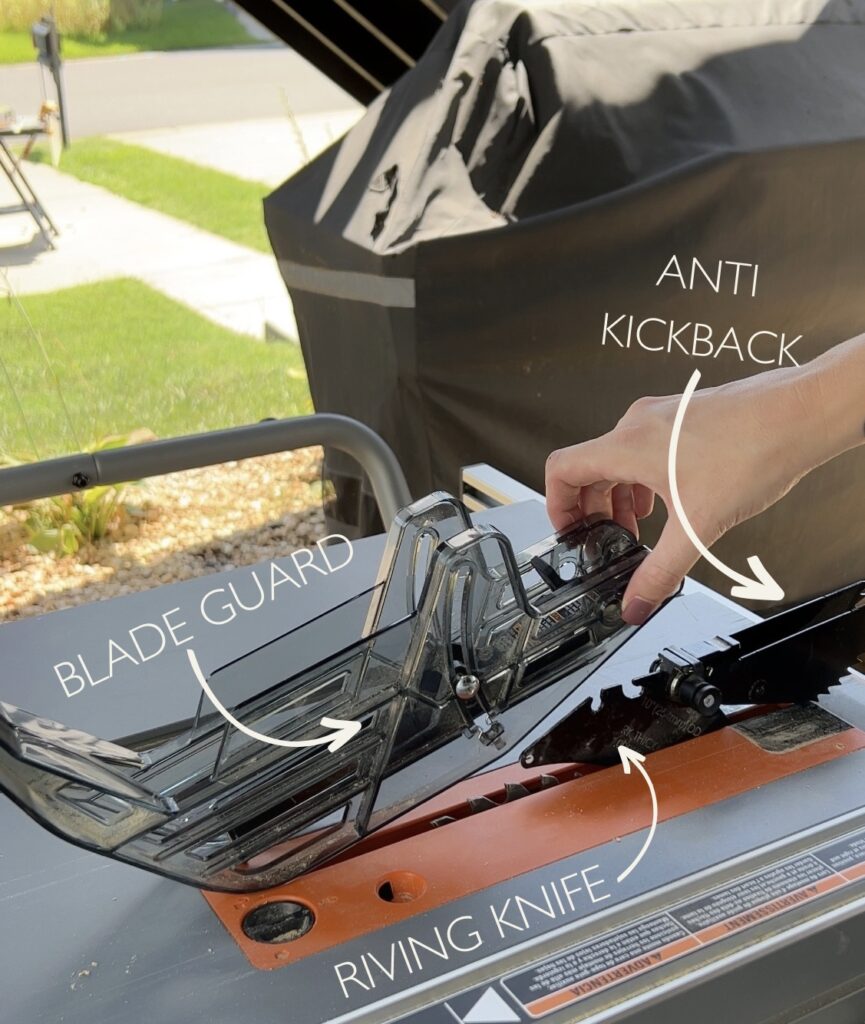
Once you draw your notch, you’re going to set up your table saw properly. Before making any adjustments, make sure it’s unplugged!!!
You’re going to want only the blade for this. I had to remove the blade guard, the anti-kickback, and the riveting knife in order for this to work! (Your table saw might not have all 3 of these parts)
Let’s be real, I pulled out the manual for this 🙂
After this, you’ll need to adjust your blade to the proper height! If you look at the left photo in the collage below, you can see how I lined the blade up exactly with the height of my notch.


Once the blade height is set, adjust the rip fence so that the blade is cutting right to the edge of the notch like you see in the right photo.
This is your first cut and afterwards you’ll have something that looks like this:
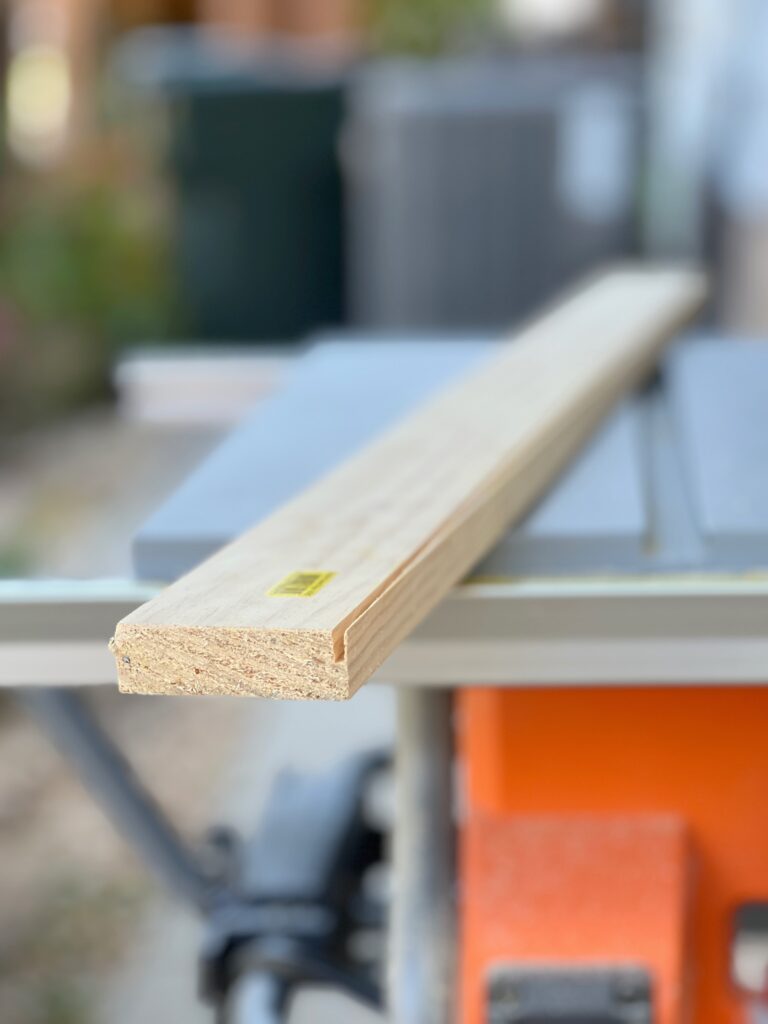
You’re going to make one more cut, but this time your board is going to be vertical.
I completely forgot to get a photo of this part, but here’s the video I learned this method from!

Avoid it entirely
You don’t have to make a rabbet joint and I do not blame you whatsoever if you don’t! It’s your DIY project!
Here’s an idea of how it would look if not! You would just use some wood glue and nail the plywood from the top down into the front piece. It won’t be as seamless of a look, but it’s still an option!
Step Four: Scalloped Trim (Optional)
You can totally skip this step, but I personally love a scalloped detail so I wanted to try it out!!
Trace the pattern
I decided on this bulletin board border as my pattern for the scallops! It was the exact scale and look I was going for, but you could also do a true scallop edge like this one!
I’m pretty sure you can find these borders at the Dollar Tree too!
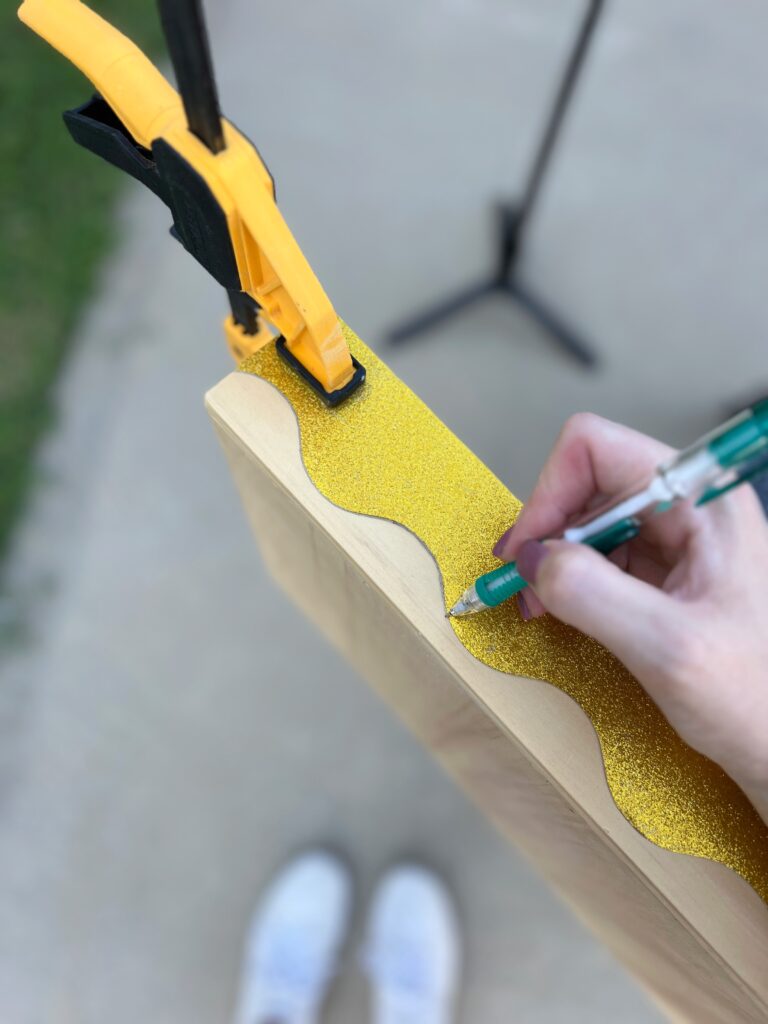
This is embarrassing but of course in the photo I took for this post I traced the border upside down. Don’t worry I realized before I cut anything!
Cut the scalloped edges
One of the first things I would recommend is practicing the wavy cuts on a scrap piece because… let’s just say my first board was so bad I ended up re-doing it!
My biggest advice when using the jigsaw is to go slow and don’t feel like you have to do a continuous line. I tend to follow the line for a while and then cut off a chunk if that makes sense!
Also- the blade is incredibly important. These are the ones I recommend for this! They’re very affordable and make all the difference.
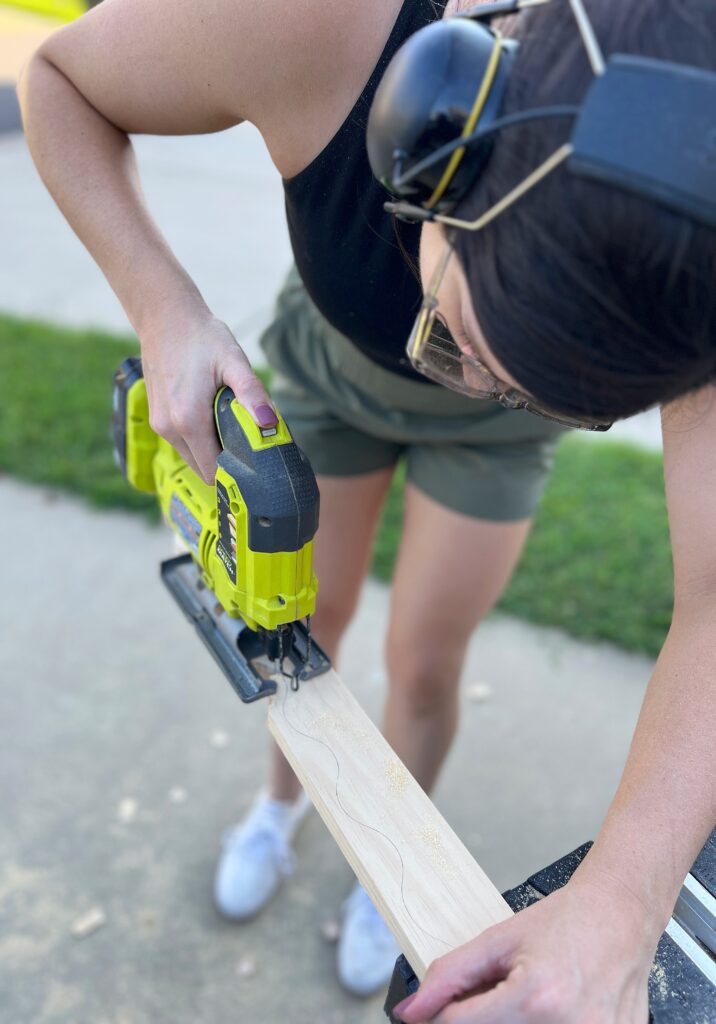
And don’t go thinking I did a perfect job with this, because I definitely didn’t. That’s what sanding is for!
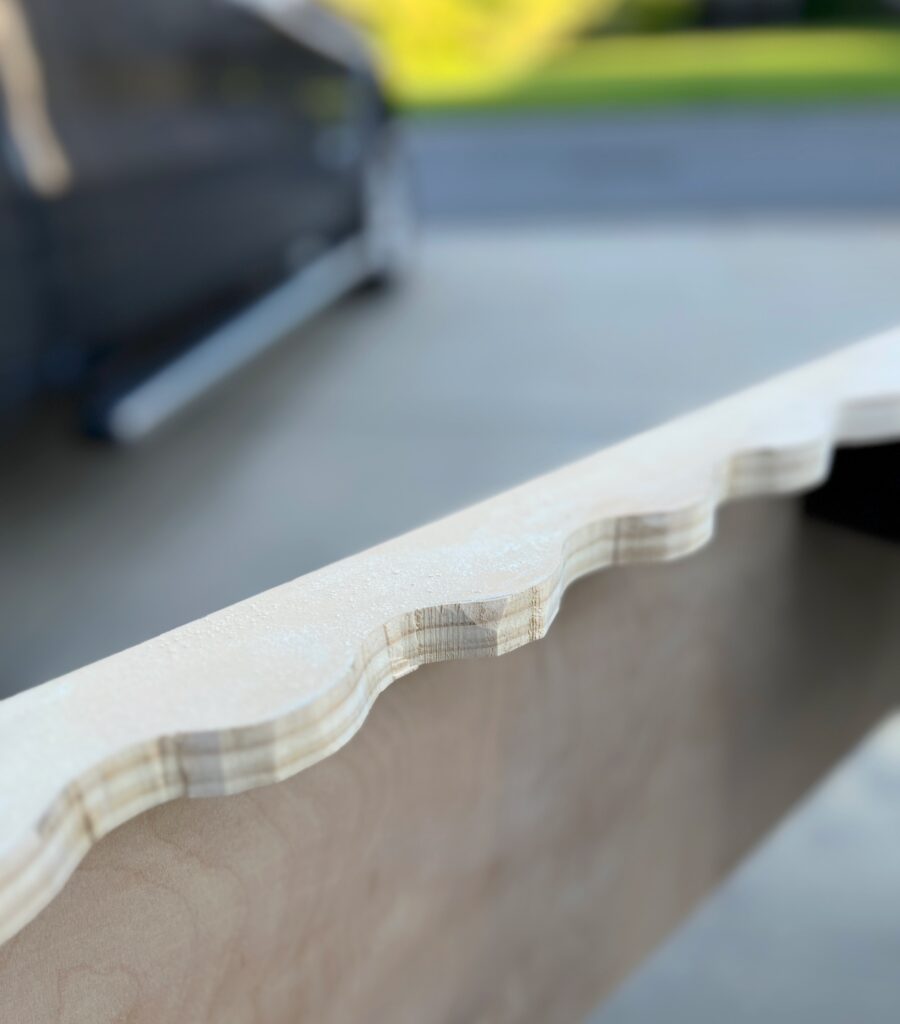
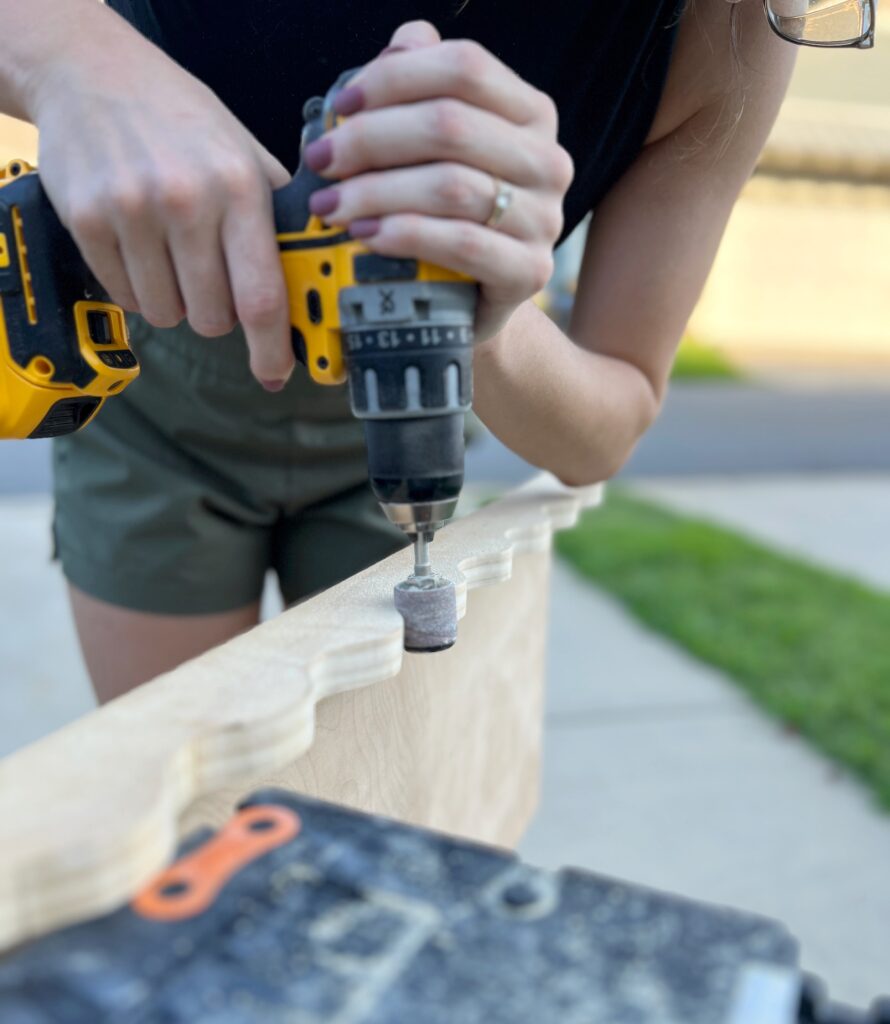
Sanding the scalloped trim
If you’re anything like me, your scallops aren’t perfect and will need a good sanding! I’m really not sure how I would have done this part without using this sanding drum kit for my drill!
It was my first time using this attachment and it definitely won’t be the last! (These would work great for furniture flips!)
Just a note: when I was reading through reviews on the sanding drum kit, a lot of people complained that the sandpaper was falling off, but they probably just didn’t read the directions. You have to the tighten the hex nut!!
Step Five: Assembling the Shelf Covers
This part is easy!! Add a bead of wood glue on the “ledge” of your front piece.
Prop the plywood up with some scrap wood or something so it can just rest once you set it on the glue.
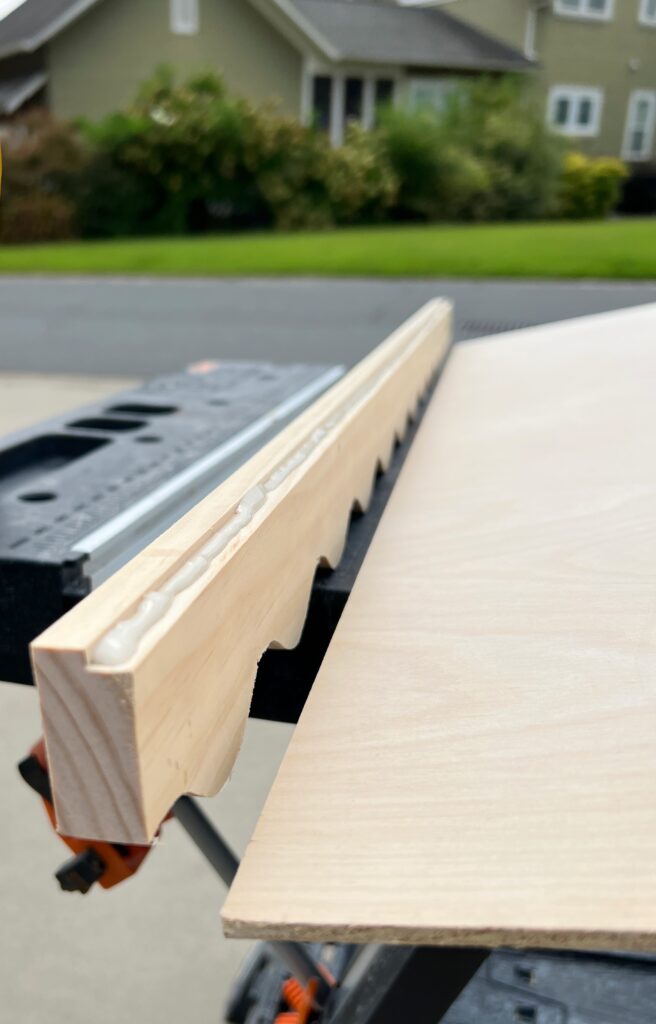
Secure with a nail gun and 1″ brad nails. You’ll need to nail really close to the edge of the plywood to make sure it goes into the front piece.
My brad nailer has a little symbol indicating where the nail comes out. That came in super handy for this project!

Lastly, fill the seam and the nail holes with Minwax’s stainable wood filler!
Step Six: Stain
Whenever I have to stain anything, I always follow Minwax’s three-step process!
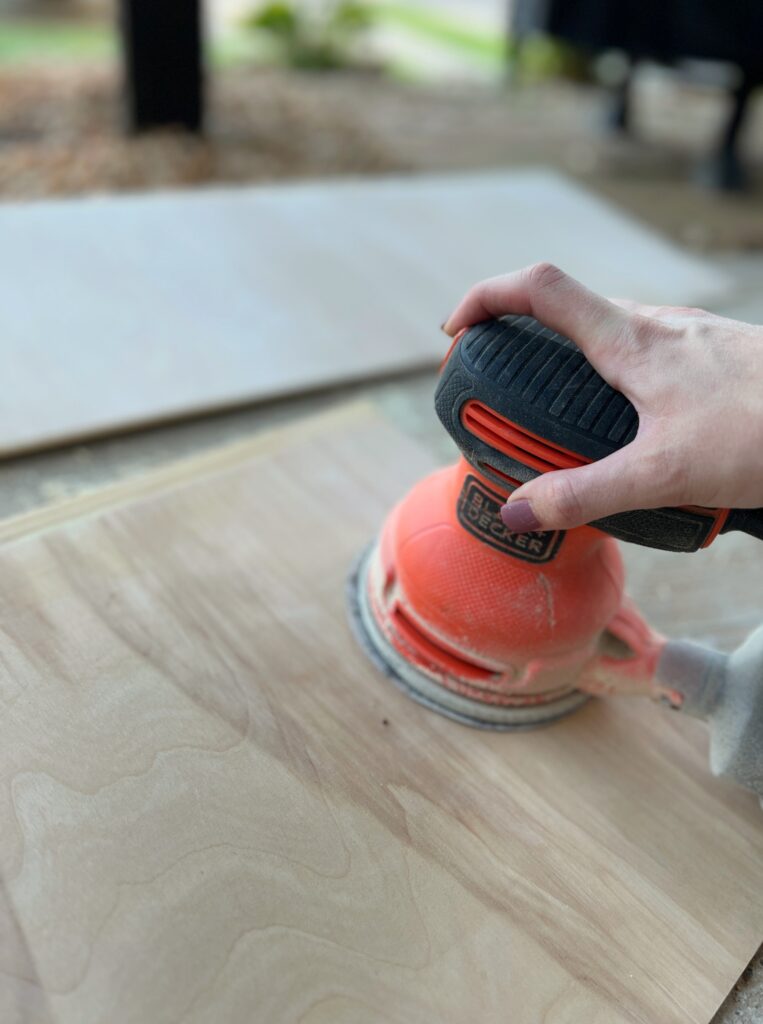
Prep
Before anything else, make sure you’ve properly sanded your shelves! 3 out of 4 of mine were previously stained so I wanted to make sure I got all of that stain off.
If yours are brand new, you’ll still want to do a light sand with 220 grit sandpaper.
Sand with the grain of the wood and then be sure to remove any dust with a tack cloth or damp rag.
Always, always, always use wood conditioner before applying stain! Why? It helps prepare your wood for stain and therefore prevents streaks and blotchiness in your finished product!
I used Minwax water base pre-stain wood conditioner (since the stain I used was water based) and applied it with the grain. After about 5 minutes, wipe off the excess.

Stain
For this project I decided to use Minwax’s water-based solid color stain. There’s 240+ colors to choose from with this stain and you can get them in either semi-transparent or solid.
As you can see in the chart below, the semi-transparent showcases the wood grain while solid has more color and less grain!
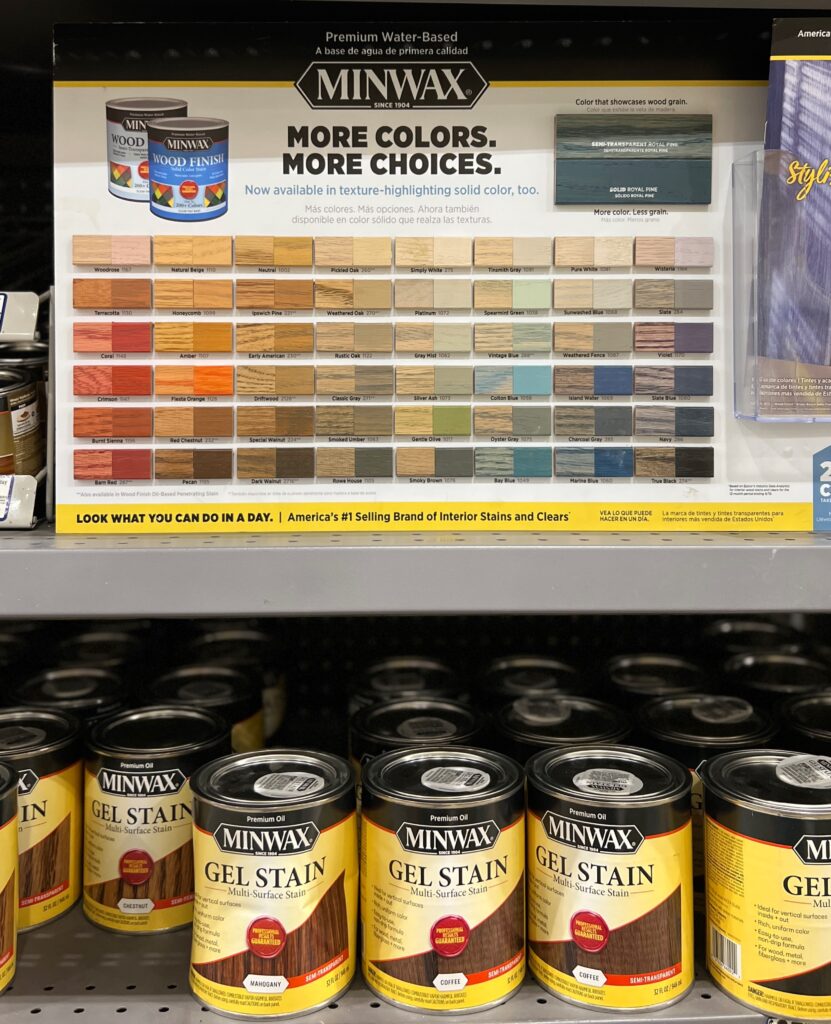
Check out their color options here!
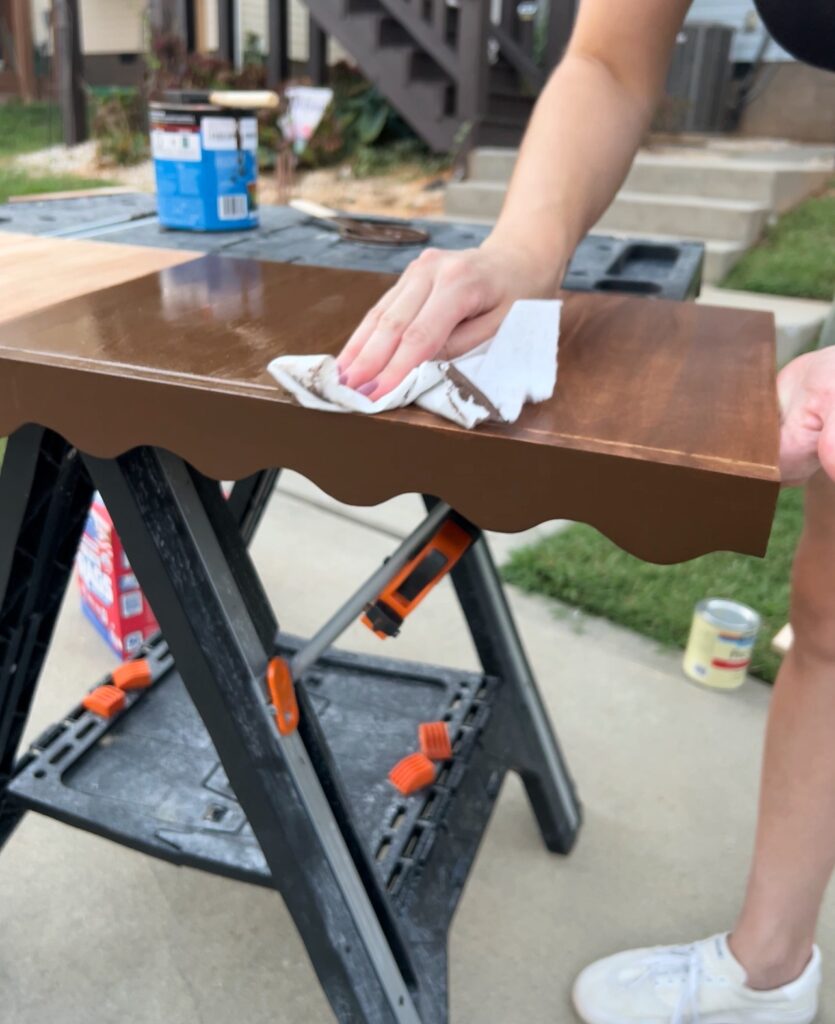
This is the color pecan! I used it for my DIY yard dice and it quickly became a new favorite stain color!

A solid stain is perfect for these wood shelves since they’re made of birch and pine. These two woods species don’t take stain the best so I wanted more color than grain!
When applying stain, always go with the grain! I apply it heavily and wipe off the excess with a lint free rag!
Protect
For long lasting DIY wire shelf covers, be sure to use a protective coat! I used Minwax’s water-based polycrylic in clear satin.
This is actually my favorite part of the project because it makes the stain even more vibrant and beautiful with the subtle sheen it adds!
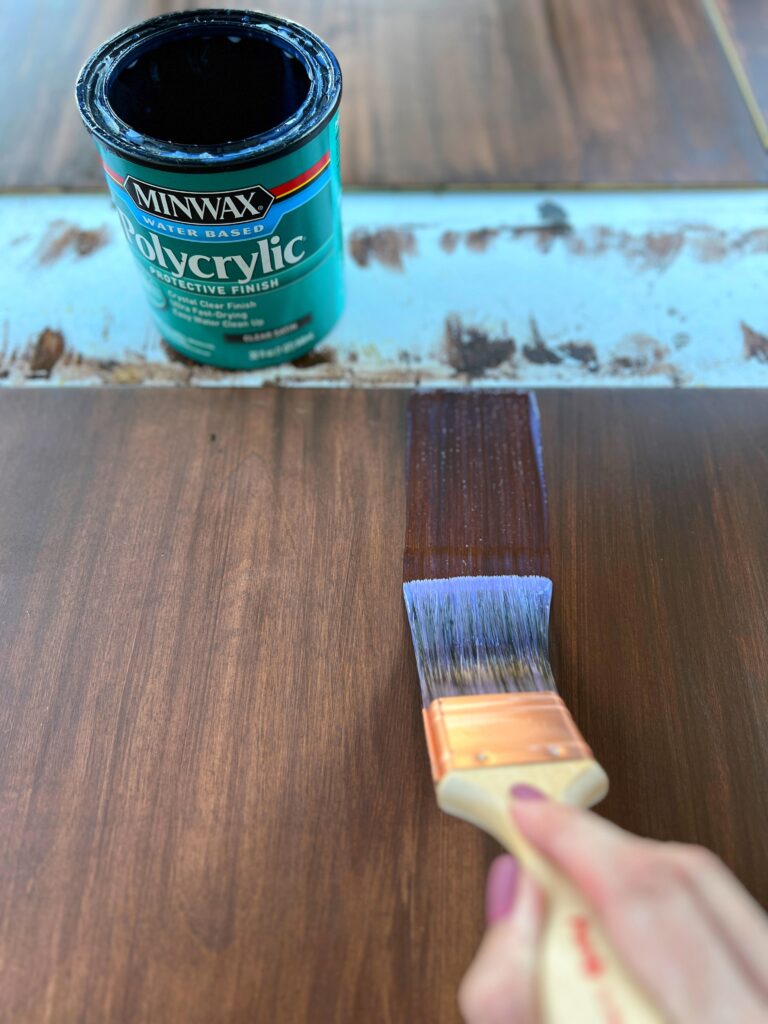
My favorite brush for applying polycrylic is this purdy one! It never disappoints and is also great for applying stain and paint too!
If you want an ultra smooth finish, I recommend using a 220 grit sanding sponge in between coats! I ended up using 2 coats of polycyrlic on these new shelf covers!
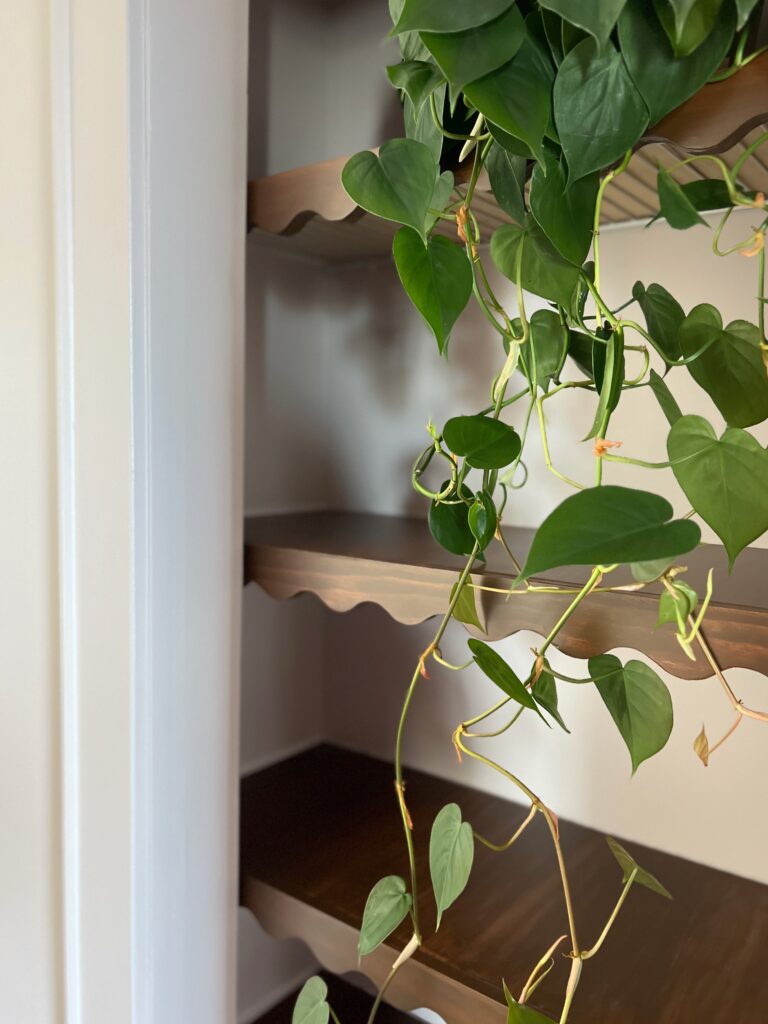
Step Seven: Install Shelves
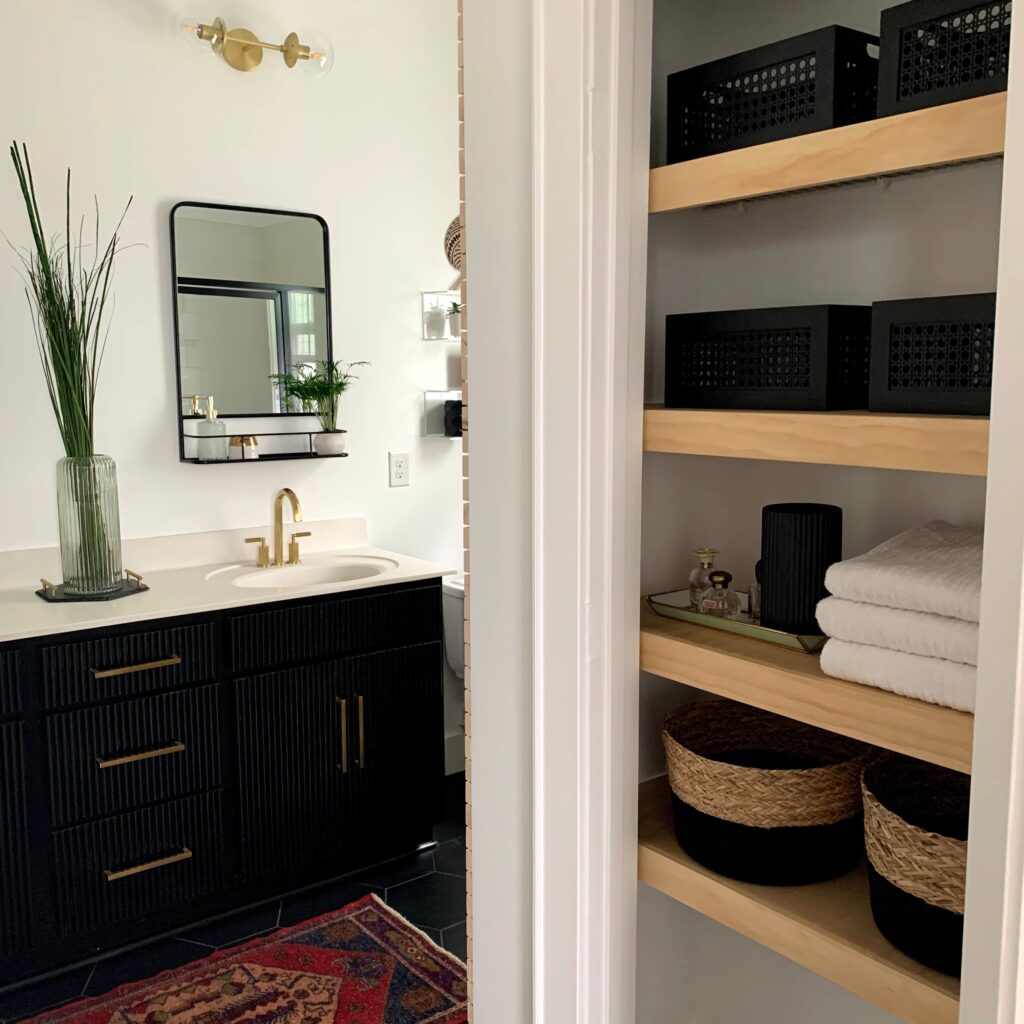
Perhaps my favorite part about these wood shelf covers is that install is truly a breeze! All you have to do is slide them right over the wire shelf unit! Ta da!

These are great rental friendly shelves, by the way!
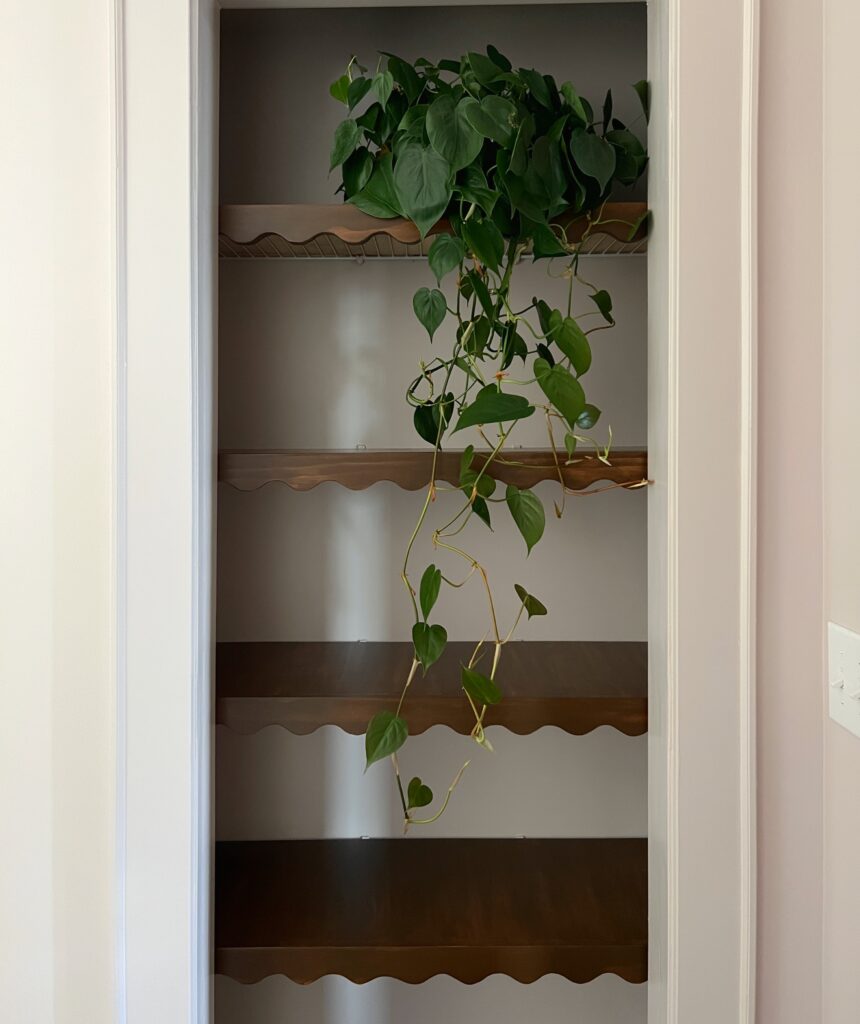
Depending on the height of your shelves, some of the wire shelving underneath might show.
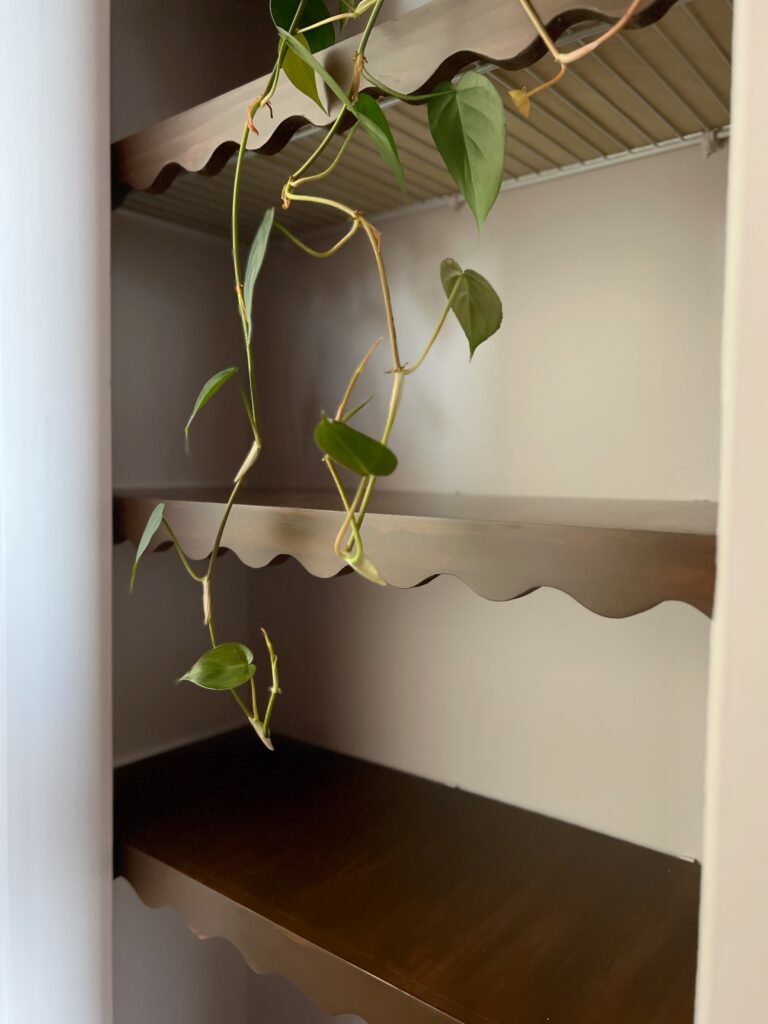
In my linen closet, you can see it on the top shelf! It doesn’t bother me, but it’s something to be aware of!
Before + Afters
Look #1 stain combo
In case you’re curious about how I got the lighter wooden shelves from a few years ago, I used a combination of two different stains.
I can’t remember the exact ratios, but it was mostly poly mixed with a little bit of Minwax early american and Minwax weathered oak!
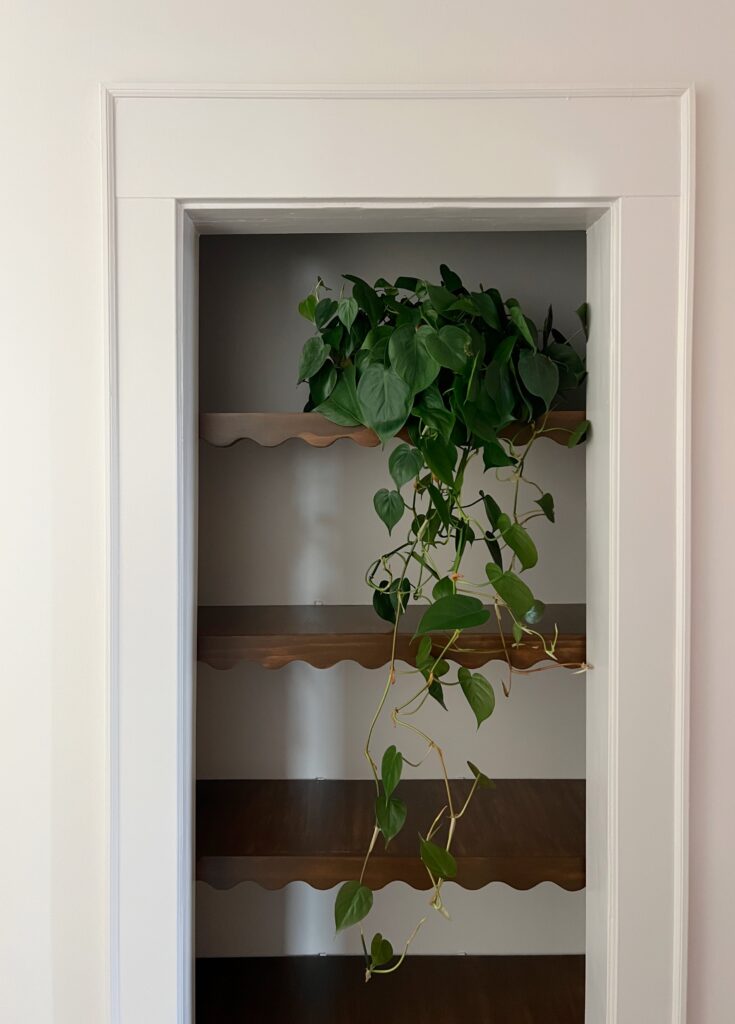
Didn’t these turn out so cute?! Sooo much better than the ugly wire shelves! While I did like the original version I made, this pecan stain was a great way to add the warmth I was looking for.
I hope this wire shelving hack tutorial is helpful to you and please don’t hesitate to reach out with any questions! Thanks for being here!

What a difference! Such beautiful work and look at you doing rabbet joints with a table saw! ????
They look beautiful.
IMO… most wallpaper is over done BUT if you can find a paper (maybe floral) that pulls out the colors in the bedroom/bathroom put it behind the shelves. (back wall). i think it would add more depth/warmth
LOOKS GREAT! nice job
Thank you Tiff!!! It was cool to learn! 🙂
Thank you so much Mari! <3
Awe thank you so much Kristi! With us moving soon, i’m trying to keep the costs minimal but I agree wallpaper there would be beautiful!!