

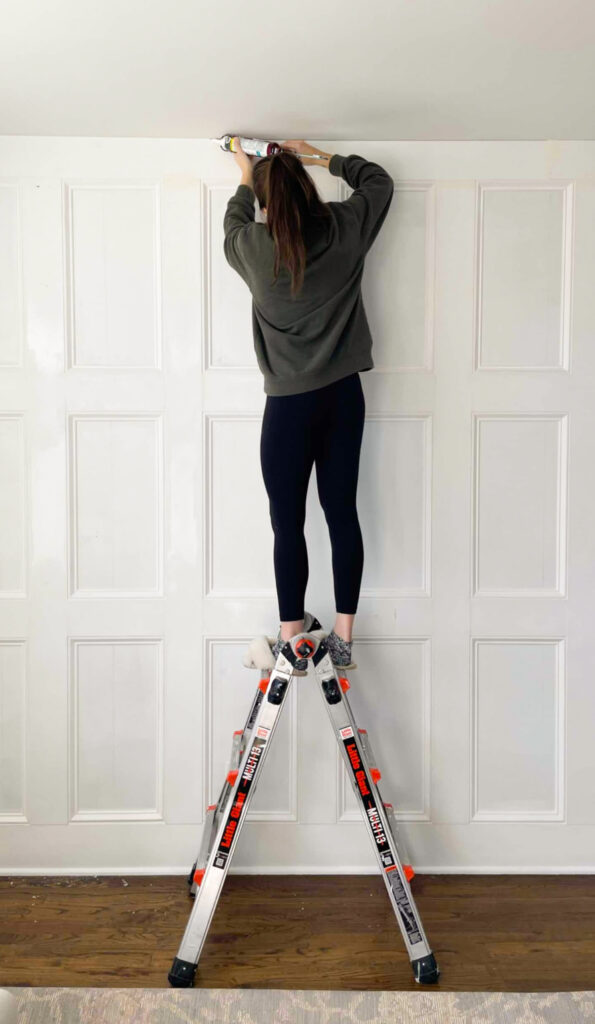
I remember my first time caulking… it was a disaster. The caulk wouldn’t stop oozing out, I did a terrible job of applying it, and I made a huge mess. Fast forward six years and many of DIY projects later, and I can confidently say that I actually enjoy caulking. To me, it’s one of the most exciting parts of a project because it disguises any imperfections and it means paint is next! If you can’t tell, i’m very passionate about this topic! My goal for this post is to share all my tips and tricks for how to apply caulk so you can learn to love it too 🙂

Disclaimer: This post contains affiliate links. This means, if you purchase something from a link I provided, I will receive a small commission. This is at no extra cost to you! Thank you so much for the support!
Best Caulking Tools for Beginners
Having the right tools for the job is always important. Luckily, you don’t need much to caulk like a pro! Here’s three tools that I swear made all the difference:
Caulking Gun
You may be thinking… well, duh! Of course you need a caulking gun. Yes, true! However, there are different types of caulking guns out there and this matters!
For my first caulking experience, I used one of those classic orange caulking guns. Don’t recommend. Remember how I said the caulk kept oozing out? That’s because with a ratchet-rod caulking gun, you have to manually release the rod. You can do this by using the release tab or just pulling back the rod. I made the mistake of assuming that once I let go of the trigger, the caulk wouldn’t come out.
Do yourself a favor and just get a dripless caulk gun! Not only are these more ergonomically designed, the caulk automatically stops one you release the trigger. In other words, you’ll have cleaner stop and start lines, better control, and less waste! I wish someone had told me about this as a beginner DIYer.
This is the dripless caulk gun I have! I’ve had it for 5 years and it’s very well loved. Also, I just searched “best dripless caulk gun” and this one came up!

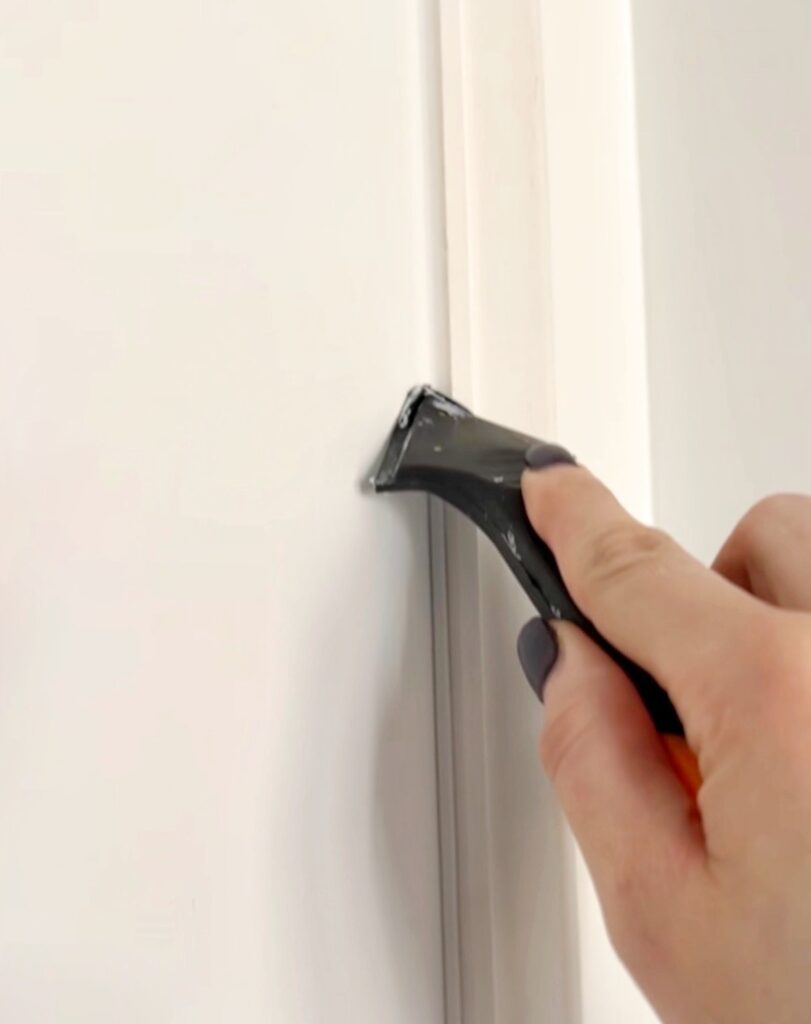
Caulk Finishing Tool
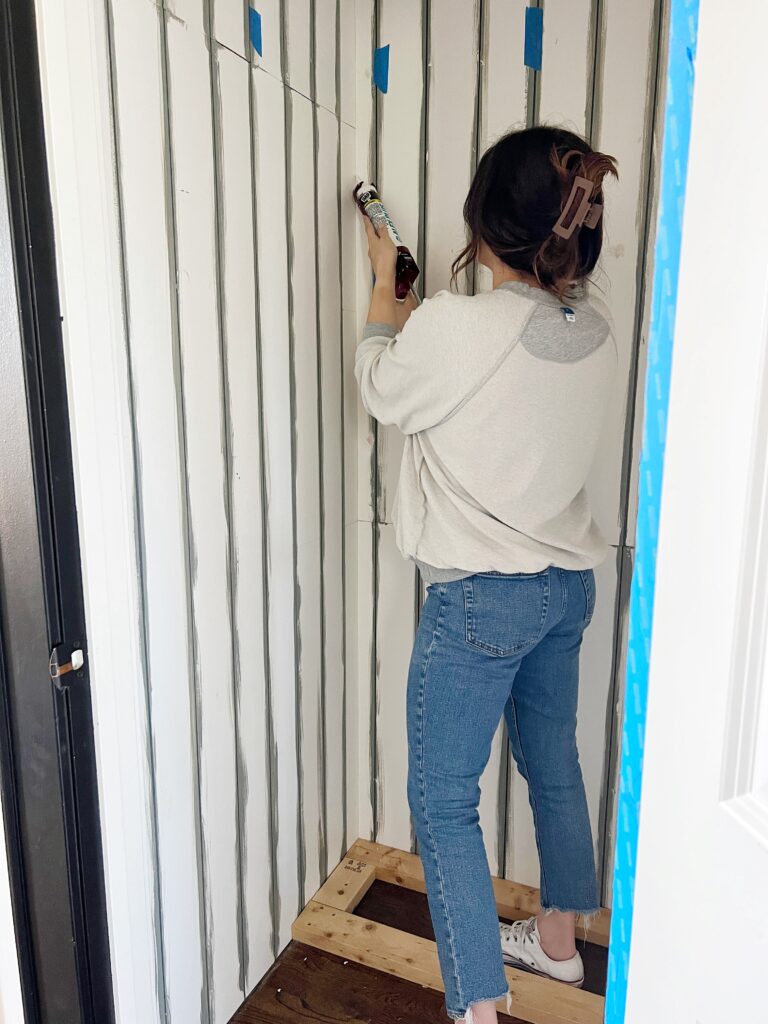
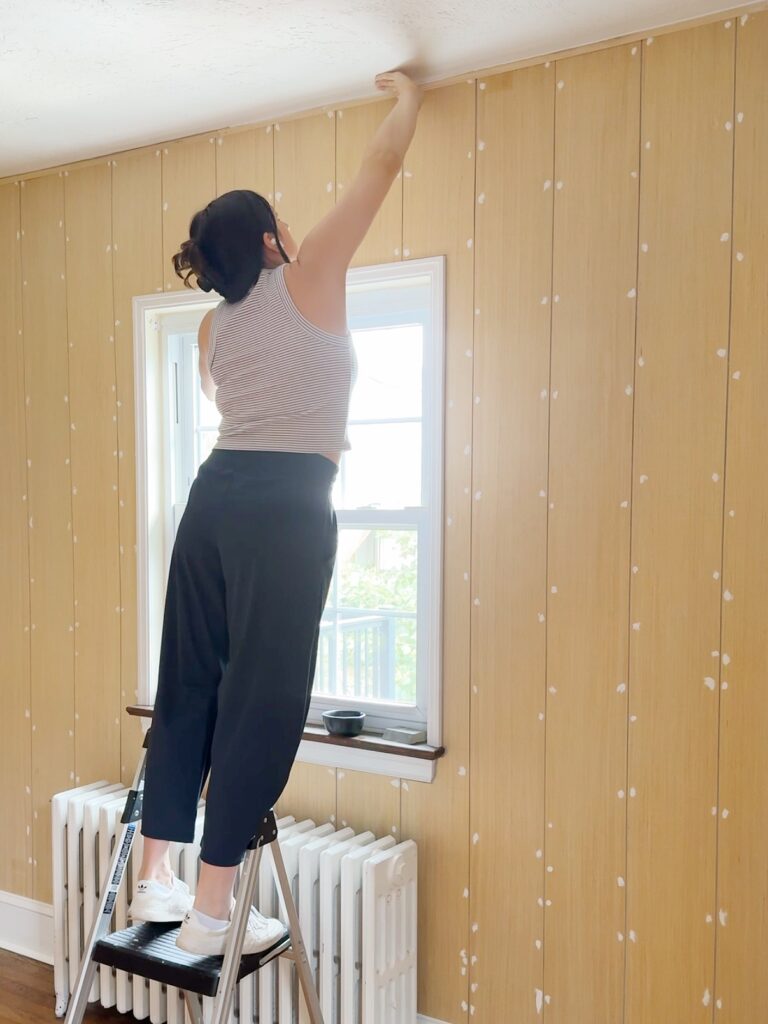
I’ll never forget the day that a fellow DIY friend of mind suggested a caulk finishing tool to me! So dramatic, I know. But she mentioned it while I was working on this DIY fluted panel wall, which required a TON of caulking. Anytime I do DIY box molding, and especially when I did our DIY coffered ceiling, a caulk finishing tool is a life saver!
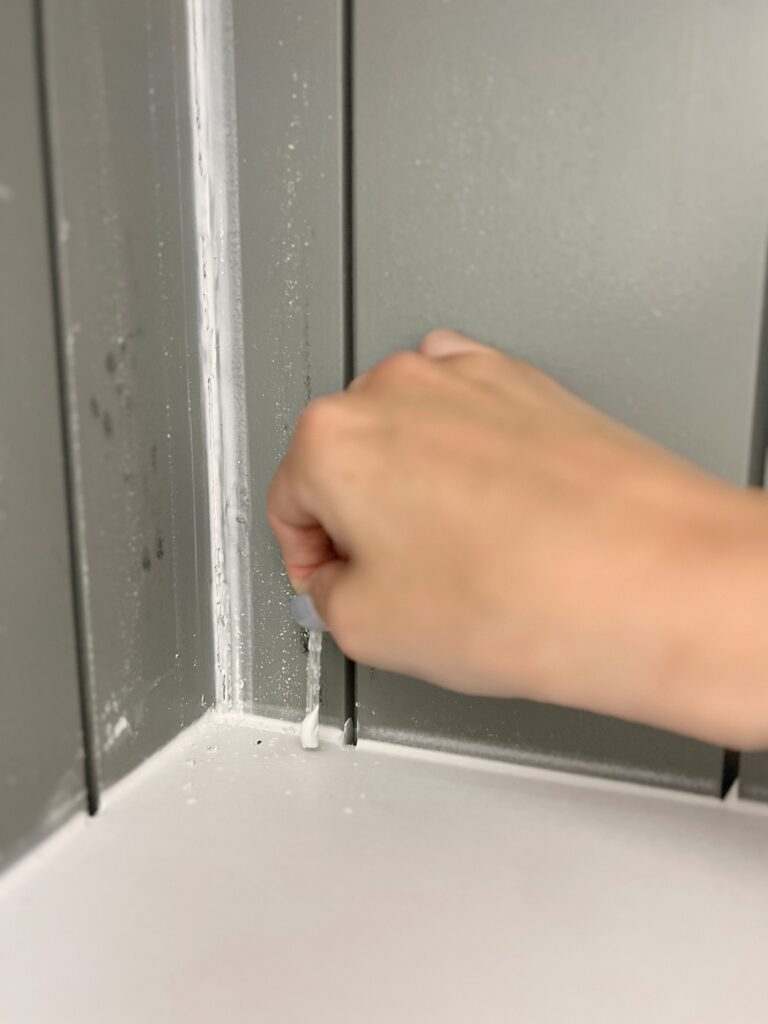
I’ve tried a couple different brands, but this one is my favorite! This tool is used to smooth the bead of caulk. It’s less mess on your hands and just gives a nice professional finish. I find it particularly useful anytime i’m caulking in a corner!
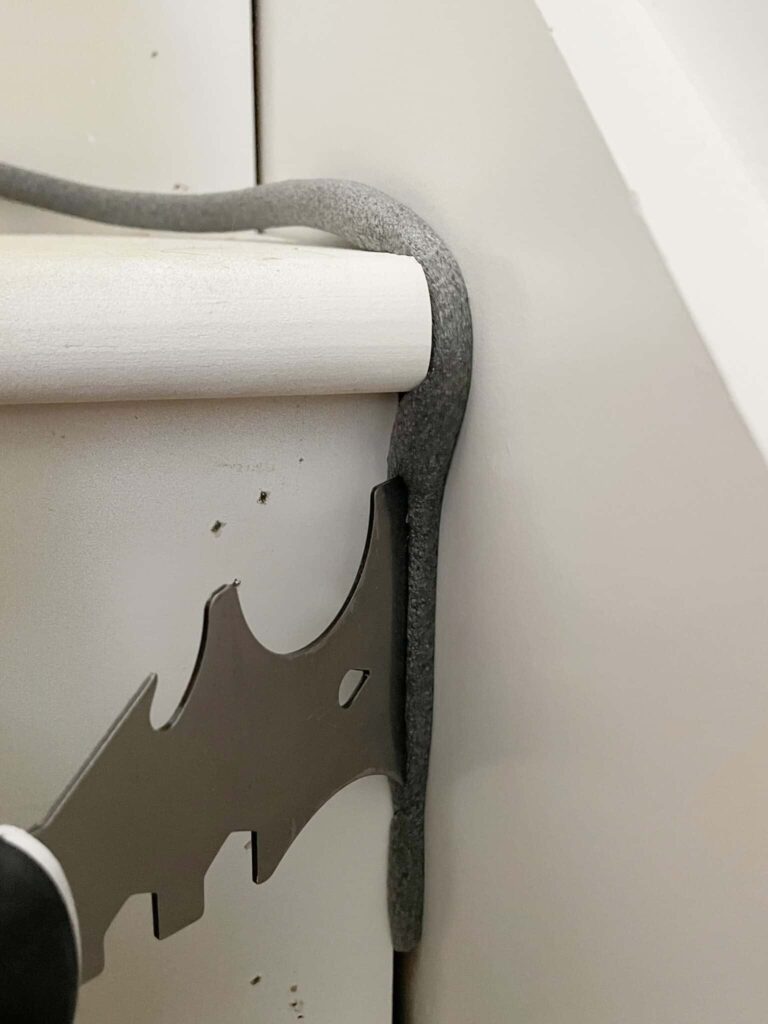
Backer rod
This is great tool to have if you’re dealing with larger gaps! Backer rod is a flexible foam rope that comes in different sizes. It’s used to help fill the space for gaps that are too large for just caulk… usually anything over 1/4″. It reduces how much product you need, allows the caulk to stretch properly, and helps prevent cracking.
To use it, you just cut it to the size you need and push it into the gap using a putty knife or painter’s tool! After that, you’ll apply caulk as normal. You can see in the photo below that I used it when doing our DIY stair makeover!
How Do I Know What Caulk to Use?
The caulk aisle is overwhelming, I know! Don’t let that scare you away. If you know a few key things, you’ll know the best caulk for the job! There’s several different types of caulk and many are specialty, but for the purpose of this post, let’s focus on the two most popular types of caulk.
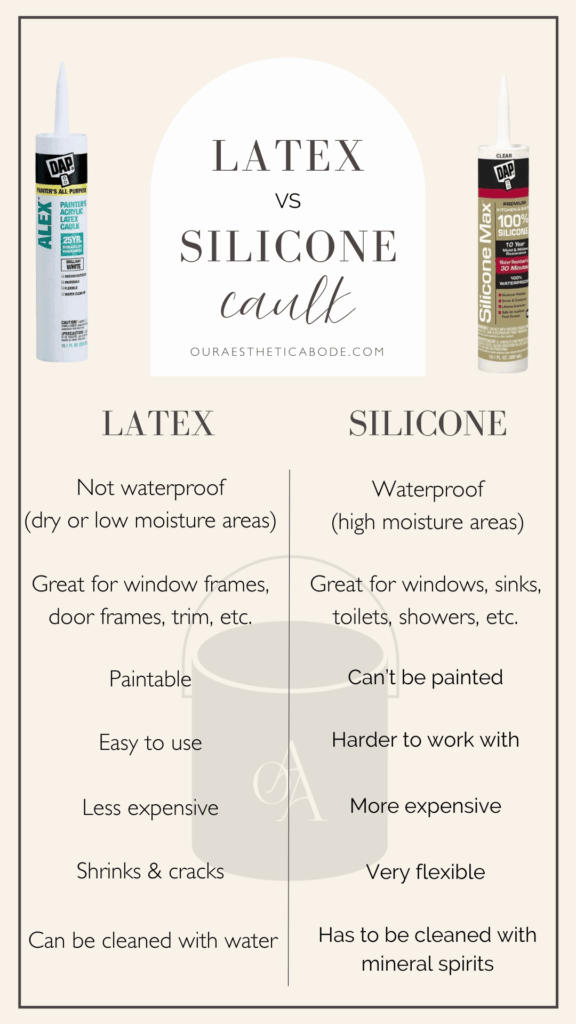
What’s the difference between latex caulk and silicone caulk?
Acrylic latex caulk (also known as paintable caulk) is the most common for general purpose projects around the house. It’s meant for indoor use in dry areas. Latex caulks are used for baseboards, crown moulding, window trim, etc. You wouldn’t want to use this in a high-moisture area like a kitchen or bathroom. Latex caulk is easy to use and can be cleaned up with water, but it can also shrink and crack.
Silicone caulk is waterproof and not paintable. It’s meant to be used in high-moisture areas like kitchens and bathrooms. This is what you’d want to use for caulking tubs, showers, sinks, etc. Silicone caulk is extremely flexible and won’t shrink or crack, but it’s definitely harder to work with and has to be cleaned with mineral spirits.
Here’s a simple breakdown of the differences:
They also make hybrid versions of caulk that include both latex and silicone! These can be a good middle ground if you need something that’s paintable and also in a bathroom. For example, I used this product where our tile met our door trim before painting our shower tiles.
This type of caulk is my go-to for majority of my DIY projects. If i’m doing a crown molding caulking project, I’ll use this one! PS don’t forget that caulk comes in various colors, so get the right one! I’ve definitely made the mistake of grabbing clear when I wanted white.
What Should You Do Before Applying the Caulk?
Before you get started, it’s important to set yourself up for success!! Be sure to do the following:
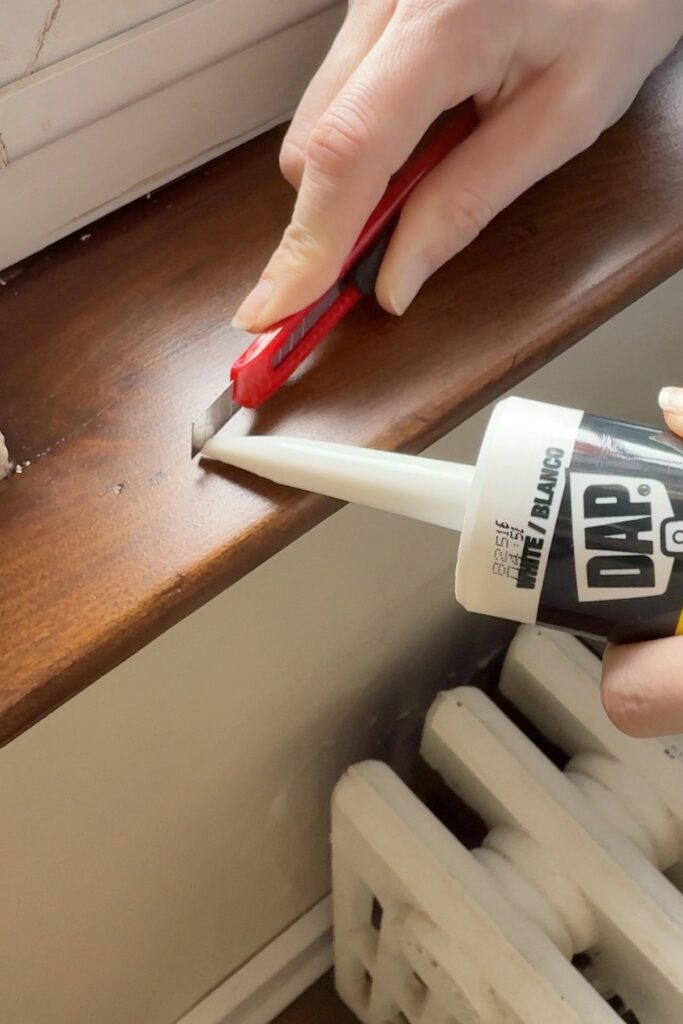
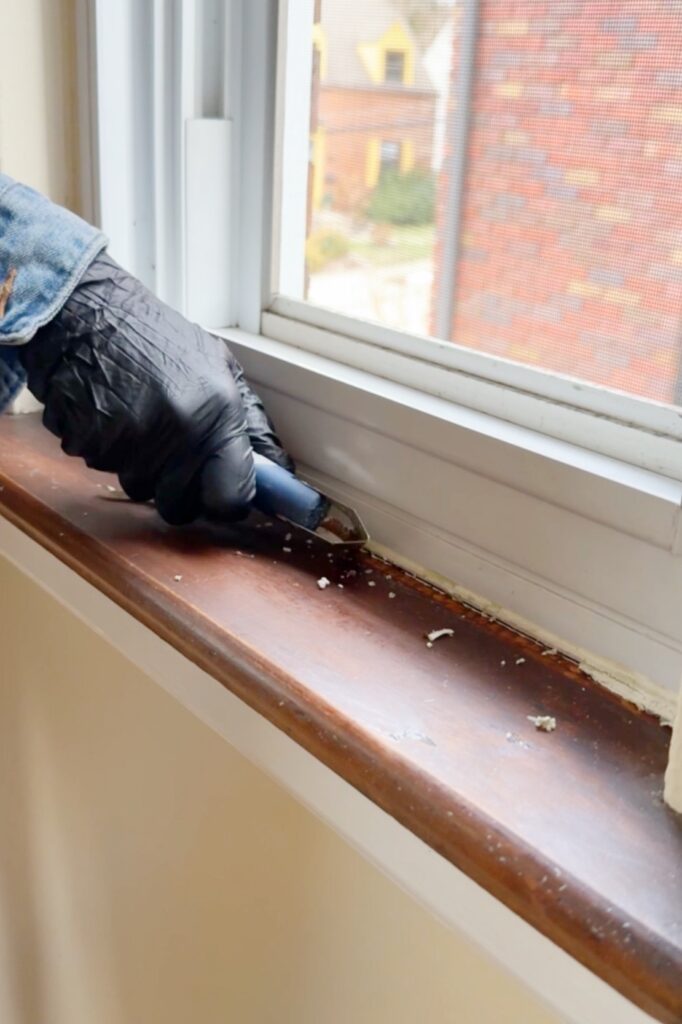
- If necessary, remove the old caulk. You can use this caulk remover tool to help! If the caulk is really old and not budging (we’ve dealt with this in our 1930 home), try this product! Everytime I refinish our window sills, I use it and it works like a charm on our very stubborn caulk.
- Make sure you have a clean surface that’s free of dust, grease, etc!
- Let the area dry fully
- Gather your materials
- Caulk (make sure you have the right caulk for the job you’re doing!)
- Caulk gun
- Utility knife
- Caulk finising tool
- Paper towels (or a rag)
- Cup of water
See below for my step-by-step instructions for how to apply caulk!
How to Apply Caulk (Step-by-Step)
As a seasoned DIY enthusiast who’s passionate about the art of caulking, here’s my process for getting professional-looking results:
Step One: Cut Your Caulk Tube
Instead of using the spout cutter on your caulking gun, use a utility knife to cut the tip of the caulk tube! Cut the tip of the nozzle at a 45-degree angle. You want the hole to be about the size of the gap you’re caulking, but it’s best to start with a small hole! If the hole is too big, you’ll have excess caulk which makes for a messy job.
If you have a tube that was previously opened, use the pin on your caulk gun to unclog it!
Step Two: Apply a Bead of Caulk
Working in manageable sections, apply steady pressure while pulling the gun at an angle. Change the speed of application based on your job. For example, if you’re caulking a tiny gap, you can apply the caulk quickly. For larger gaps, slow down the flow of caulk!

Step Three: Smooth the Caulk
Wet your finger and gently smooth the caulk bead (or use a caulk finishing tool!) before it starts to dry! Use the pad of your finger to do this (or the caulk finishing tool!) and don’t apply too much pressure or you’ll scrape off the caulk.
If there’s any caulk build-up outside of your caulk line, quickly wipe that up with a damp paper towel or rag! Be sure to wipe your finger and clean the nozzle between passes as well.
By the way- some people prefer to use baby wipes instead of a wet finger or caulk smoothing tool! I’ve personally never tried it because I never have baby wipes and don’t feel it’s necessary, but give it a shot if you’re not having success with your finger!
Caulking FAQ
What’s the best way to caulk shiplap?
Caulking shiplap can be a little tricky with the gaps, but I have a great little trick! I apply the caulk line and smooth as I normally would, but then I go back and remove the caulk from the gaps using a few brad nails. If you don’t have stray brad nails laying around (I always do), you could also use a small flathead screw driver!
What are some tips for applying silicone caulk?
Cut the nozzle small, work in short sections, and smooth the bead right away. You can also use painter’s tape to help with clean up! A caulk finishing tool would also be helpful! Since silicone is not paintable, be extra careful to use a steady hand and keep lines neat. Just a heads up- silicone caulk has a strong odor! This took me by surprise my first time using it.
Can I just put new caulk over old caulk?
For best results, remove existing caulk before applying fresh caulk. Skipping this step can lead to peeling, cracking, or mold. To remove it, you can use a utility knife or a caulk remover tool!
How long does caulk take to dry?
Dry time depends on the type of caulk and the product. Water-based caulk usually dries to the touch within 30-60 minutes, while silicone caulk takes longer to cure. Always check the manufacturer’s label!
As you can probably tell by my photos throughout this post, I’m a big fan of adding trimwork throughout our home! Here’s a few of my favorite projects if you’re interested:
- Recessed Wainscoting Panels (that’s the accent wall in the above photo!)
- DIY Coffered Ceiling
- DIY Vertical Plywood Shiplap
- Shiplap Ceiling Over Popcorn Texture
- Beadboard Walk-In Pantry
Oh, and my very last caulking tip… listen to music, a podcast, or an audiobook! Once you’re comfortable with caulking, it’s a mindless task and can honestly be kind of relaxing when you pair it with something to listen to 🙂
I hope this post was helpful!! As always, thank you for being here and please let me know if you have any other questions!! 🙂
Elisha
